
Alley Cat | #AC32023C: USAF XI Spitfire Part 2
Reviewed by Kevin Futter and Andrew Birnie

Alley Cat is a brand of A2Zee Models from the UK, and their latest product is a Spitfire Mk XI conversion set for the Tamiya Spitfire VIII and IX kits. This particular conversion targets aircraft in USAAF service, though the sharp-eyed will notice the unfortunate "USAF" error on the box label (the USAF wasn't formed until 1947, prior to which it was a branch of the US Army - hence the additional 'A' in the nomenclature).
What's in the Box?
The conversion is housed in a sturdy shipping box packed with foam peanuts:
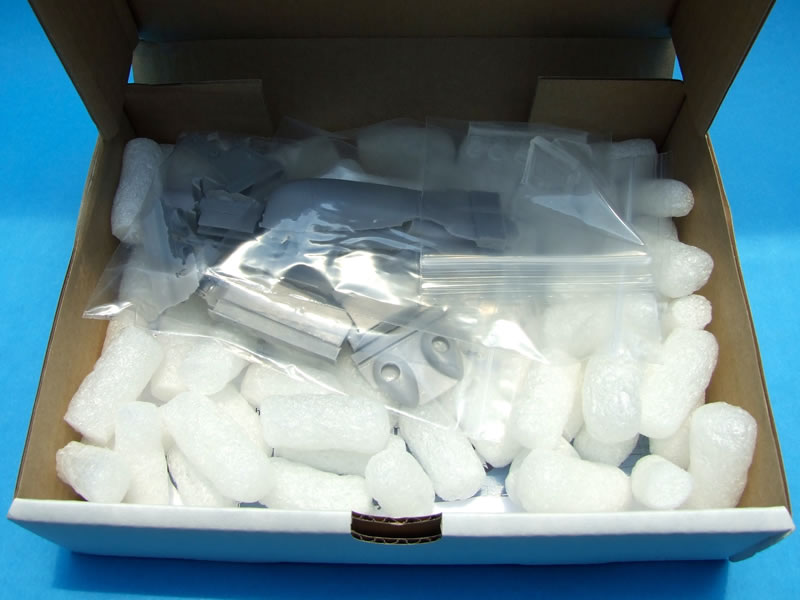
The resin parts have been placed in resealable plastic bags, but the rest of the contents float freely in the box. The contents themselves consist of:
- 3 resealable bags of resin components;
- 1 photo-etched fret;
- 1 decal sheet;
- 1 sheet of vinyl masks;
- 1 A4 sheet containing the painting and markings guide;
- 3 A4 sheets containing the conversion instructions.
Let's start with a closer look at the resin parts:
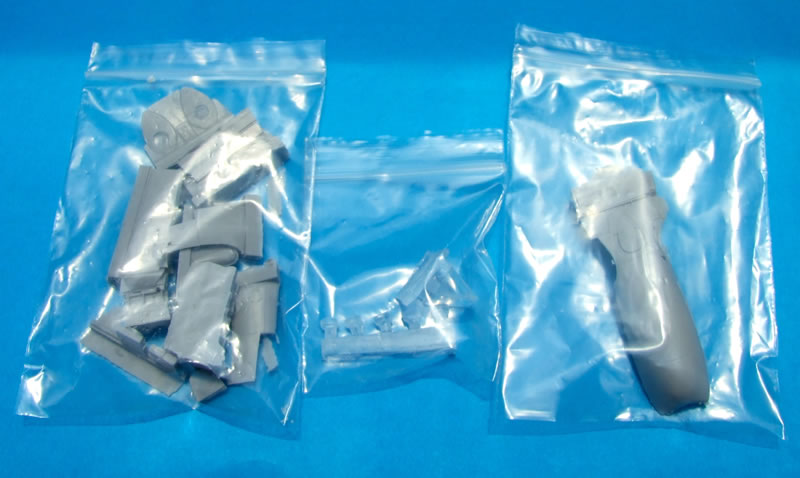
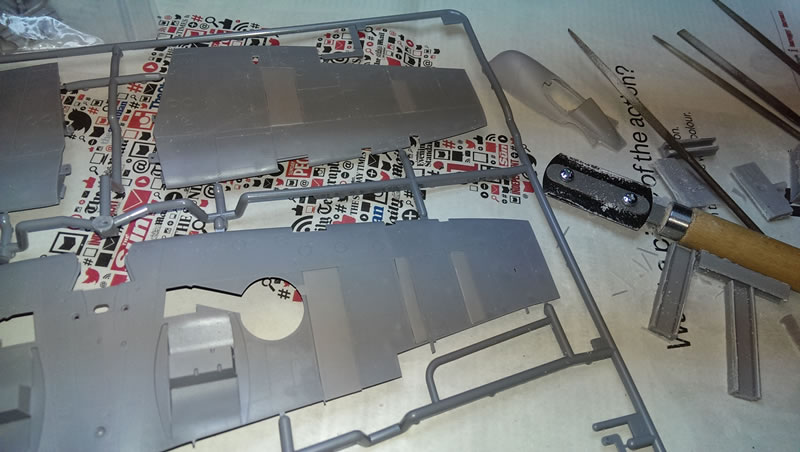
There are 33 parts in a medium grey resin, along with a separate bag containing 6 parts cast in clear resin. These consist of a new windscreen and 5 camera port inserts.
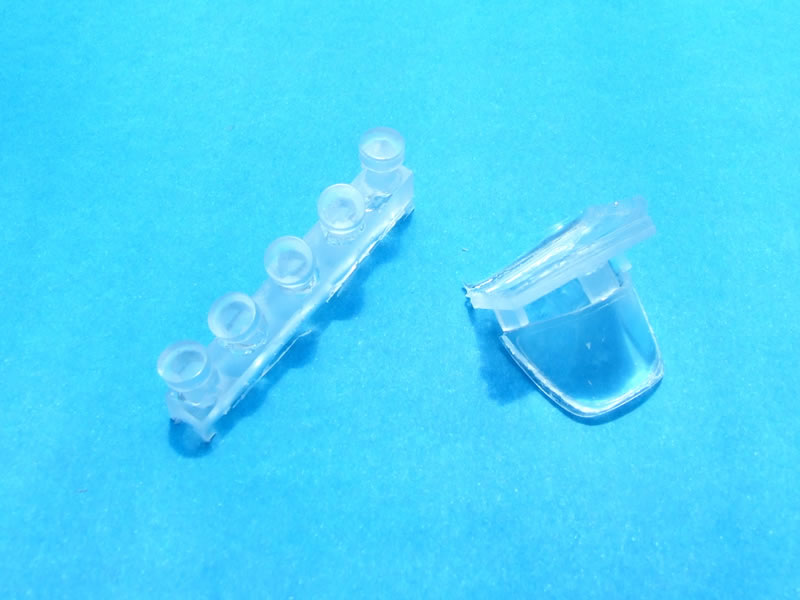
The clear resin windscreen is very thick, and not especially clear to be fair. It remains to be seen if any kind of polishing or clear-coating will improve its clarity.

Two types of cowling are supplied for the lower forward fuselage, each matching options supplied on the decal sheet:
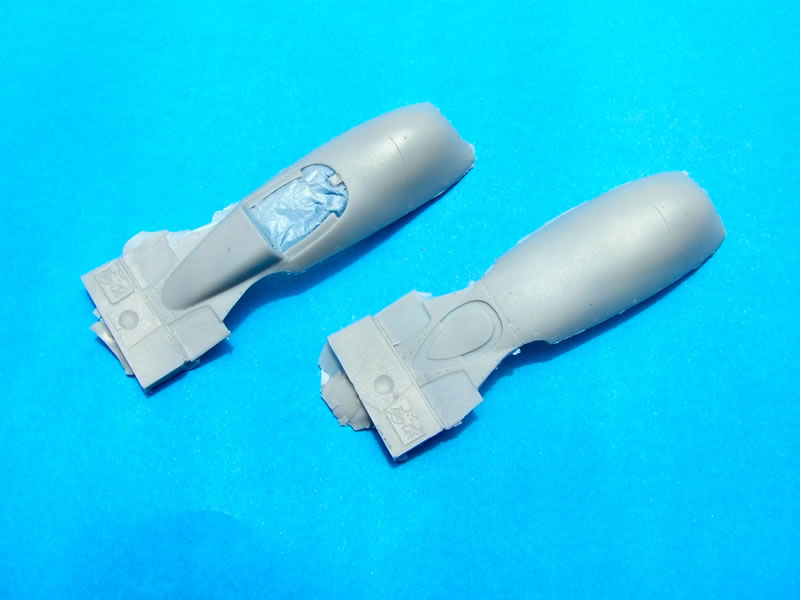
Due care will be required when removing either part from its casting base; there is also a small amount of resin flash to clean up. In fact, this is the case with most of the parts in this conversion set, but they are otherwise nicely cast with good detail and no apparent moulding flaws.
Decals, Masks and Instructions
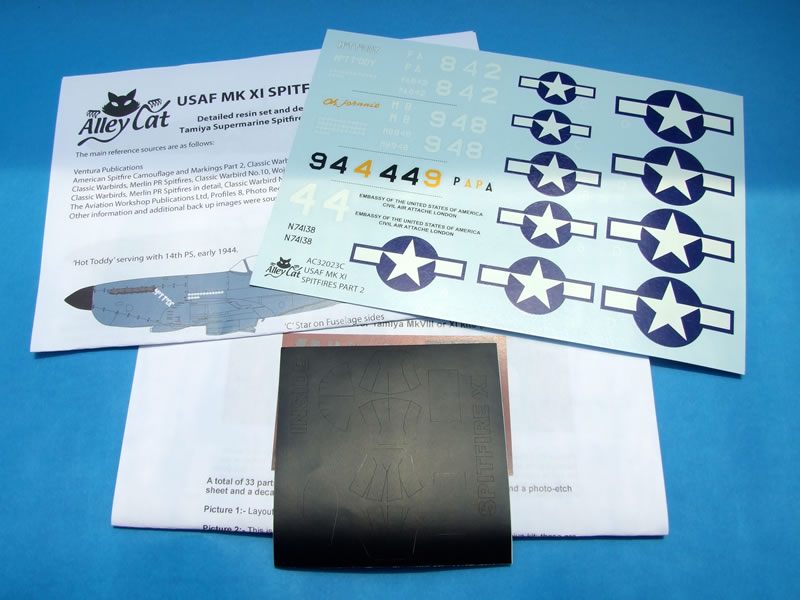
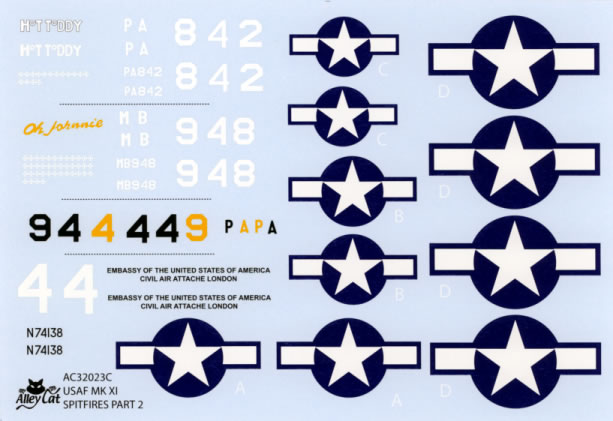
Alley Cat furnishes a roughly A5-sized decal sheet with this conversion set. They appear to be silkscreen-printed, though there is nothing to indicate their provenance other than the Alley Cat logo. They are very crisply printed, with the national markings occupying the barest minimum of carrier film. Impressive! I would have liked to see them sealed in a separate bag though, rather lying unprotected at the bottom of the box.
The supplied paperwork consists of one double-sided A4 painting and markings guide, a single-sided A4 sheet containing upper and lower line drawings, and two double-sided A4 pages of assembly instructions. The latter take the form of a series of photos and explanatory text, and are quite clear and easy to follow for the most part. My only quibble is that the parts are not numbered in the photos to make referencing them in the text more straightforward. The line drawings also feature the word 'scribbing' - a curious misspelling of 'scribing'. Otherwise, they're eminently serviceable.
The canopy masks appear to be supplied on some form of vinyl material, and target the canopy (inside and out). I'm surprised they don't include masks for the camera ports, so you're on your own in that regard. They look very crisply cut however and are a welcome inclusion - provided of course they fit accurately!
Photo-etched Fret
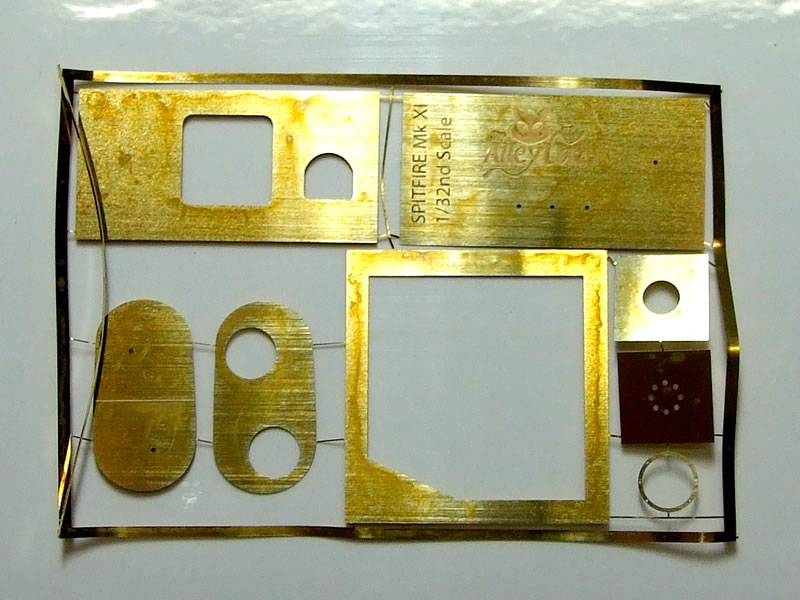
Most of the parts on the supplied photo-etched fret are actually scribing or locating templates rather than model parts. There are however parts supplied for the metal plate that covered the lower camera ports on later models. The templates are a nice touch and should greatly aid the placement of both parts and panel lines. Once again thought the fret lies unprotected in the box, and as you can see from the photo, my example took a bit of a beating! Luckily the damage is confined to the frames; the parts themselves are quite robust.
Over to Andy...
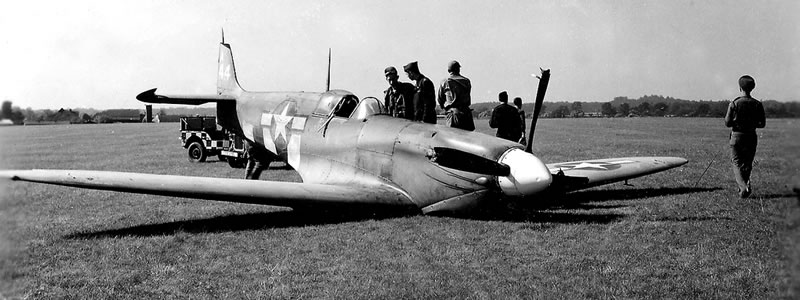
With each development of the Spitfire a photo reconnaissance version was not far behind, and so it was with the unarmed PR Mk XI following hot on the heels of the VII/VIII/IX.
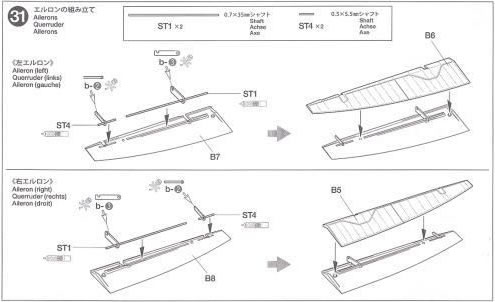
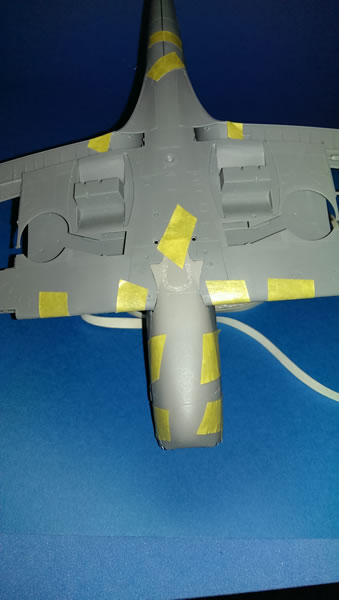
From a modelling perspective, the XI incorporates the longer ailerons of the IX, retractable tail wheel of the VIII, and the larger pointed rudder found initially on the Mk VII, most Mk VIIIs and later Mk IXs, as well as the deep chin to house the larger 14.5 gallon oil tank which was introduced on some PR Mk ICs, new features to the Spitfire line were an unarmoured PRU wraparound windscreen, booster pumps for the wing fuel tanks which were housed in teardrop fairings ahead of the undercarriage, two fuselage mounted vertical camera ports, in addition to the oblique mounting used previously, also two optional additional under wing teardrop faired camera ports could be fixed. The early Mk XIs had the shorter carburetor intake found on early Mk IXs, where the later XIs were fitted with the larger carburettor intake which incorporated the Volkes Vee dust filter which were fitted as standard on Mk VIIs and later IXs.
In the instructions it makes note of the fuel extraction valves on the top sides of the wings being fitted to aircraft in warm climes, but as the two photos show they were probably universally fitted, as with the USAAF and Danish aircraft.

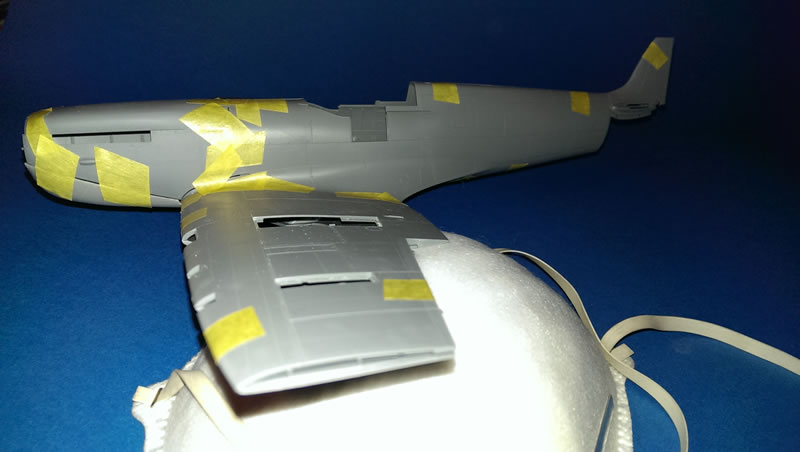
So we come to the Alley Cat conversion.
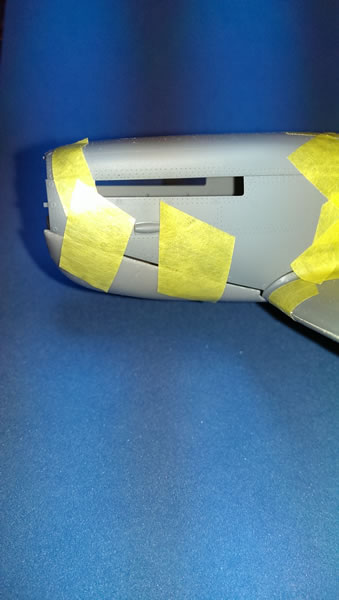
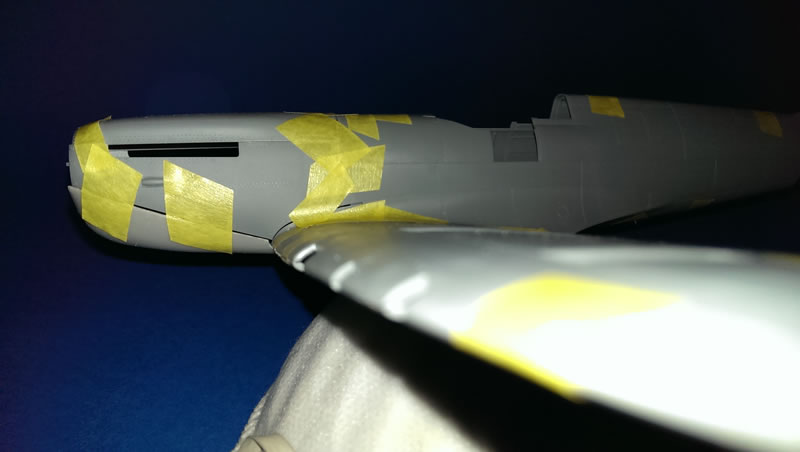
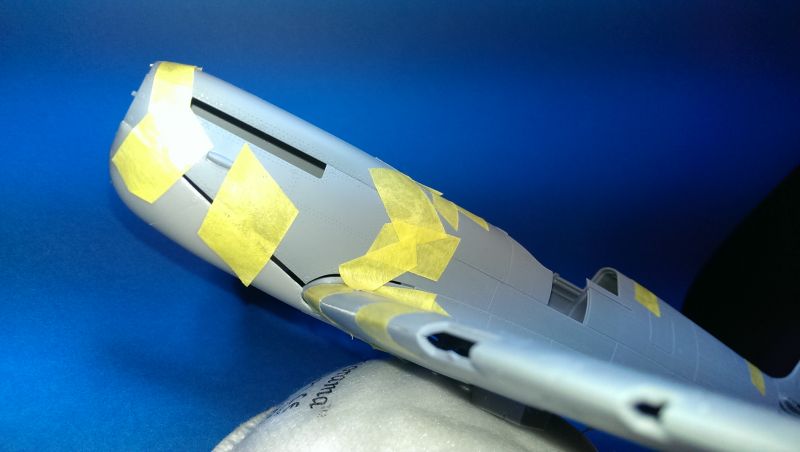
The resin is extremely easy to work with and a nice plastic like quality. Some of the parts such as the replacement wing panels need a wee bit of sanding to make them fit as does the lower cowl part - I'm going to be doing a USAAF plane with the early carburetor intake and will cut the rear resin part off and use kit part AA27 in order to achieve a better fit. The Chin part on both sets is the correct length from nose to wing leading edge, then it seems to gain in size, so if I were making an aircraft with the later larger carburetor intake I would use the rear section of part U4, cutting where the rear of parts AA8 and 9 meet.
For modellers using the Mk VIII kit, you should use parts mentioned in step 31, and if you are modelling an aircraft with the small carburetor intake you should use parts AA16 and AA17 as per step 58.

One advantage of using the Mk VIII kit is that you get the retractable tail wheels set, so if someone does produce a Griffon engine for the Tamiya kit you can carefully cut away the relevant part from the XVI kit, use the spare retractable tail wheel set and you're not far off a lowback Mk XIV or FR Mk 18.

Conclusion
This is another solid conversion set from Alley Cat, and one that should transform your Tamiya Spitfire into something just a little different. The selection of USAAF markings further extends your options beyond the norm, and though I wouldn't recommend it to inexperienced modellers, neither does Alley Cat. The resin parts will require careful removal and clean-up, but from there it should be relatively smooth sailing for any modeller with a modicum of experience. My only real reservation concerns the thick, clarity-challenged windscreen, but I'm giving Alley Cat the benefit of the doubt on this one and will await a build report for the definitive evaluation.
Thanks to A2Zee Models for the review sample.
© Kevin Futter and Andrew Birnie 2013
This review was published on Thursday, November 14 2013; Last modified on Tuesday, February 16 2016