
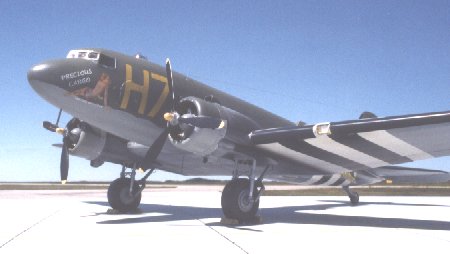
Guillow 1/32 C-47
By Vern Gwin
The build up of this kit took a lot of planning, research and patience. It was completed in about 4 months, working 2-4 hours nightly and 10-15 hours each weekend. Materials include, sheet plastic, brass and aluminum wire and tube, resin, vacform parts, balsa and various putties, etc.
The starting point was a Guillow's (look at the bottom) balsa kit, many parts were changed to plastic, several were added, many others deleted. The kit was very, very basic, providing little more that an outline.
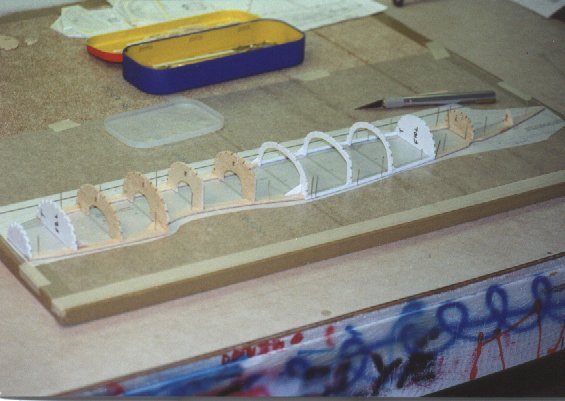
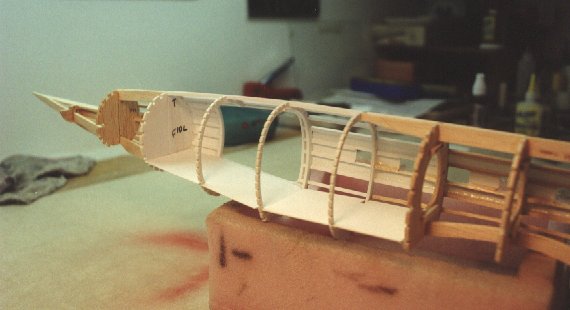
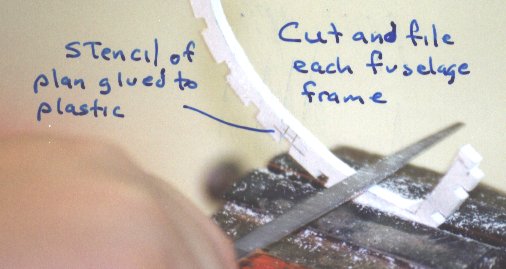
The first three pictures show how the fuselage got started. The bulkheads were photocopied, contact cemented to 40 thou. plastic, then very carefully, individually cut out with the correct amount of ribs, on the side that is visible through the open cargo door. Plastic stringers were used to make up the fuselage skeleton.
The wing and center section were built as per the kit with some changes to accommodate my scratchbuilt gear later. Of all balsa skeleton it was lifted from the plans after the pins were removed, then the sanding began to get the air foil shape required. Sanding began with 100 grit and finished with 320 grit.
When the sanding was done the control surfaces were removed and the sheeting part of the project started. Zap (CA) glue was generously applied to all the lower balsa surfaces, then the skeleton of the wing was set on a sheet of 20 thou. Plastic sheet. Small bags of lead shot were employed to hold the wing firm until the glue set on its own. The top was done the same way except for the leading edge with was left glue free until the back 2/3 setup, glue was the put on the plastic rather than the balsa,so that the wing could be rolled on to the plastic following the curve setting as it rolled. It was really quite easy to do. Wing tips were built up with Zap. When the plastic was all in place the sanding began again using 320 through 600 grit. The control surfaces were simply solid balsa cores sheeted with plastic,the were later rejoined to the wing with pins in place of hinges.
Wings were later joined to the center section after the center section was already attached to the fuselage dowels were used for added strength.
The tail was constructed very similar to the wings. The pictures show several stages of the build up. The fillets were vacform part that were in the kit,they took a lot of fitting and almost were thrown away, but for lack of any other real alternative were used The use of Zap, Mr Surfacer and putty can be seen in the photos.
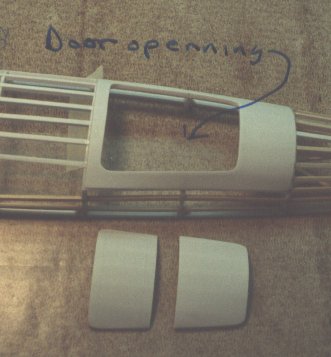
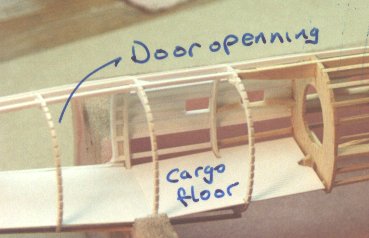
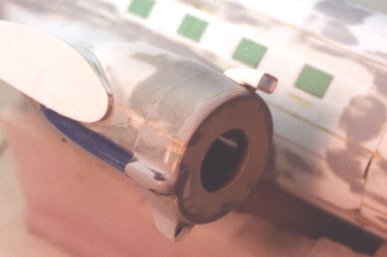
The kit provided no door or cargo floor of any kind Reference drawings and C-47 maintenance manuals provided guidance. The surrounding area of the door and the door it's self were glued to the skeleton, then the door was filled with zap from the inside before it was cut free to be used as a mould for the final piece.
The cargo floor was added only were it would be seen and is made from ribbed plastic sheet. The inside of the doors were detailed with sheeting as well.
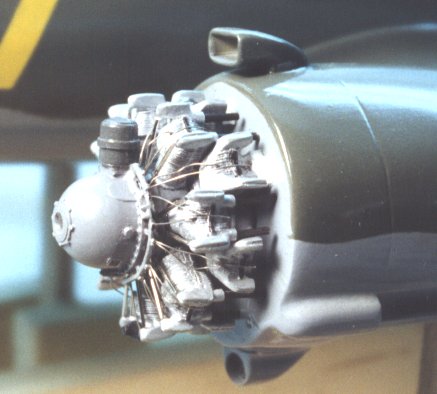

Rough castings are from Engines & Things. After cleanup they received extra details using stainless steel pins for pushrod tubes and fuse wire for plug wires. The nacelles were vacform kit parts,with lots of changes. The exhaust area was made from an old pencil lead holding tube and a 500 pound bomb, the pipes are brass.
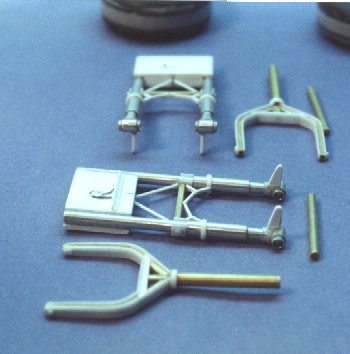
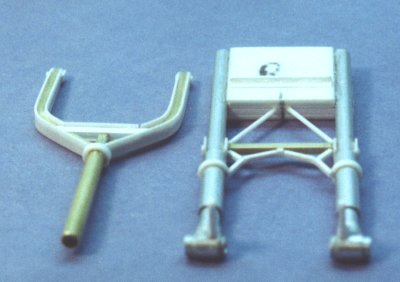
The gear is made from brass, aluminum and plastic, it was constructed using maintenance manual drawings. Lead foil and wire finished the plumbing. The tire and wheel assembly was modified kit parts with details added.
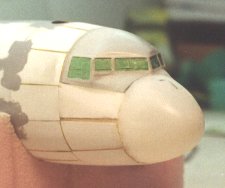
This photo of the nose shows the vacform cabin roof and nose cone. It show some of the way in which the fuselage was sheeted as well, the windows are individually cut polycarbonate. Mr Surfacer was used along with some putty to help fill things out.
Cockpit
- seats are made of plastic sheet, solder frame work and lead foil belts.
- Instrument panel is a combination of reheat decals, wire and brass throttles. Headsetsand maps finish off the details.
- Cargo cabin-radio operators station table was installed, but not visible through the astrodome I stretch formed over a marble.
The cargo load is a jeep, barrels, boxes, rope coils, etc. Paint and Markings - prior to the acrylic colors being sprayed several coats of Future(Klear) were applied as an undercoat to make a smooth surface(it makes as good of an undercoat as it makes a clear finish). Invasion strips were all masked and painted, as were the de-ice boots. Decals were mostly hand cut (roundels), the numbers on the tail were modified from an other kits sheet. H7 was cut from decal paper.
Nose art was custom printed by a friend,the lettering was done by myself using clear decal paper and the old type writer spelling correction paper, the kind that when you made a mistake you back spaced then put this in before re typing the same letter.
Note:
Vern used Guillow's balsa kit. You can contact them at:
Paul K.Guillow
Wakefied ,MA 01880
USA
(They have a B-17, B-24 and a B-25 besides the C-47.)
© Vern Gwin
This article was published on Wednesday, July 20 2011; Last modified on Saturday, May 14 2016