
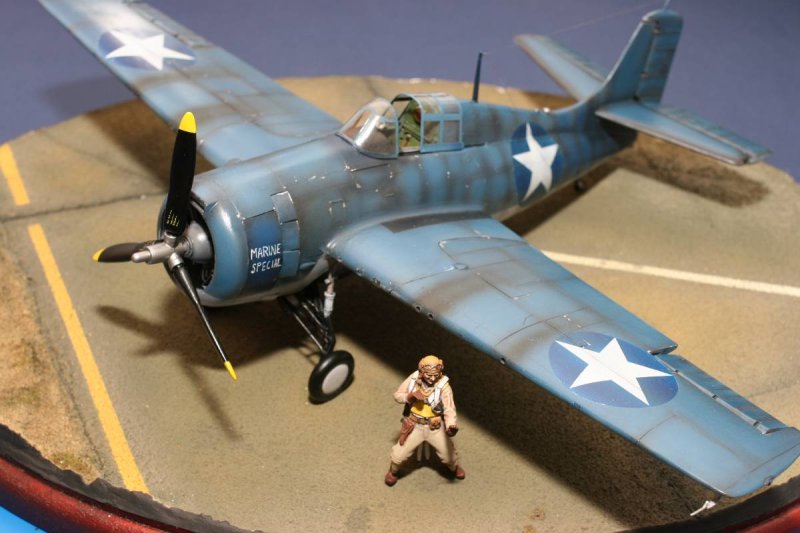
Revell 1/32 F4F-4 Wildcat
By Suresh Nathan
INTRODUCTION
With the introduction of newer tooled kits like those from Trumpeter there are probably not too many reasons to want to turn to the old Revell kits for equivalent renditions of a subject. That is unless you have a cupboard load of them that you’ve pain-stakingly collected over many years and feel a little sentimental about them. Here is how I got my Wildcat to look as respectable as I could get it to. The Eduard photoetched fret helped – a lot.
RESEARCH
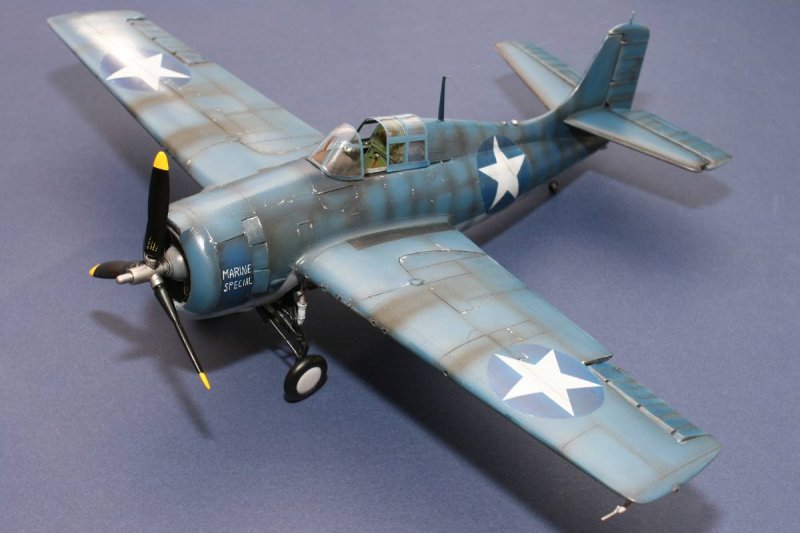
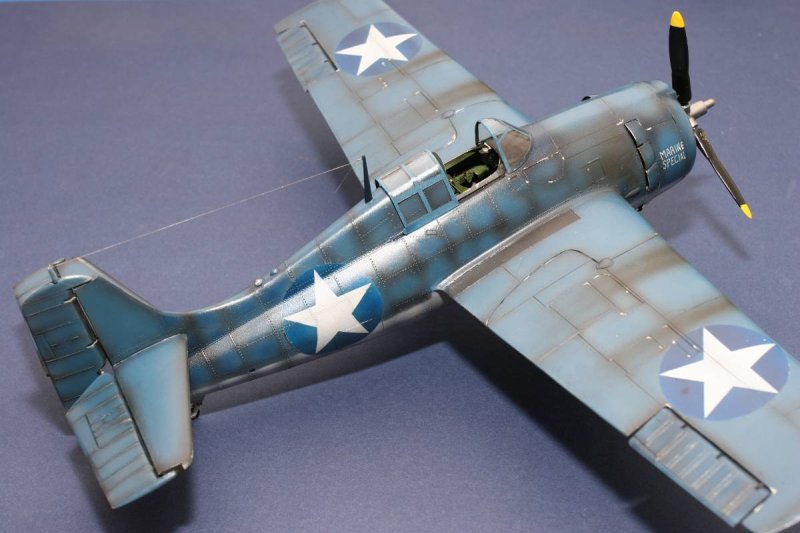
The bird I chose was featured in “Aircraft of the Aces, Legends of World War 2” (Osprey Publishing Limited, 2003) that shows Joe Foss and a bunch of his buddies posed next to “Marine Special”. My research did not turn up the identification number of this craft so I left that out (By the way if anyone knows what this is could you let me know? I’ll add it later).
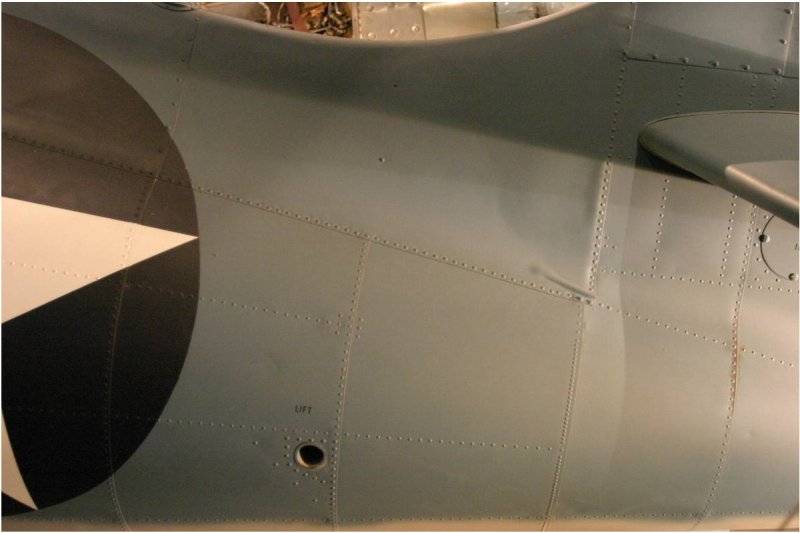
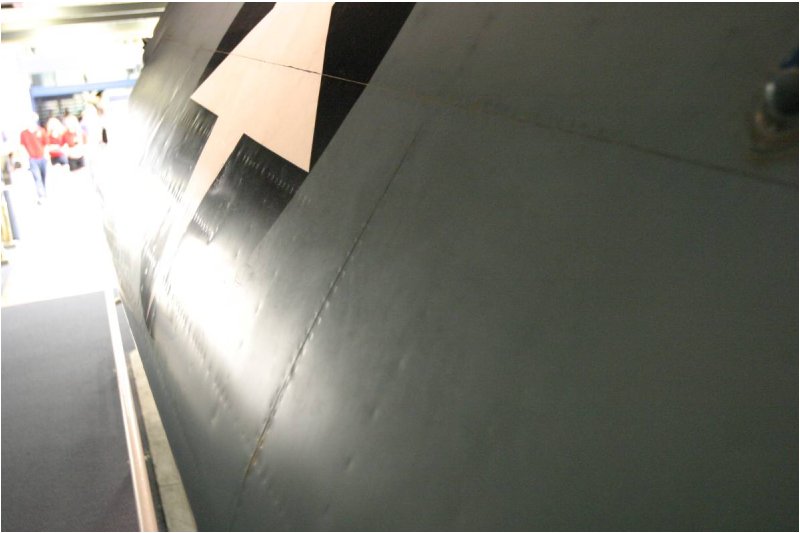
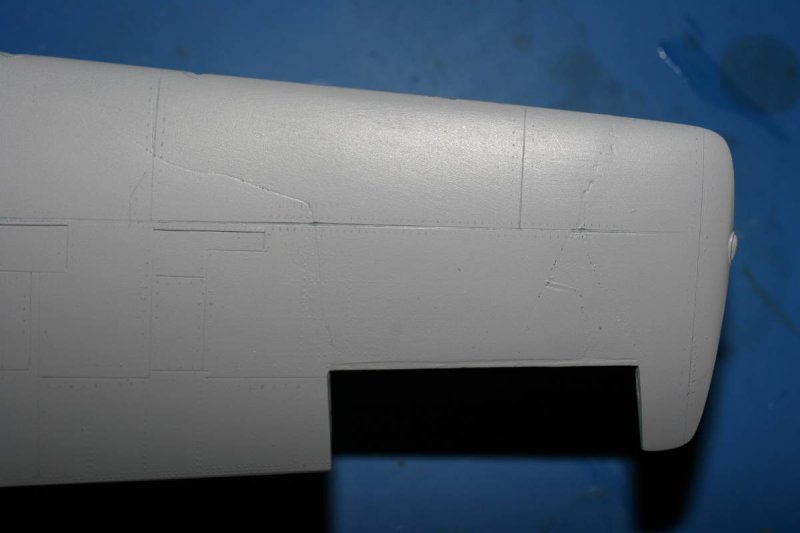
I was lucky enough to have photographed the plane on which the kit was based (ie. “The Smithsonian Edition”). An interesting thing about Wildcats is that fuselage rivets were raised aft of the firewall but flush forward of the firewall and on the wings.
If you recall I had originally planned to use the figure of Joe Foss I had sculpted for a crashed rendition of the Revell kit but after this bit of research I was determined to salvage this kit. A big advantage of the Revell kit is that it has raised rivets albeit a bit heavy. Hence, I sanded the rivets down and scribed panel lines in line with these observations. Flushed rivets were simulated with a ponce wheel.
CONSTRUCTION
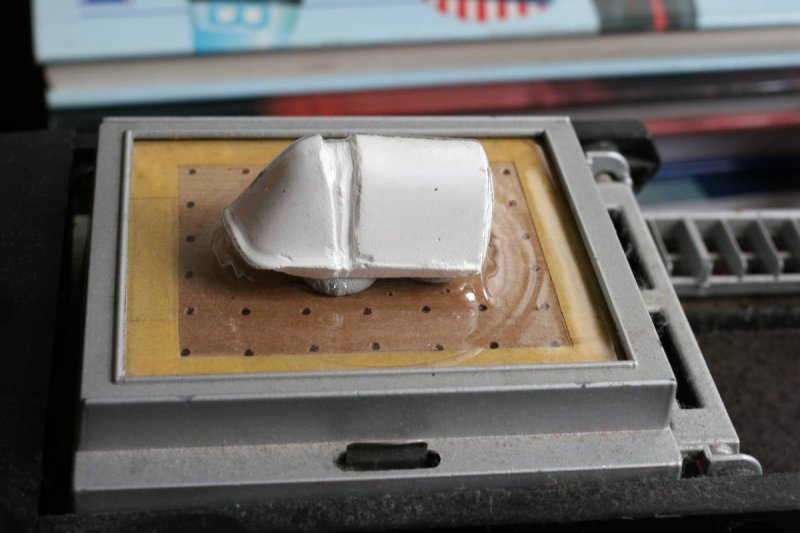
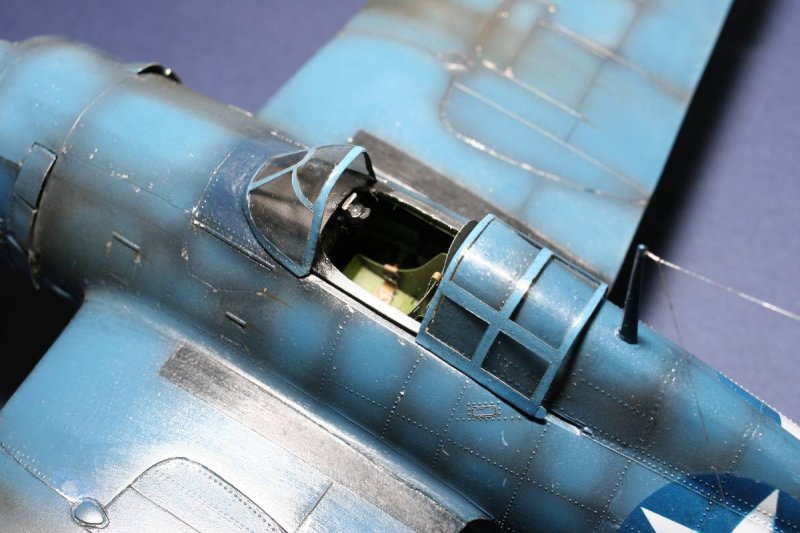
The canopy was too heavy. I poured plaster into it and made a male mould that was used to vacuum form a new canopy.
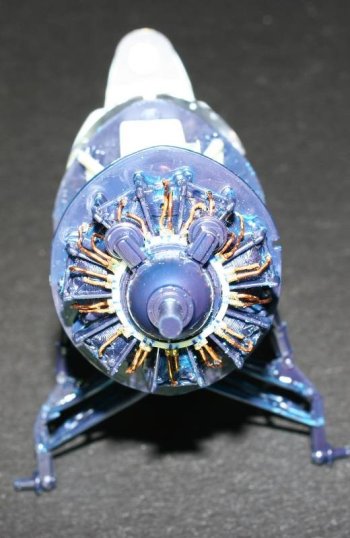
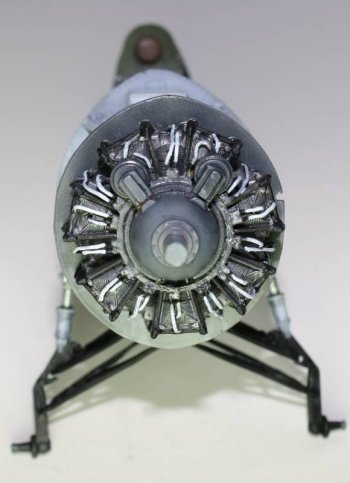
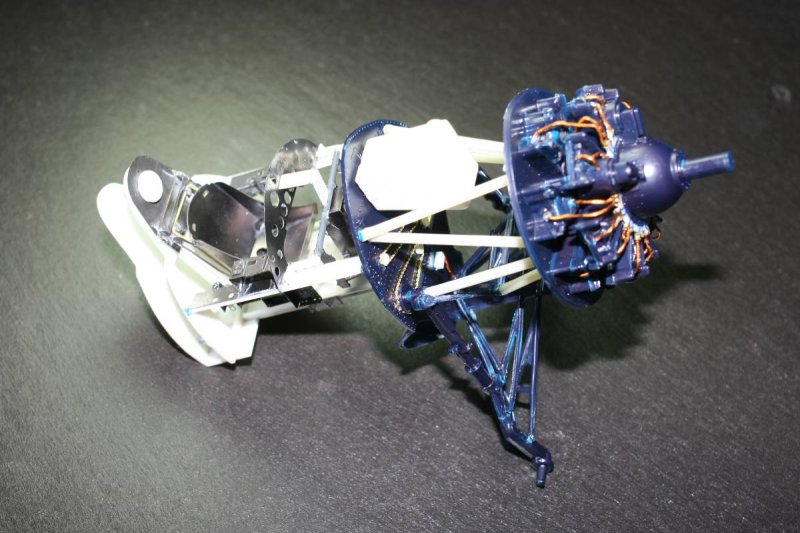
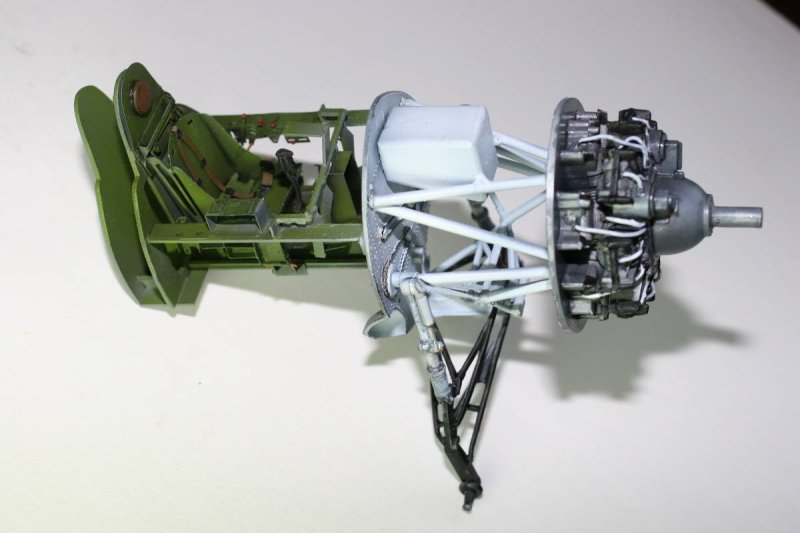
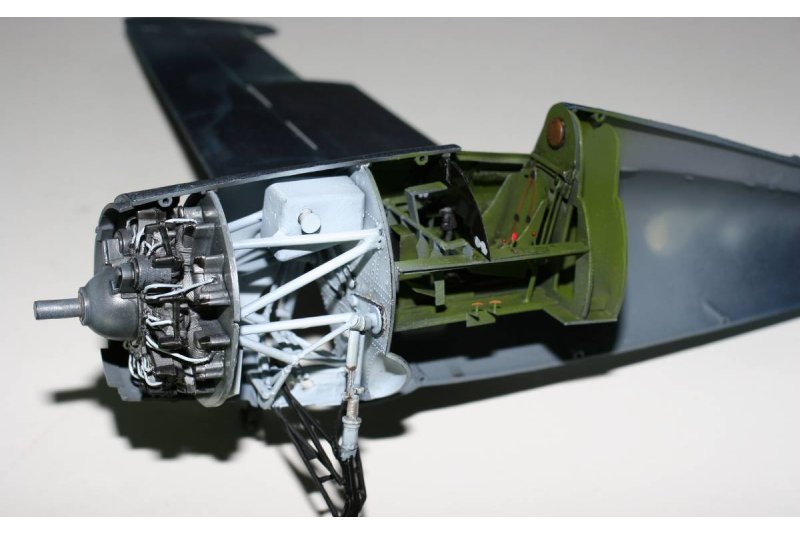
The canopy- engine and wheel wells were the most fun to detail. Surprisingly, the engine is quite salvageable with a few wires and plastic bits. Once housed in the cowling you really can’t see the bad bits.
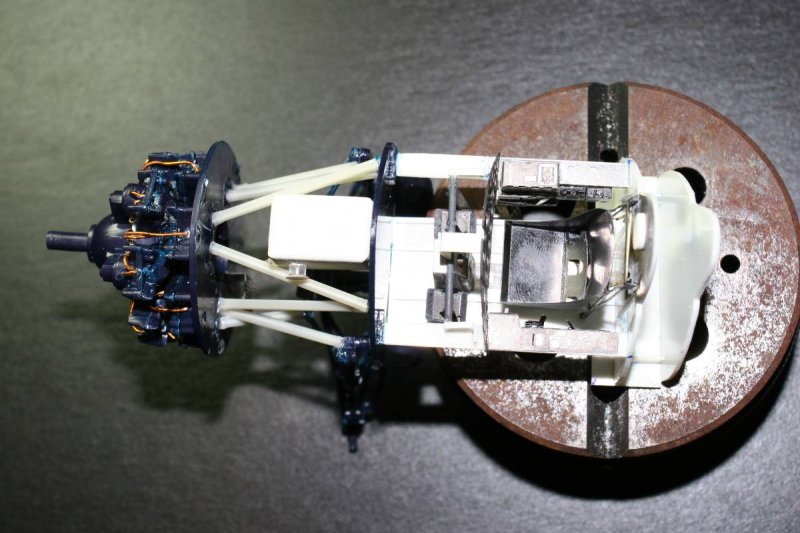
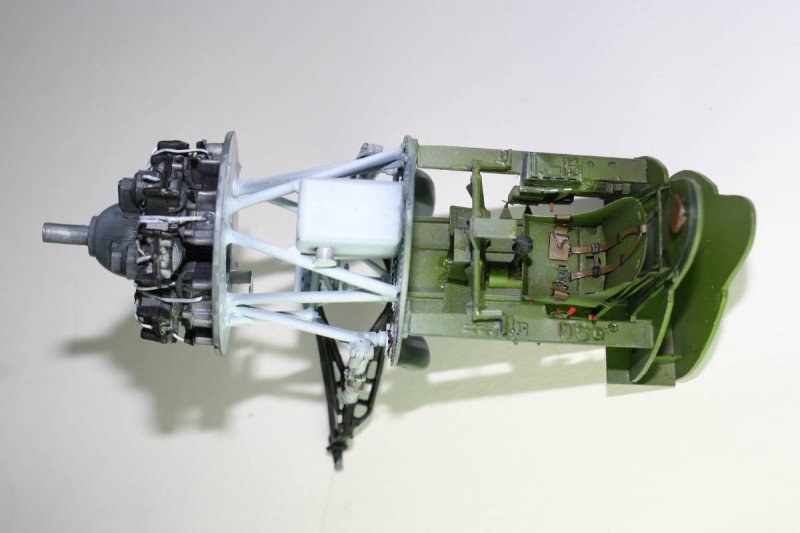
The wheel wells were detailed with a fuel tank made of epoxy putty and Aber photo-etched chains to simulate the chain drive (thought it looked quite nice actually).
The cockpit had to be rebuilt using sheet styrene and photoetched parts. The headrest was epoxy-putty. Eduard suggests salvaging the kit parts to build the cockpit but it’s actually a lot easier to scratchbuild. There are numerous tiny boxes and bits so a bending tool will be of great help.
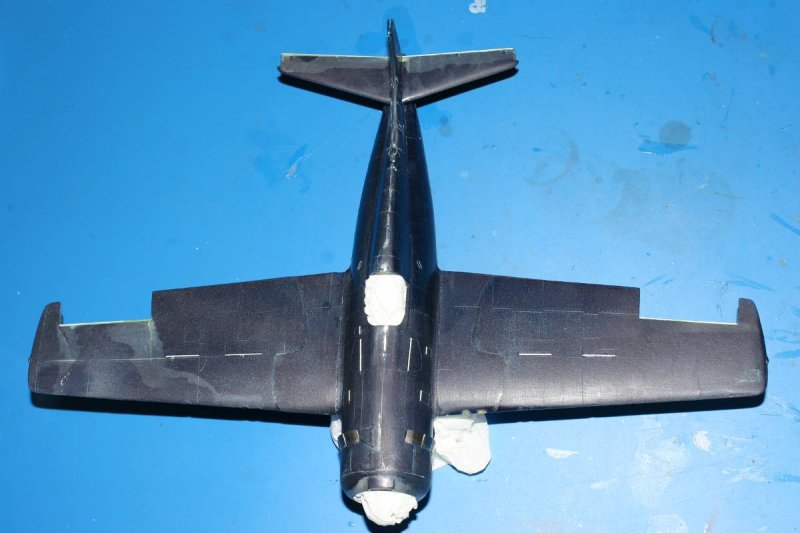
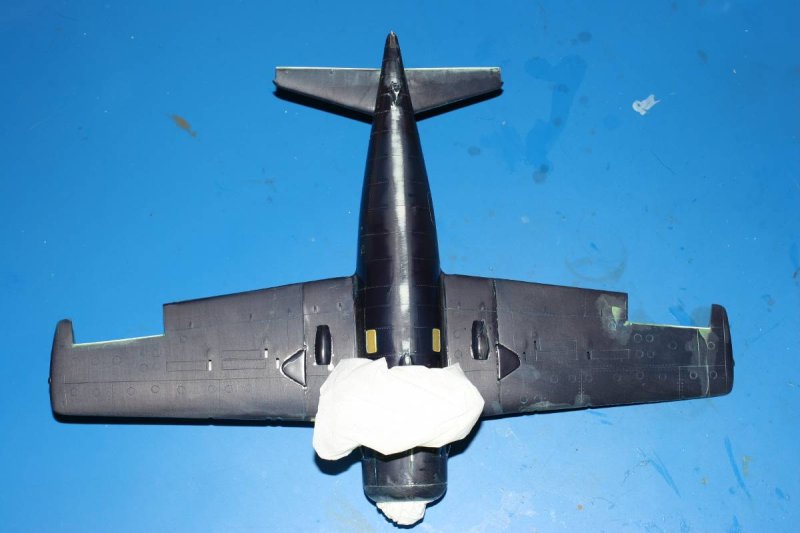
These are the before-after pictures that should be self-explanatory.
The fuselage and wings were assembled next. Stabilizers and control surfaces were removed. I chose to pose the wings deployed. As you can imagine there were a number of fit problems. These were overcome with a lot of trial fitting. Much worse was the brittleness of the plastic. This had been pointed out in other reviews on the net. Apparently, Revell had elected for a very brittle plastic in this run of kits. It was like working with acrylic! If you look closely you will see many cracks along the wings. This plagued construction throughout. Even at painting the cracks would reform. This would be a reason not to recommend this as a first build. A few other details needed minor reconstruction (eg. pitot tube, rear wheel, arrestor hooks, lights).
PAINTING
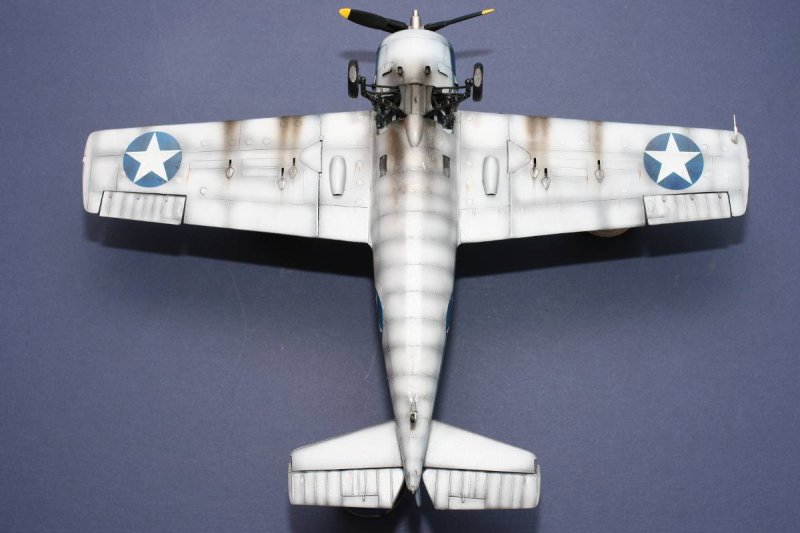
The kit was covered with primer and where needed filler was reapplied and the kit re-primed. I pre-shaded the kit and airbrushed all insignias. All other markings were hand-painted. I like painting insignias (well mostly because the old Revell decals are unusable) because it gives a nice weathered effect that carries through the entire kit. The lower surface was then airbrushed using Tamiya Acrylic white thinned with Gunze Thinner (this gives a faster drying time). The upper surface was sprayed with a blend of Tamiya blues. A protective coat of Future was applied. Next the whole kit was given a turps wash of Humbrol gloss black. Once dry, a matt varnish was sprayed on. Next, a detail wash of raw umber along panel lines was used and chipping with silver paint done. The airbrush was used to apply machine gut streaks and soot from the exhaust.

CONCLUSIONS
All done I really do like my Wildcat. I think it holds it’s own against the newer kits. I now have a renewed interest in my other Revell kits and won’t be trading them in any time soon.
© Suresh Nathan 2006
This article was published on Wednesday, July 20 2011; Last modified on Saturday, May 14 2016