
Elite Forces 1/18 F6F Hellcat Part 7 - Insignia
By Rodney Williams
Well, here we go again with the same stigma of "Long Ago." I got back into modeling in 1977 and was working at a local TV station in San Jose, California.
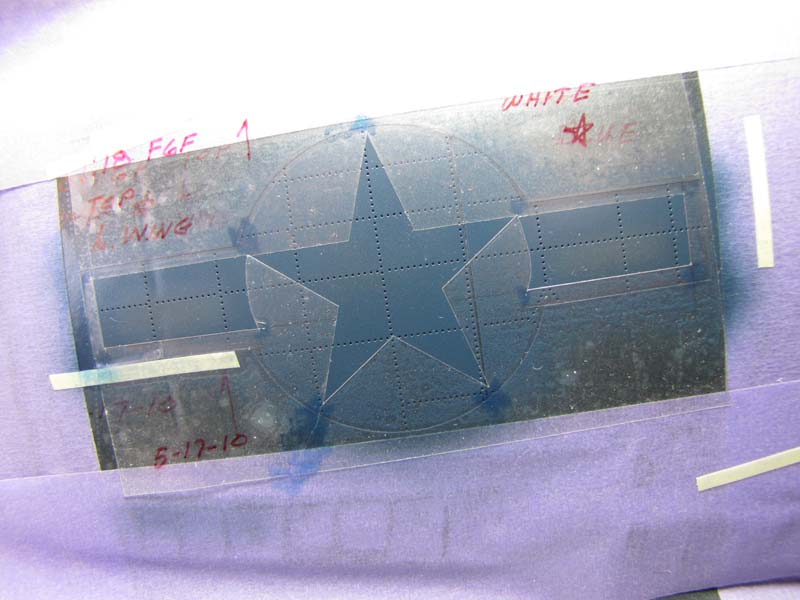
I had used what was then called "Artist Frisket Film" in my documentary film production company since about 1957. We used this low tack matt finish paper and applied it to ordinary 8"x 10" to 24"x 30" 1/16"thick white art board. We cut out our designs with new #11 "X-ACTO" cutting blades and/or with other art cutting tools.
The film was carefully removed and placed on other safe material. I/we carefully burnished down the edges of the film on our designs. Once satisfied with our results, we air brushed on our art colors. These colors were in paste form and was either water and/or an oil base paint.
I bought a professional "circle cutter" at a local art supply store in San Jose, CA about 30 years ago. I can change the cutter and slip in a section of pre-made drawing lead then draw neat perfect circles. There is no name on the vinyl plastic bag that the cutter came in except that it says: "Western Germany".
Any ways, this tool lets me draw and cut perfect circles which is a must when you are making your own painting stencils for American Insignias, including some other stuff like the "red meat balls" on Jap Zero's. I think I have a photo of my cutting tool on this web site in my story on "My Tools" which is over in the "TIPS" section.
I also use a small 6 inch long flat steel machinist's ruler that was made by Lufkin Ruler Company. Yeah...it's only 55 years old.
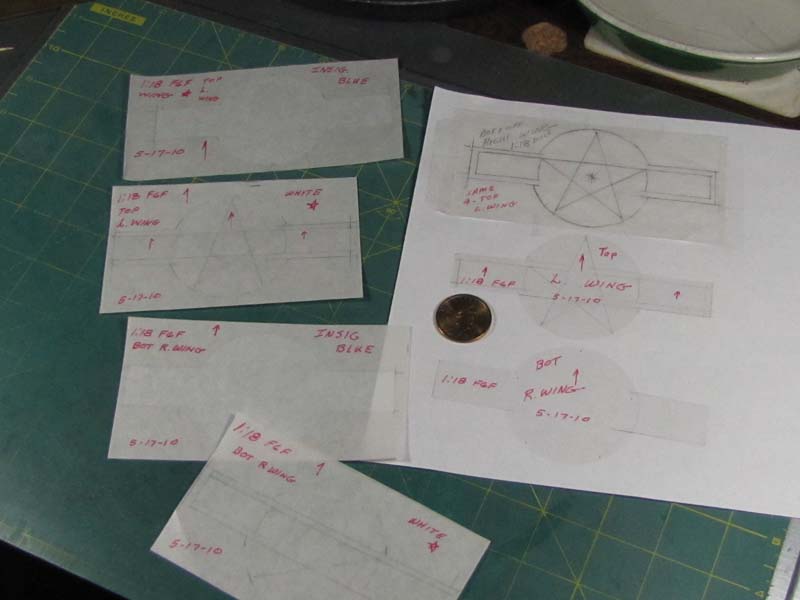
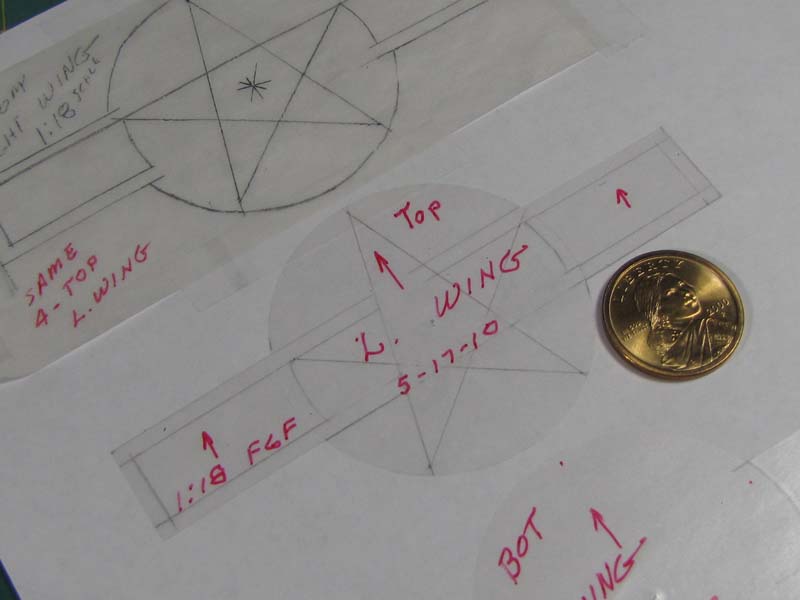
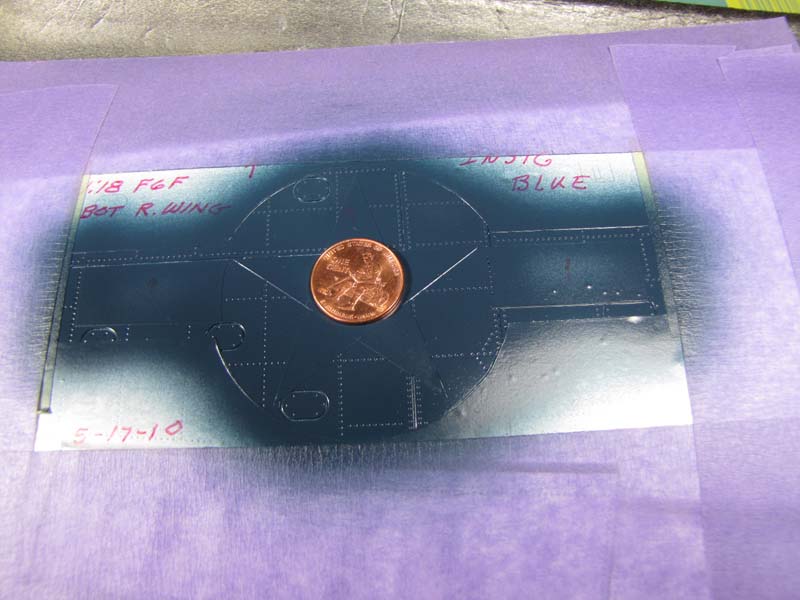
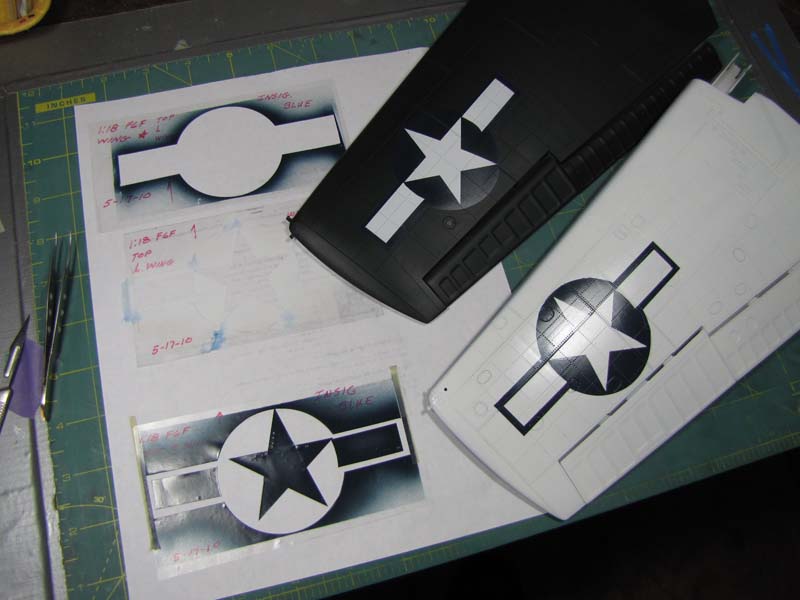
My first set of photos show the wing insignia's drawn out on top of the matt film. My next image show's the film placed onto the bottom of the right wing and is on top of the very dry Tamiya X-2 Gloss White paint.
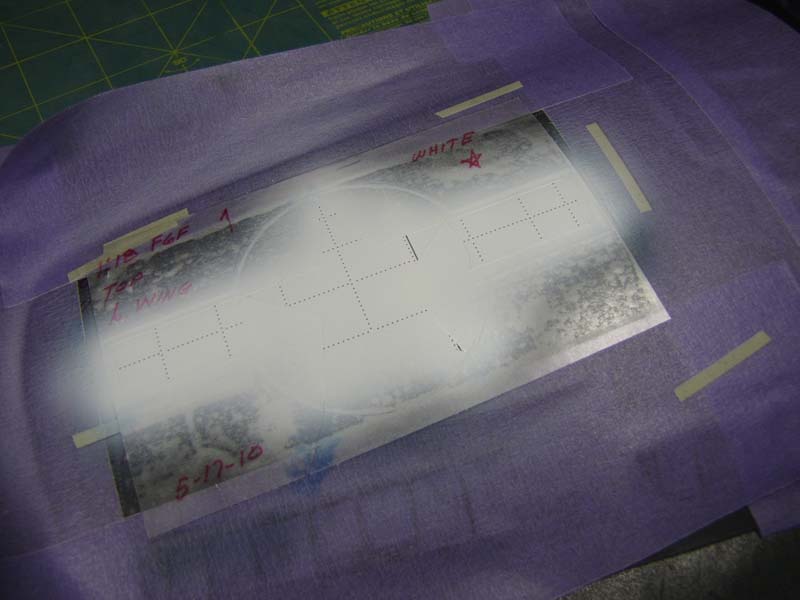
Since the film sticks to anything very easy due to having obtained some static electricity in it, it becomes rather tricky to get the film in it's 100% perfect location. However, with lots of practice it can be done.
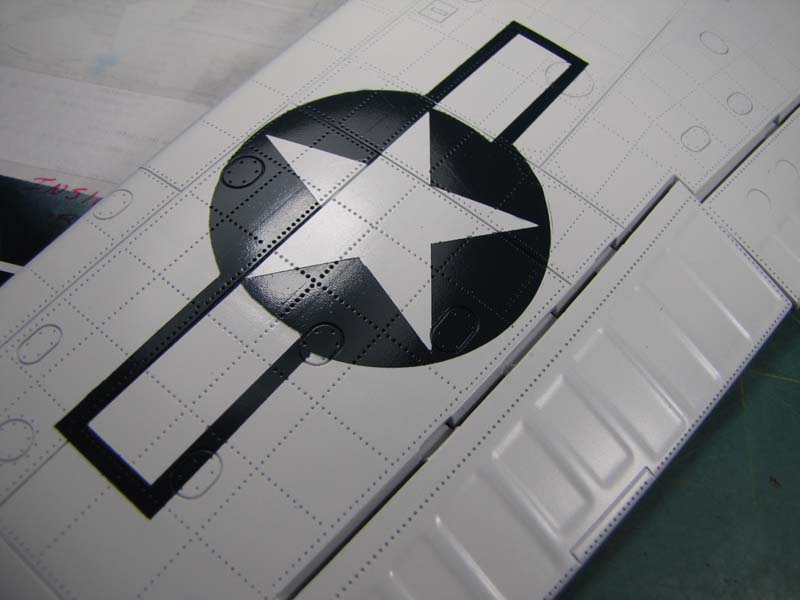
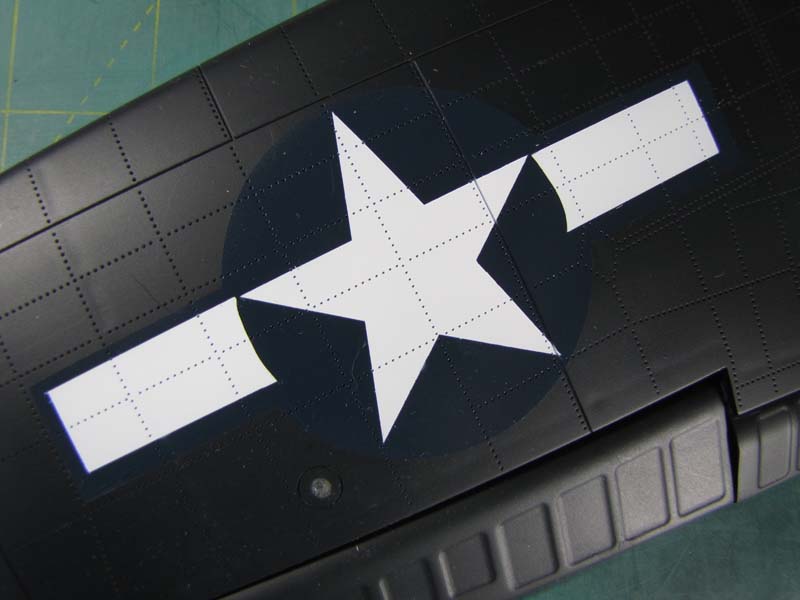
The bottom insignia need's only my special-mix of Tamiya "Insignia Blue" paint that I mixed up about 25 years ago. All I need to do is apply the one stencil.
Within a few minutes after applying the blue paint, I skillfully remove the film and place it on some clean white paper and/or on some flat white styrene. Who knows, I may have to use it again on the same insignia.
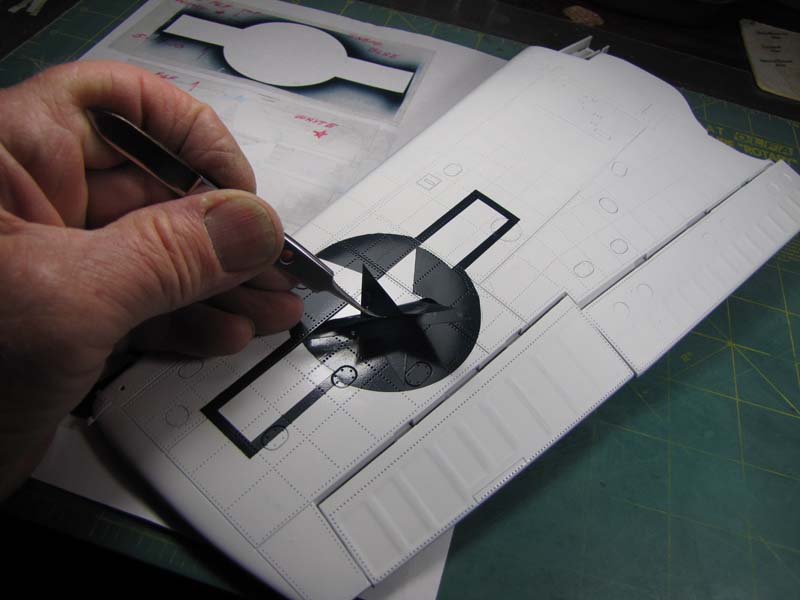
The name of the game is a bit different for the insignia that is on the top of the left wing. A stencil of the same size is placed on the wing and then I applied the insignia blue paint with my Badger-200 air brush.
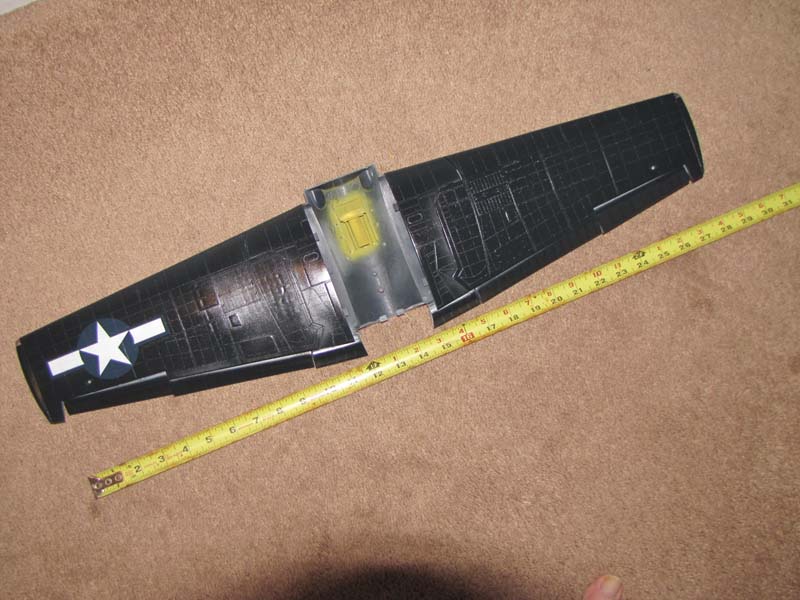
Later, when the matt paint was nice and dry, (one to two days) I apply a liberal coat of Future Floor Wax and let it dry for a few days.
I carefully position the second stencil on top of the blue background surround and spray on my Tamiya X-2 Gloss White paint. "One Day Down The Road" we say here in the USA, I'll add some dull coat to the model.
This old model builder is happy with the end results as the last few photos show, so I send these images to my happy client.
Another segment is on it's way to you real soon, however I have to stop building on this F6F and get about ( undisclosed amount) of my models ready to enter in the 2010 IPMS/USA National Convention's contest which is held down in Phoenix, Arizona from the 4th of August to the 7th.
See "U-ALL" soon.

Part 1 | Part 2 | Part 3 | Part 4 | Part 5 | Part 6 | Part 7 | Part 8 | Part 9 | Part 10 | Part 11 | Part 12 | Part 13 | Part 14 | Part 15 | Part 16 | Part 17 | Part 18 | Part 19 | Part 20 | Part 21
© Rodney Williams 2009
This article was published on Wednesday, July 20 2011; Last modified on Saturday, May 14 2016