
Elite Forces 1/18 F6F Hellcat Part 17 - Wing / Fuselage Attachment
By Rodney Williams
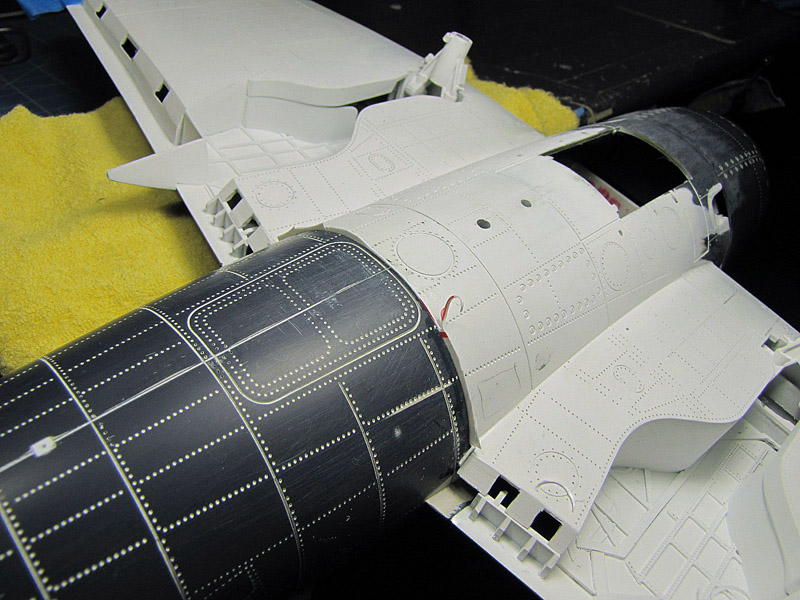
The cockpit is in and the cowling is glued on so it´s time to attach the completed wing to the fuselage. I carefully inspect the unattached wing, including the completed fuselage. Everything looks just fine so I dry fit on the one piece wing section.
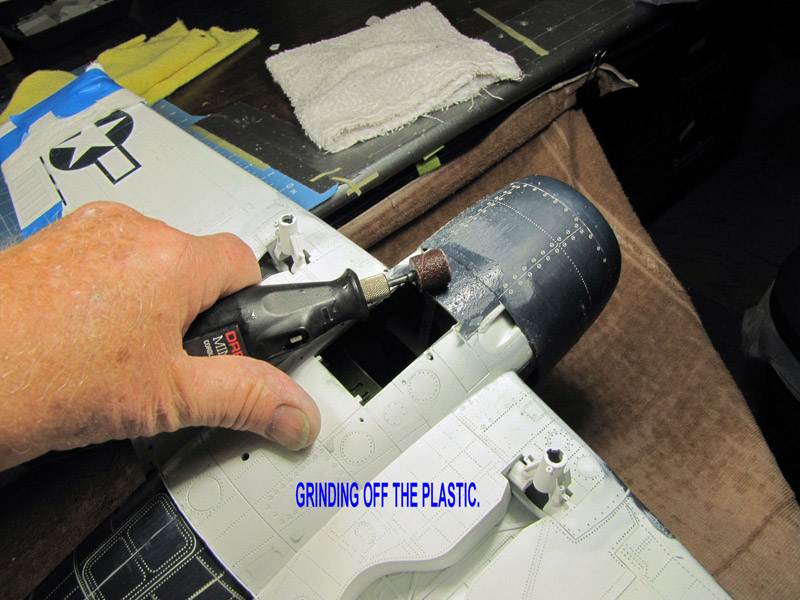
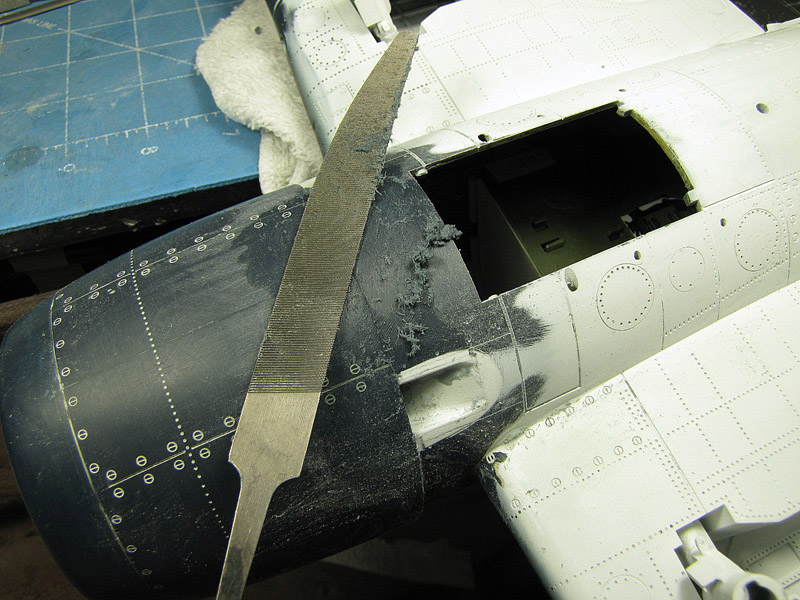
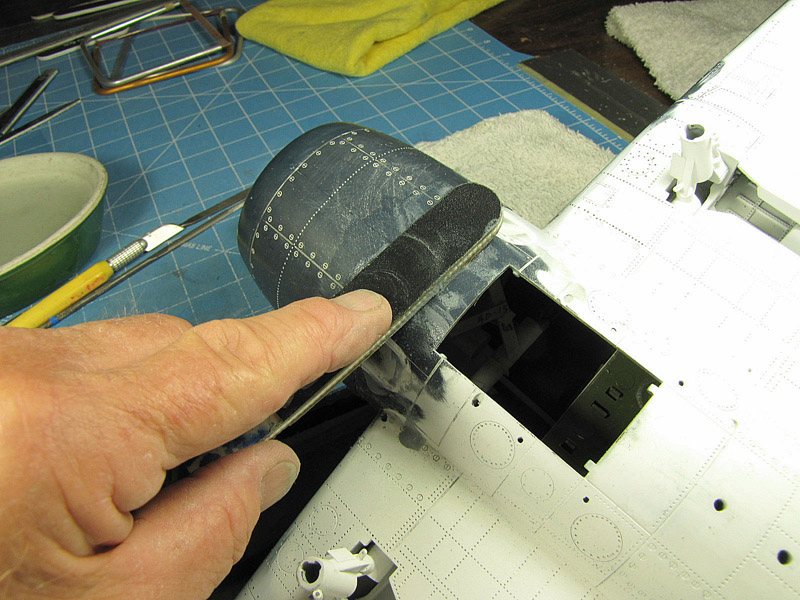
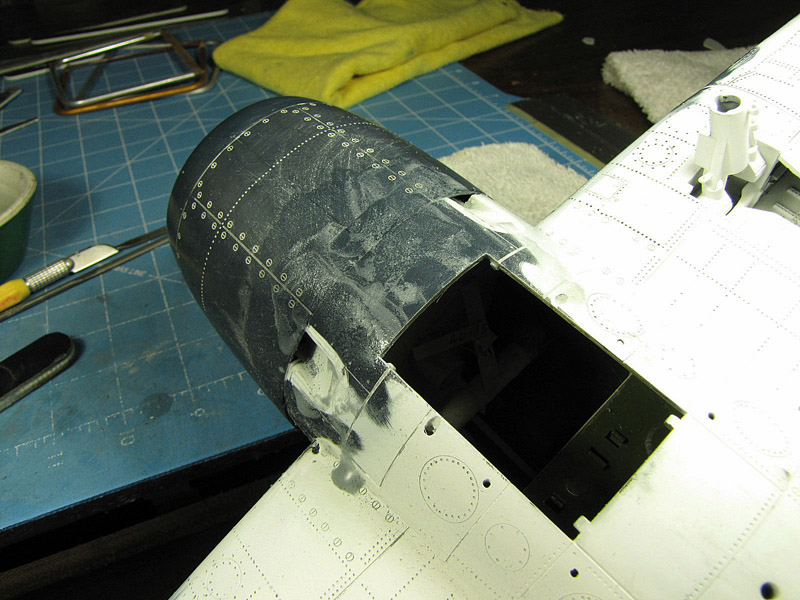
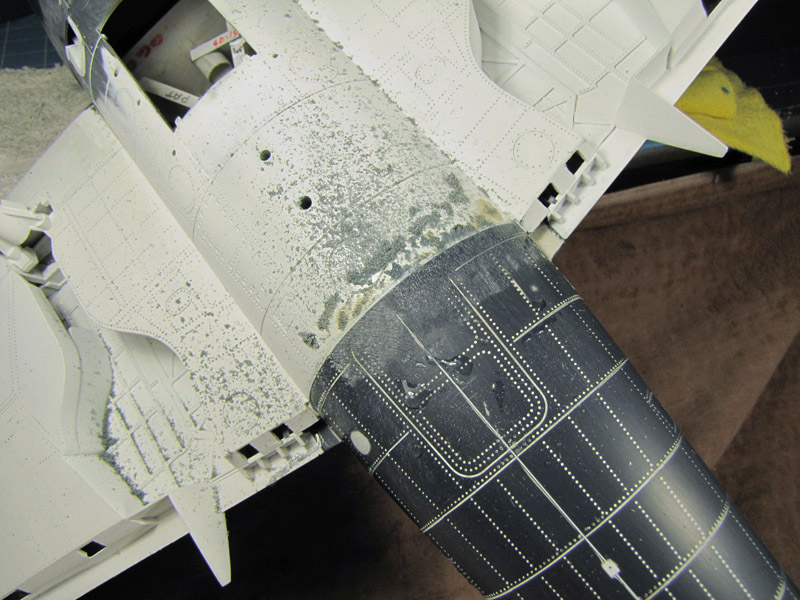
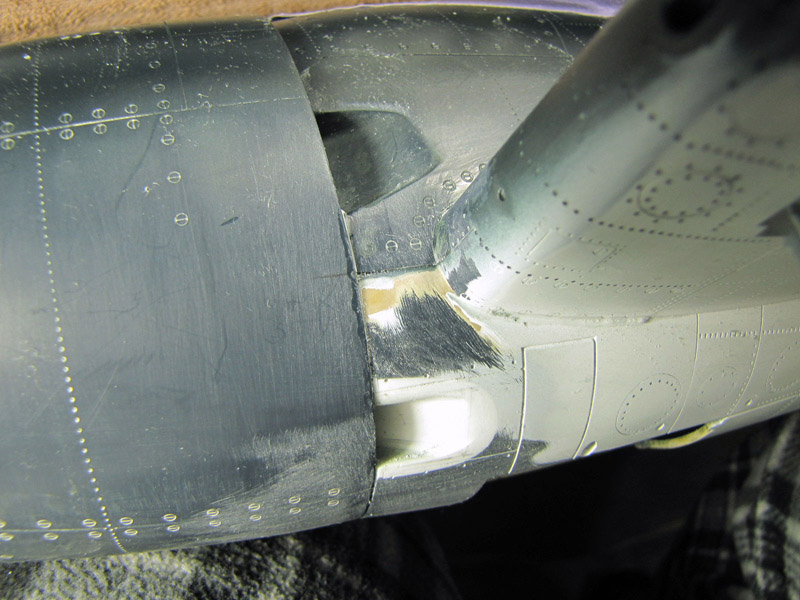
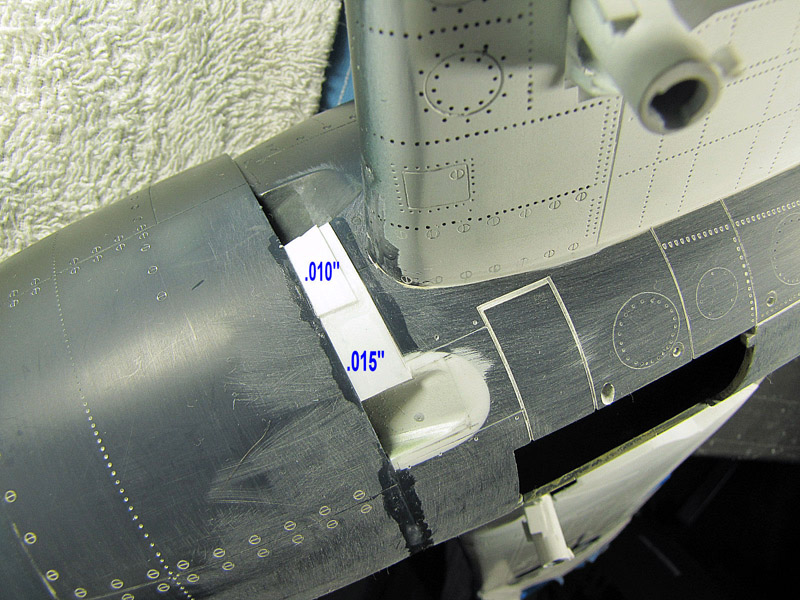
I align the wing to the fuselage and once again check everything to make sure that it´s OK. I knew in advance with previous dry-fitting the model together that I had severe fit problems between the fuselage, cowling and the wing section.
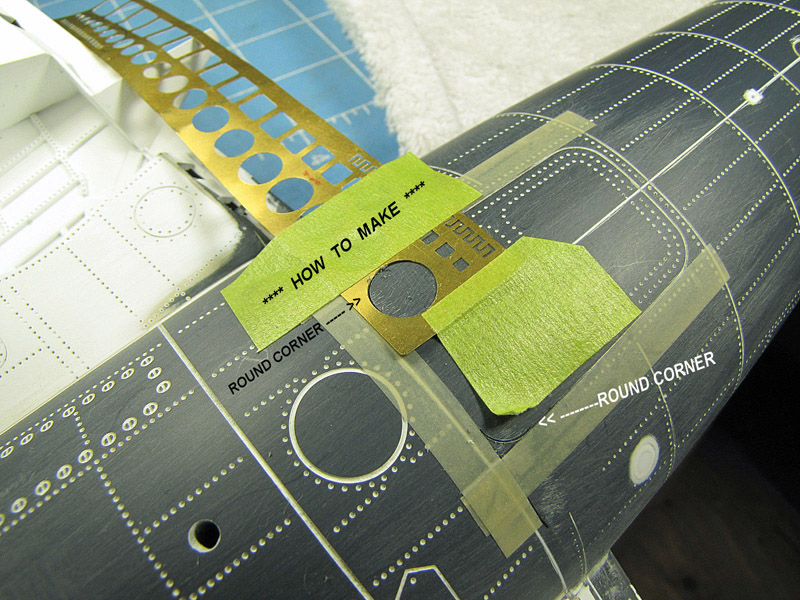
The enclosed photos tell you the rest of the story.
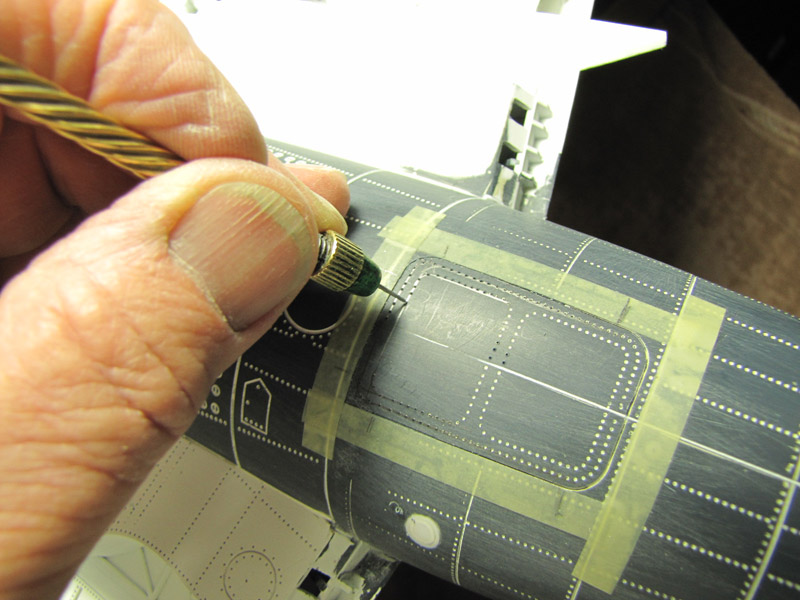
One of the last photos shows how I scribed in the curves on the large access panel on the bottom of the fuselage. The next to last photo shows me replacing the rivets using my pointed pin in my pin vice. Later on I drilled in all of the rivet holes that were filled with paint with a .022" diameter drill.
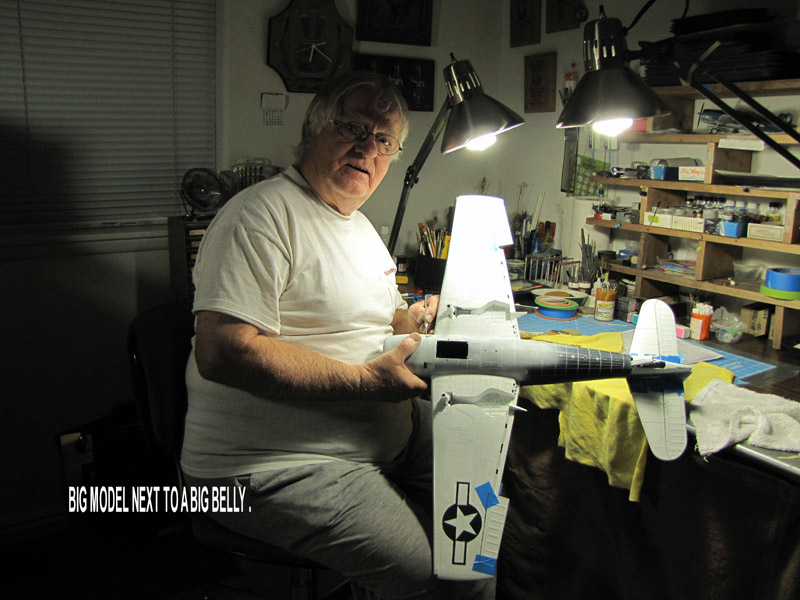
I saved the best photo for last. Yes! It´s me at my work bench. With a big model like this F6F-3, you just have to have a nice soft place to rest the model on when you are working on it. No, I was not always fat!
I´m looking at this F6F-3 Hellcat model that is sitting on my work bench. The "Tri-colored" model has been over-sprayed with FFW. It won´t be long until it is FINISHED.


Part 1 | Part 2 | Part 3 | Part 4 | Part 5 | Part 6 | Part 7 | Part 8 | Part 9 | Part 10 | Part 11 | Part 12 | Part 13 | Part 14 | Part 15 | Part 16 | Part 17 | Part 18 | Part 19 | Part 20 | Part 21
© Rodney Williams 2010
This article was published on Wednesday, July 20 2011; Last modified on Saturday, May 14 2016