
Trumpeter's 1/32 F4F-4 Wildcat Part 4: "The Cockpit"
By Rodney Williams
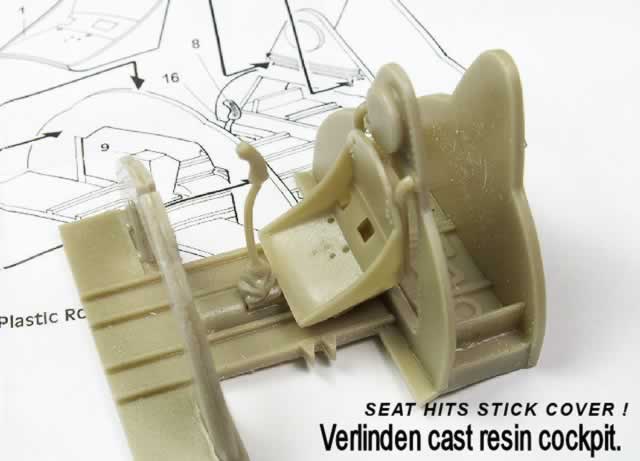
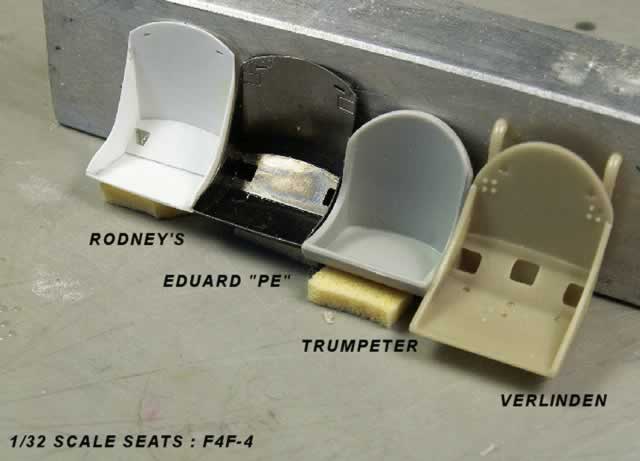
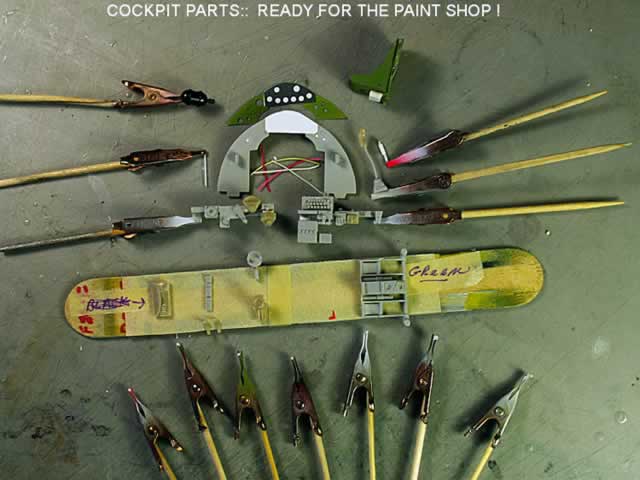
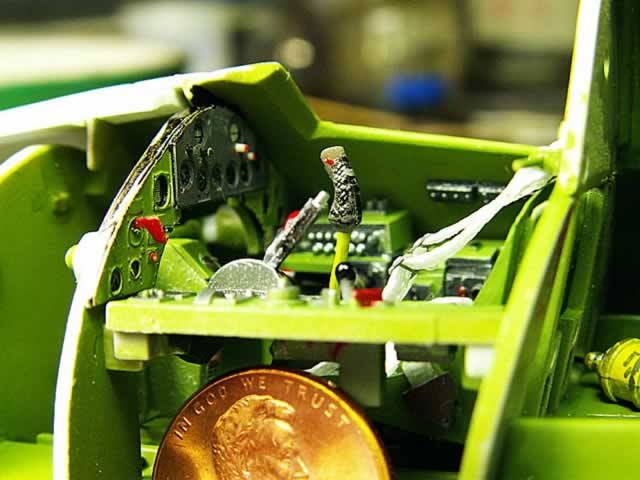
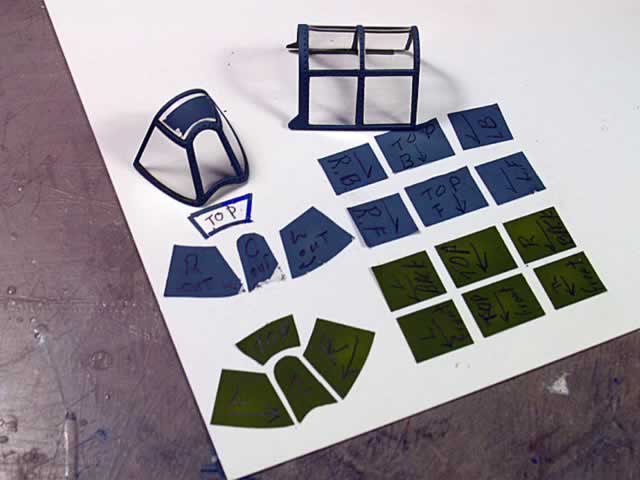
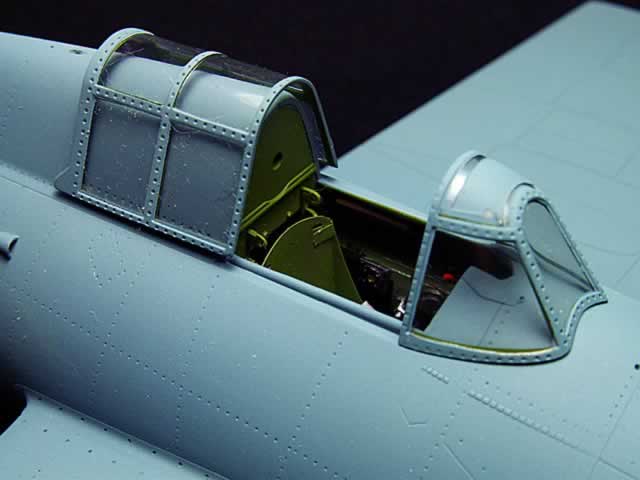
Surprise, yes indeed another one!!! The photos of the kit cockpit is compared to Verlinden's version. Then I tossed in the Eduard "PE" seat, and scratched a seat using flat styrene stock.
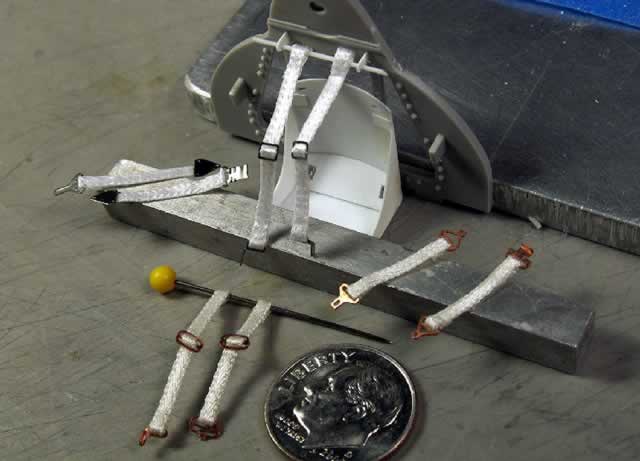
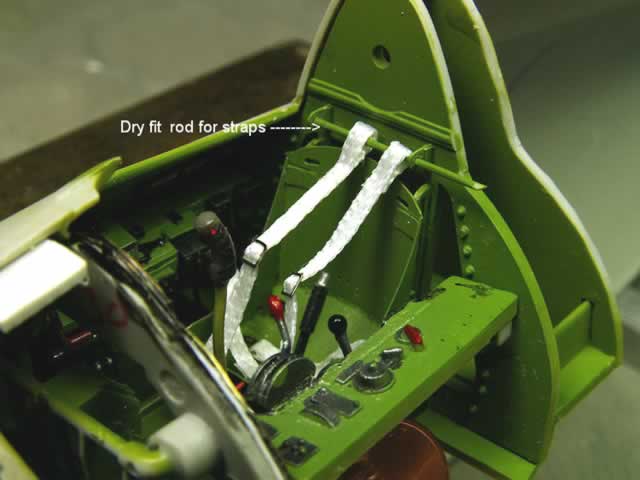
I was going to use the "PE" seat belts and shoulder harness buckles...but at age 74...I got shaky hands...thus...I just tore up some buckles, then I had to used Waldron buckles and made a spare set with Verlinden's copper ones...
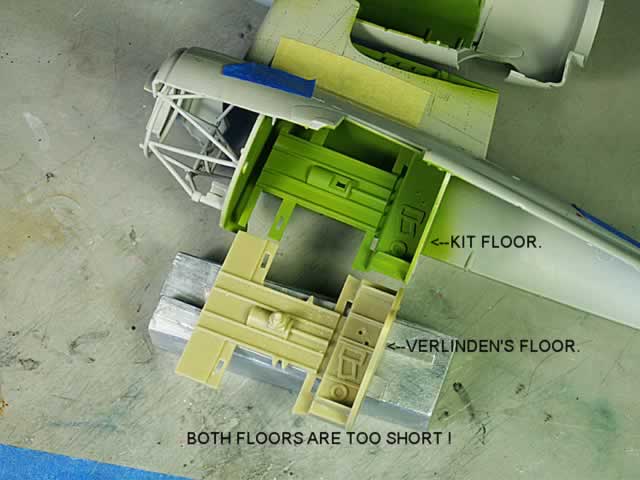
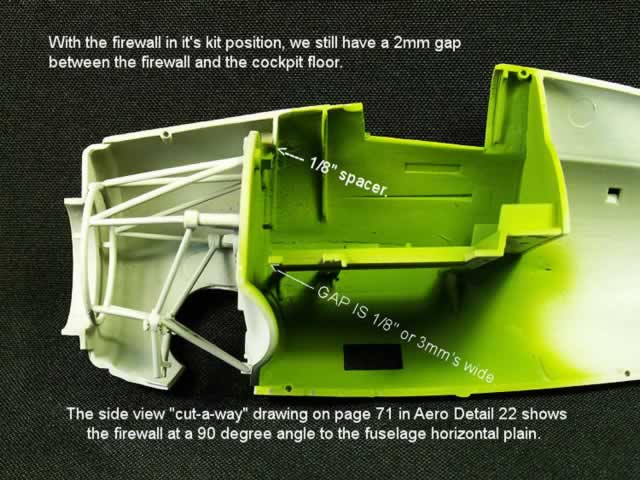
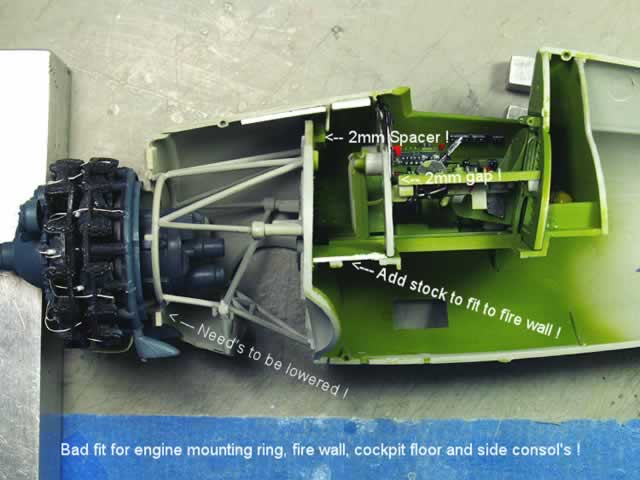
Dry fit assemble of both cockpit floors did not mate up with the fire wall in it's new forward position. I moved the fire wall to its' kit position, and they still did not mate up with the fire wall. I check out the side view of the "cut-a-way" drawing and it shows that the floor is secured to the fire wall. I added an extension to the floor, then attached it to the fire wall.
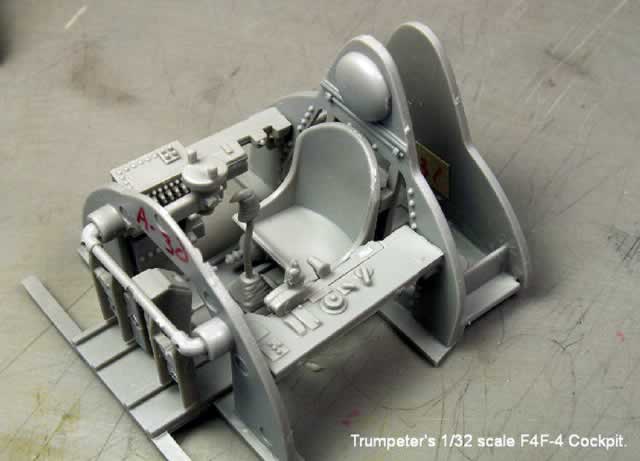
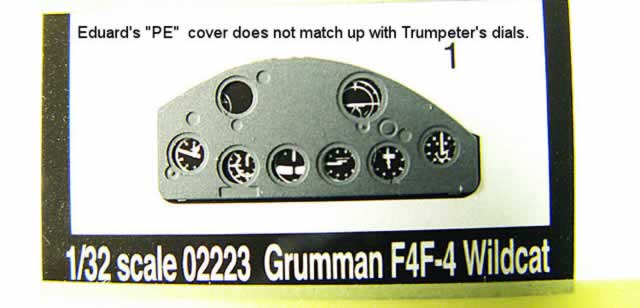
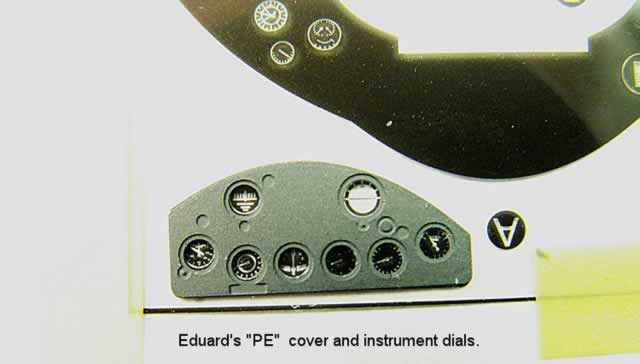
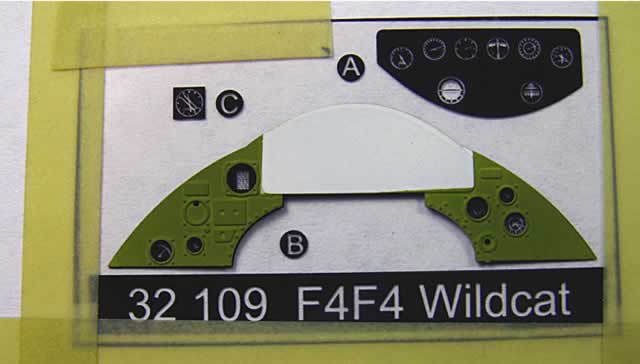
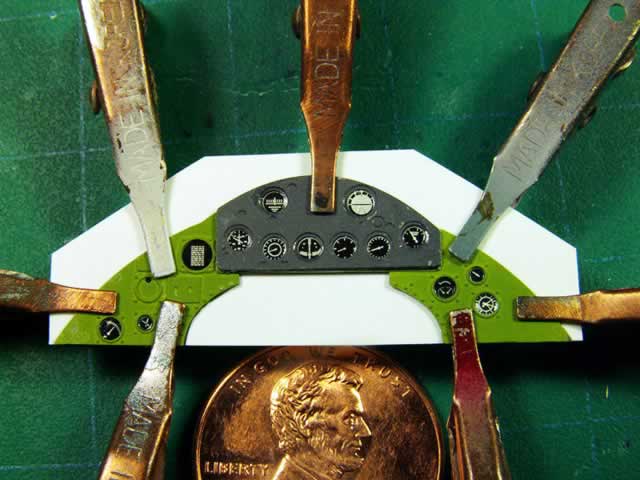
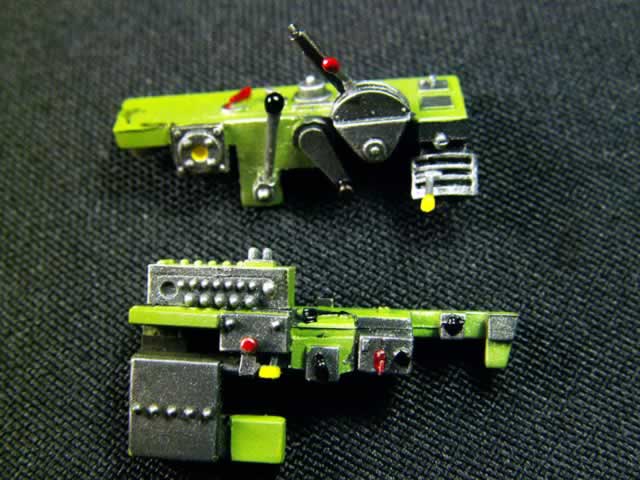
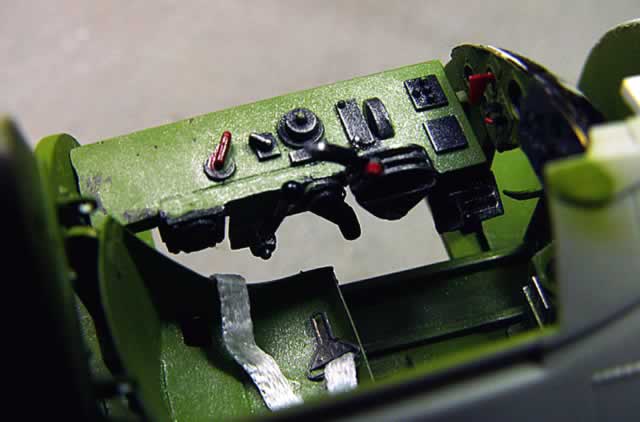
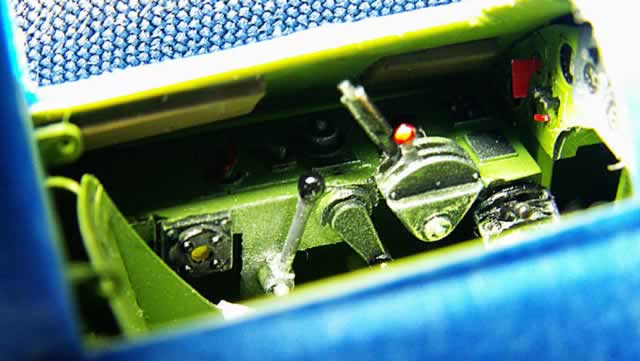
I used Eduards "PE" instrument panel over the kit panel as requested by my client. I glued on some white flat styrene, thus...when you put on the dials, they show up better. Most times, I just paint the panel white, then mask it off and shoot on the instrument panel colors. There's really nothing wrong with the kit panel if you are building a model out-of-the box. I made some control handles, and a few other items.
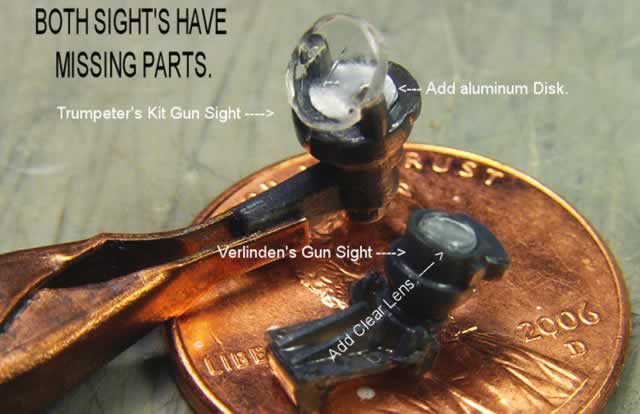
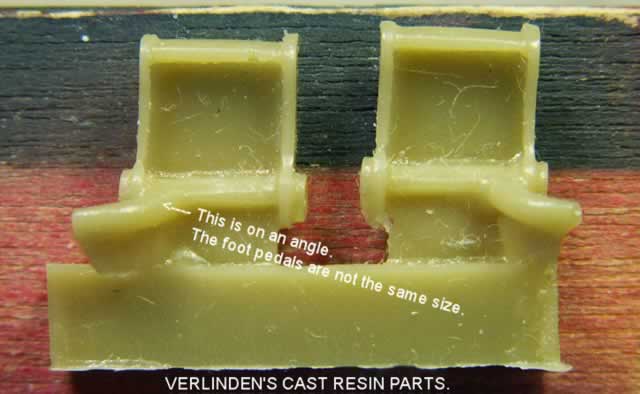
There are a few other things wrong with all the cockpit parts, so I just wrote it down on the photos. To me, it's easier for me to understand what is wrong, when I see the photo and can read the words at the same time.

My next story concerns the wheel wells.
Building this model has not been fun. It's been a real pain in the rear end.
Part 1: The Left Wing | Part 2: The Tail | Part 3: The Right Wing | Part 4: The Cockpit | Part 5: The Wheel Wells | Part 6: The Engine | Part 7: The Fuselage | Part 8: Finish
No Happy Modeling Here!
© Rodney Williams 2006
This article was published on Wednesday, July 20 2011; Last modified on Saturday, May 14 2016