
1/32 Hasegawa Thunderbolt + LSP Decals
By Greg Ferguson
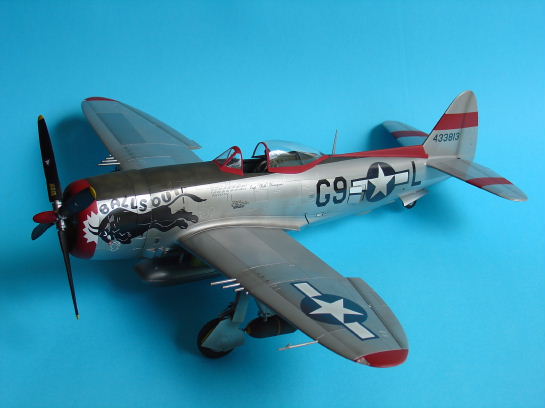
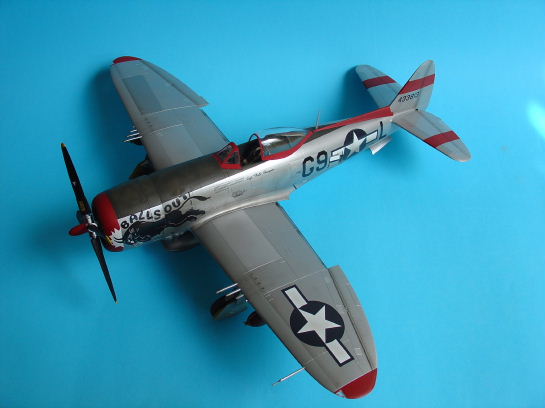
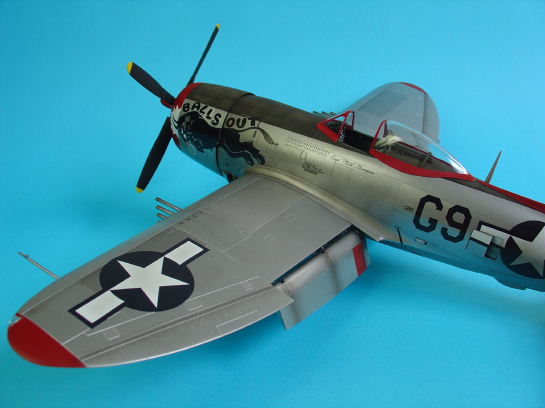
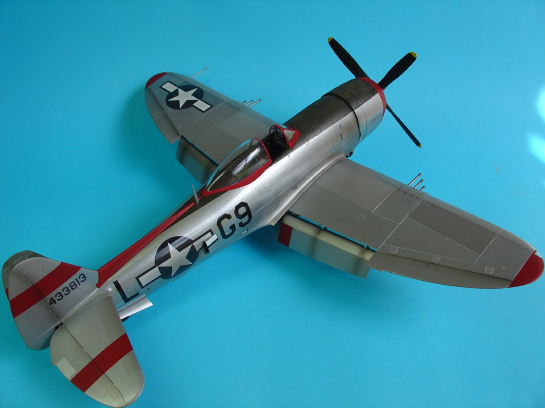
This is my representation of Hasegawa's 1/32 Thunderbolt finished with LSP's decals "Thunderbolts of the 405th FG".
The Kit
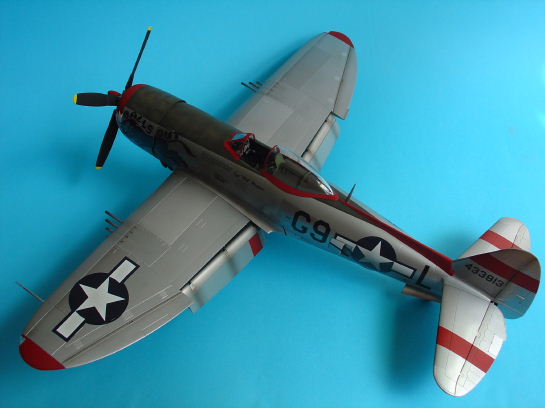
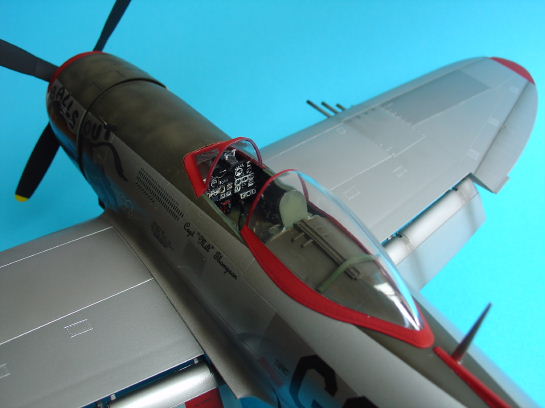
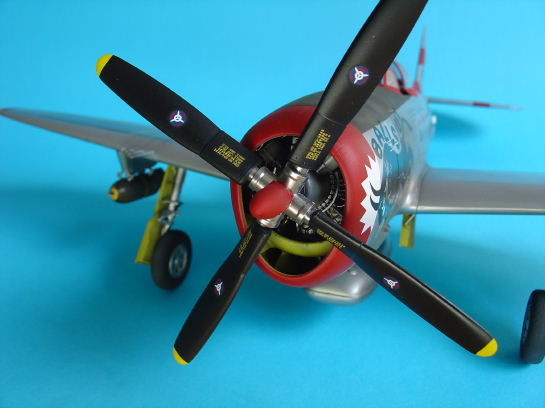
As soon as I read the reviews on the Hasegawa release, I decided I had to have such a large and imposing model on my shelf. In short - get one (or two, or three) - it's that good. The fit is superb, the detail is excellent, and it almost falls together (except that darned cowl!). You could obviously go nuts detailing it, but some wire (engine ignition, bombs, cockpit etc) and some Eduard belts was all it needed for that little bit extra.
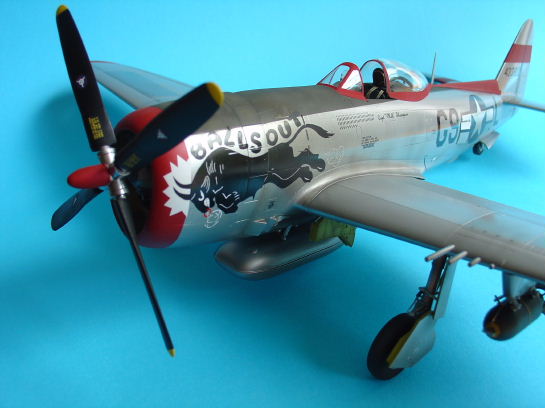
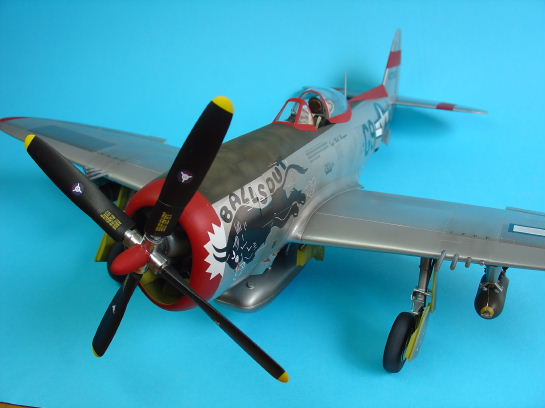
The Paint.Being primarily a Luftwaffe modeller, I had never delved into the dark arts of Natural Metal Finishes (NMF). I had read many articles describing how easy it was, but never had the guts to try it. Perhaps it was the equally large numbers of "tales of woe" from modellers who had never quite achieved the holy grail in paint finishes that kept me away. It was probably not the best idea to try it on such a large canvas, but I went for it anyway - risk aversion wasn't going to get me a metal aircraft.
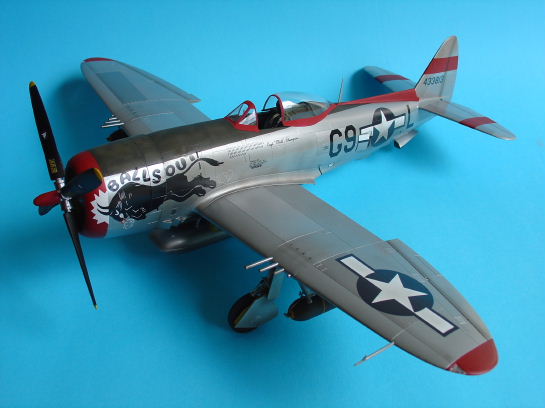
Armed with a few new bottles of Alclad straight from the supplier, I was quickly in despair. I had laid down a nice coat of Future (surely the smoothest finish you can get(?) ), yet my finish was decidedly grainy! At this point I started ordering decals sheets for Olive Drab Thunderbolts as a back-up plan - at least I knew I could do that!. As it turned out, it appears the Alclad had "gone off". I wasn't aware that this could happen, but upon inspecting 2 bottles from different batches, it became clear. The best way to describe it is that in one bottle, you could almost see "grains" of metal floating freely in fluid, whilst in the other (good bottle) the grains were not apparent and the paint had an almost milky consistency. With the realisation that maybe I wasn't as stupid as I was beginning to believe, the rest of the finish went (almost) to plan. I am not professing to have achieved a perfect finish but it was OK for a first go and I now know how to make it better. In summary, for those about to take the plunge: 1. Give it a go; 2. Make sure your materials are in good order; and 3. Your surface preparation must be perfect (we've all heard that repeated ad nauseum, but it's true…).
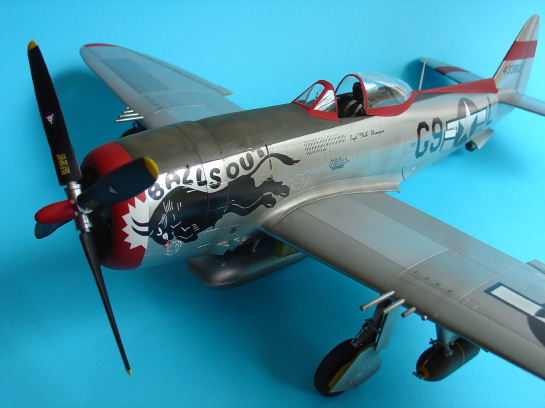
Oh yeah, I used Aluminium, White Aluminium, Duraluminium, Steel and Chrome.
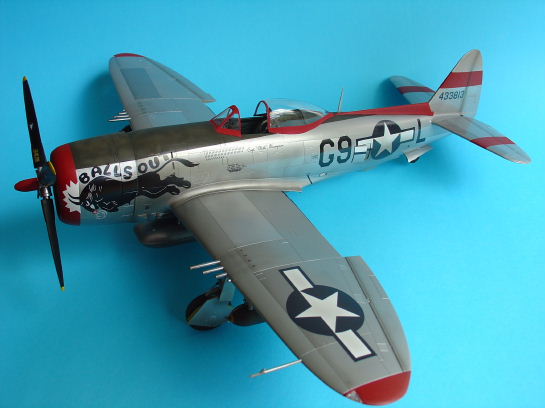
The Decals
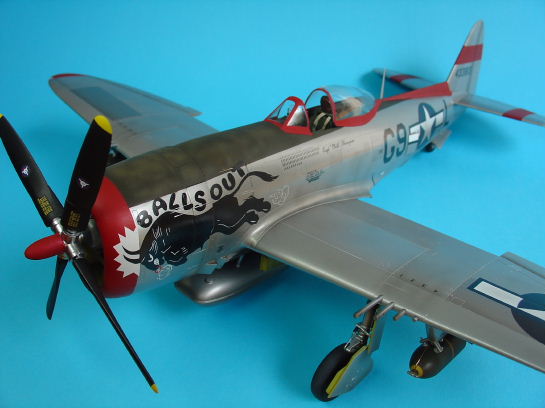
Don't interpret this as sucking up to the boss, but the LSP decals for the 405th FG would have to be the best colour scheme available for this kit. It's hard to beat that nose art and splashes of red all over the Thunderbolt airframe. What's more, the second scheme for the Razorback version ("Kansas Tornado") is another must build. The decals settled perfectly with Micro Sol and Set and there was absolutely no distortion whatsoever. It was pleased to discover that the nose art had been separated into two at the manufacturing stage, just to make it a bit easier for the modeller.
I found the dry transfers that come in this set useful on flat surfaces, but quite cumbersome on compound surfaces due to the rigidity of the transfer medium. As this is my first exposure to using transfers, I'll lay the blame squarely at myself. I used a mixture of the kit stencils and the dry transfers. Not being a USAF guru, I cannot comment accurately on the colour of the Stars and Bars in the Hasegawa kit, but to me they looked far too "blue". I replaced them with some from an EagleCals release and they looked much better - doesn't anyone else concur or am I on drugs?
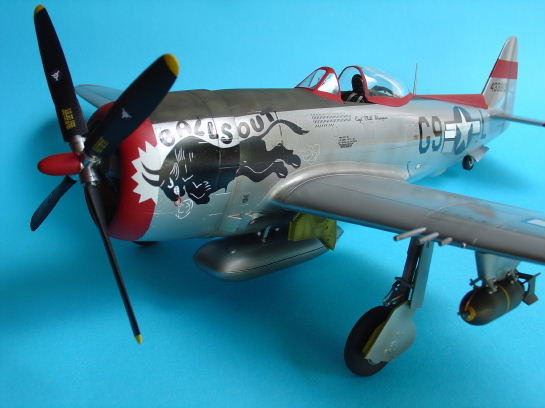
Weathering
I derive great enjoyment from weathering my models, but it just wouldn't seem right to dirty this aircraft up too much. I limited my weathering to exhaust staining, some cordite staining, light staining on various panels and fading of the anti-glare panel. I'm sure the chaps would have done their best to look after such an immaculate aircraft in the field anyway.
Finishing this model left me with the satisfying feeling of having successfully tackled a modelling skill that I had avoided for a long time, and at the same time adding a vital chapter of WW2 aviation to my collection.

© 2008 Greg Ferguson
This article was published on Wednesday, July 20 2011; Last modified on Saturday, May 14 2016