
1/32 Tamiya Mitsubishi A6M2b Zero
By Dennis Robert Ferriol
Building the 1/32 Tamiya Mitsubishi A6M2b Model 21 Zero "Zeke" (No. 60317)
This kit almost did not make it to this build review if my friend and fellow club member, Jojo Capino, was coaxed into the realm of 1/32 scale modeling, and eventually bought the kit from me.
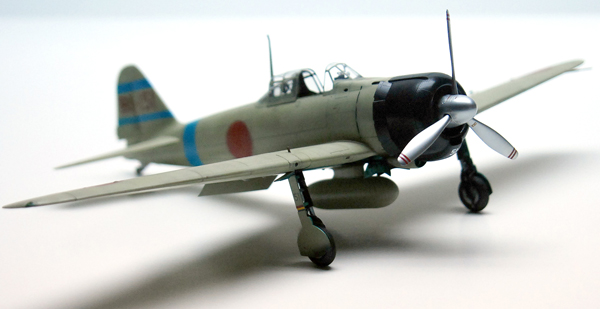
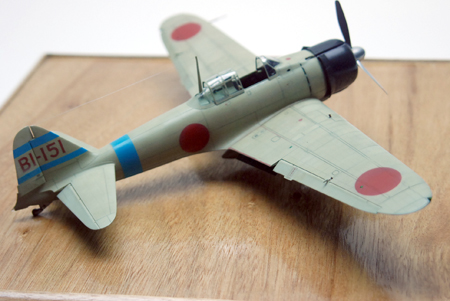
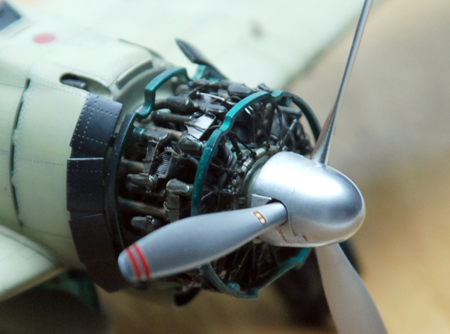
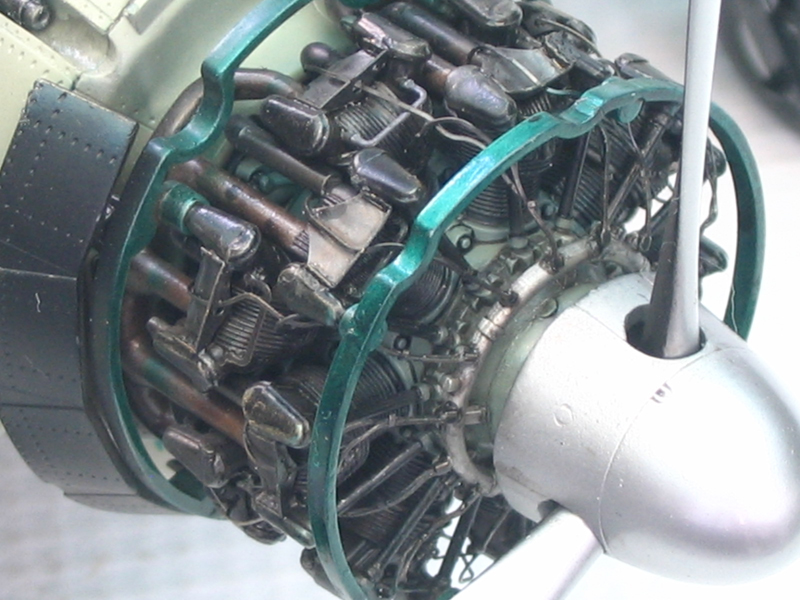
Built with the only addition of some thin fuse wires inside the cockpit floor area and an Eduard photo-etched ignition wiring for the front harness ring of the already detailed Sakae Model 12 engine, the plane is depicted as the one flown by Lt. Fusada Iida of the Japanese carrier, Soryu, during the bombing of Pearl Harbor in December of 1941.
THE KIT
Consistent with all the good reviews I've read from different sources, this kit is the embodiment of Tamiya's expertise and ingenious engineering to date. They have elevated slide mold technology a niche higher with the incorporation of very fine detail even on small parts. The part assortment includes a metal pitot tube and a set of landing gears which can be retracted like the real thing. Small springs are also incorporated to simulate working shock absorbers after assembly. There are also two (2) sets of wing tips to show the model in either extended or folded wing mode. Thin and nicely-rendered clear parts, accurate decals, canopy paint masks and photo-etched parts, for extra realism, make it a complete but still modeler-friendly kit.
For those with plans of doing a small diorama or vignette, the plane comes with two (2) detailed pilot figures (seated and standing), a display stand when you want to pose it with the gear up and bird cage canopy closed, as well as wheel chocks for displaying it on the runway.
Lastly, the inner blue box and the brown parts container box can be transformed into an adequate cradle for the completed aircraft, holding it snugly inside the kit's box while in transit.
CONSTRUCTION & PAINTING
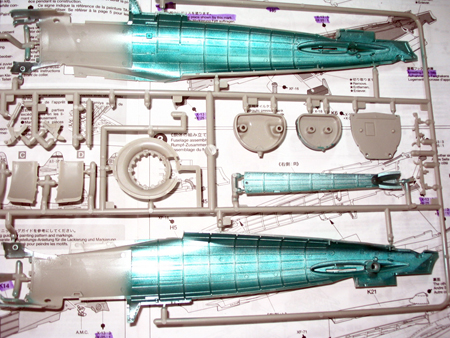
Unlike with other plane models, wherein one usually starts work on the cockpit, the kit is engineered so that the modeler can already work on the fuselage without even putting in the cockpit tub. Tamiya engineered it in a way that the completed tub is inserted from underneath the fuselage before the wings can be attached. Is this good, you ask? This allows the modeler ample elbow room to build and paint the fuselage and other components without the fuss of masking the detailed cockpit during the painting process. Tamiya also did away with every plane modeler's bane of filling and sanding away fuselage seams by making the mating points panel lines, as well. In Step 3, joining the fuselage consists of 3 parts instead of the usual left and right. Part K21 removed the arduous process of filling and sanding the usual top seam line found in most World War II aircraft models. The fuselage interior from the rear bulkhead down to the vertical fin was spray-painted "Blue Aotake" using a 2:1 mixture of Tamiya Clear Blue (X-23) and Clear Green (X-25) on top of a coat of Alclad II Airframe Aluminum (ALC-119). The same was done for the front bulkhead area housing the oil reservoir. After joining the fuselage parts together, the surface was spray-painted with Gunze Sangyo Mr. Surfacer 1500 then sanded down using Micromesh polishing cloths. After cleaning and drying the surface, I then proceeded to apply thin coats of Tamiya IJN Gray Green (XF-76).
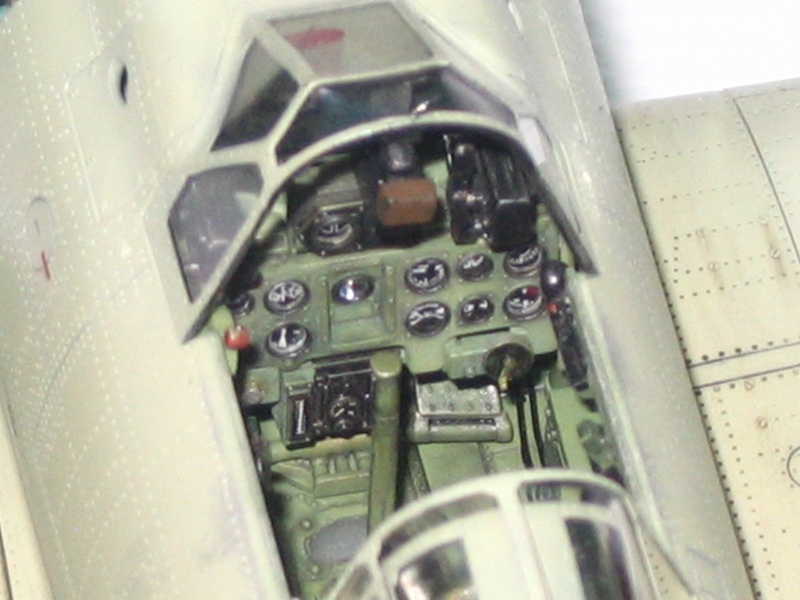
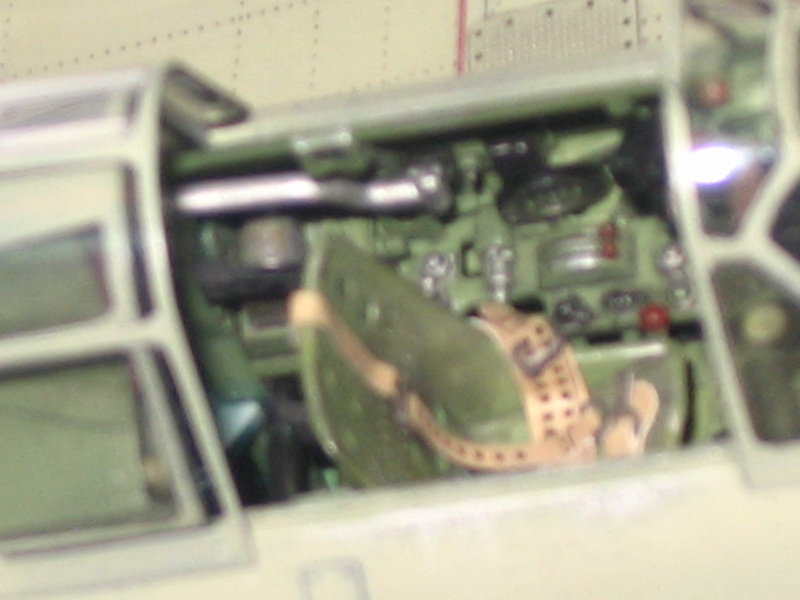
Assembling almost entirely according to the kit's instructions, I then worked on the cockpit, which in itself is already busy and complete. There was minimal clean up and all parts went together well without fit issues. I base-painted it using Tamiya Cockpit Green (XF-71) and hand-painted minute details using a triple "0" brush and a toothpick. The main and side instrument dials are supplied as decals placed behind clear plastic. These are inserted from the back of the instrument panels after detail painting is done, thus eliminating the need for paint retouching. I put droplets of future floor polish on each dial to accentuate glass simulation on each dial. Next stop was the kit supplied paper seat harness. Though nicely-rendered, I found the paper stubborn to work with, especially when inserting them into the photo-etched buckles and gluing them. But with a little patience and perseverance, I managed to install them on the already painted seat. Though, not much would be seen when the cockpit tub is placed inside the fuselage, I still detailed the rear bulkhead assembly by painting all the oxygen bottles and supplying the required "bungee rope" needed for the pilot seat's elevator. After a bit of wash and dry brushing, the cockpit tub was set aside.
Next step went to the construction of the main wings, vertical fin and stabilizers wings. These involved the installation of kit supplied metal shafts and some photo-etched parts for the movable control surfaces and flaps. Take note that if you're modeling a plane that participated in the Pearl Harbor attack, the Type 99 No. 3 model 3 Air-to-Air bombs were not used. Therefore, no need to drill the holes mentioned in Step 19 and you can skip Step 33, as well. Moving on, I tackled the movable components of the main landing gear bay and covers. The exposed wheel well areas, including the inside of the covers, were also painted with the same Blue Aotake color used on the fuselage interior. When all the internal wing components (20mm cannons, main landing gear bays, etc.) have been assembled, painted and installed, the wing assembly was completed by attaching the wing spar (part L3) and then gluing together the upper wings with the lower wing assembly. The wings' mating surfaces went together well. After the glue dried, I used a bit of Gunze Sangyo Mr. Surfacer 1000 and sanded the joints smooth with 1500 sand paper. The completed wing assembly was then primed and painted employing the same procedure done with the fuselage.
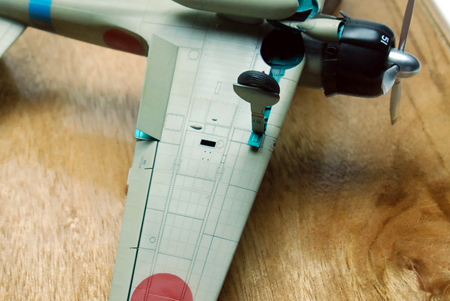
At this juncture, the completed cockpit tub was installed from underneath the fuselage and the main wings attached. Next step done were the main landing gears. These beautiful working pieces already come in a multimedia array of polished metal and semi-gloss black plastic so assembling didn't take much of my time. I just had to shorten the kit supplied springs (SB4) for the gear shocks by 1.5mm. After test fitting it, I found that it was making the plane's nose ride a bit too high. After completion, I attached the main landing gears to the underside and tried working the retraction mechanism. It worked just fine but care should be observed in lowering the gears. Never pull the wheels using just your fingers since these have a tendency to break. The supplied tool should be used while carefully pulling on them.
Construction of the engine went on with no issues except for the addition of ignition wiring from a stashed Big Ed set for the 1/32 Tamiya A6M5 Zero (I'll have to scratch build one for that next time). This really added life to the already busy engine assembly. The bluish hue of the crankcase was painted using a 1:1 mixture of Tamiya J.N. Grey (XF-12) and Light Blue XF-23), while the engine cylinders were painted with Alclad II Jet Exhaust (ALC-113). Next the engine was treated with a sludge oil-wash of Ivory Black and finally dry-brushed with Tamiya Chrome Silver (X-11) to bring out the cooling vane and bolt details. After placing the stencil data found on the decal sheet on the crank cover, the whole engine assembly was set aside.
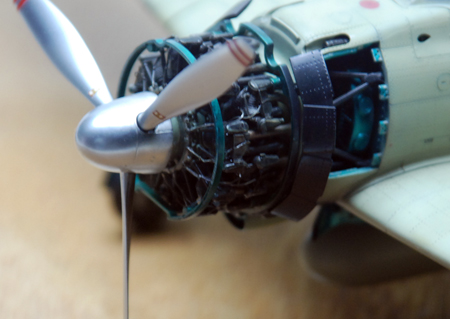
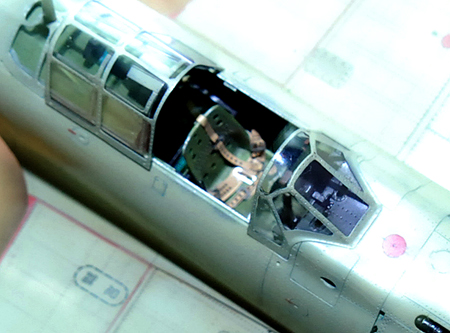
Work progressed with the other sub-assemblies like the cowl flaps, removable engine covers and propeller. After assembly, I painted them according to the kit's instructions, only to find out later from a good friend, Tony Feredo that references dictate I paint the cowling interior Tamiya Semi-gloss Black (X-18) instead of Blue Aotake and the backside of the propeller Tamiya Red Brown (XF-64) instead of Tamiya Flat Black (XF-1). I would like to thank Tony for those invaluable tips. Moving on, I diverted my attention to the clear canopy parts by dunking them, as usual, in Future Floor Polish. After these dried, I used the kit supplied masks and attached them. I initially spray-painted Tamiya Semi-gloss Black (X-18) then followed-up with Tamiya IJN Gray Green (XF-76) for the top coat. Lastly, I worked on the plane's drop tanks and wing tips. These were assembled and painted as per kit's instructions and later attached to the plane.
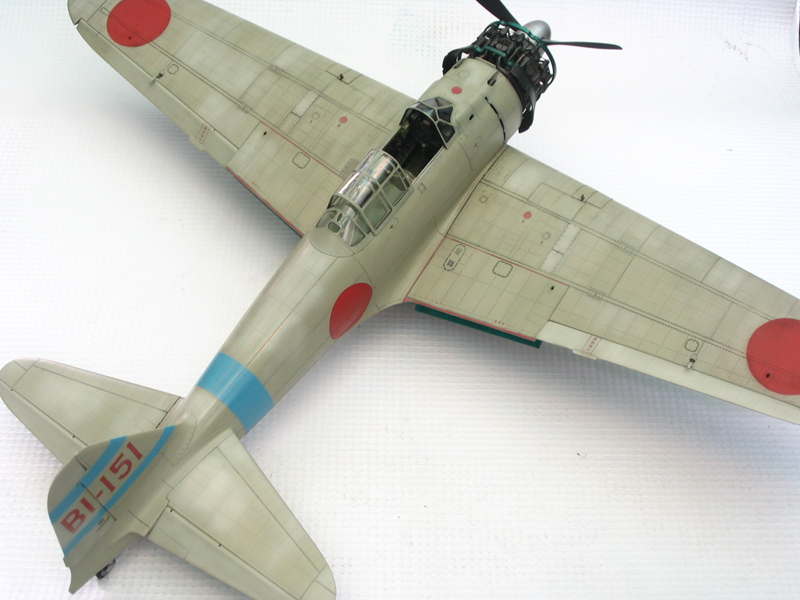
MARKINGS & WEATHERING
After putting together all the sub-assemblies, I treated the areas where the decals will be placed with a light coat of clear gloss. The kit's decals were a bit on the thick side, especially the "Hinomarus", so I had to use hefty amounts of Solvaset to make them settle properly on crevices and raised details. After all the markings and stencil data were placed, the entire model was sprayed with Future Floor Polish in preparation for the oil-wash to follow. A thin mixture of Black & Burnt Umber oils with White Mineral Spirit was applied to the main and tail gears, wheel wells and area near the cowling. A thinner mixture was dabbed generously on the model's surface to replicate grime as well as accentuate the panel lines and rivet details. Exhaust stains were added along the undersides using a sprayed on thin mixture of Tamiya Flat Black (XF-1). As a final touch minor paint scratches, using Derwent Silver Pencil, was randomly but stingily rubbed on areas like the walkways and engine cowling.
CONCLUSION
Tamiya has definitely raised the bar with this top-of-the-line kit of one of the most significant flying machines ever to graze the skies during the Pacific War. While the price may have been a bit too much for my pockets, value for money was, nonetheless, realized via the kit's ease of assembly. Much is due to Tamiya's excellent engineering efforts. Furthermore, with the countless fine details and multimedia parts put in by the manufacturer to enhance the kit, there was almost no need for aftermarket parts which would've been far more expensive in totality for a standard-priced 1/32 kit. I highly recommend this kit to modelers who are ready to take the challenge in big-scale detailing but still after ease of construction.
© 2008 Dennis Robert R. Ferriol
This article was published on Wednesday, July 20 2011; Last modified on Saturday, May 14 2016