
Repairing Broken Models
By Rodney Williams
There are many ways that your models can get broken and most likely you have experienced one of them like I have since I got back into modeling in 1977.
Some items get knocked off the model by not paying attention to what you are doing and other people break your models at contests.
I became a “contest goer” while I was a member of a local model club in San Jose, California which was re-named and is now called Silicon Valley Scale Modelers (SVSM). Our club was located in Region-9/IPMS-USA in Northern California.
I attended several contest every year from 1984 until 2004 and drove hundreds of miles to these events. As years went by I developed different methods of model transportation, but no matter how I made the changes, I got broken models.
I moved from California in 2004 to a remote desert town in Colorado and I was at least 200 miles from any hobby shop and a local IPMS/USA model club. I had a “mix-match” of different sizes of cardboard and plastic boxes that I transported my models to and from contests.
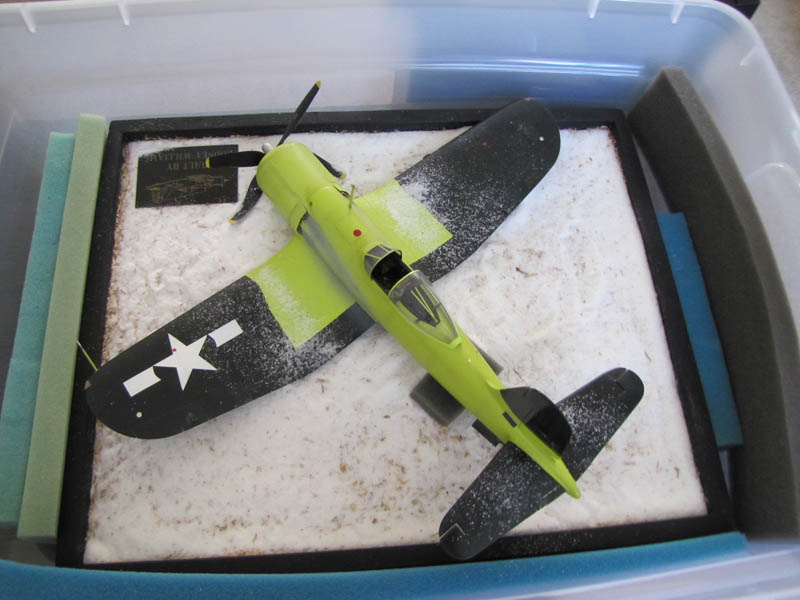
While visiting the local Walmart store in Cortez, CO, I saw some nice looking plastic boxes with lids and I took a guess and said to myself: “Hey Rodney, these boxes should be just fine to put my models in for storage and transportation to/from models shows", so I bought about two dozen of them. I used different sizes of small bath towels to set my models on in the boxes.
These boxes are made by Sterilight here in the USA and you can order direct from them at: www.sterilight.com.
They measure:
- 21/2” - 59.7cm Long
- 16-7/8”- 42.9cm Wide
- 9-7/8” – 14.9 High
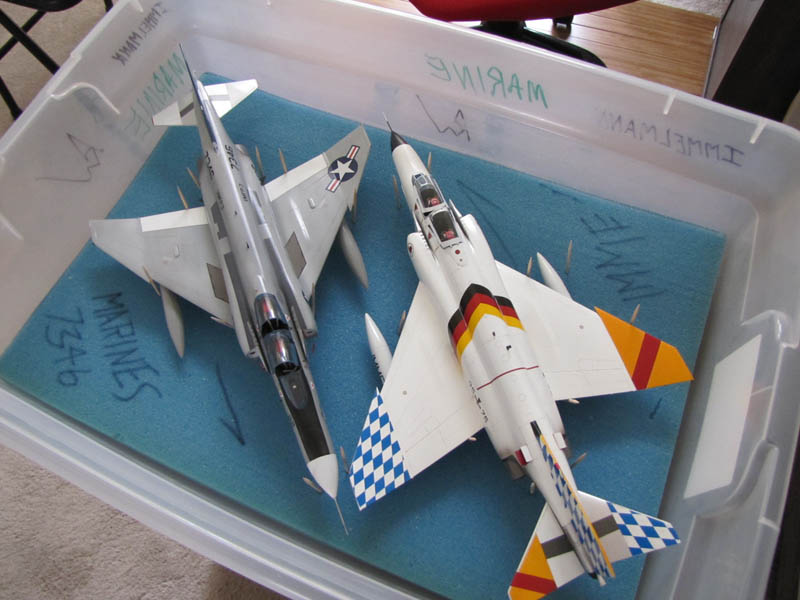
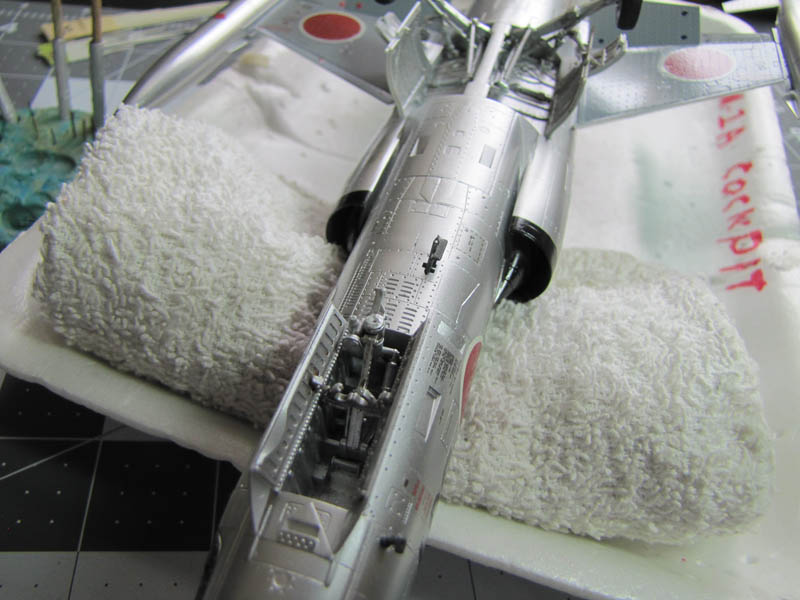
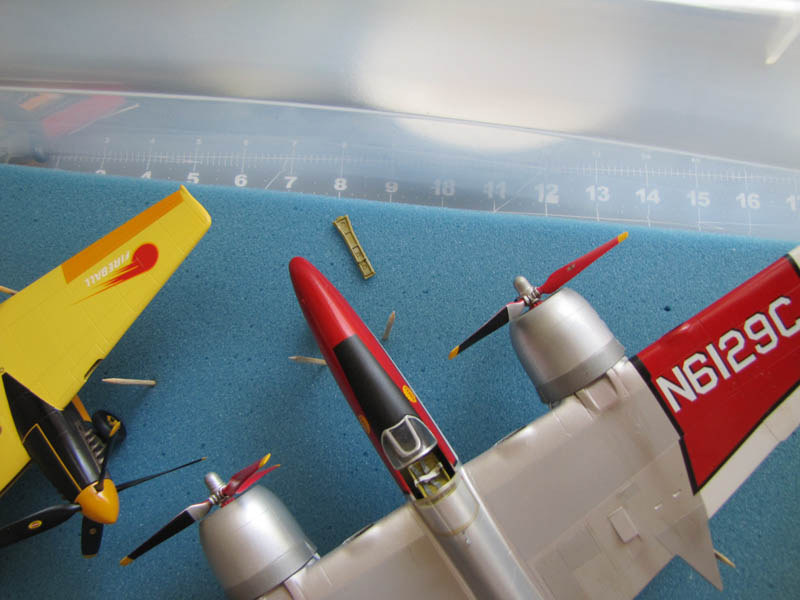
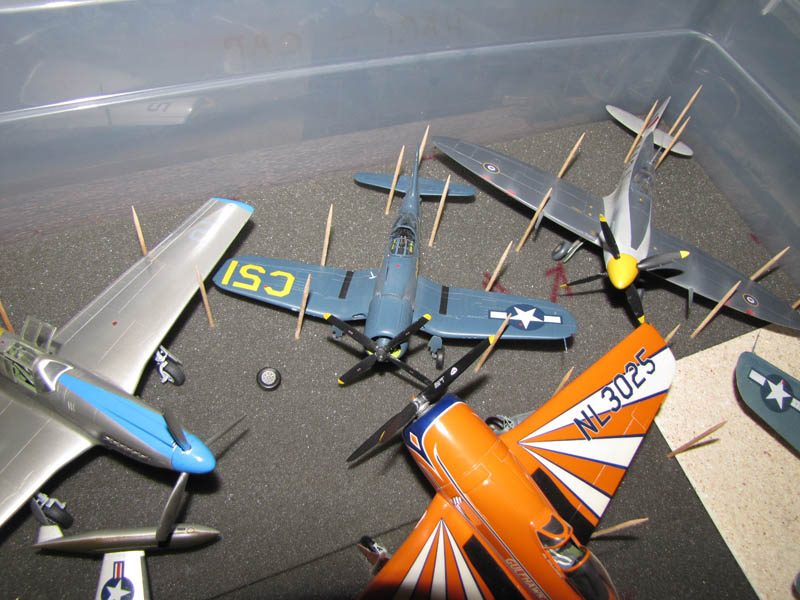
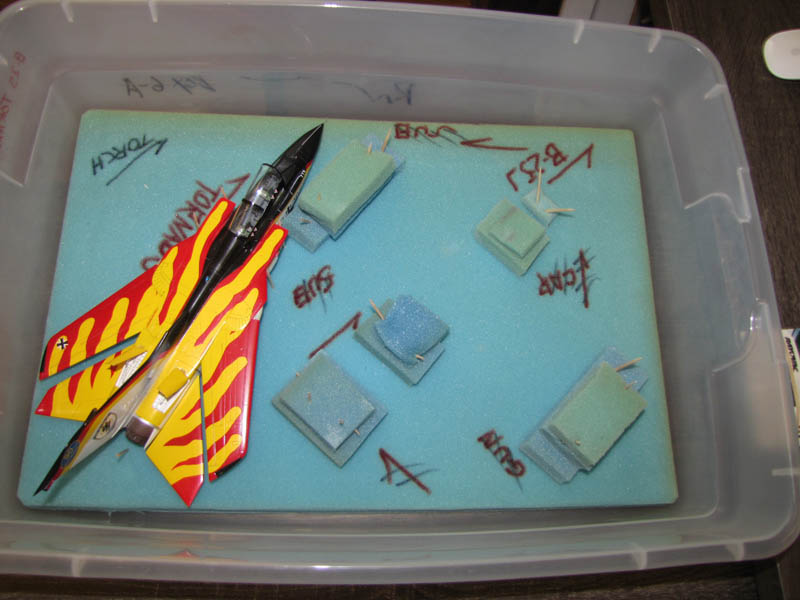
While attending one of many visits to the IPMS/USA Phoenix, Arizona “MODELZONA” contests held at the CAF Museum in Mesa, Arizona I met a fellow modeler that had the same kind of boxes, however he had put 1” foam into the bottom of his cases then he pushed in ordinary Diamond brand round toothpicks that are pointed on both ends. He said that the toothpicks help keep the models from moving around in the box during transportation.
I changed over all my plastic cases and added the foam and toothpicks and from 2005 to 2016 I went to a few more contests in Colorado and down in Arizona and no models got broken in transit. Each one of these contest events were in excess of 800 miles round trip.
In December, 2016 I had all 291 models of mine packed in 85 Sterilight plastic boxes.
During this last big move of 2,500 miles from Colorado back to California all of my models were well packed in a large 40’ long moving van.
After I arrived at my final destination and unpacked my boxes of models I started to open them up and I ended with about 30 broken models out of 291.
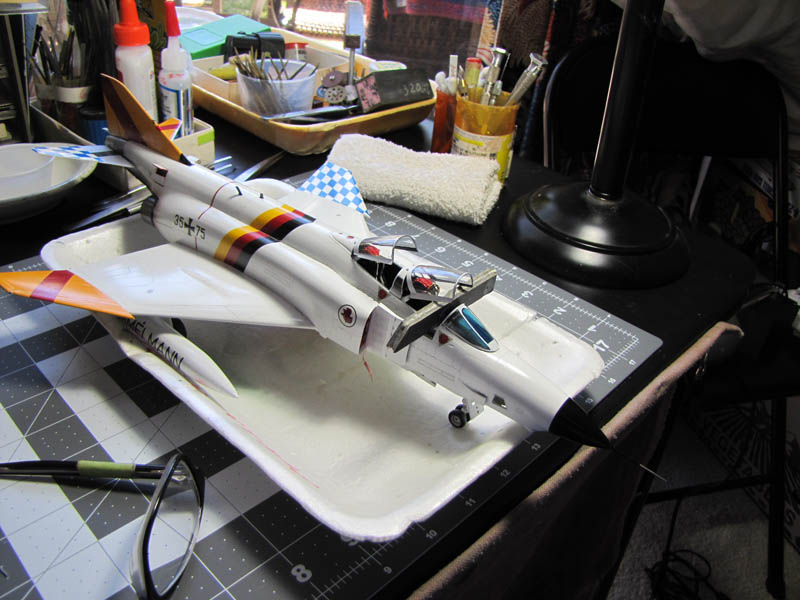
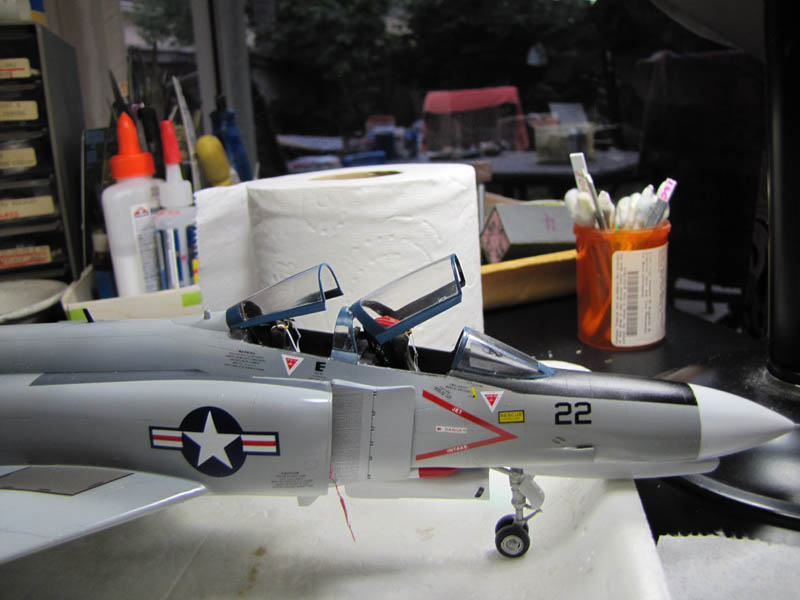
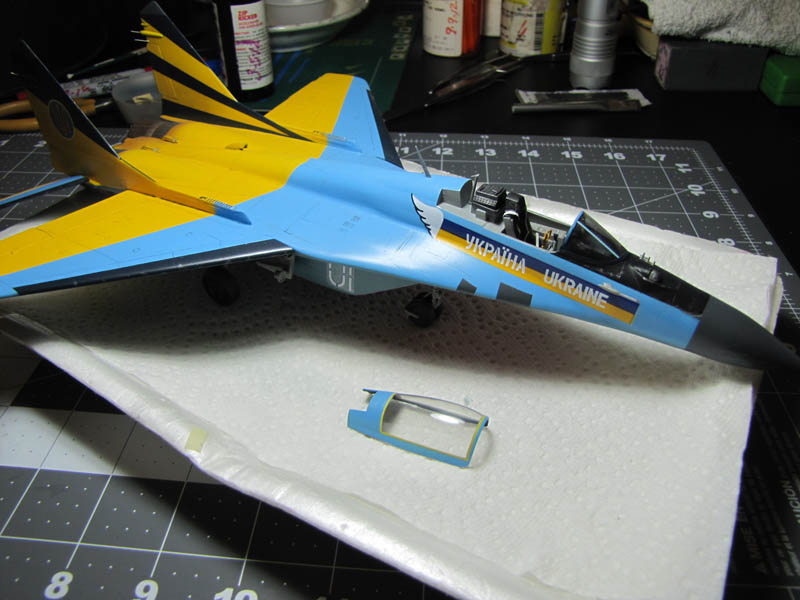
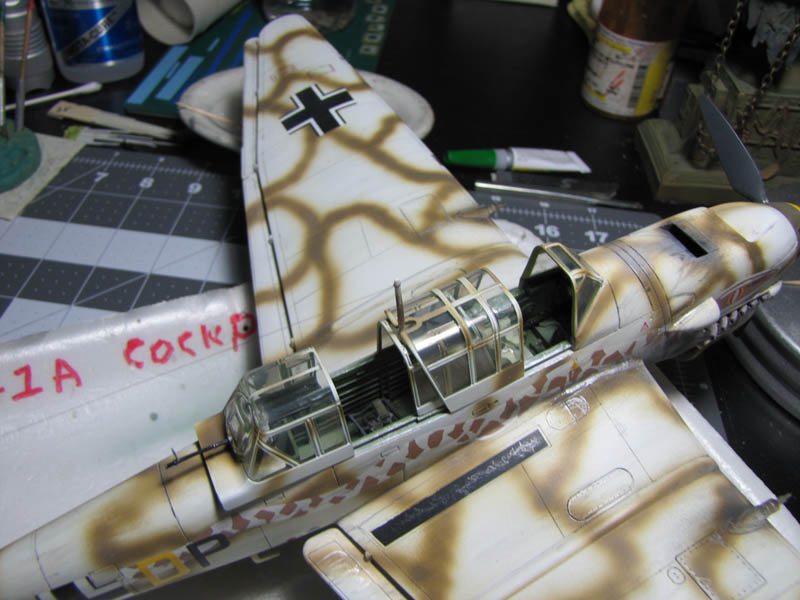
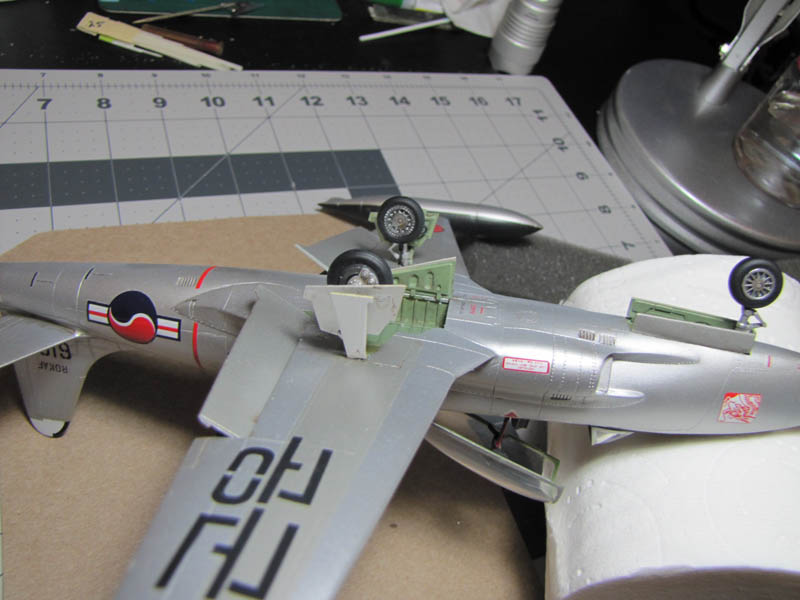
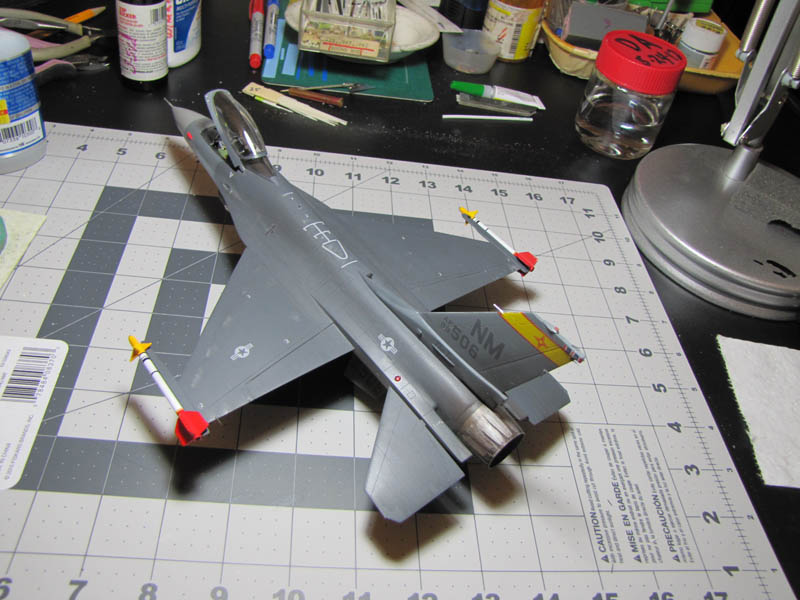
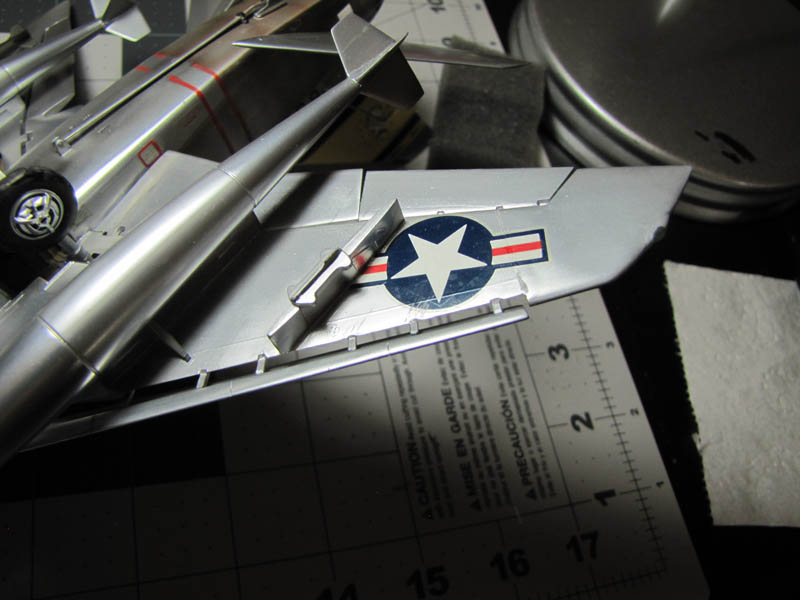
Most of the damage came from attaching many items during what I call “Final Assembly” like white gluing on canopies and tires.
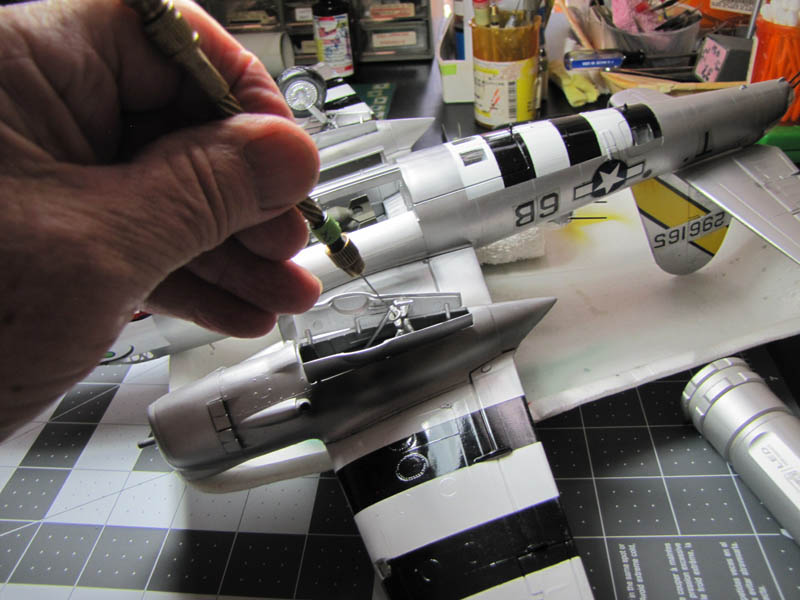
Here Are Some of the Repair Things I Did
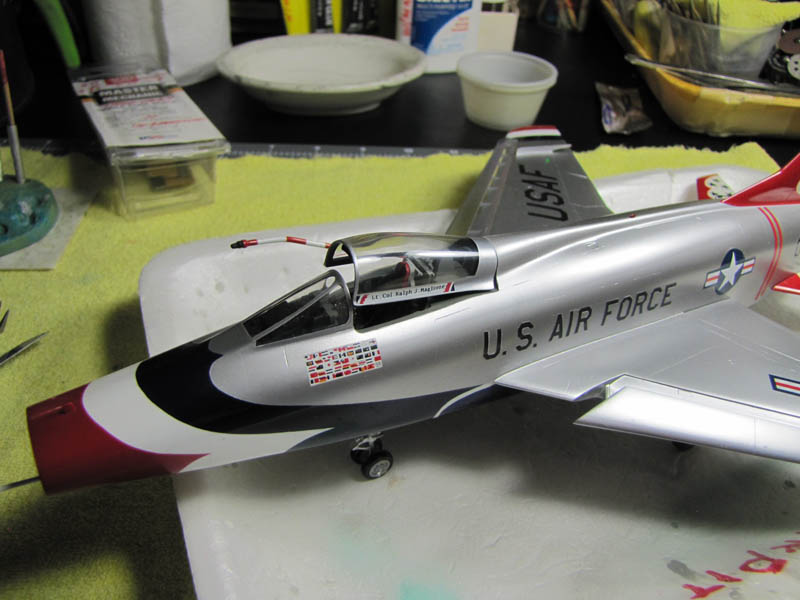
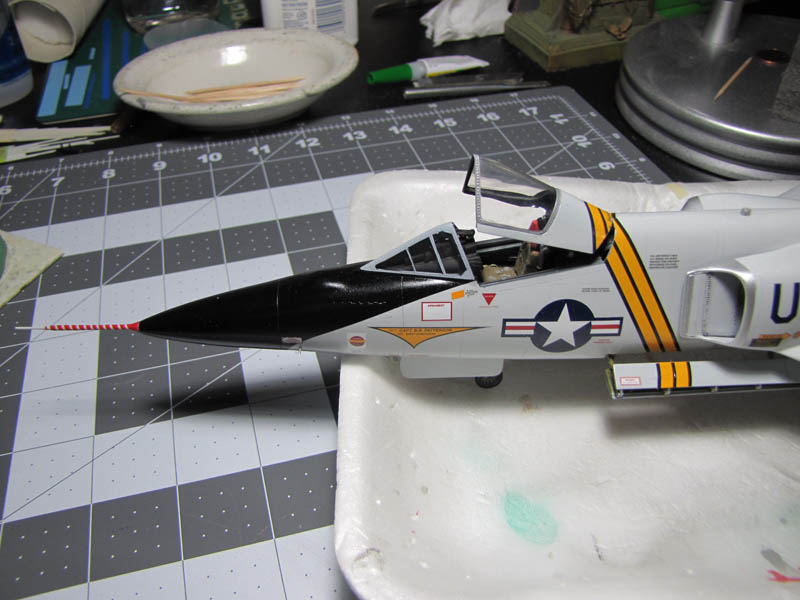
On many of the models I could see the dried white glue that was on the canopies and on the top of the fuselage areas.
I carefully add some clean water with a very small round pointed paintbrush and as the glue went back into its’ liquid form it turned white again.
My first removal attempt was by using clean white cotton buds which was a disaster as it left some of the cotton fibers on the parts.
I had to use tiny steel tweezers and round fiber brushes to remove the cotton fibers that was stuck to the glue. From that point on, no more cotton buds were used.
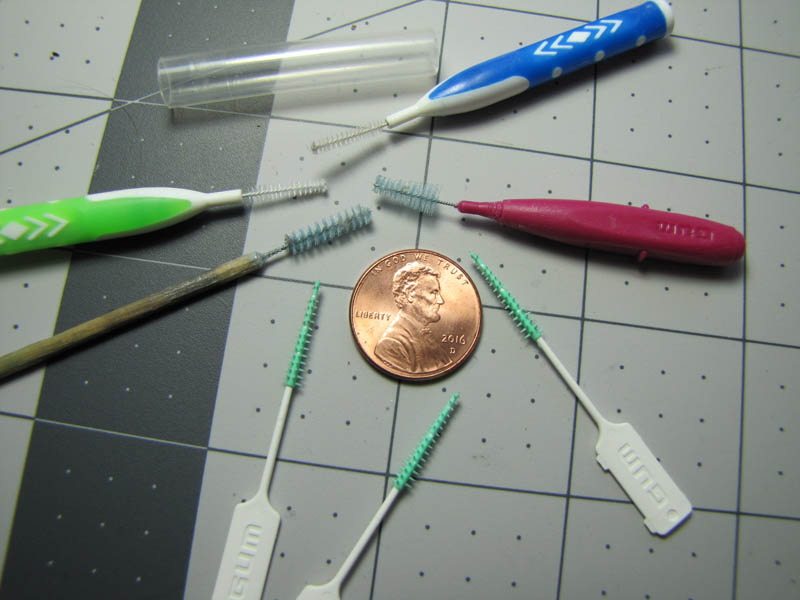
Years ago I bought an assortment of small plastic fiber brushes at the Walmart dental department. These brushed are designed for the consumer to use them to clean in-between their teeth.
These brushed did the job, so I used some clean water on my paintbrush and wiped the area clean. Once I was satisfied with my removal job I used ordinary household toilet paper to blot the parts dry.
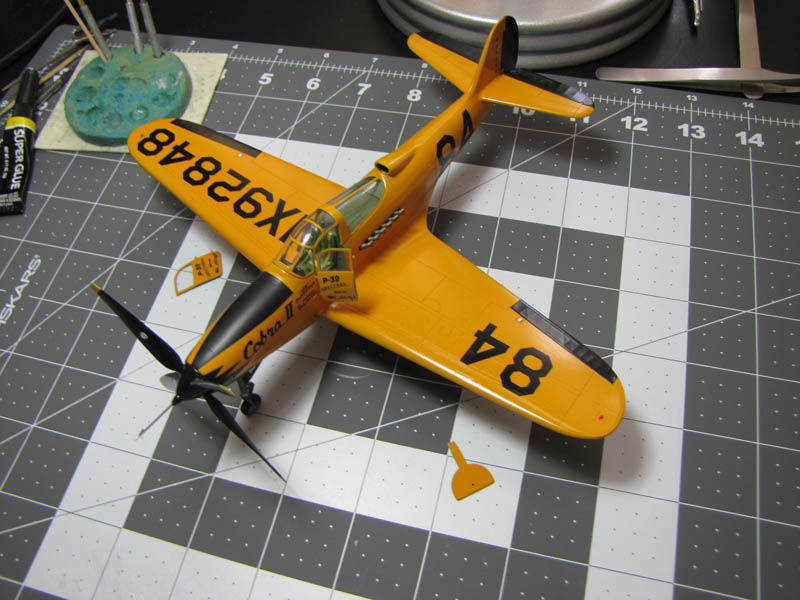
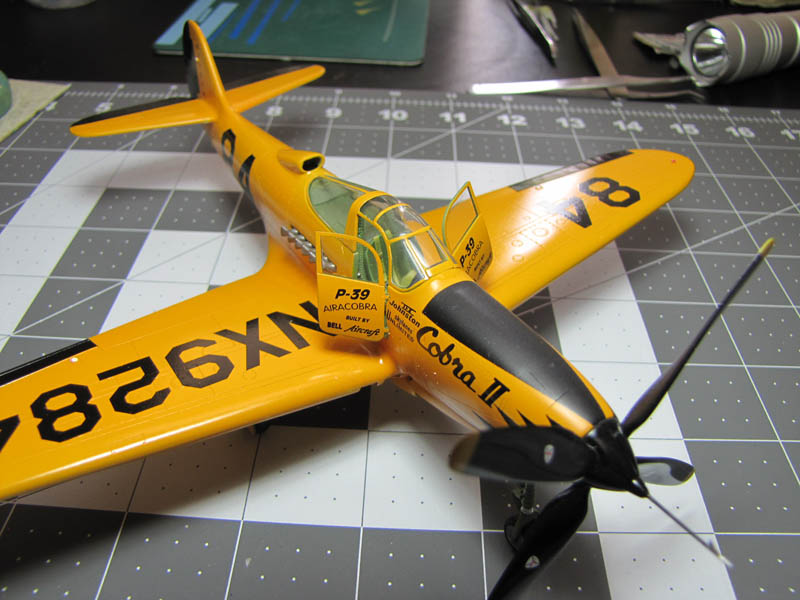
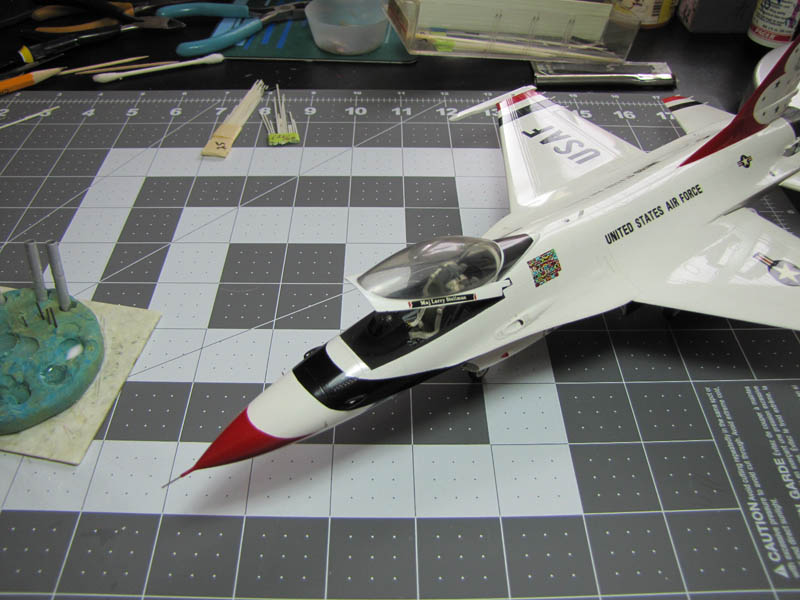
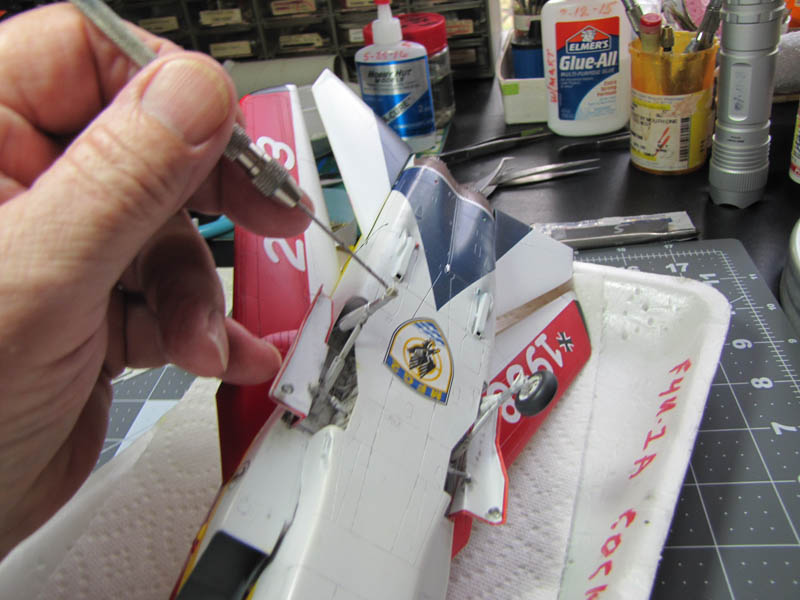
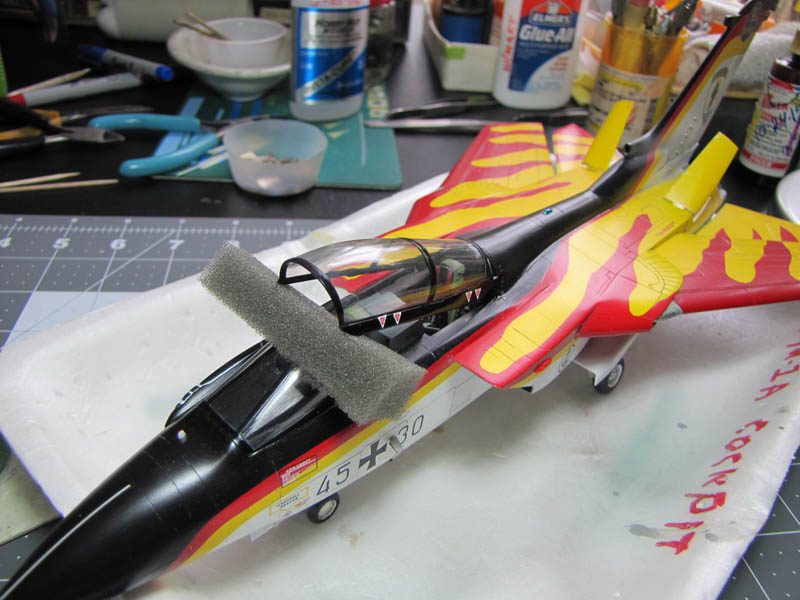
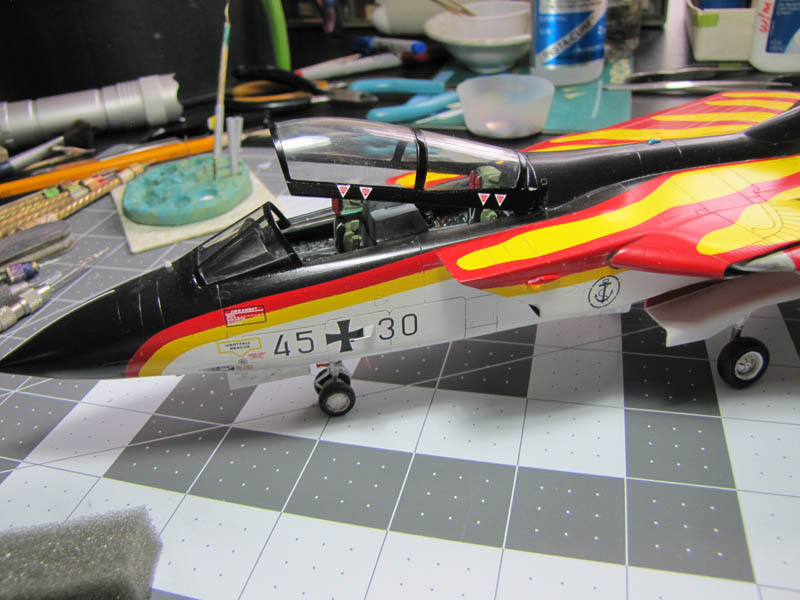
The parts were now dry-fit back together and I used different items to prop open the canopies then I added some semi-watered down new white glue and/or thin superglue to reattach the canopies. Quick alignment was necessary when I was using the superglue.
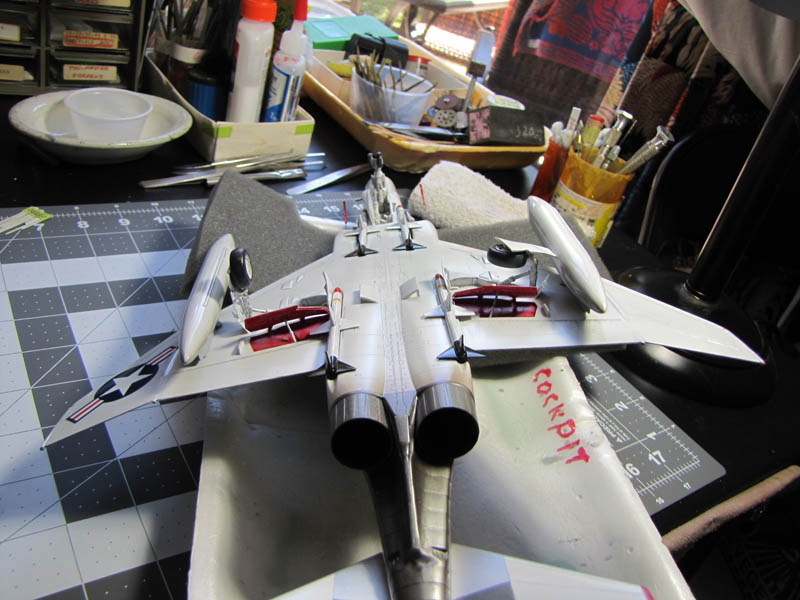
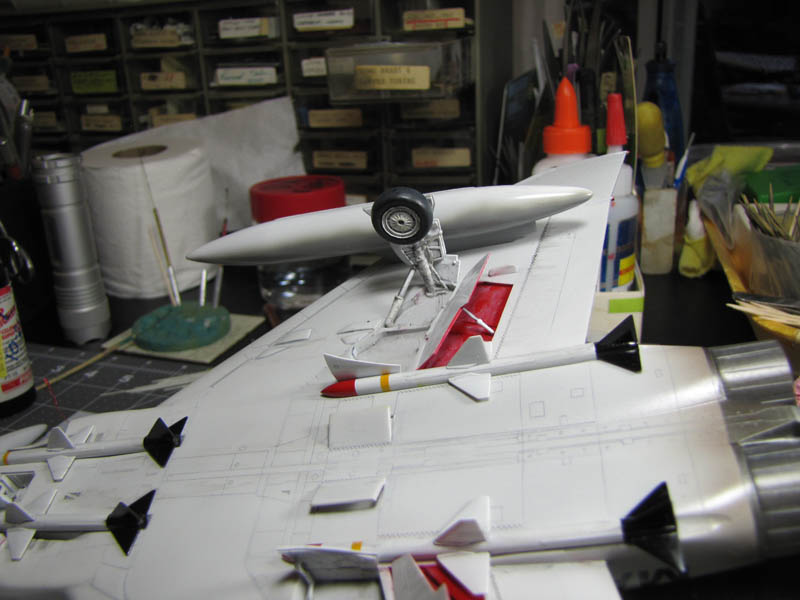
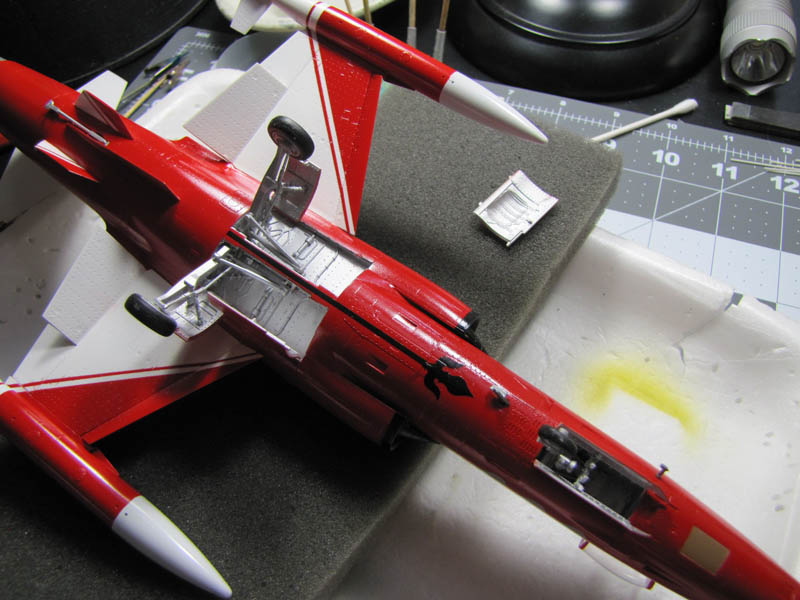
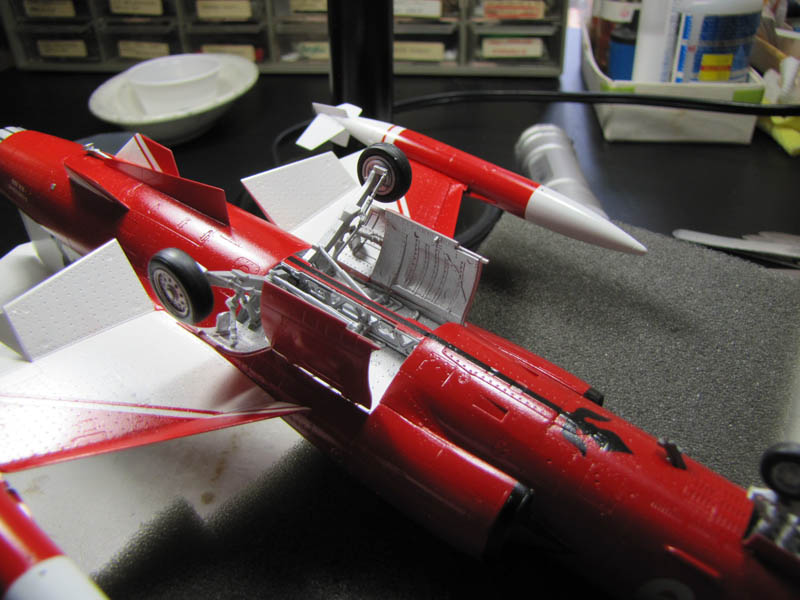
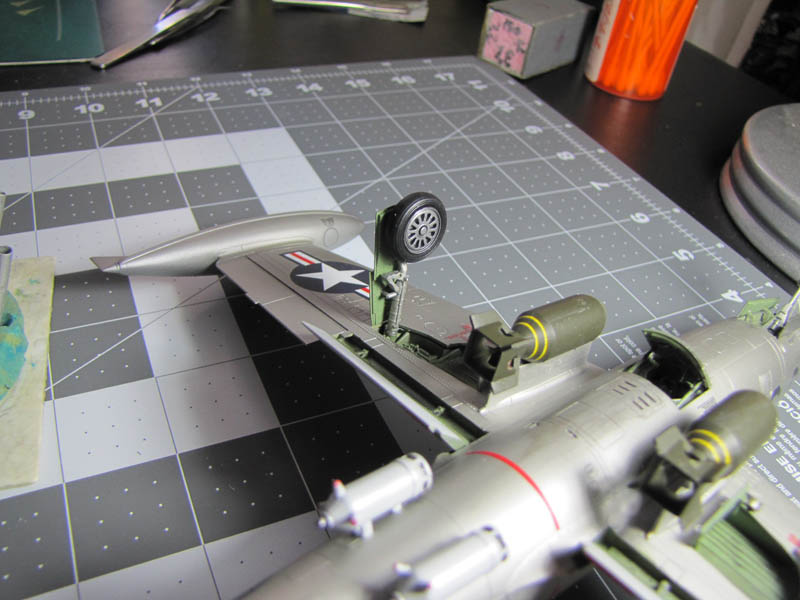
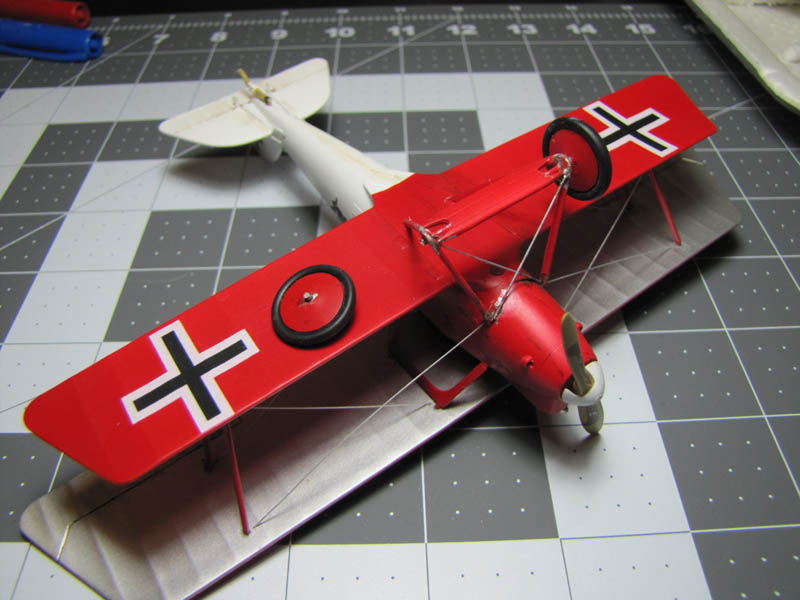
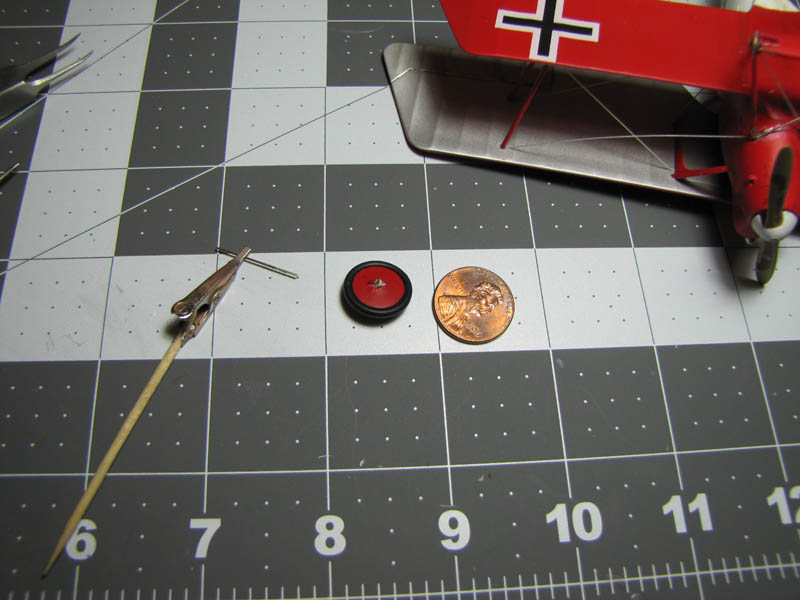
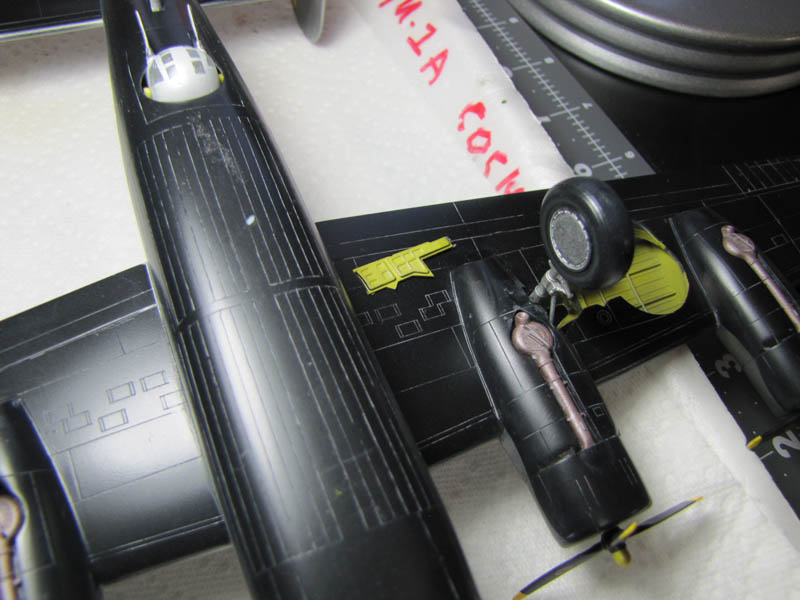
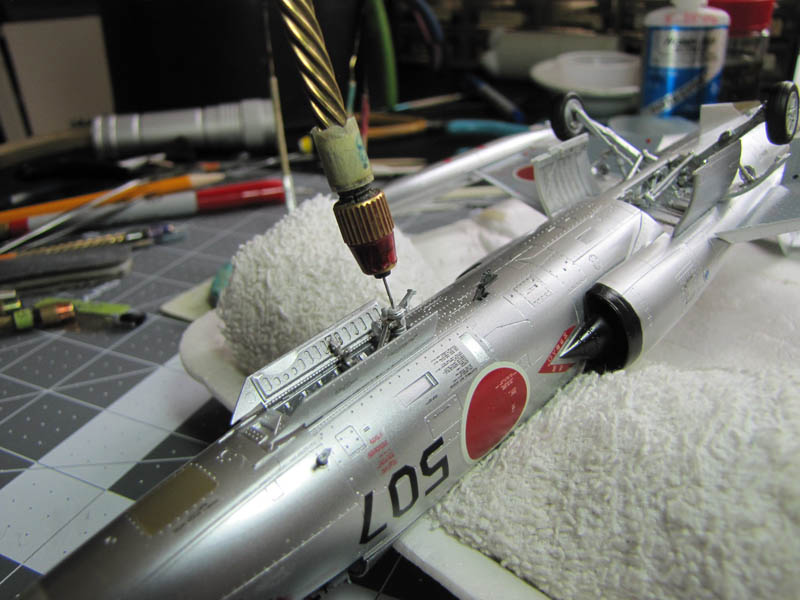
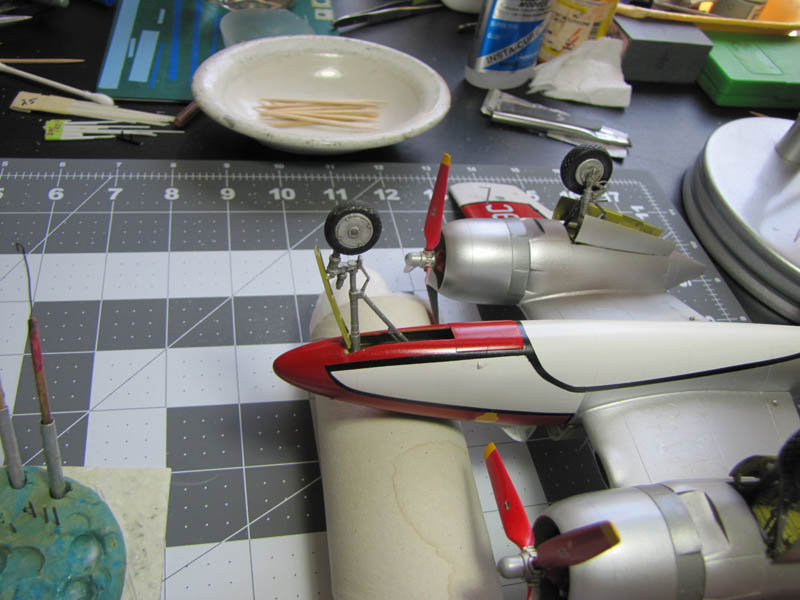
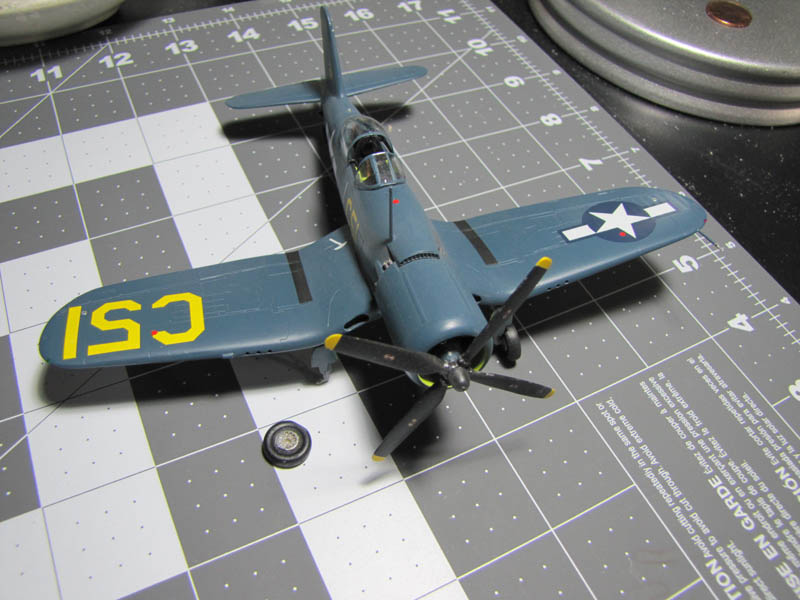
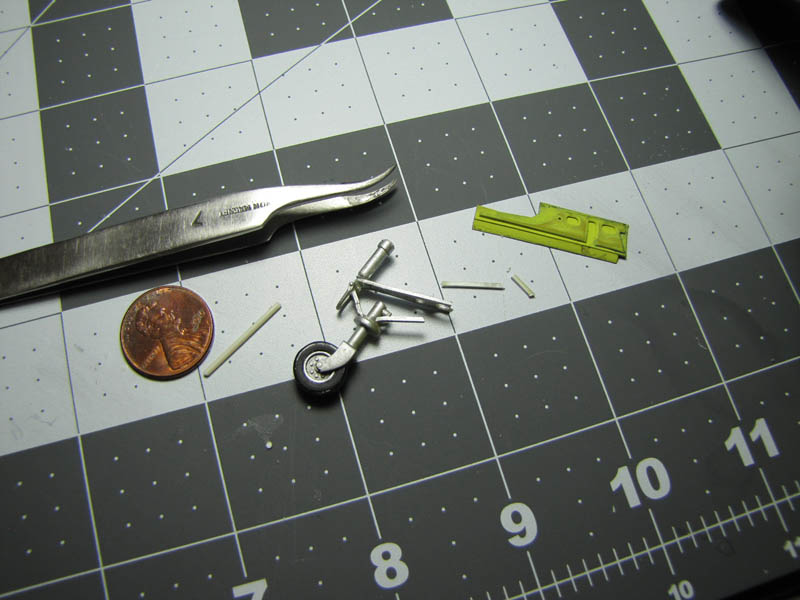
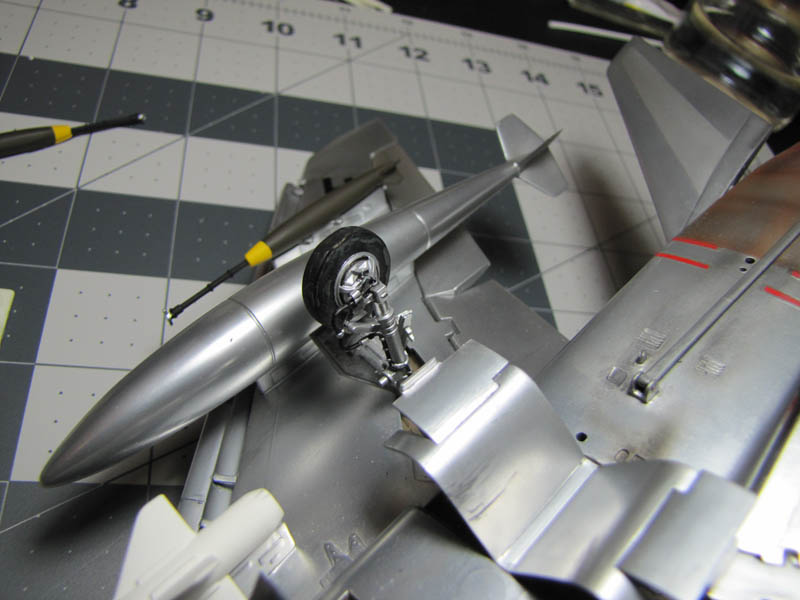
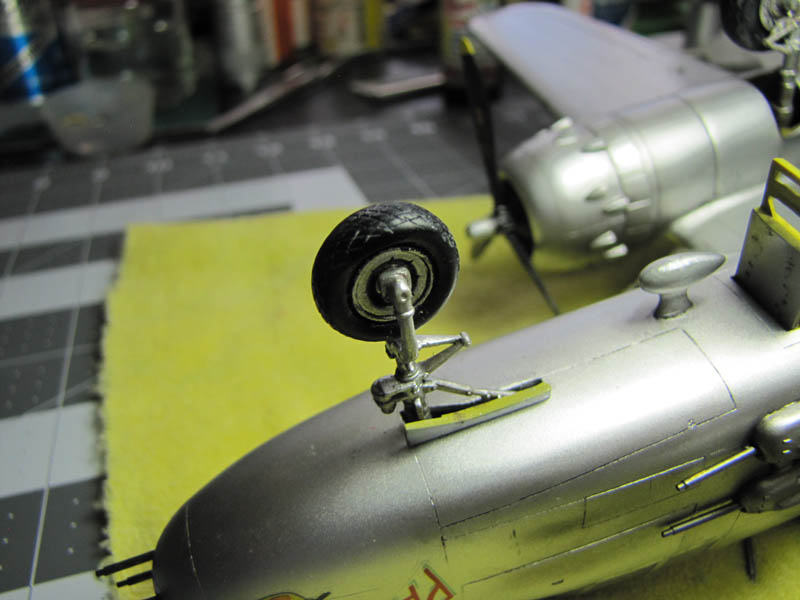
On many of the models, the tire/rim combo was attached to the landing struts with a pin-hole system. In the beginning I drilled in a hole into the axle and into the tire rim and slipped in a 0.20” diameter brass rod into either the axle and/or into the tire rim. The parts were put together and aligned then I added some watered down Elmer's Glue-All white glue and wiped off any excess glue. Alignment of parts was necessary and once that was done I let the parts dry.
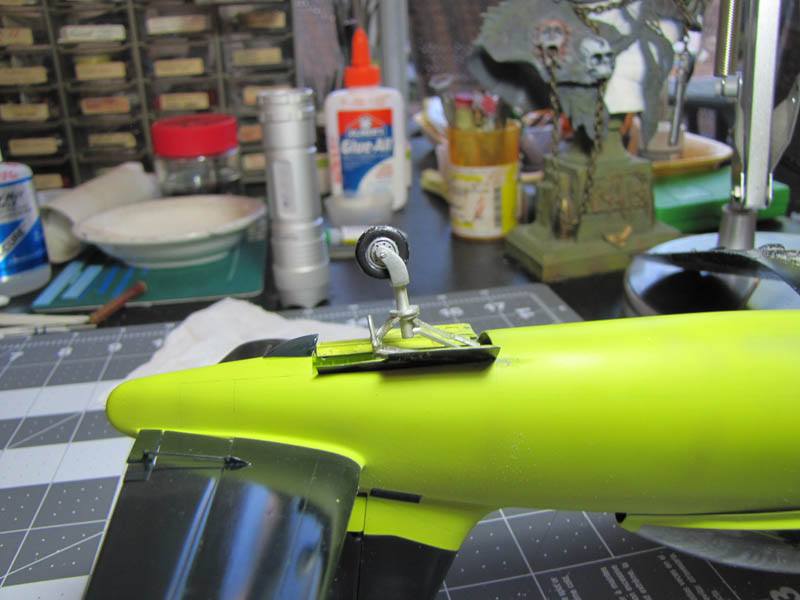
I placed each airplane on a solid flat surface and let it sit there for a day or two, which insured me that the tire/rim combo was secured good enough that the weight of the model would not bend the tire/rim out of alignment, nor break it off. The model was returned to its plastic case.
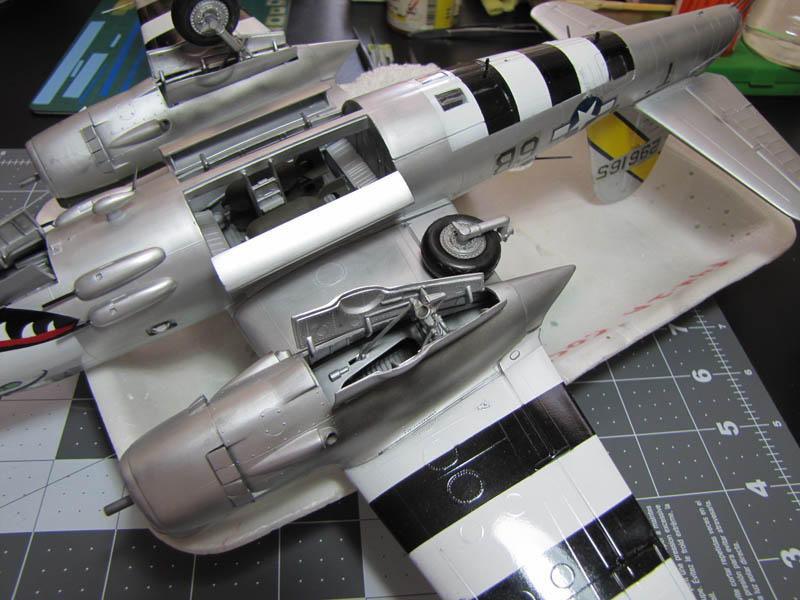
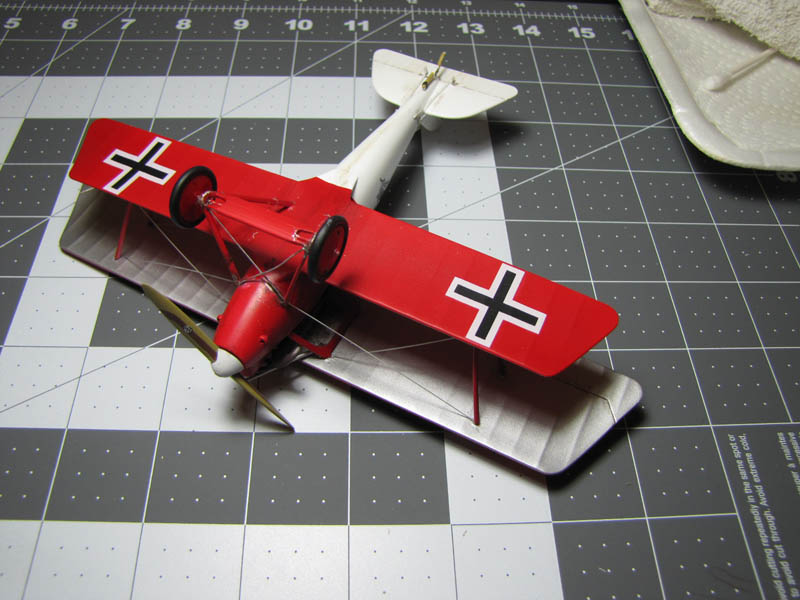
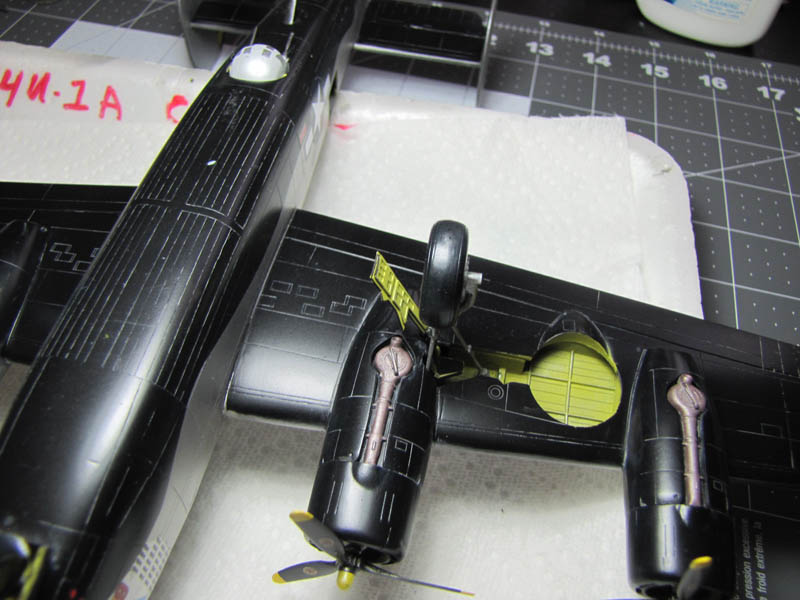
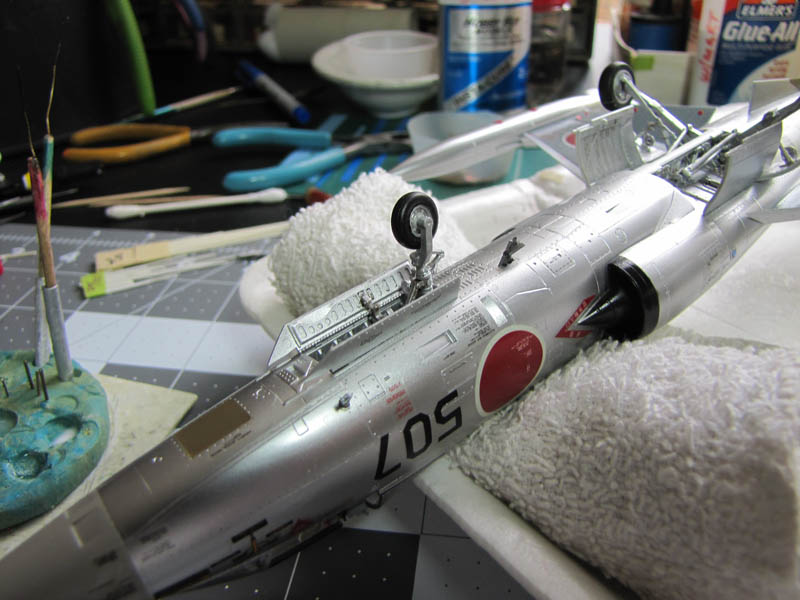
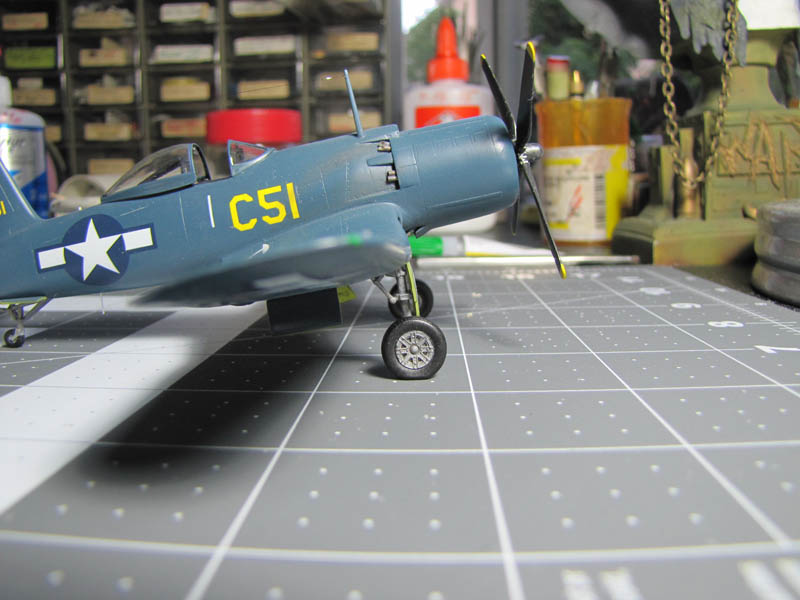
On some of the landing gears the parts were glued together with super glue and just broke off from the weight of the model and/or from the constant road shaking with the big truck.


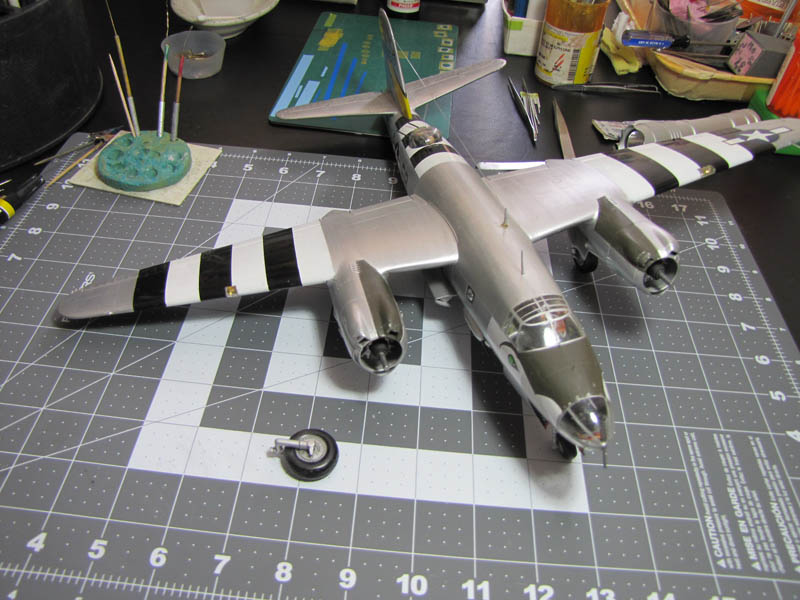


The Big Mystery Break
In early 2012 I finished my 1/48 scale Revell B-25J Mitchel “GUN-NOSE” bomber model right out-of-the-box. The only added items were the stainless steel tubing for my gun barrels. I had to use lots of weight in the nose so that the model would not be a tail-dragger. The model seemed to be a bit heaver than some of my other twin and four engine models so I built up some one inch thick foam to support the model up off the three landing gears. The model went to 3 model shows along with other models, which was transported in our family Chevrolet SUV. I estimated that the model had traveled nearly 4,000 miles with no breakage.
When I open up its plastic box on this last trip from Colorado to California the B-25J had not moved in any direction.
However the nose landing gear was broke clean off at the upper curve part of the yoke. I was dumb-founded as to how this happened.
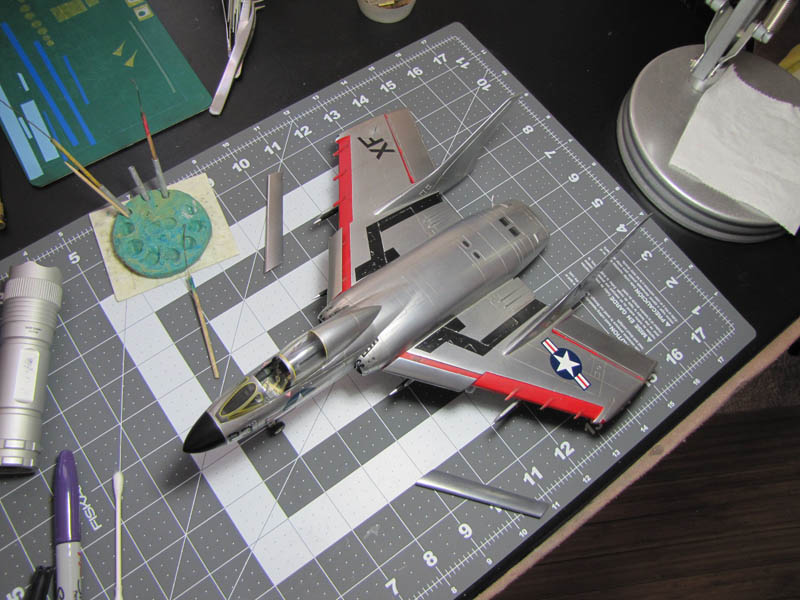
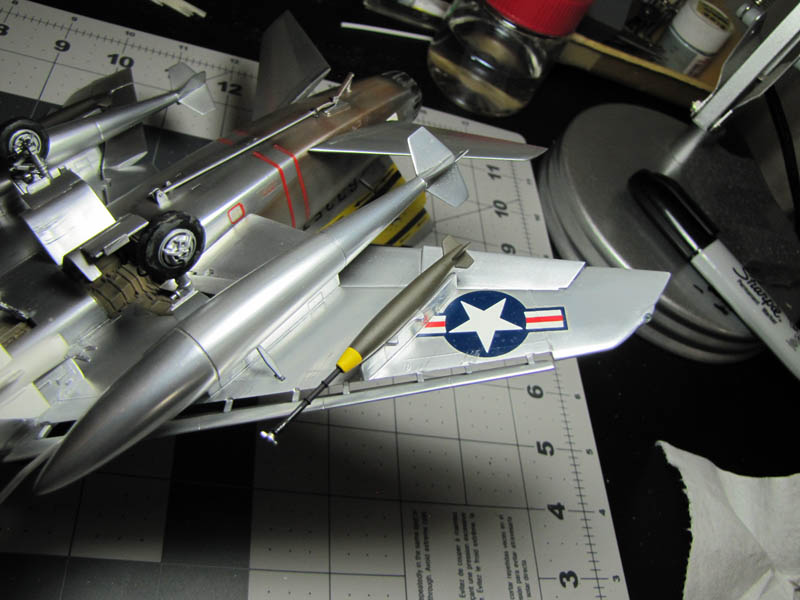
I had my 1/48 scale Italeri “TORNADO-IDS” in the same box which I built in early 2012. It appeared not to have moved either but the canopy was off, including both flying wings and a landing gear had come loose.


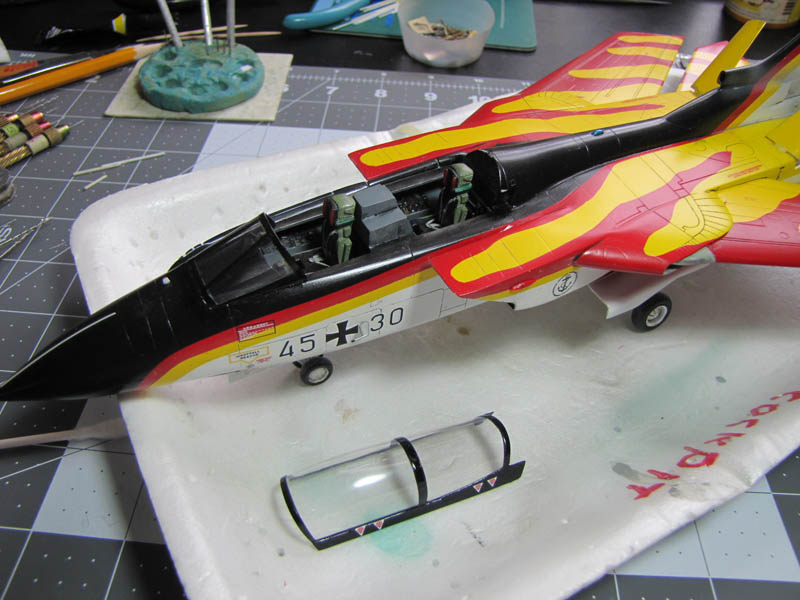

I ask myself: Why did some models break and some did not as they were all packed up the same way?
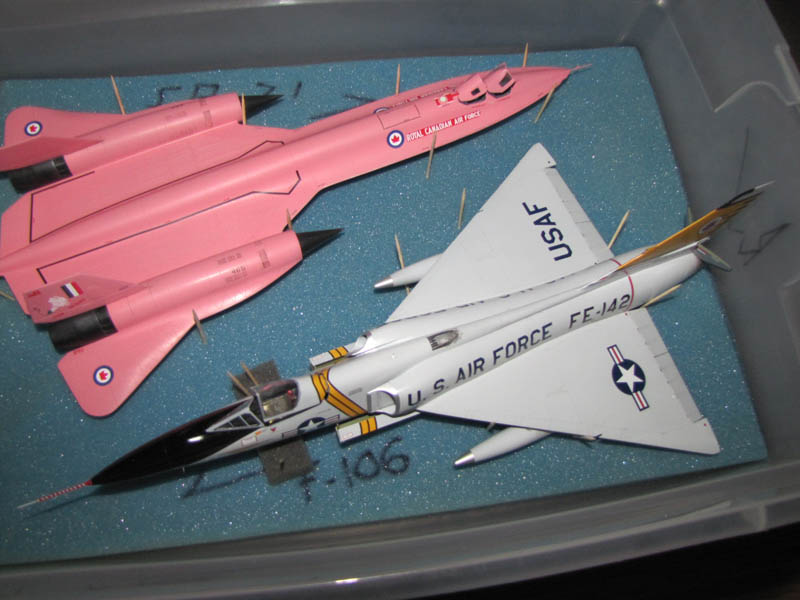
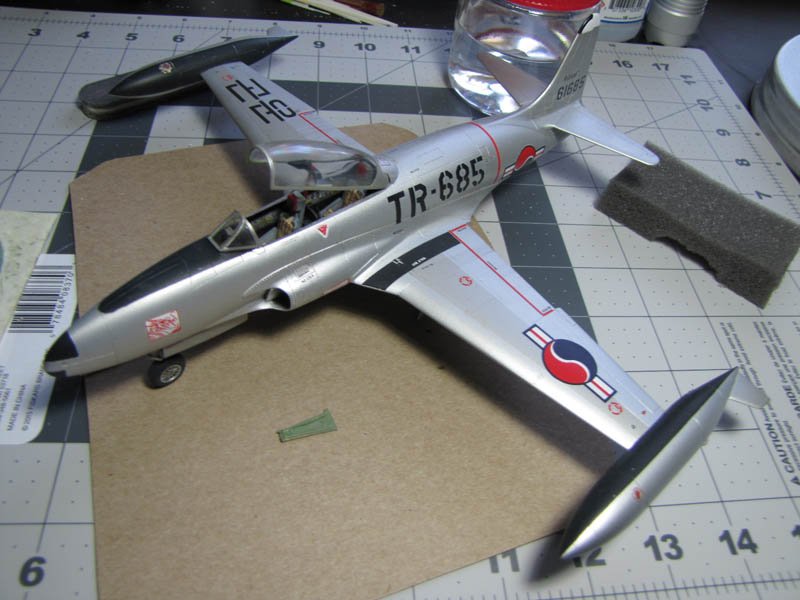
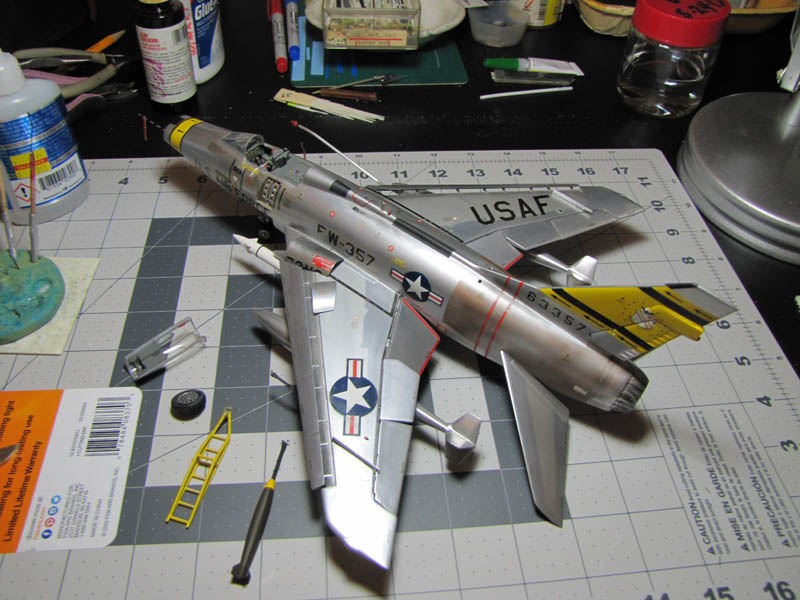
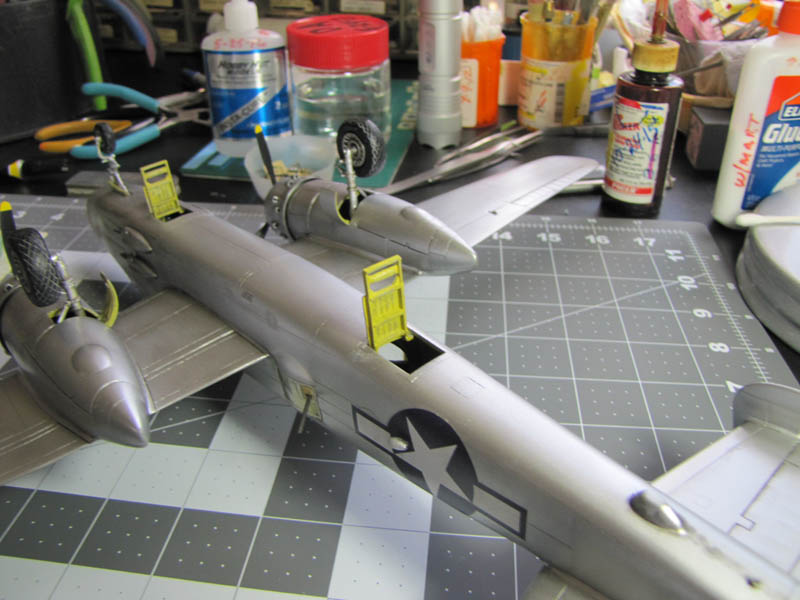
Other models had landing gear struts that were about 1/8” diameter and for some reason just broke off the model.
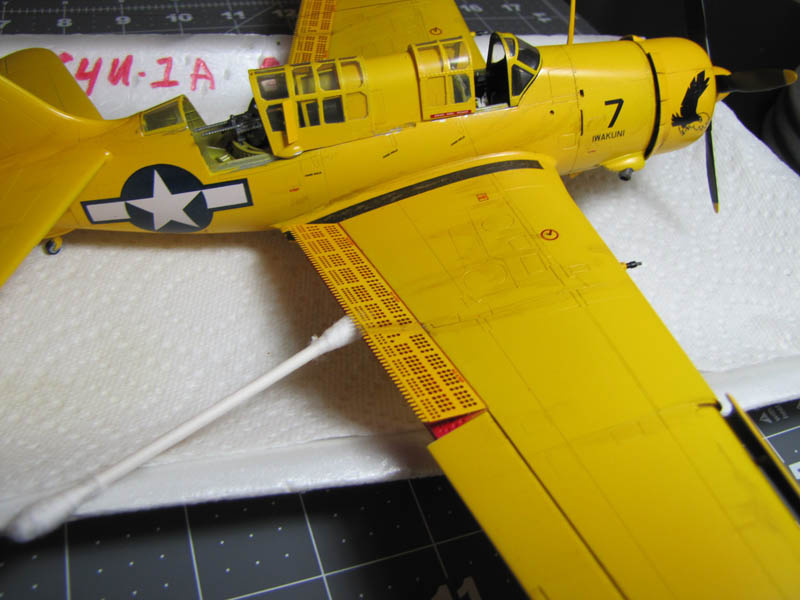
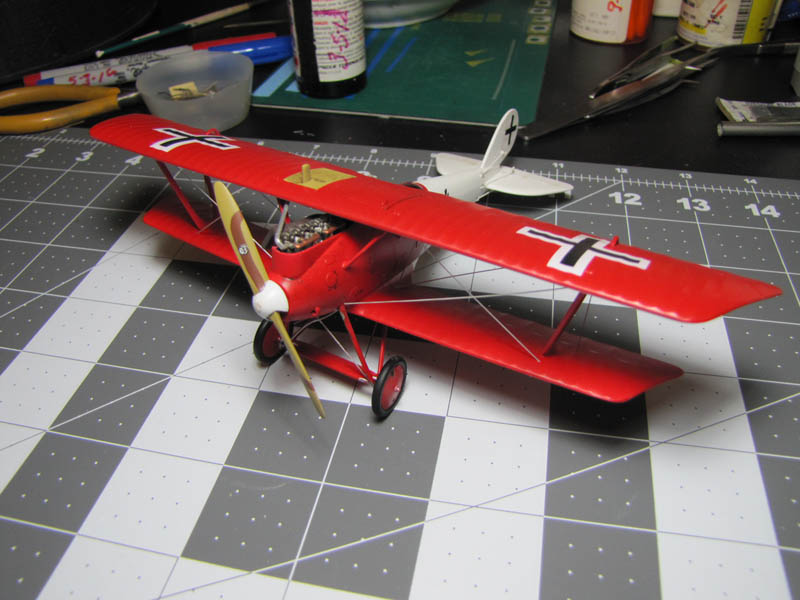
In the end, I just had to take my time and do the best I could with these darn shaky hands as I finally had to quit model building in November, 2016.
This has been a fine experience for me trying to fix my models at the end of my model life.
I rate all my fixes on a scale of (1-to-10) and prior to this last trip my models were at least an 8.5 to a 9 on the scale as there is no number 10.
Some of my fixed models rate a 5 to 7, while others got an 8 or 9 rating.
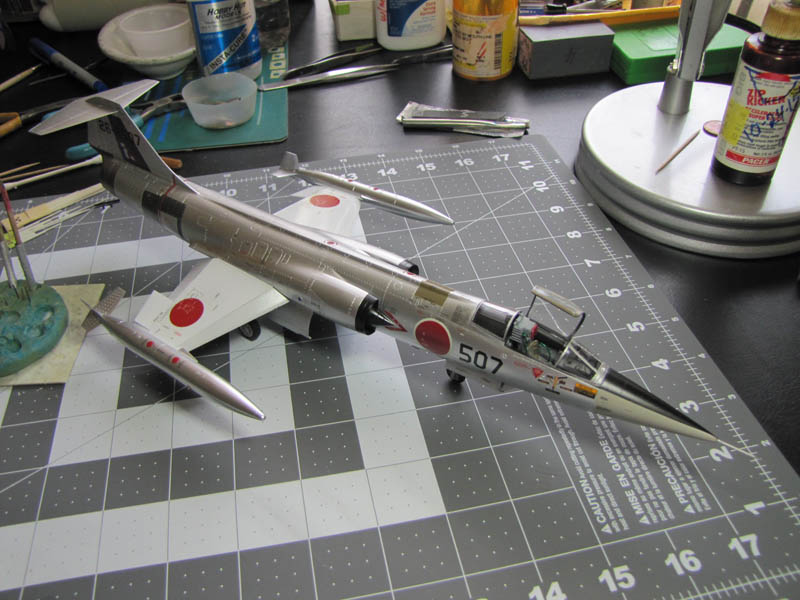
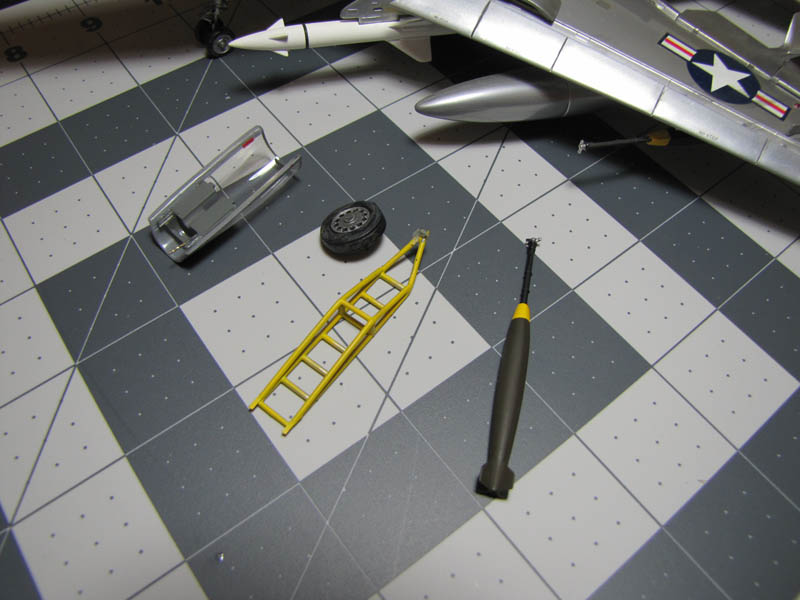
Please study all of these images and hopefully they will help you repair any broken models.
As you know LSP is devoted to aircraft models that are 1/32 scale or larger. Most all of my models are a mix-match between 1/72, 1/48 and 1/32 scale, thus I want to express my sincere thanks to Kevin Futter for granting me permission to post this fix-it story.
© Rodney Williams 2017
This article was published on Thursday, June 15 2017; Last modified on Thursday, June 15 2017