
Airshow Models 1/32 Pitts S2S "Bulldog"
By Barney Dunlevy
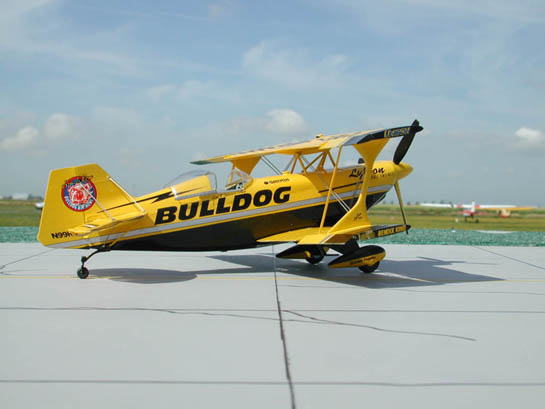
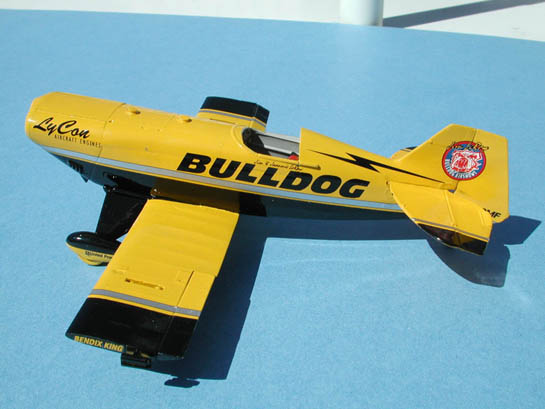
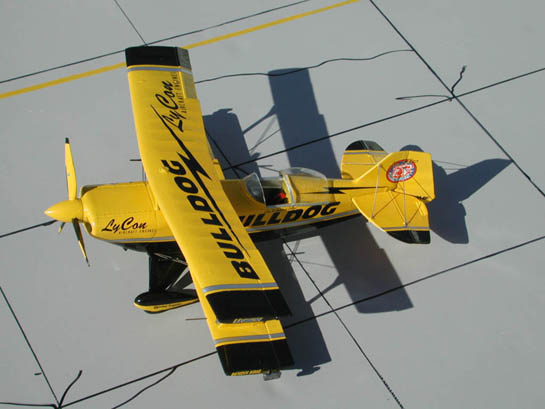
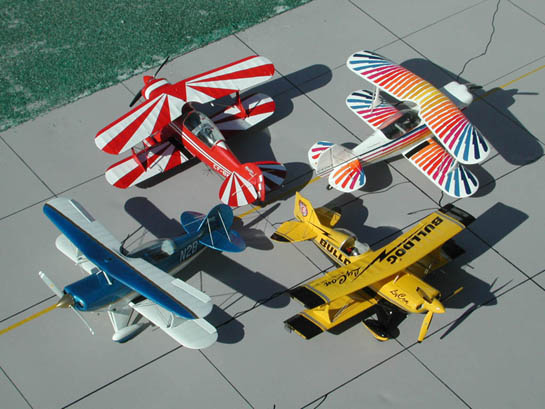
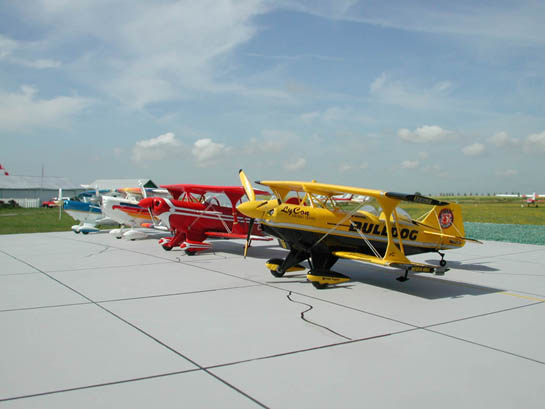
During the big show at Oshkosh, Brian Fawcett delivered the new Pitts Bulldog kit items for all to drool over. The kit is another in the Airshowmodels.com series of colourful aircraft in 1/32 scale. This highly modified Pitts S2S is flown by owner Jim LeRoy on the air show circuit along with his crew chief "Opus", the English Bulldog. It is alleged that Opus has been grounded for flying too low to fire hydrants.
A Review of The Kit
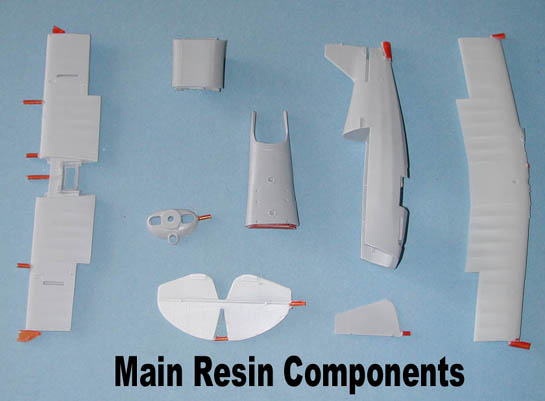
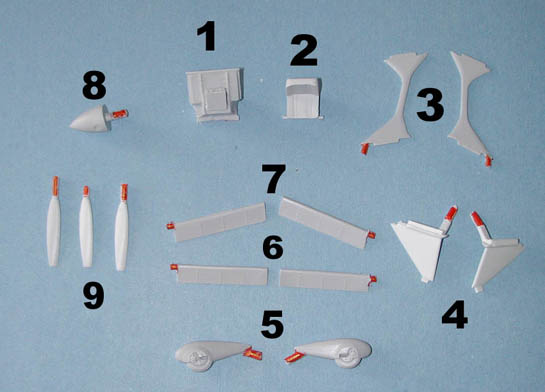
As in the other kits by this new Canadian company, the majority of the components are cast in a hard resin. There was some minor amount of flash on the parts that I received but this was easily removed with a sanding stick. There are a number of parts cast in brass and there are two photo-etched frets, along with a very comprehensive decal sheet. Also included are two vacu-formed canopies and lower fuselage window and a full colour construction manual with plenty of close-up construction photos to aid in the assembly of this model.
The large photo-etch fret is the same one used in the Pitts S2B however many of the parts are not used in the Bulldog.
Construction
I began by removing all of the pour stubs from the components, using a fine toothed razor saw and sanding sticks. Extra care is taken in removing the stubs from the tail surfaces as they are very thin. Once all of the parts are cleaned up, they were washed in warm water using an old toothbrush and liquid dish detergent. This preps the model for gluing and painting later on.
The lower wing was dry fitted to the fuselage and with very little additional sanding the fit was perfect. I then mixed up some 5 minute epoxy and glued the lower wing in position. Next the horizontal tail and main gear were epoxied in place and while the epoxy was still in the set up stage I added the cast brass axle struts and the tail wheel support block was added. Next came the cast brass tail wheel.
The excess epoxy was removed using a Qtip and Isopropyl alcohol.

The interior was next with the rear control column being soldered to the aileron torque tube and this installed in the fuselage along with the photo-etched heel scuff plates, the edges of which must be bent up to allow them to fit into the base of the interior. I then added the throttle quadrant and fuel selector valve. The interior was then painted light grey with black throttle handle and red fuel valve. There is a front seat which has the radio cast on the back. The radio is painted and detailed and the seat glued into the fuselage.
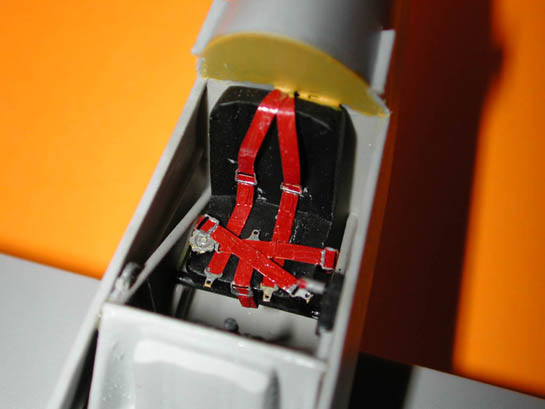
The rear seat was painted flat black, the seat belts red and a bit of silver detailing before being installed in the fuselage. I then detailed the instrument panel using decal instruments from an old Airwaves sheet. At this point the upper fuselage fairing was glued in place as was the cowling.
The cowling has the front two cylinders cast in place. These are painted and the nose bowl glued on. Now the cooling gill was added and any fill required was applied to clean up the joint lines.
The wings have separate ailerons that can be positioned to your preference. The rudder is also a separate item. These were glued in place using CA. The front cabane struts were soldered together and these and the rear cabane struts were glued into the bottom of the upper wing.
The model was then given a coat or two of light grey primer and any imperfections were then cleaned up in preparation for painting.
Painting
The cockpit, under fuselage window opening and the cowling openings were stuffed with damp tissue. I used Micro Mask on the tabs of the interplane struts and in their respective wing slots. The original aircraft is painted "Dynamite Yellow" and this is approximated by using Model Master Bright Yellow, part number 2717. The upper surfaces were given 4 coats of yellow and when dry, I masked off those areas to remain yellow then used Model Master Gloss Black to complete the painting.
Decals
Decaling was started by applying the silver fuselage stripe, followed by the rest of the logo decals. For your particular model, refer to Jim's web site at www.bulldogairshows.com. There are enough sponsor logos to cover a number of years of operation. Check the photos carefully. The wings were decaled, again checking for sponsor logos. The decals are very thin but might require a brushing with Solvaset to get them to adhere properly. I did have a bit of trouble getting the silver stripe to go under the nose however by cutting small nicks in the bottom of the stripe I was able to convince it to behave.
Final Assembly
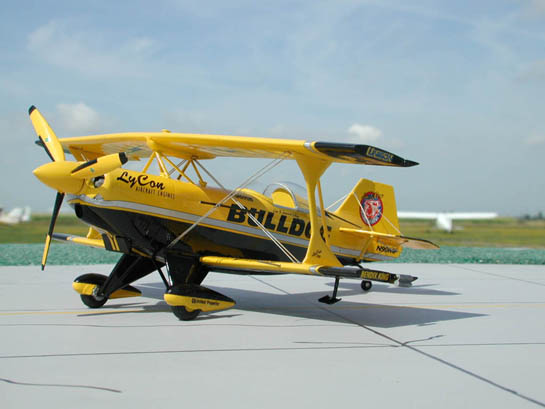
I decided that this one would have the canopy open so I carefully cut the windshield from the rest of the bubble and glued it in place. The windshield does not have framing over the bow so I merely scribed along the front side of the recessed frame line. The fuselage gas caps were added ahead of the windshield.
The upper wing was next. I used epoxy again in the interplane strut slots (after removing the masking) and the cabane strut holes on the top fuselage fairing. The wing was held in place, the interplane struts snapped into the slots and the whole thing held in alignment until the epoxy had cured…5 minutes.
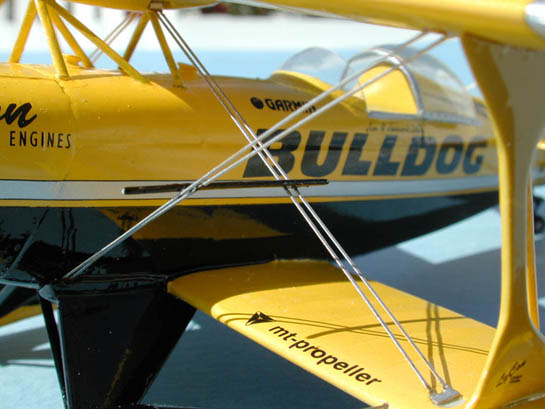
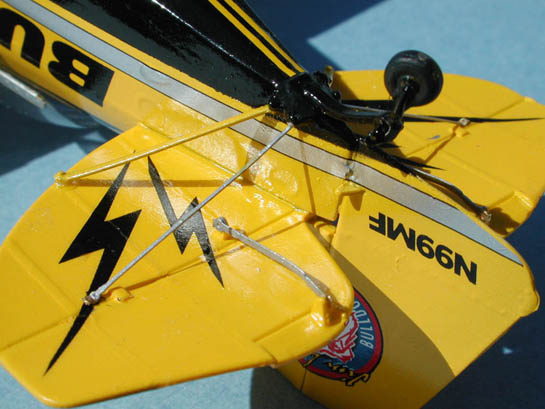
I then completed the small parts installation, such as flying/landing wires, tail brace wires. Trim drives, pyro tubes and aileron spades. The prop/spinner was then installed and the canopy bubble added.
The whole thing took about ten hours from start to finish, keeping in mind that I have now built 9 kits by Airshowmodels.com. and I'm very pleased with the product.
This model is recommended for most modellers
Price $85.00 US plus shipping.
Order on-line from www.airshowmodels.com
To see more of Barney's work, visit Barney's Air Force!
© Barney Dunlevy 2002
This article was published on Wednesday, July 20 2011; Last modified on Saturday, May 14 2016