
Italeri 1/32 F-86F Sabre
By Nicolas Deboeck
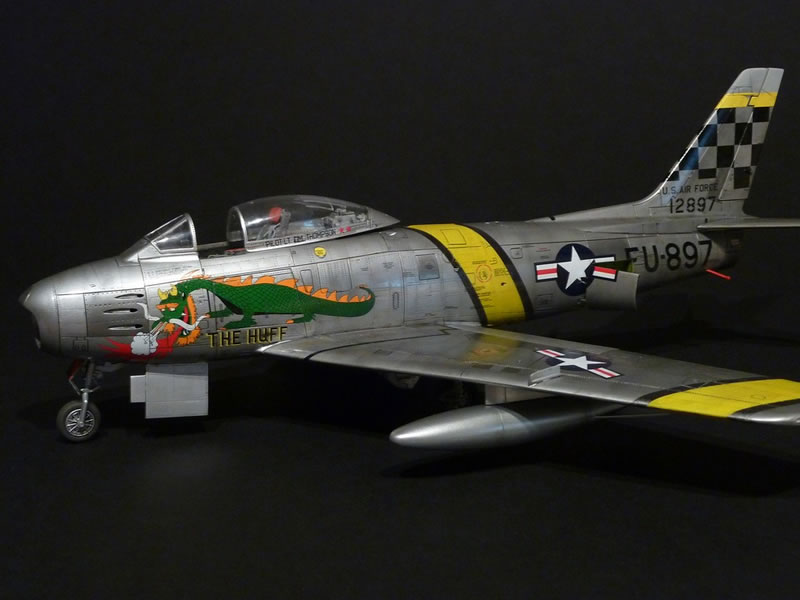
I'd like to present you the second NMF kit I've done. The first one was Kitty Hawk's F-86D Sabre Dog, this one is the Italeri F-86F Sabre. Not the easiest of kits, but with some sanding and a lot of polishing, you get a decent looking Sabre.
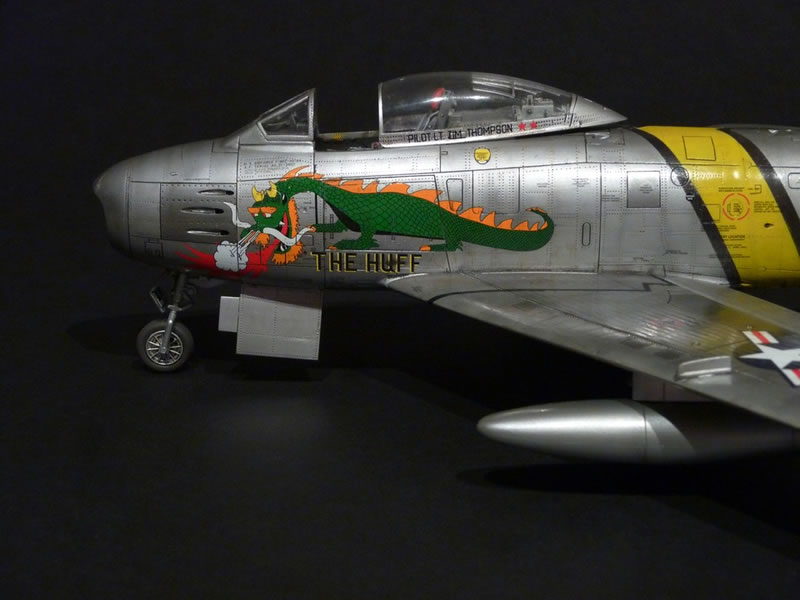
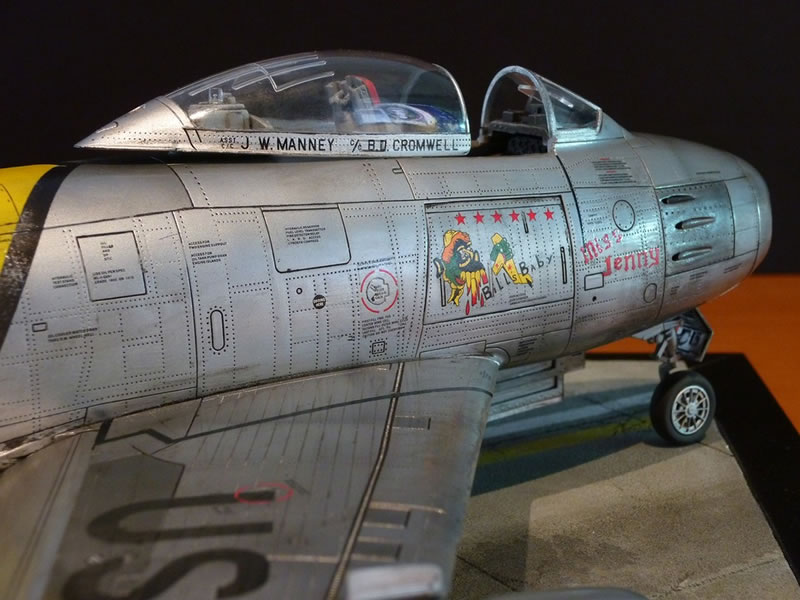
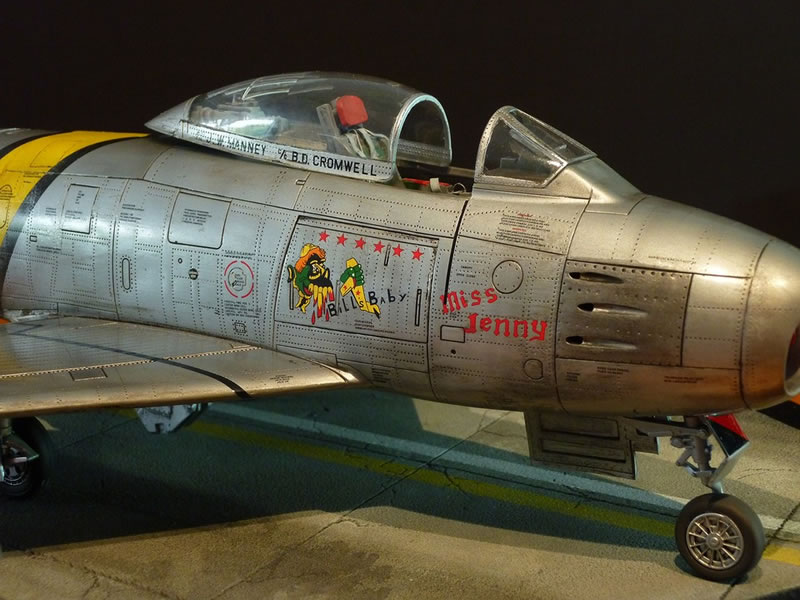
Not so easy to take photos of a shining kit ... here are a few close-ups. Italeri provides some great decals in the box. I've hesitated to do the RAF Sabre or the Italian Sabre, but eventually chose The Huff. Look at that great dragon!
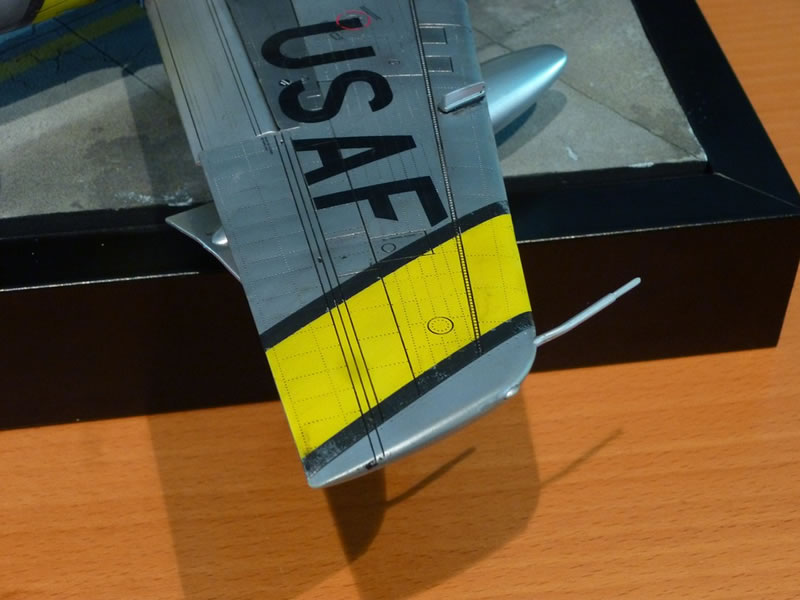
The yellow-and-black decorations are in available on the decal sheet, but I thought it would look better when painted.
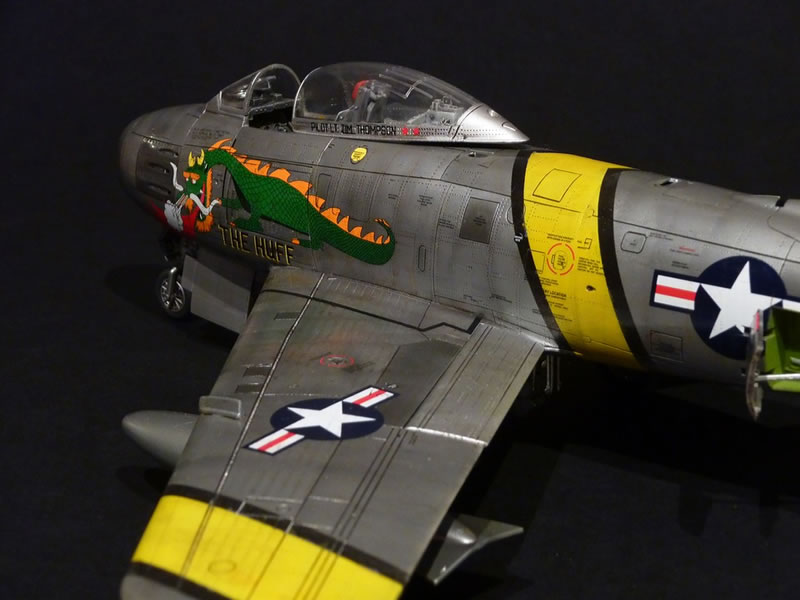
And here's a one other photo. The metal was done with my old Testors metal paints, everything else with Revell Aqua Colour. Weathering with watercolours.
Here's a messy in progress shot, showing my tricks for the weathering; watercolours and my old woolen scarf for the extra polish at the end of the build:

Looks pretty bad huh? But after about an hour, this is what it turns into:
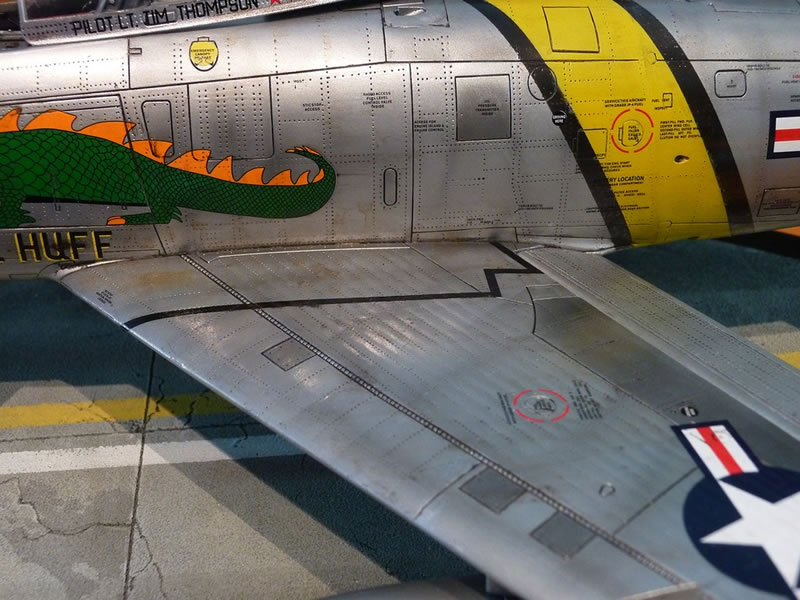
I also tried to photograph the canning effect on some parts of the kit, but as said earlier, it's a bit in the kit, I just emphasised it. Not so easy to photograph, but there it is. Here is the left wing:
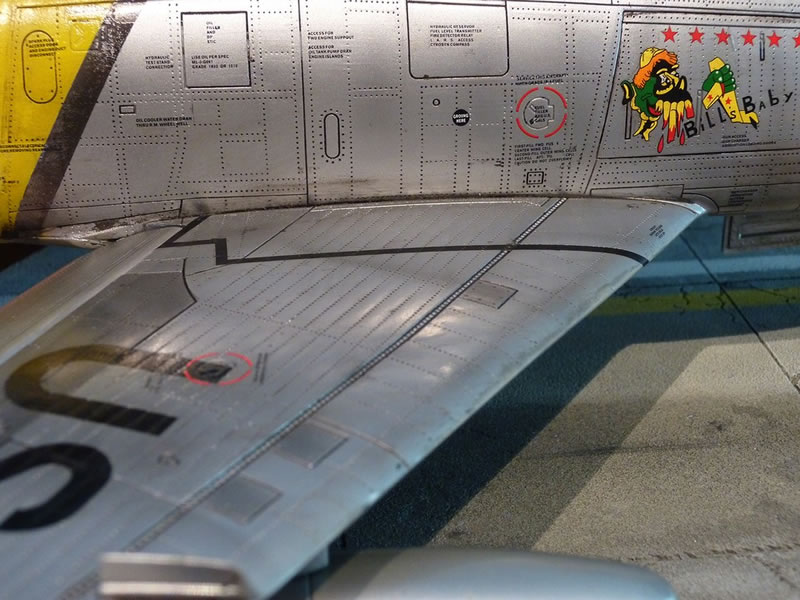
And the right wing:
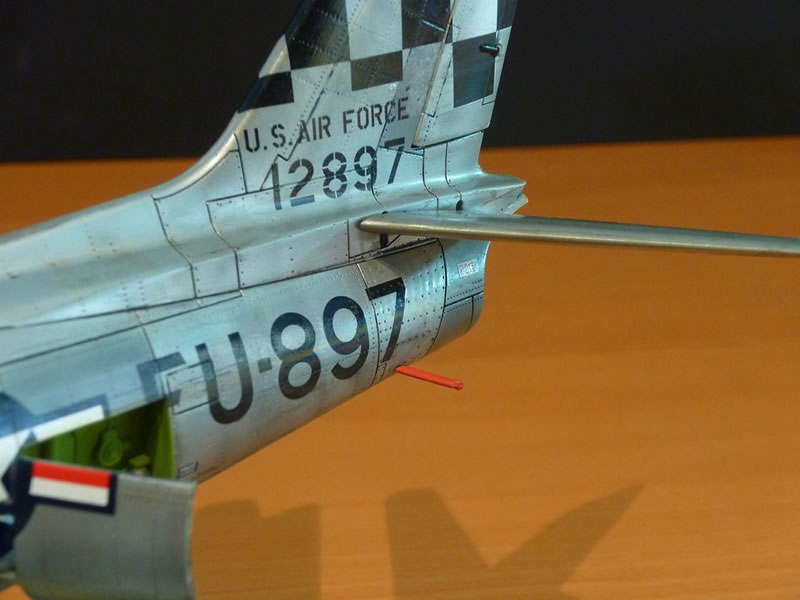
And the exhaust area:
I just filed the plastic after which I sanded and riveted the area again. But again; it was already a little in the kit, so this helps a lot!
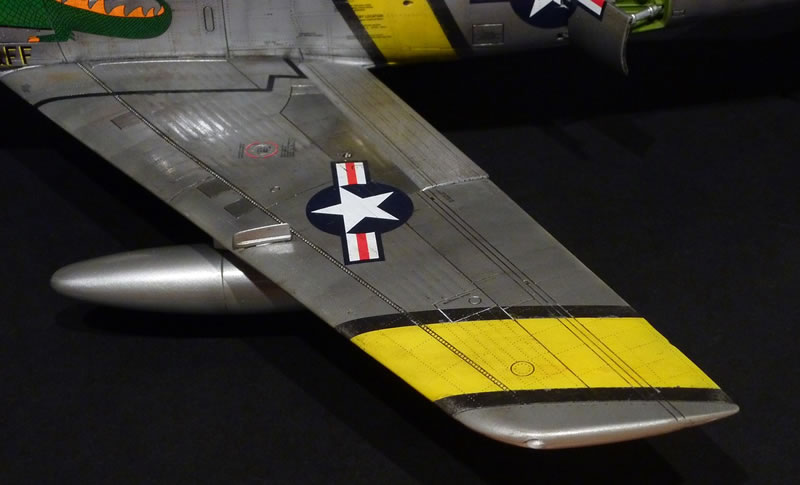
Here is the wingtip of the right wing. This photo shows the advantage of painting the yellow-and black areas. This effect I wouldn't have had with the decals I think.
And just one more:
This was a bit of an experiment for me, but here's what I did:
- I painted the kit completely in Testers Chrome, panels in a mix of Testers Chrome and Titanium, with just a little hint of brown.
- After that, I did some panelling with Testers Titanium and painted the yellow and black areas with Revell Aqua Colours.
- Then came a brushed-on layer of Johnson Clear for the decals.
- When these were dry, I put on the wash.
- When that was done, I polished the entire model with my scarf for over an hour. By doing this, I guess I rubbed of most of the clear and the Testers paint started to become like a mirror.
- On the right side of the nose I also experimented a little with pastels. Well, I actually sanded some pastel of a dark metal coloured pencil and shaded the lower area. it's hard to see, but if you look at the last photo above, you might notice it.
The only bad thing is that Testors metal paints are very hard to find, I think they are discontinued.
This is my second metal finish I did and I'm thinking about building a couple more. I have a P-47, but lately am playing with the idea to do an F-105 in metal... Oh well, we'll see. This Sabre is the 28th finished 1/32 kit I have (but 8 are Bf 109s...).
© Nicolas Deboeck 2016
This article was published on Wednesday, October 26 2016; Last modified on Wednesday, October 26 2016