
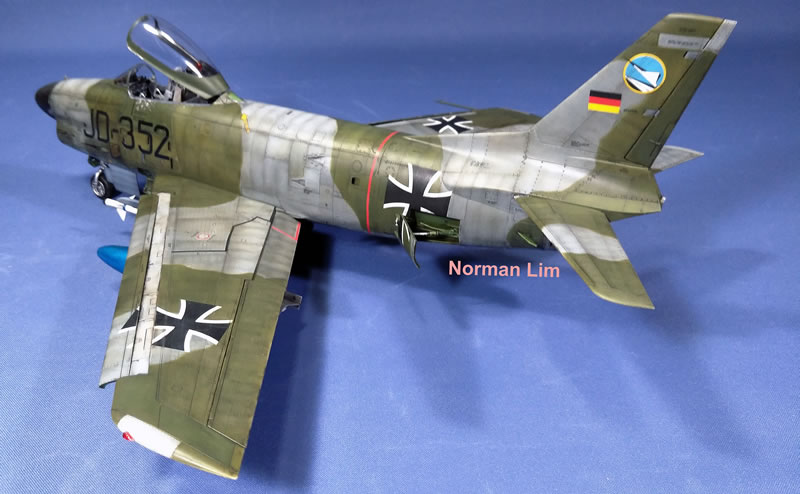
Kitty Hawk 1/32 F-86D Sabredog
By Norman Lim Chee Seng
It was a really good treat when I set eyes on the box art from Kitty Hawk when it first arrived in Singapore. I do have a few friends that met every weekend at Miniature Hobbies, largest hobby stockist in SE Asia, and we will normally hoard whatever new that comes along…not that I am a hoarder, but having more than 400 unbuilt kits at home is not a good justification of not being a hoarder!
I was captivated by its artwork and the schemes made available to us in the decal sets. The surface details are good at first glimpse. I decided to build it.
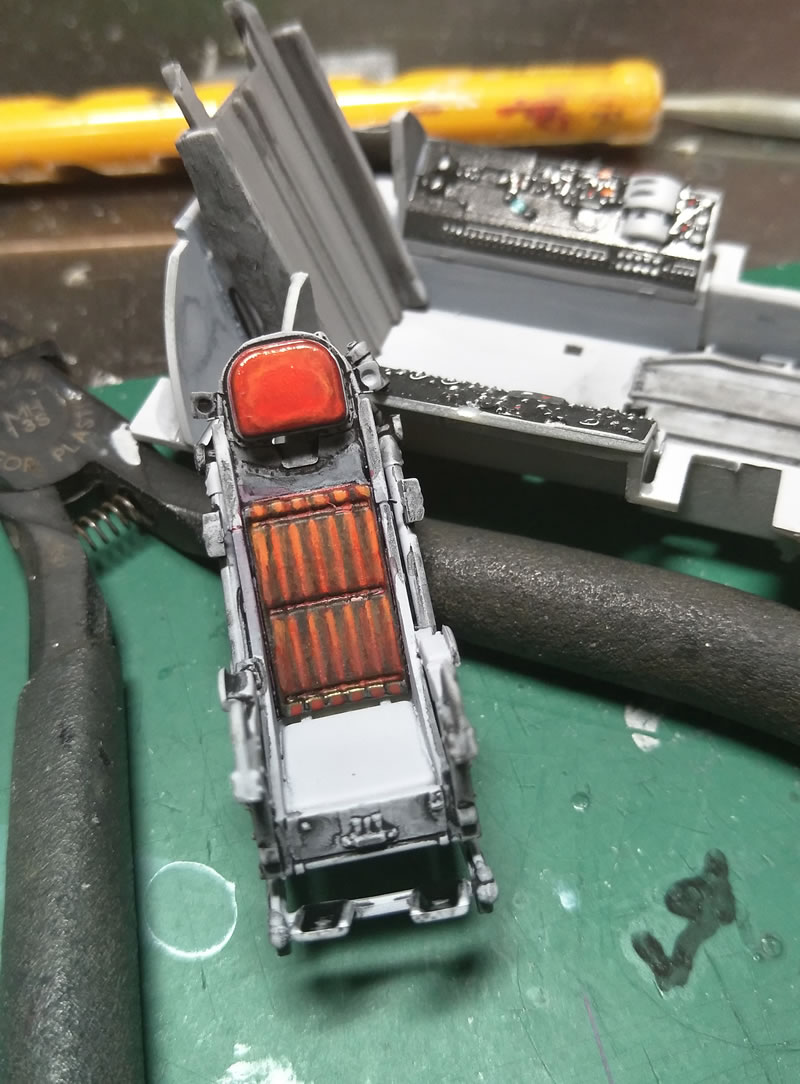
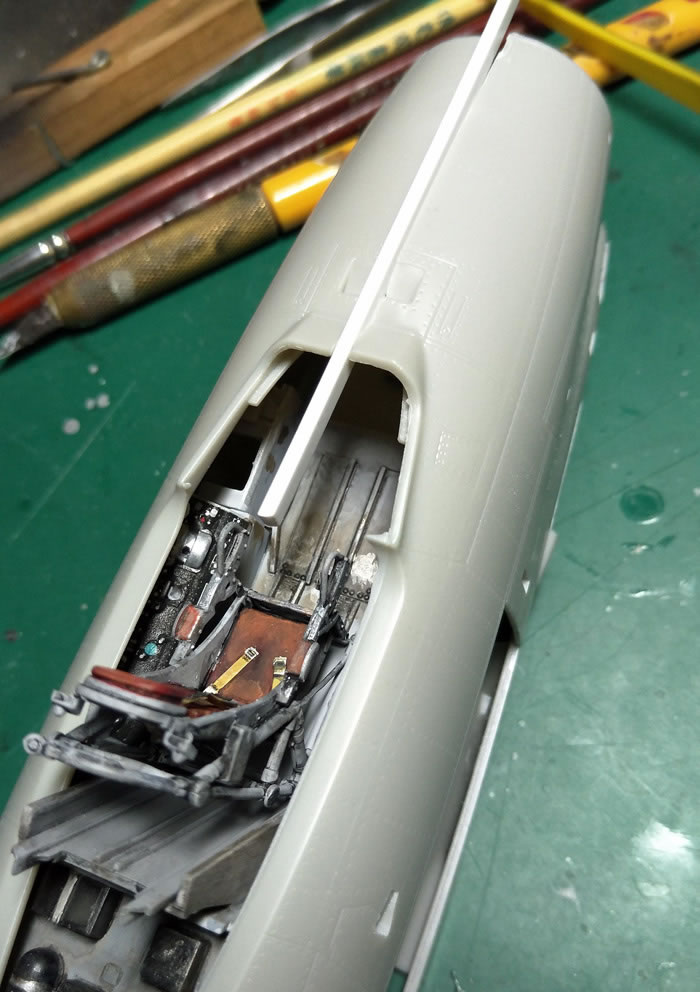
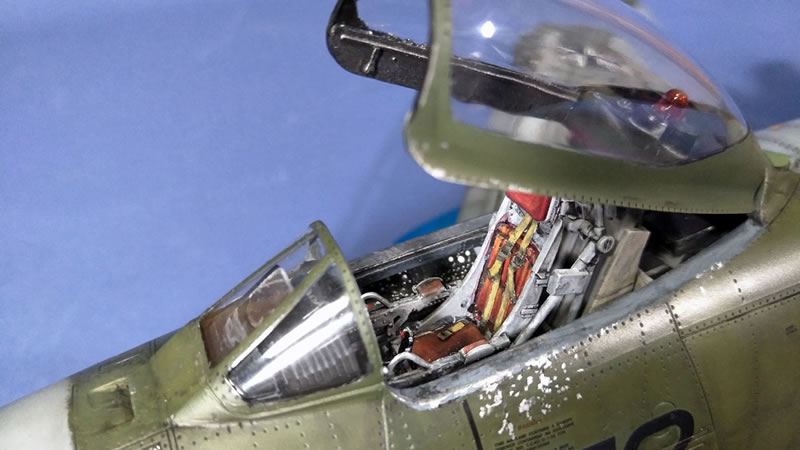
I was a little taken aback by the amount of parts that contributed to the construction of the seat which made it very flimsy as the anchor points are few and very small. With some trouble, I managed to get it up in one piece after about 6 hours. I decided to paint it with some light induced colour shading that I usually do when I paint my figures. The red leather were highlighted in orange and yellow glazes using the trusty Vallejo paints.
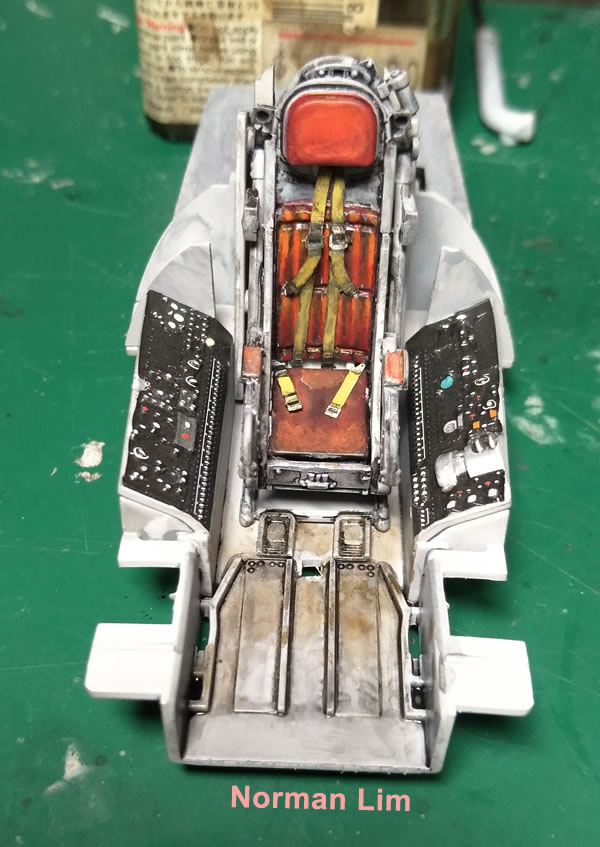
The cockpit, as we are now spoilt for choice, was a lazy affair. I used the Eduard photo-etch set. The seat belts went on gluing the top first, when dried, the middle and then the ends, so that we can bend it to make it look a little bit more natural with the sags. Setting the seat into the cockpit needed some effort due to the fact of the flimsy framework system that I struggled with early ending it not being 100% aligned. Taking care not to scratch the paint work on the tub walls. In the end, I scratched it badly and had to touch up with some paint very carefully. Such skills was attributed to figure painting, which came in really handy. With the seats in place and cured, I dabbed some silver on the cockpit floor using Vallejo Air Chrome Silver. When dried, dabbed on the Tamiya Brown wash. This was then managed with white spirits and a clean Number 5 brush.
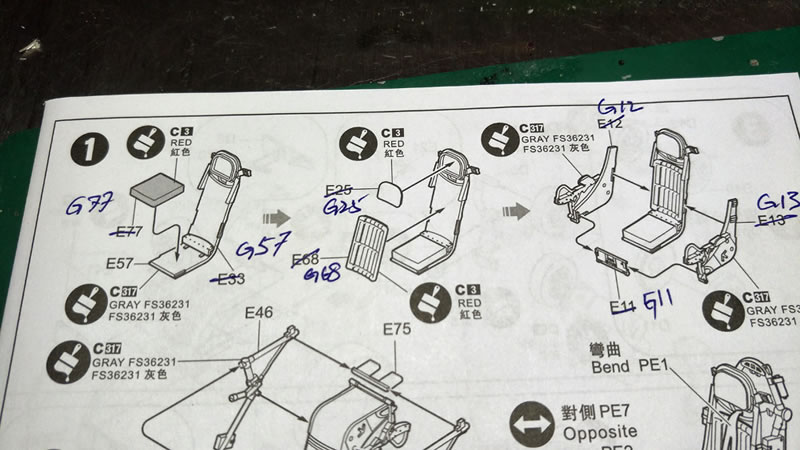
I had a hard time with the instructions. As about 35 parts in the instructions were labelled wrongly and I have to correct them manually so that took some time.
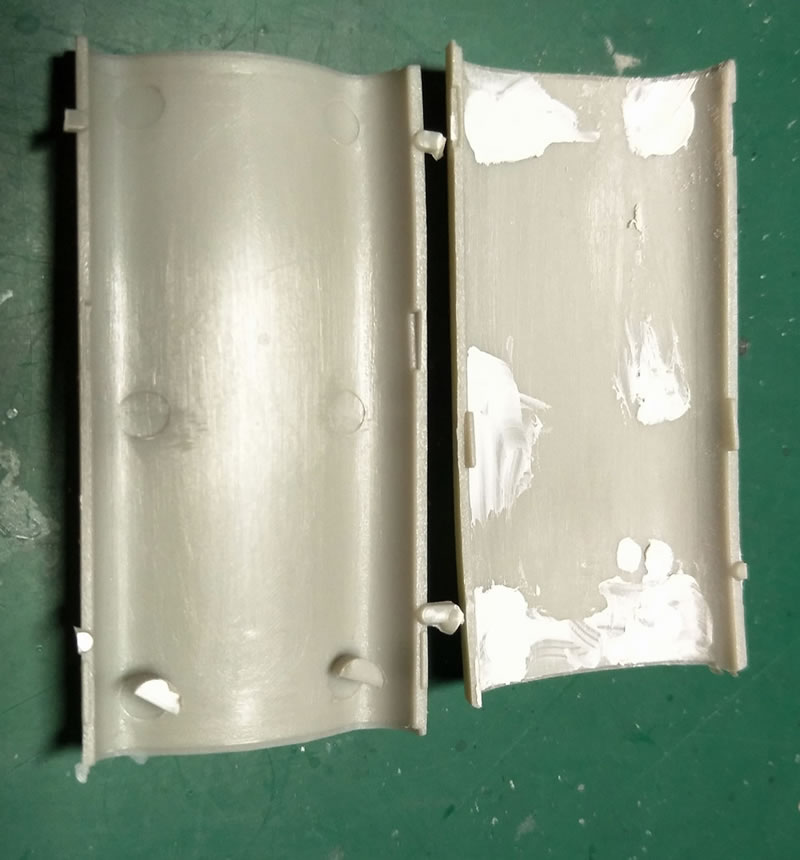
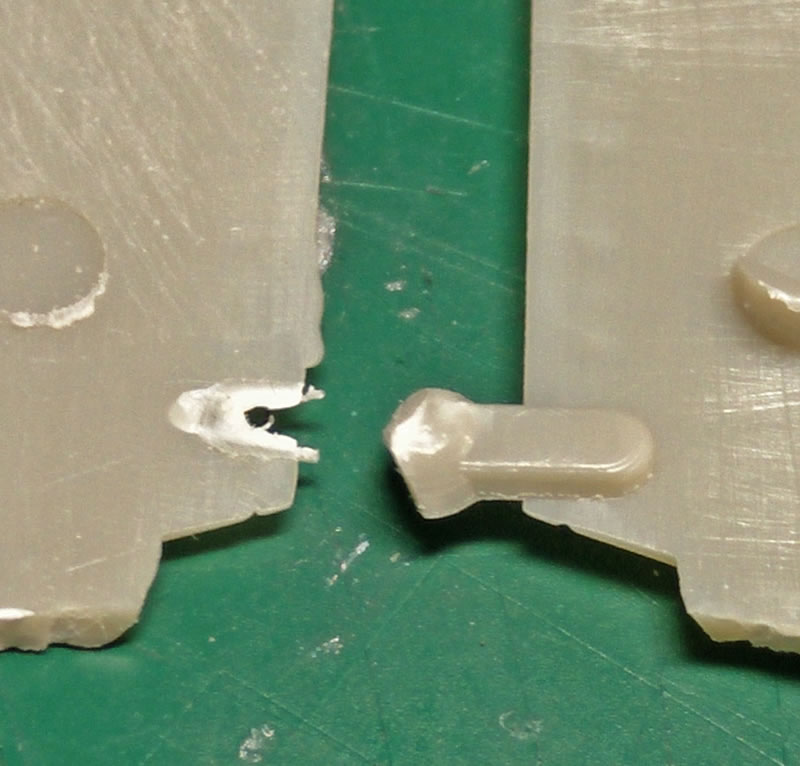
One thing that is very frustrating is that the gates are very thick and it sits on the edges of the parts. Thereby every part that we cut need extreme care to sand and file it, this inevitably can increase the risks of a good fit on very thin parts. The ejector pin marks are not marks but columns that needed cutting and filing and sanding down as these are 4mm in diameters, more like rods. Having these on small or thin parts are an especial challenge. Seen here in the seat and the visible parts of the intake duct.

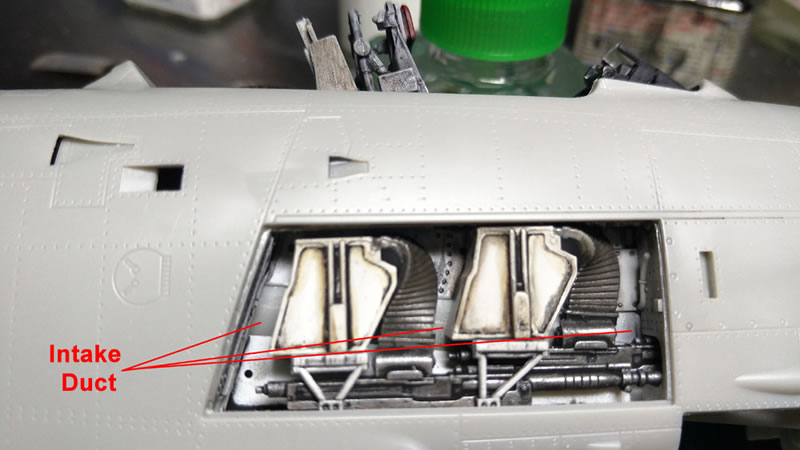
The intake ducting was a challenge as its moulded with quite a rough textured surface and having 6 such 4mm diameter columns. Cutting them and sanding them down took time as the whole internal surface needed work to make it smooth. These where painted with Mr. Colour Surfacer in White and then glossed over with Mr. Colour gloss.
Fitting together – that marriage is not straight forward as it required the multiple part wheel well, the intake duct and the cockpit and the forward fuselage. The gap is apparent as alignment is not possible to be perfect since its cut up to something like 40 parts which Tamiya would have done it in a dozen. So the gaping hole had to be addressed. I used a 1mm plastic card strip from Evergreen to address it and thus affected also the fit of the windscreen, which can be centred and filled up with Vallejo liquid putty that I made using it with 50% water and acrylic medium. This then can be rubbed down using ethanol and cotton wool. The process is repeated 3 times over 4 days to get the windscreen in place. The details were then returned by my plethora of Hasegawa rivet and scribing tools and templates. There is also the challenge of the radome and lower part of the fuselage that encloses the intake ducting, once again, alignment issues and shape issues. Major reshaping was done to the radome using Tamiya Epoxy Putty, Cellulose putty and Vallejo Liquid Putty. The filling, sanding when back and forth for rounds, that consumed about a week of construction time to get it right.

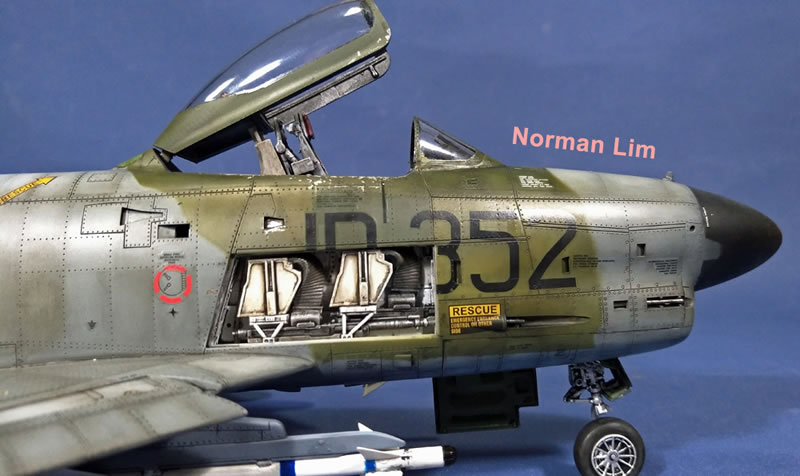
I also painted one side of the gun bays as I decided to display the starboard side of it. I also realised that the guns will not align properly with the holes and that they will be too short to protrude out of the ports on the other end. So, I cut the barrels up and glue them near the exit points leaving a gap of about 5mm in between leaving the shortfall invisible to the eyes. On assembling the tub for the gun bay, which was again divided up to a dozen parts which Tamiya would have made with 1, was a major gripe for me. Alignment is an issue again. Splitting the rear wall into 3 parts was a puzzle to me, leaving gaps in the bay. It wasn’t till the marriage that I realised that this is because parts of the intake ducting was supposed to the flooring walls for the gun bay. This became an issue that needed some very careful painting with Vallejo putty to smooth out the surface. Cleaning the putty up with ethanol loaded brushes is not only time consuming but very tricky as the gun bays were already painted and weathered prior to marriage. Then the gaps needed careful painting and weathering to bring it back to match the rest of the gun bay doors. All this work is because of bad design and engineering. Destroying what would otherwise be a great and exciting subject matter build for me.
Once that is out of the way, I glued the covers on temporarily with Krystal Klear, knowing that we can dissolve it with water later and remove all traces of it after we are done painting. With that done the forward assembly is ready for paint. I moved on to work on the rear fuselage. I threw away something like half a tree of parts on the engine that served no purpose. If we are to build the engine, the details are insufficient and a lot of extra bits are needed to complete it. However, here is the catch, the nice engine cannot be taken out of the aircraft as an option to display it at the side, reason being that its part of the structure that holds the whole plane together! How’s that for engineering! We have 2 trees of plastic and 4 diagrams in the booklet totally a waste of time and money! Subdividing the whole structure to 2 dozen parts did not help again in the alignment. The two parts did not join well and some sanding, filling and returning the details were required to get the fuselages to blend seamlessly. The top was especially challenging as we inserted the Evergreen strip earlier on. It had issues with all the details being lost, which required extra care to return as this is the most visible part of the model.
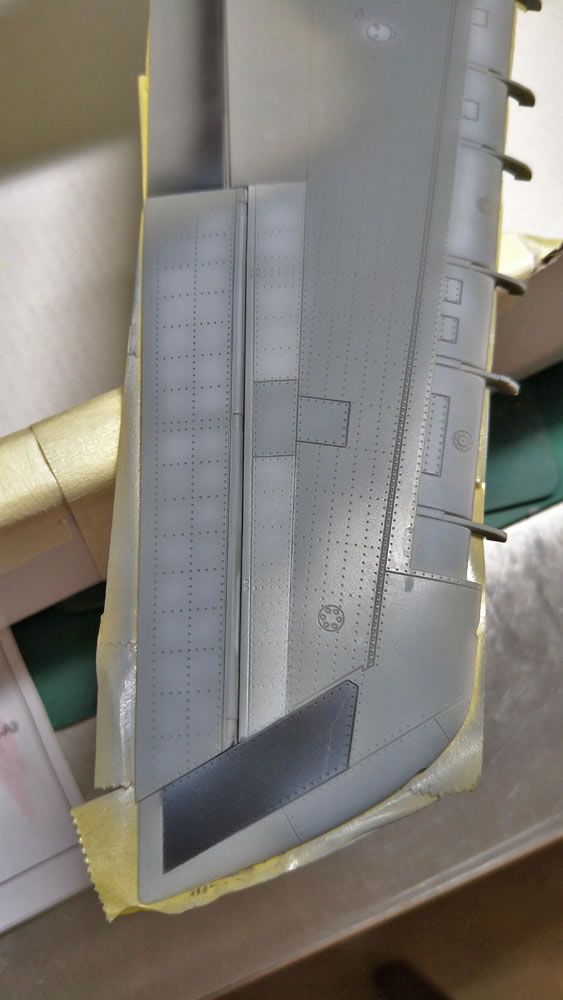
The assembly of the wings were a challenge too. We have to make the wheelwells again broken down into a dozen parts. Alignment issues again in this part area and the spars where jammed trying to dry fit the wings. So, since the spars are supporting very light wings, unlike the Tamiya Corsair or the Airfix Sea Vixen, cutting them off after the wheel wells did wonders for me. Finally, a moment of delight in the lifetime of misery in getting this beast in shape. Then disaster struck again. Remember the gates I mentioned, in the bid of rushing, I tried to cut off the stub with the Tamiya side cutter. For good measure, I sharpened the cutter using the diamond file from Tamiya and get it to cut like butter through plastic. I was really please with it till I tried cutting those dreaded studs off the wing edges. 1st 2 cuts were without incident, the 3rd one……man, it took out a whole chunk of the wing by its pulling action, I supposed. That meant more work that were unnecessary had it been better designed. For a kit costing so much, this becomes very unforgivable for me! 6 hours later, the part was cured and robust enough to be filled and sanded and details returned! That took 2 days! With all that out of the way, the model is prepped up for painting!
Section Two – Painting the Dog
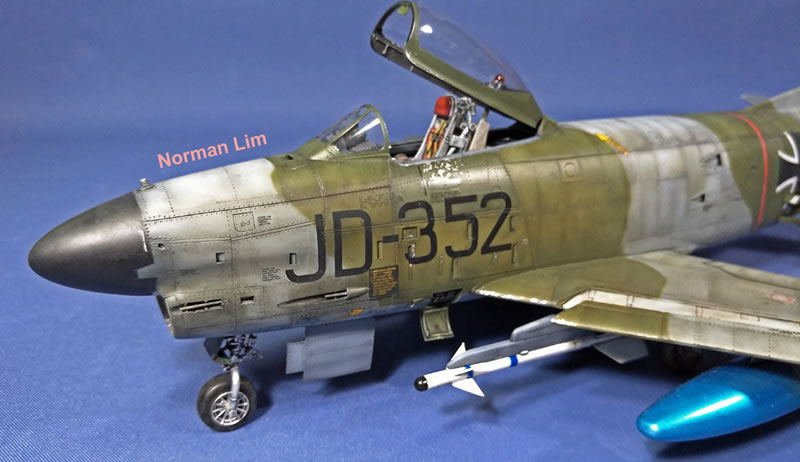
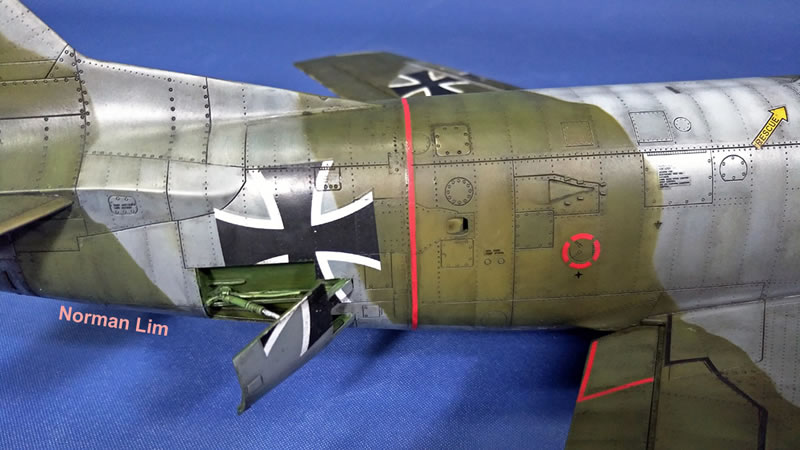
The dog I wanted to paint was a silver version, but having done surgery all over the place on this one, silver will be a great enhancer for disaster chances. I am left with no choice but to do the blue, grey and green scheme of the German Air Force.
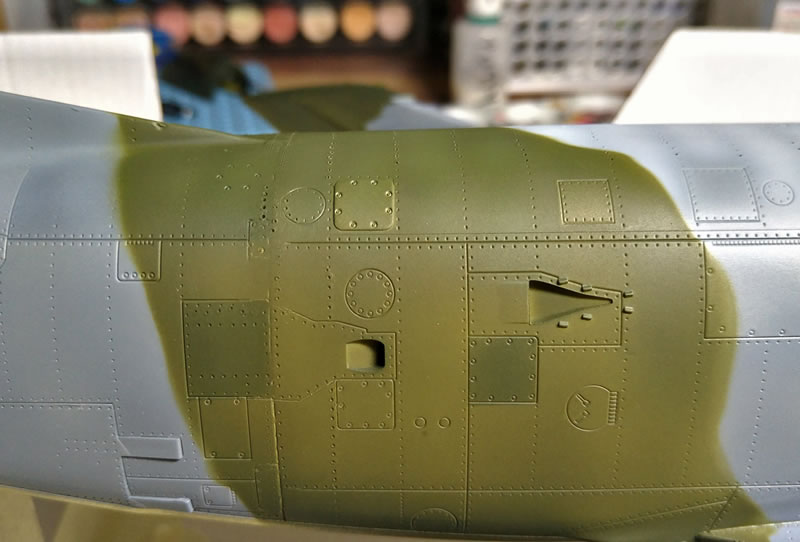
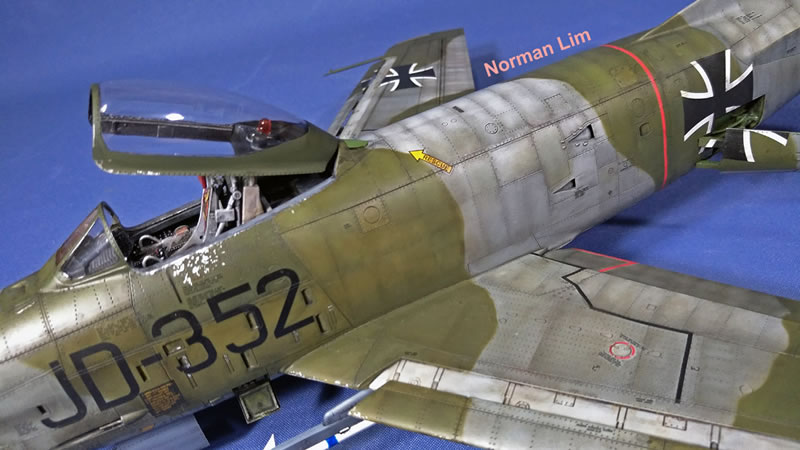
I developed what I called reverse masking painting method some years back where I would paint patches of the plane in black, green, white, greys, yellows before we over coat them with the camouflage colours as this will give a single colour different hues in differing panels. Somehow, others have caught on with this method in the last 8 to 9 years and is now popularised in magazines printed all over Europe. What pride it brings to me, even though I did not make monies nor fame out of it, but was really happy that many finds the method nice over the usual black over panel line pre-shading.
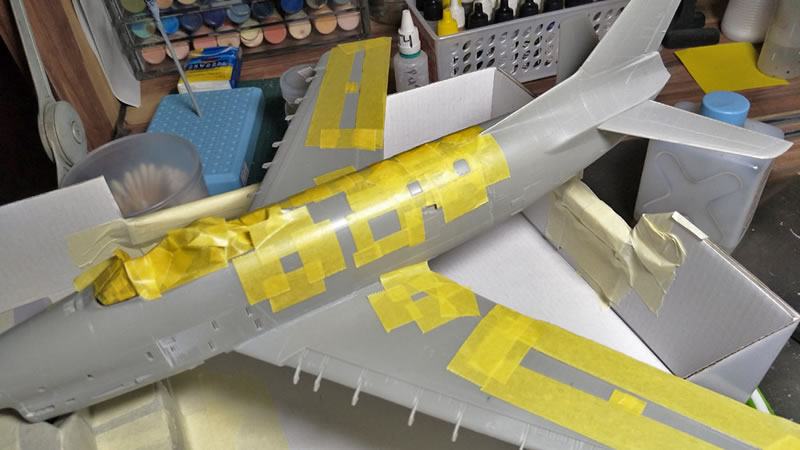
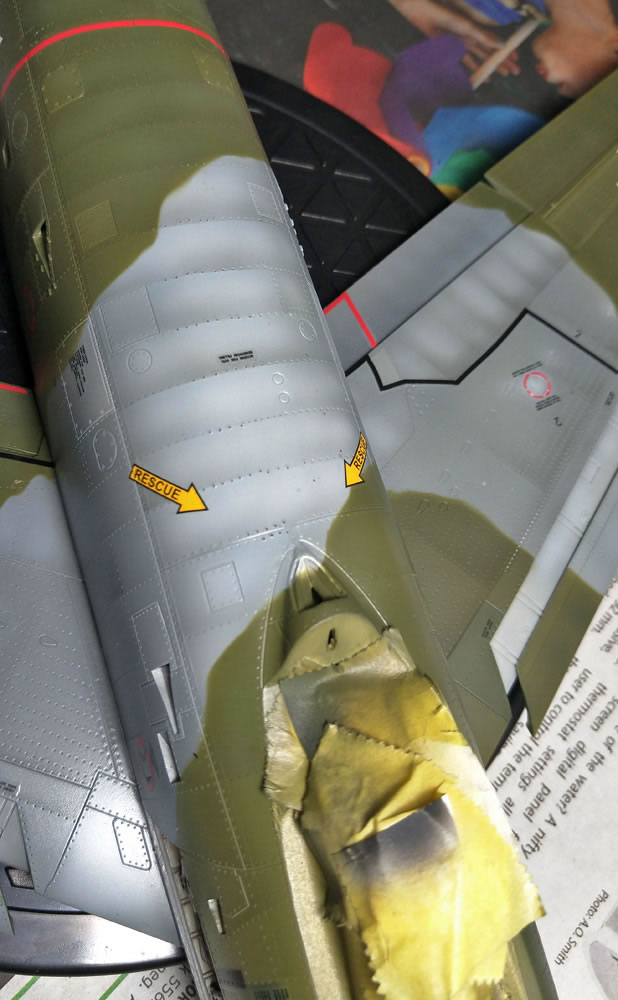
Once the panels are done with beige, white, black and brown patches, actual camouflage paints scheme colours are doused one with the dark tones serving in the background and highlights in the middle of each panel. Care is taken not to coat it too thick till it becomes opaque, that will defeat the purpose of doing the panel reverse masking in the first place. I tackled the greys first, before I mask it off with blue tack and masking tape to tackle the greens.
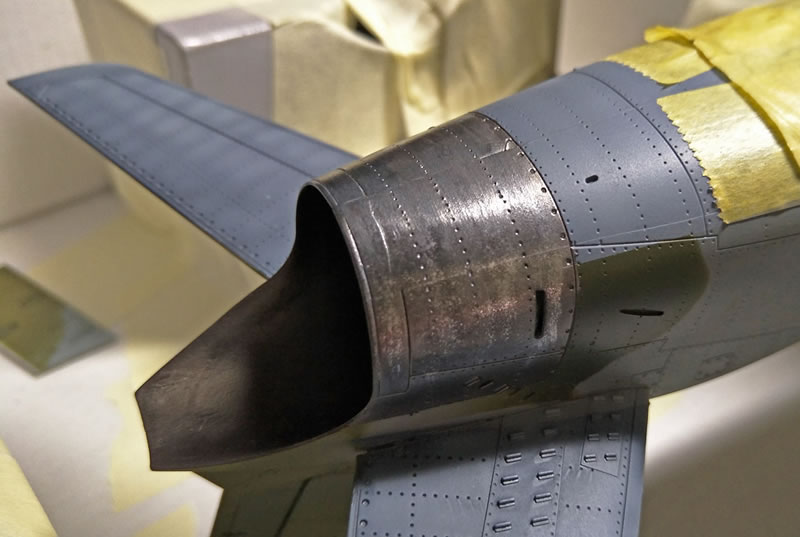
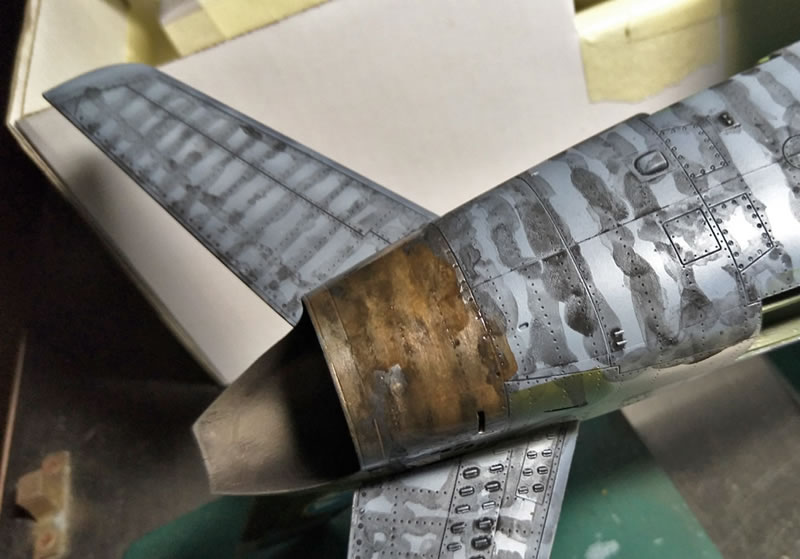
Then I painted the exhaust in Vallejo Titanium and Glossed it with Mr. Colour Clear. Then I rubbed on the dark exhaust colours from AK Extreme Metal and then polished with clothe to get the patchy metallic sheen, then coated with Mr. Colour Clear again and now the whole area was ready for black wash.
Then the whole plane was colour modulated using diluted Tamiya smoke. This was done panel by panel to give them a 3D look, with a hint of panel stressing. Its time consuming, but the end result is very pleasing. The decals went one, left to cure for 2 days. Thereafter, an over spray of 3 coats of “BANANA WATER” to melt everything down. Basically, it's banana flavour that they put in food, it’s a solvent for paints! I use it for melting the decals into the model surfaces and it also smooth out the Gunze or Tamiya lacquer acrylic paints to give everything a smooth satin finish. It also removes all signs of silvering on the decals. This is my little secret which I am sharing here for the first time. Very few people knows it, only some of my club members knows this and the Taiwanese club senior members from Military Modelling Techniques Resource Centre.
Once everything is cured over 6 hours in the paint booth, I over-sprayed the whole model with Gaia Tool Cleaner to matte out everything to give the model a matte that is slightly smoother, a state between satin and matte. The gallery is the finished model after toning with simple oil colours to make the panels a little bit more interesting. I hope you find this article useful and try out some of the techniques I used for this model. Thank you for reading.
Norman Lim Chee Seng
Model making since 1972


© Norman Lim Chee Seng 2016
This article was published on Saturday, October 15 2016; Last modified on Saturday, October 15 2016