
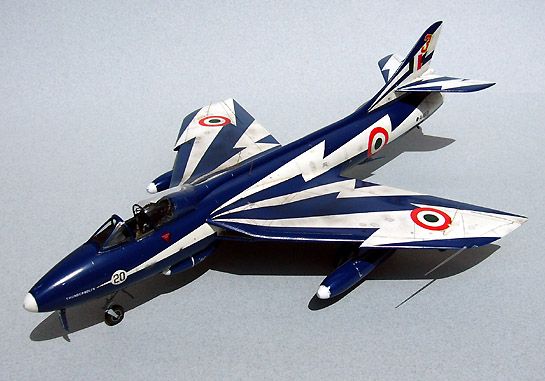
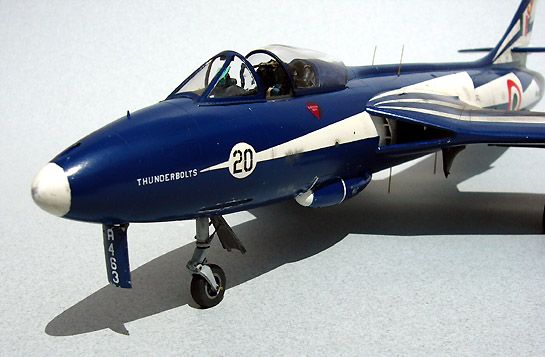
Revell Hunter F.56 of Indian AF Flight Demo Team 'Thunderbolts'
By Ron Cline
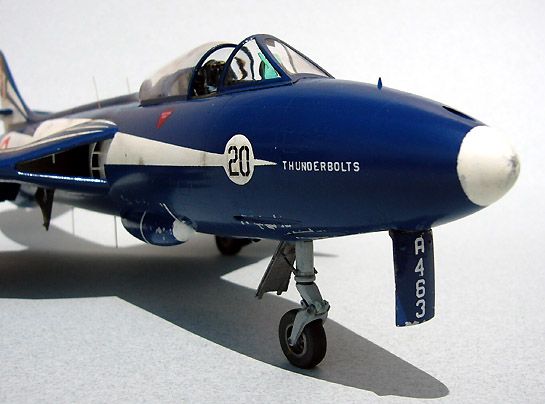
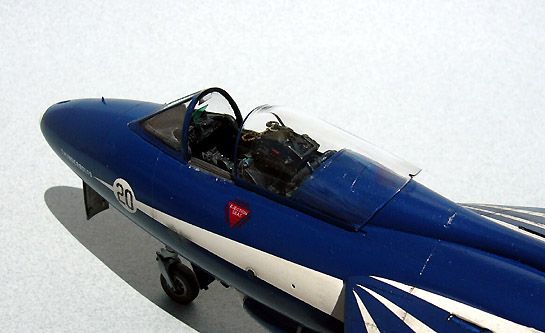
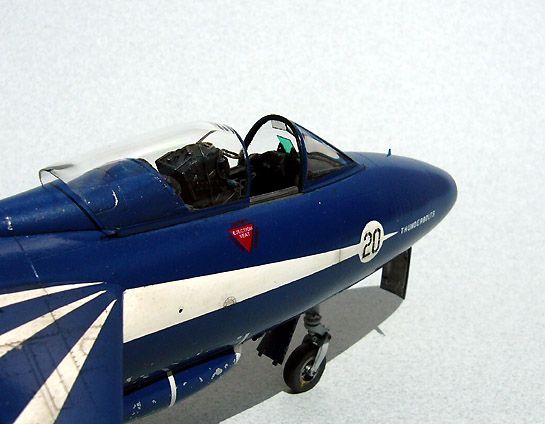
I started with the excellent Revell 1/32 scale Hunter kit. I replaced the kit cockpit with the resin set from KMC, with the instrument panel and a few other pieces from the Eduard photo etch set, plus a few scratch built items. The kit flaps were replaced with those in the Eduard set. The tailpipe was replaced with one made from a section of brass tubing since the kit pipe is far too shallow. The fins on the external tanks were replaced with new ones made from brass sheet for a better appearance. And finally, the antennas are from the Eduard set.
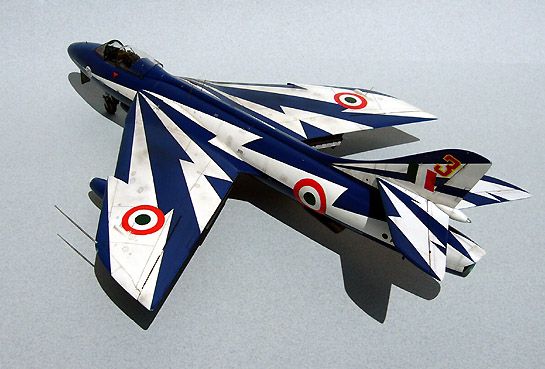
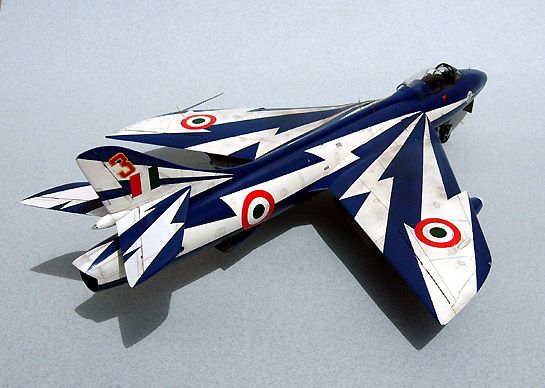
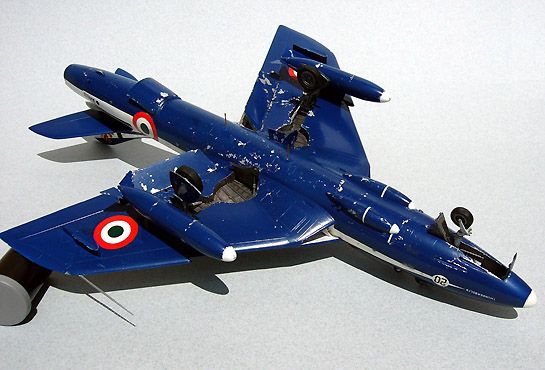
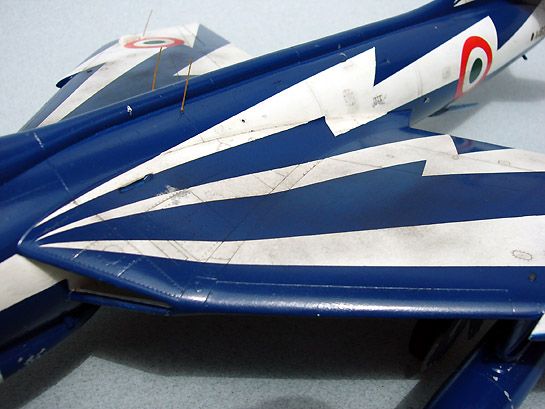
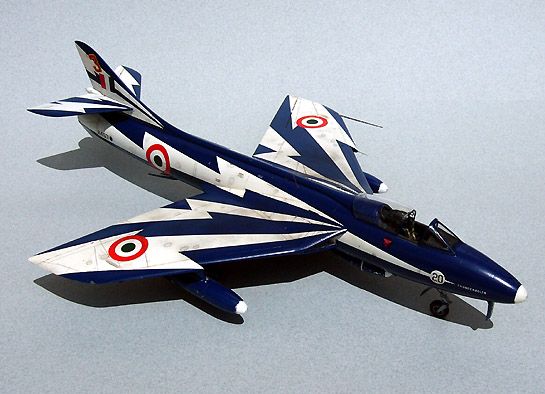
Reference photos show that these aircraft weren't maintained in the 'spit and polish' manner common to most flight demo teams, in fact, they were rather rough looking with quite a bit of paint chipping and peeling (especially on the undersides), and a general overall dirtiness. Plus, there were several variations in the markings from plane to plane, even in the same formation.
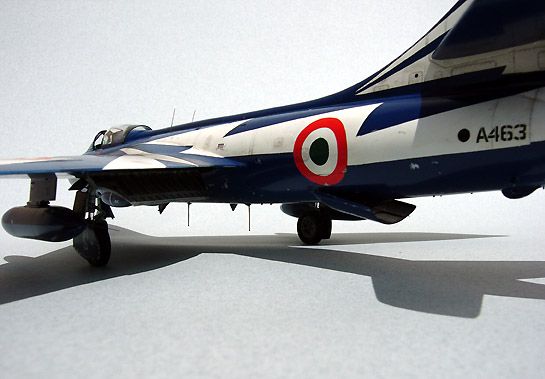
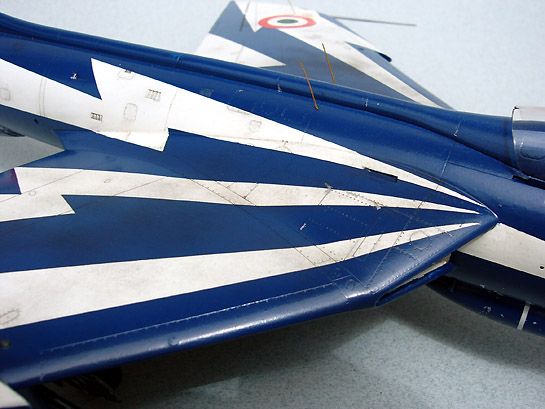
Painting was started by first spraying the undersides with Testors Silver. When this was dry, I dabbed liquid masking film in the areas that I wanted to later show paint chipping. Next up was the white. The 'fun' part was masking off the lightning bolts as it took several evenings of work. The masks were made with frisket film. After applying the masks, I burnished down the edges and brushed on a light coat of Future along all of the edges to seal them from paint seepage when I sprayed the blue. The blue was sprayed next, using Tamiya X-4 Blue. When I removed the masks, I had razor sharp separation lines due to the Future sealing of the masks; zero touch ups needed. Lastly, I pulled up the liquid mask spots on the undersides to get the paint chipping effect.
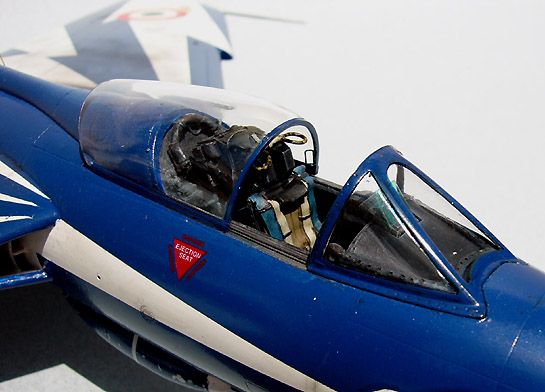
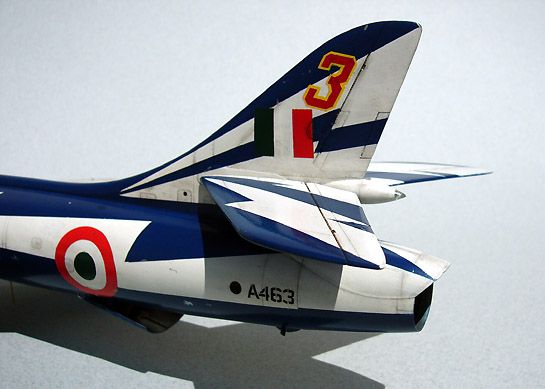
Since I built this project before I had the ability to make my own decals on the computer, all of the national markings were masked off and painted on. The various black and white numbers are from the decal stash, the ejection triangles are from the kit's sheet, and the name on the nose was done with dry transfer lettering from Woodland Scenics. The number 3 on the tail fin was made by cutting out the design from some solid red decal stock, and applying it to some yellow decal stock. This was then trimmed down to leave the yellow border, and then applied to the tail.
The remaining weathering was done with some light washes, and pastels to 'dirty up' the airframe, particularly around the wing roots (the weathering doesn't show very well in the photos).
© Ron Cline
This article was published on Wednesday, July 20 2011; Last modified on Saturday, May 14 2016