
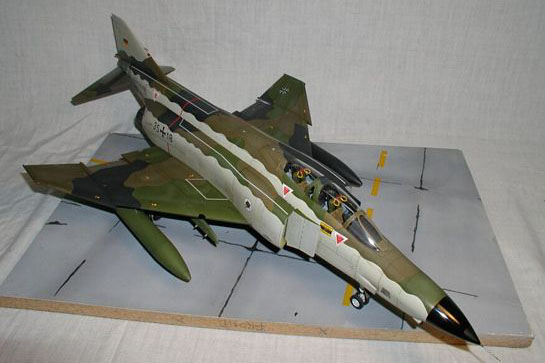
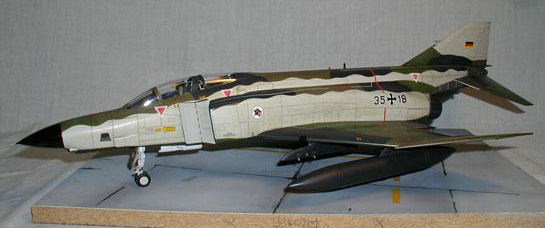
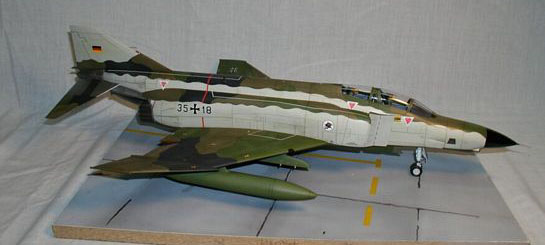
RF-4 Disco Bomber
By Paul Stoner
For some time now if we wanted to build a big scale RF we were left with only that from Revell, and now with the RF conversion from Black Box there is another way. I have always liked Tamiya's 1/32nd scale Phantom series over the kits from Revell and Revell/Germany. I still feel the Tamiya F-4 kits are more detailed and easier to build, but still the only draw back is the difference in price. This debate between the two kits have been going on for years and more than likely will continue for many more.
This build started off as just a practice build to see how the set was and if there were going to be any major problems before I start building more for very avid and naturally insane collector, who is a very good friend of mine never the less. There were some things that needed a little attention but nothing too major.
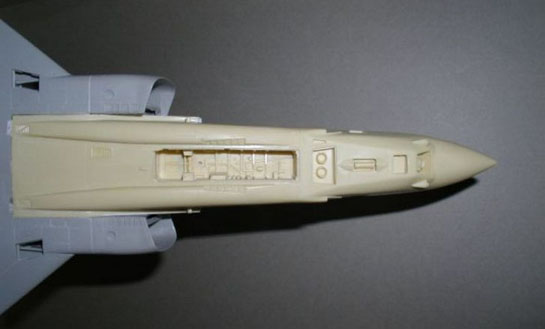
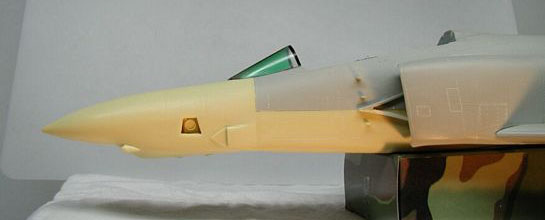
The set comes with every thing needed with the exception of a nose pitot tube, but this can be made with some small rod. The instrument shroud needed some ribs on the top to give it a more realistic look, and you have to cut each camera bay window from clear stock that is provided. I would recommend that you paint and install the camera bays and windows before completing the rest of the build and painting due to the fact that there is allot of dry fitting of the windows and for my next build I will do this before gluing the nose to the fuselage. I would also suggest that if you are good at scribing you might want to clean up and deepen the lines to match that of the kits lines to give it a more uniform look.
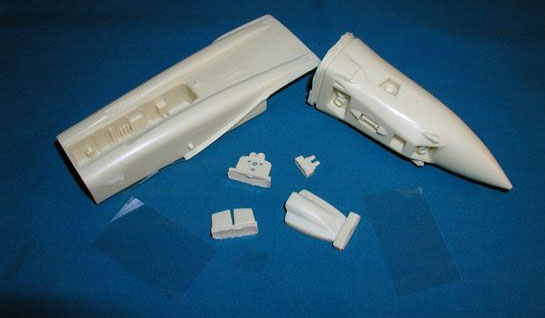
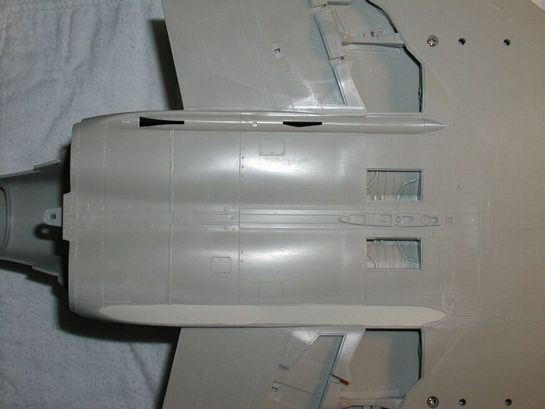
I have also started a habbit of cutting off the splitter plate from the intake trunk with all my Tamiya F-4 builds, This will help get things lined up right with the bottom fugelage piece and will also help to get a good coat of paint in this area. This area has always given me problems and this corrects that. The splitter plate brace that comes in the set will need to be sanded down a bit so the plate will touch each of the 4 on each side. I used some Squadron putty to fill in the read sparrow bays which is common with all RFs. The exhaust nozzles are the new one's from CAM and I think look great and more correct than the kit provides.
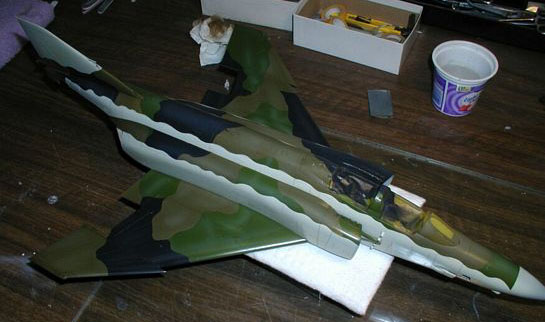
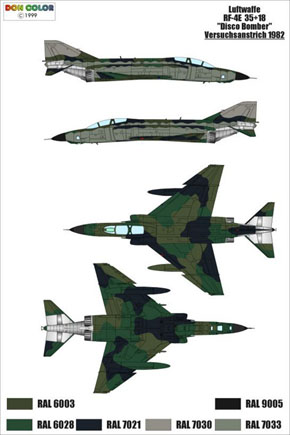
All in all I enjoyed the build and like the fact that now I can build a Recce- Phantom with my favorite F-4 kit. The finish was fun to do and I only had one picture of the real jet and a color chart from Don Color. I think that the Olive Green color suggested from the Don Color chart didn't match the real photo I had, so I mixed it with a little gray until I was happy with it, even though after finishing it I'm still not happy with the shade.
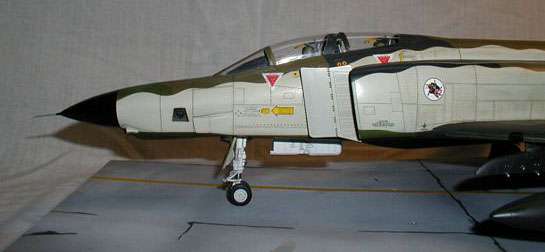
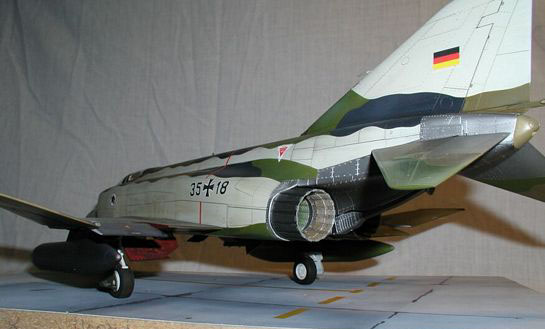

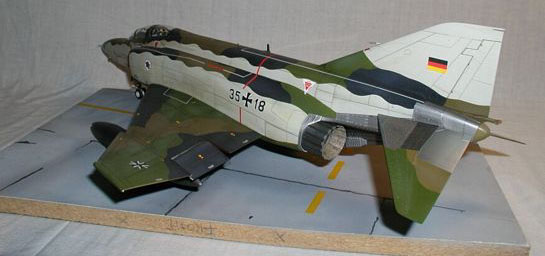
Model Master enamels were used and weathering with chalks and a little Tamiya smoke. The decals are from AirDoc and being the first time I've used them I was very happy with the results. I will gladly recommend these decals and will use them again on future projects.
Take care all and happy modeling.
© Paul Stoner
This article was published on Wednesday, July 20 2011; Last modified on Saturday, May 14 2016