
Number and Letter Builder
By Vernon Rabbetts
On most USAAF aircraft during the war, the BU Number and quite often the Squadron Codes were done in characters that had 45 degree clipped corners. Something that is very logical when stencils are used.
Messing around with a piece of squared paper and a pencil one day, it was very easy to produce most characters using the squares on the paper. I started wondering about my computer as a result and produced this the next day in Photoshop.
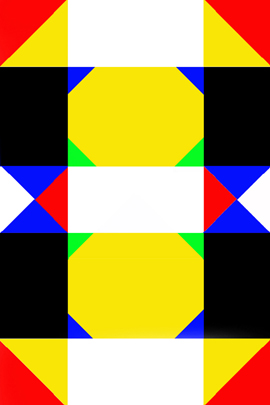
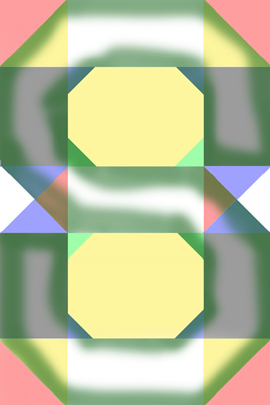
It's quite a simple diagram and can produce most characters simply by adding another layer on top in Photoshop and then using the magic wand to choose the shapes you need to build the character. As a demonstration I've faded the diagram and will build the letter "S".
First thing to do is add another layer on top of the diagram and then using the Magic Wand function, choose the shapes necessary. In the next picture I've done that and sprayed the edges for clarity.
If you were doing this yourself, you wouldn't need to do the edge spraying. All you'd need to do is go to your top layer and fill using the paint bucket, like this:
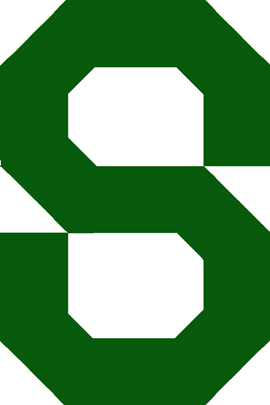
Obviously, you cannot use this letter as it is, because it needs cropping. To aid this I built a simple frame on another layer, which I've shown below.
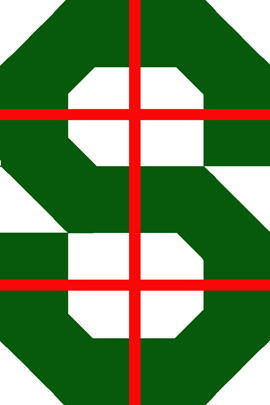
Just select the red frame and then going back to the letter layer, click on delete. As you don't need the red frame anymore, just hide the layer it is on and you'll have something like this.

To finish off the letter properly, just get rid of the "tails" you don't need and you'll end up with the following.

Of course, there are many different ways of cropping the letter, you don't need the red frame in most cases. In others the red frame representing the stencil may be of a different kind. But you can feather edges to represent soft edges to give a slightly more "realistic" finish if you want.
The main use of the grid is that you can simply and easily construct any character you want quickly and consistently for making either Decals, Markings for Profiles or even masks by printing off at the right size and cutting out the shape you want and spraying the back of the paper/card printout with Photo-mounting adhesive from can.
It's a simple idea, but because you use it electronically, it's reusable forever.
Try it, you just might like it.
© Vernon Rabbetts 2002
This article was published on Monday, November 02 2015; Last modified on Monday, November 02 2015