
Watercolour Washes 101
By Piet van Wyk de Vries
This is they way I do it. There are many ways to do this but you will later find your own way. Here is a good place to start playing.
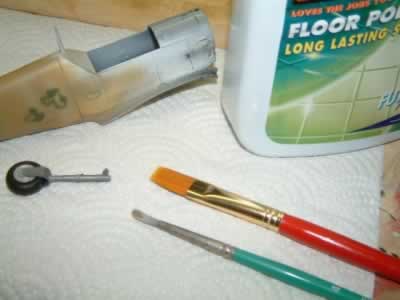
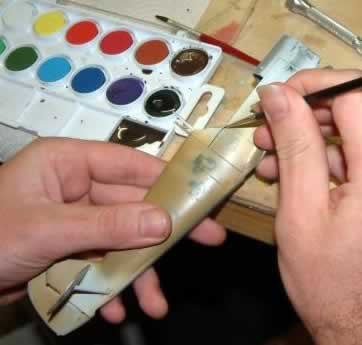
First, we will put a coat of future on the model. Here is what you need: I use the smaller brush for items like the landing gear, and the bigger one for the skin. They are very soft brushes. Also you need some future (or what ever it is called in your country).
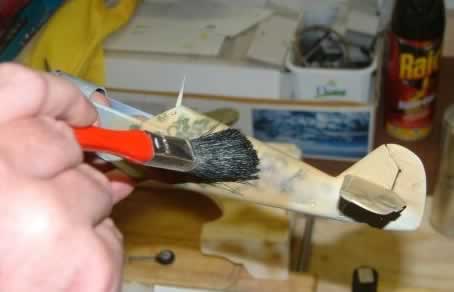
Next I take a brush that is clean and dry and I wipe the model to remove any little hairs and dust.
Then I dip my wide soft brush in the future. I only dip the tip and use very very little. With future there is always more than you think on the brush.
Now I put the brush on the model and I spread the future around. That one dip was enough for the whole side. I brush it until it is spread evenly.
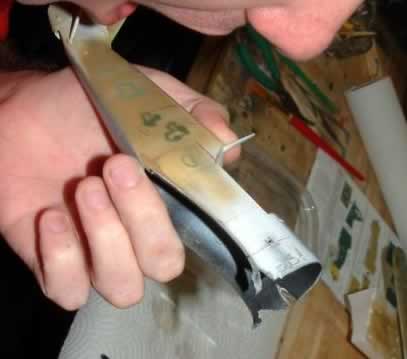
When it is done it is wet and shines like this. Now put it down and let it dry. Some will leave it for a day, but I find for watercolour washes and hour or two is enough.
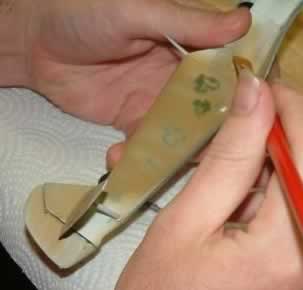
In this picture the first coat of future is dry. If you model was painted in a matt paint, then the first coat or two of future will have this dull shine. You can now put another coat if you want.
When you ever want to start doing washes with oil paints, you will need more coats, but for me with watercolour I find one or two coats enough. The dull shine helps the watercolour stick.
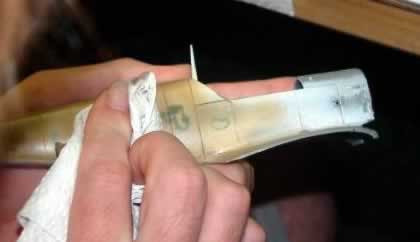
For this exercise I only put one coat.
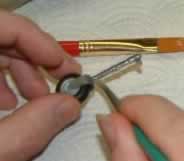
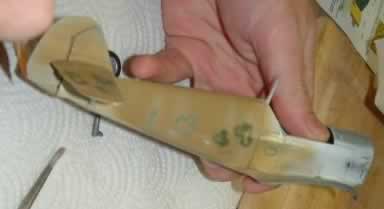
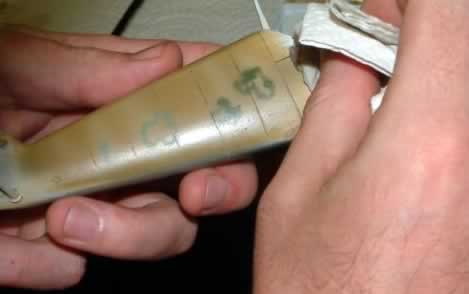
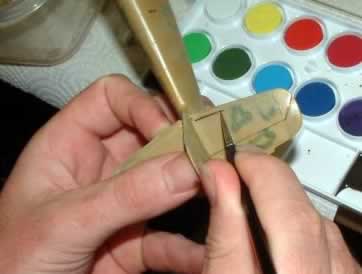
I now use the smaller brush to put future on this wheel strut.
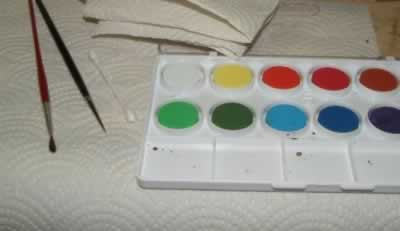
After a few hours it is dry enough and we proceed. Here are the watercolours. I use two brushes. One bigger cheap watercolour brush (I got it with the watercolour set) and one small fine tip brush.
I also have some paper towel and cotton buds and some water.
Brush your teeth or eat and apple before proceeding.
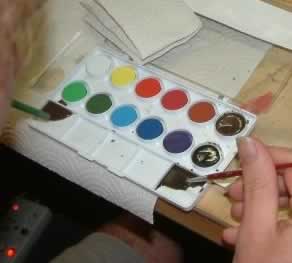
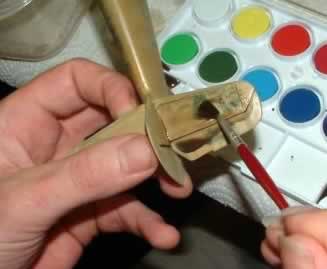
I use the dark brown and a little black. I mix them with water like I want. Sometimes you want a lot of water, sometimes very little with the paint. When you experiment you will find your own way.

There are many ways to apply the paint. One is to follow the panel lines closely.
You can also mess over the lines a bit if you like.
You can achieve various effects, don't be scared to try.
Don't be afraid of my long fingernails! I play guitar for a living
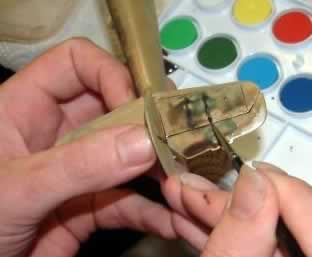
You can then take a dry cotton bud and roll it over the lines you painted while they are still wet or a bit dryer, to remove some paint and get an effect you like.
Sometimes the results are very nice and heavily weathered. Be creative. Don't paint the whole panel line, vary the darkness and dirt amount. If you like, try different things.
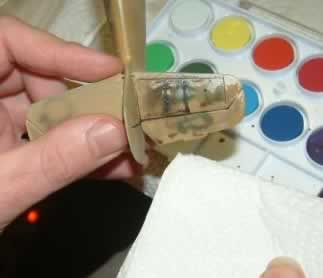
If it is too much, you can always dip a paper towel in a little water and wipe more away. You can even wipe it all away and start over!
Sometimes you want to remove a little of your wash, but you find that the wet cotton bud or paper towel removes too much or all of your hard work.
Then you breathe on the model like when you clean your glasses. This is why you must brush your teeth, otherwise your model will stink
After you breathe on it, wipe it quickly with a dry paper towel. This way you only remove a little paint at a time, and you can control your effect.
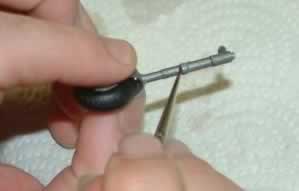
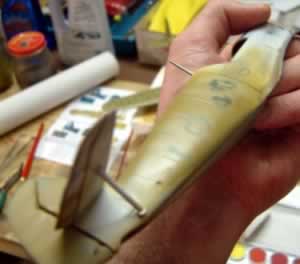
Now I wash the landing gear leg. I point it downwards, and put a lot of water and paint on my little brush. Then I touch the brush to the spot and let the paint run around the leg by itself. A little wash here makes a big difference.
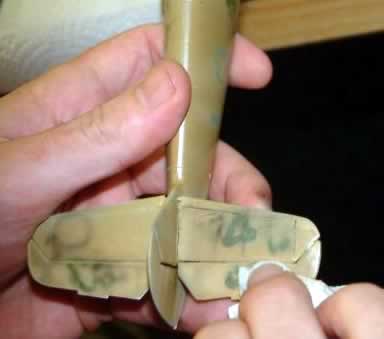
I don't have to wipe the gear if it is not necessary. Let's move on to the tail.
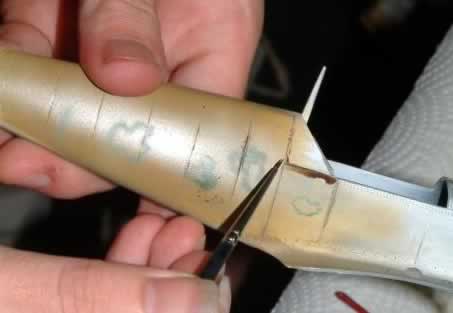
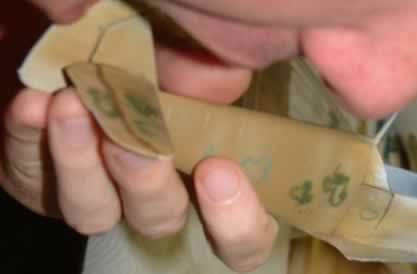
I will do a different wash here. First I fill the panel lines with paint.
Then I use a big brush with very thin paint (lots of water) to "wash" the whole wing.
I then use the thin brush again with some thicker paint (a different shade here) to fill in some of the rivet lines.
I then soak up some big drops with a dry paper towel before they can escape!
Remember, you don't have to use this technique on wings only. You can use any technique on any part. You be the artist and decide.
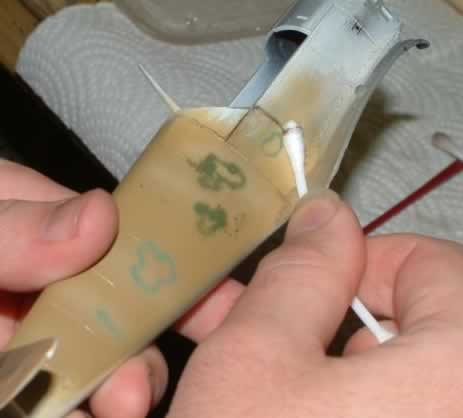
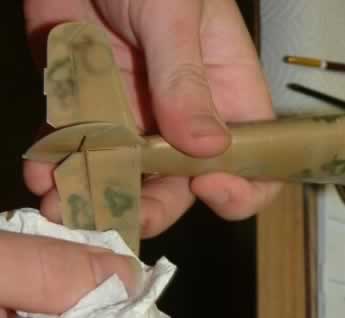
Now I use a paper towel to wipe the tail. The towel can be dry or a little wet. You can wipe right away or wait a bit for the wash to dry. The longer you wait the more that wash will "stick". Experiment with this and remember that if you screw up you just take a big brush with a lot of water and a wet towel and wipe it all off.
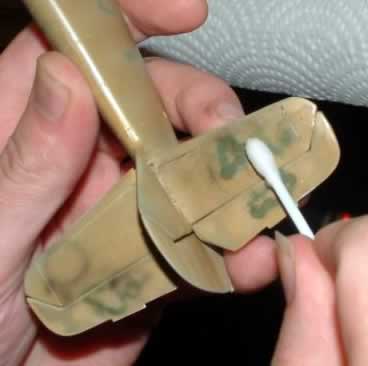
Now I take a wet cotton bud and remove any parts I still want gone. Here I am wiping between the rivet lines, to make it cleaner and nicer.

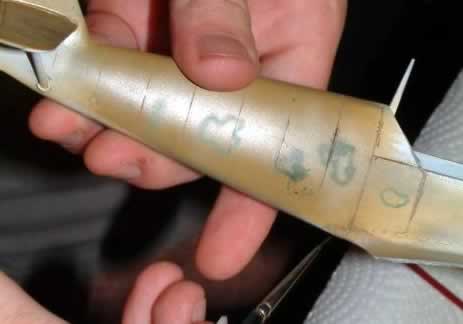
The result is a light wash for me, because I did not leave it long, but you can see it has more definition than the other wing.
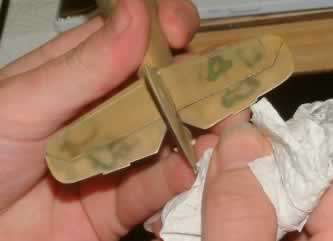
But maybe I am still not finished.
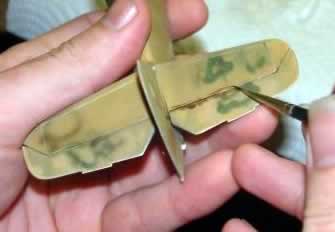
I still want some more definition on the control surface, so I paint the line in nice and dirty.
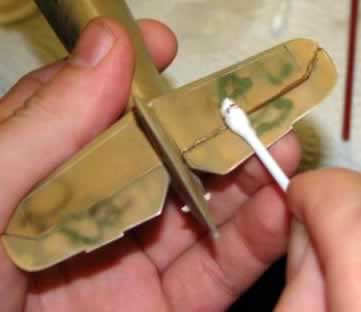
I then roll a dry cotton bud over it to soak up some wet paint, but not all.
Or I can breathe on it if I want to remove less
And use a paper towel to wipe away where I want. I try wiping in different directions for different effects.
Until I achieve a good result.
© Piet van Wyk de Vries 2006
This article was published on Sunday, November 01 2015; Last modified on Sunday, November 01 2015