
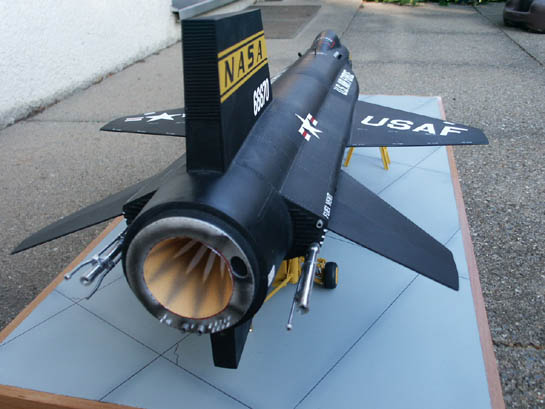
Scratchbuilt 1/20 North American X-15
By Jerome Braure
Intro
This is my first scratchbuilt model and as I began, I wasn't sure this method would work. There are many things that I would do differently, if I had to start a new model of this kind. At first I planned to keep it extremely simple, no landing gear (I thought I would display it on a rod in flight configuration), no cockpit details, etc but once you start you can't stop... I also had very few documentation material, no book, no correct plan, the one I used is an inaccurate and magnified plan from the Internet. I omitted many details, it would have taken me ages to do everything.
The Build
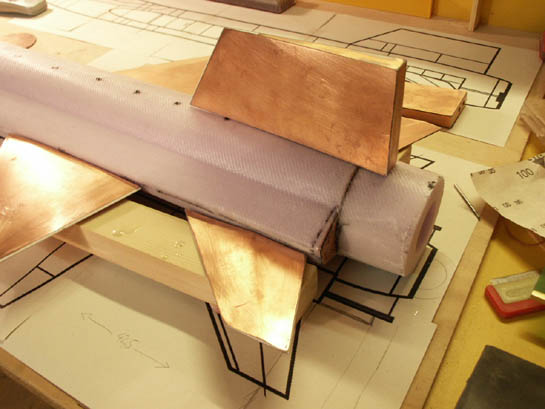
The fuselage is made out of hard foam, cut with a hot wire. It's very easy once you have the hardware: a voltage generator to heat the wire, some templates to have the right shape, and a good buddy to drive the other end of the wire through the foam.
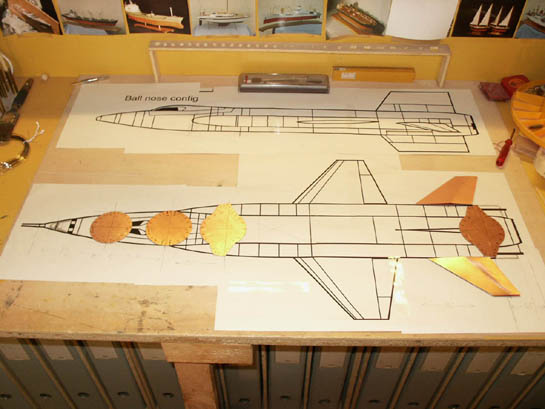
The fuselage section templates
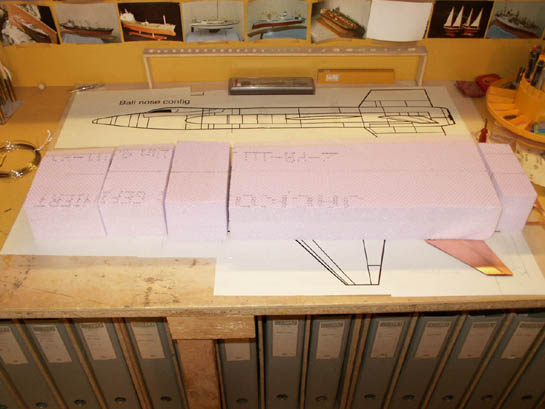
Pieces of hard foam
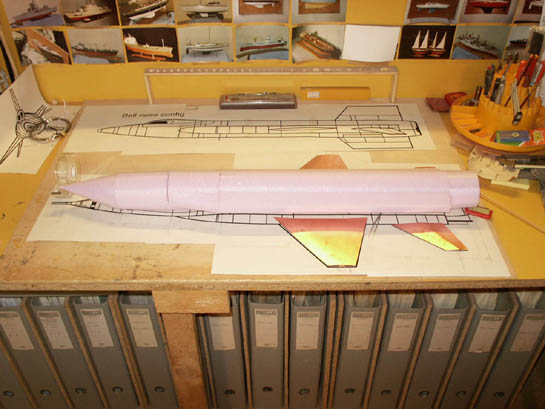
The fuselage after the cut
The wings were cut out of copper-coated fiberglass plates. Once the fuselage sections were cut, I glued them together and started sanding. Next came two layers of fiberglass to get some rigidity.
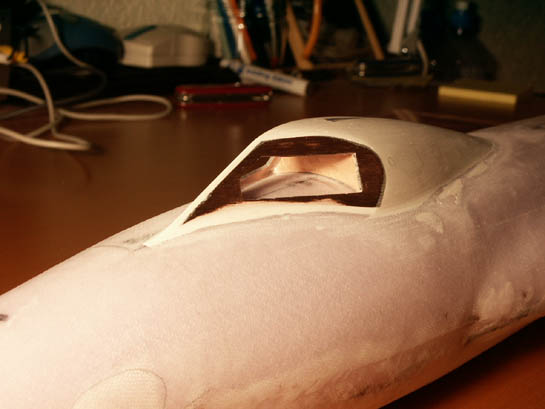
A lot of putty was needed for the canopy
Paint & Markings
The paint is matt black Humbrol, two layers and matt varnish (applied after markings)
First layer of paint
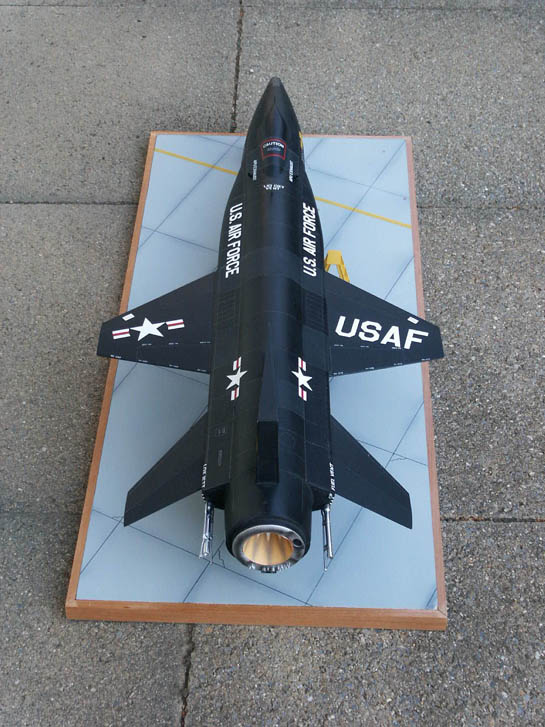
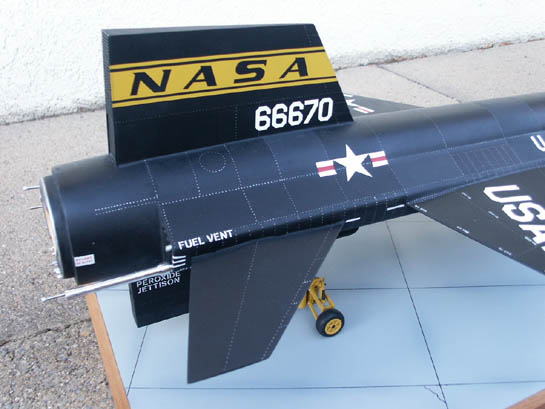
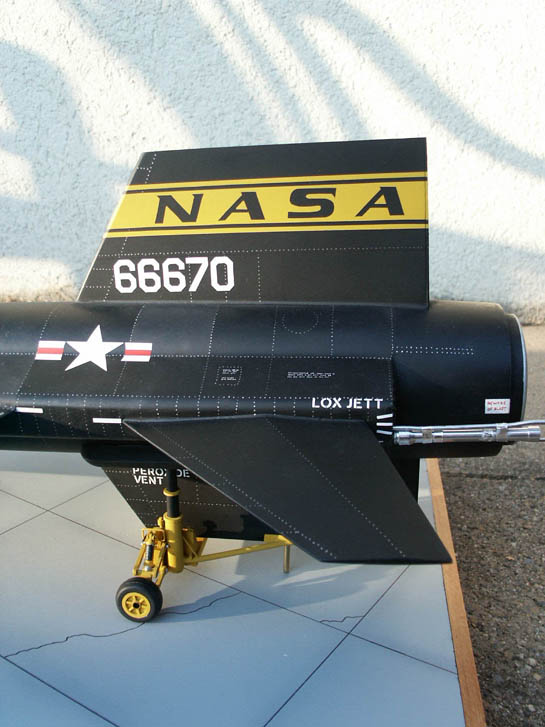
The large 'USAF', 'NASA', etc. markings are all sprayed using masks. The smaller ones ('LOX JETT', 'FUEL VENT', etc.) are 'letrasets'. The remaining markings are simply handwritten with a pen, as I could not find anything more suitable.
Ready for getting some markings
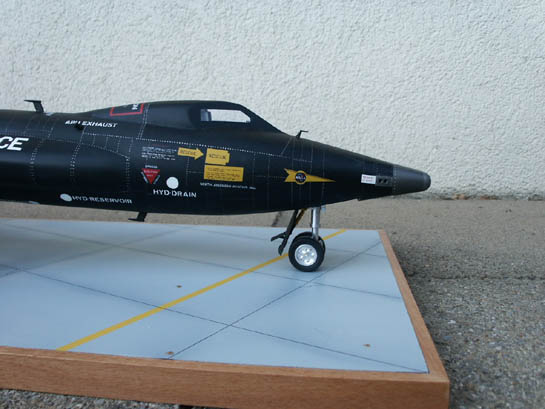
The model shows a lot of rivets (that took me quite some time, although I'm no 'rivet counter'). They were done using silver paint and a pen (the kind that you dip in the ink).
The Wheels
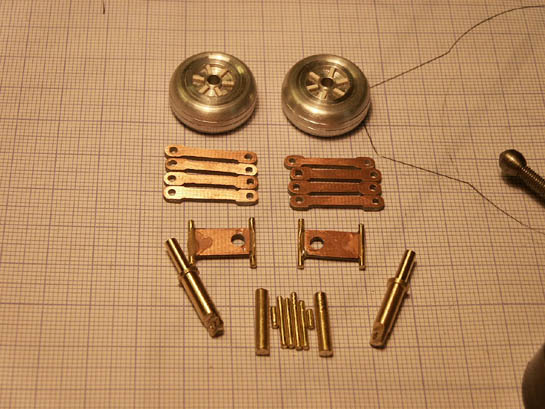
As said before I planned not to make the wheels but I finally changed my mind. The wheels were lathe turned, out of thick aluminum rods. That was quite a challenge, aluminum gets soft if you push too hard and the lathe's knife gets stuck in it (I broke some of them...) But the result is worth it - shiny rims. It took me several attempts before I got something looking like a wheel.
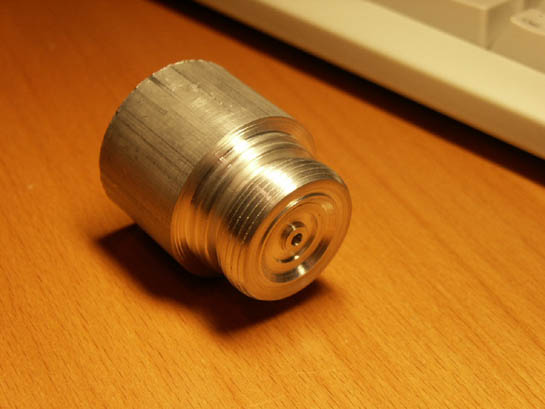
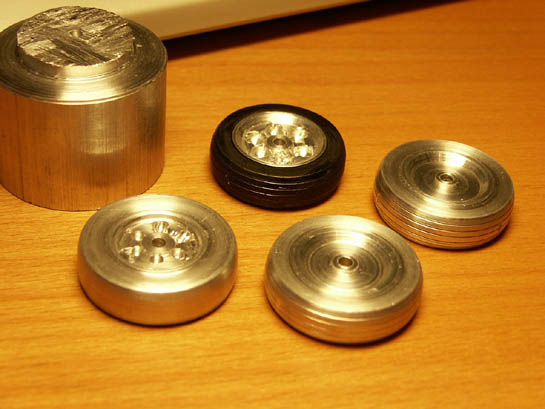
Two good and two messed up wheels...
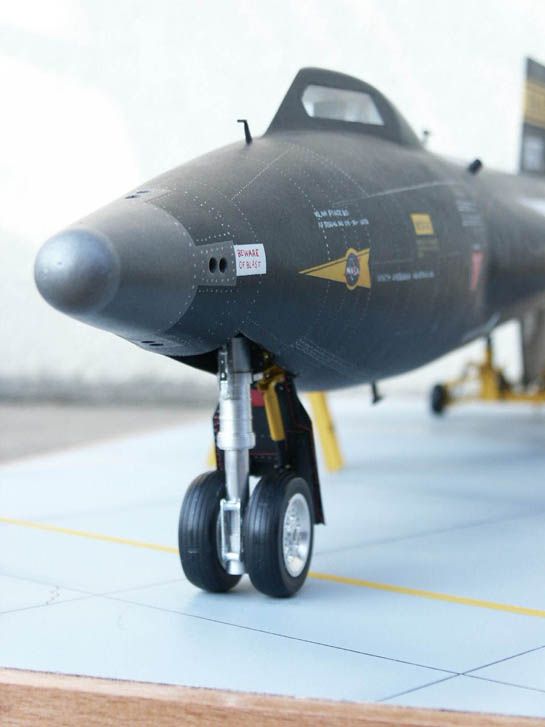
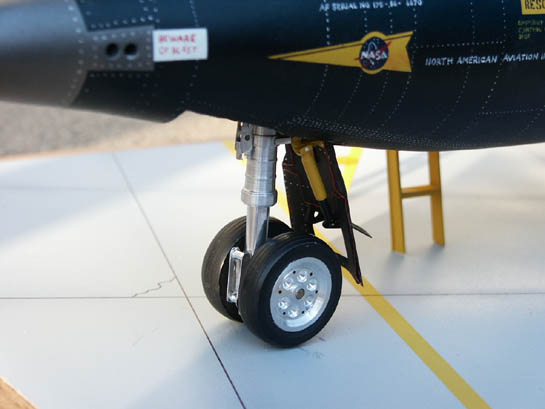
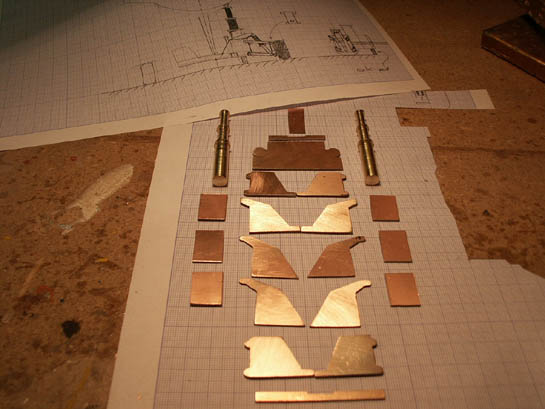
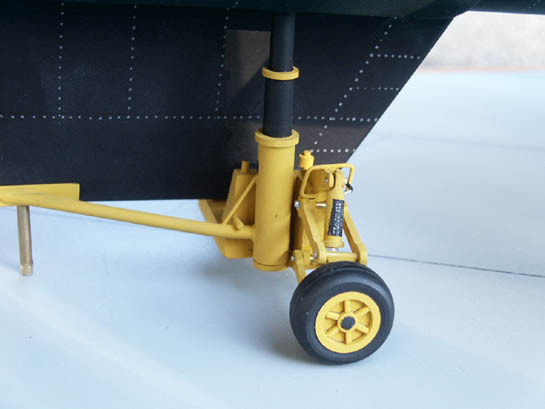
The Undercarriage
That was a tricky part, I had just a few pictures of it and had to invent pretty much. It's made of several layers of fiberglass plates. I had to add a little vertical rod at the aft to keep it balanced.
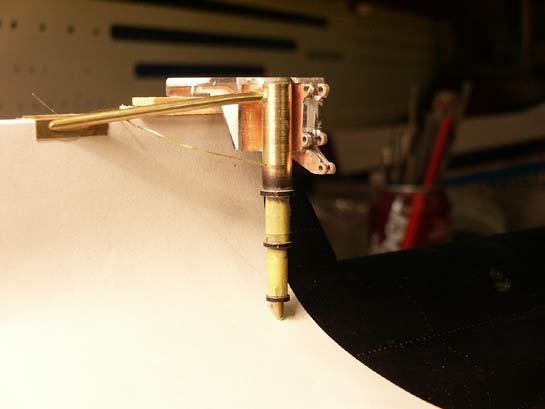
Getting dry, upside down

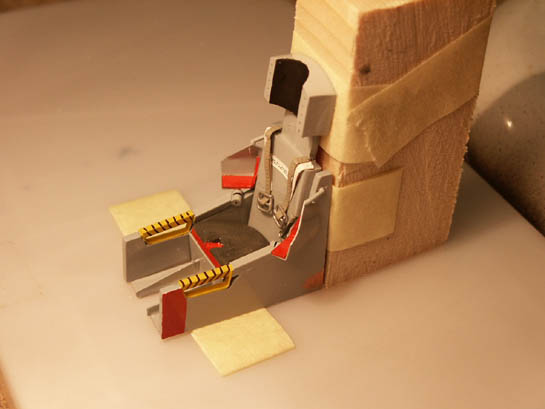
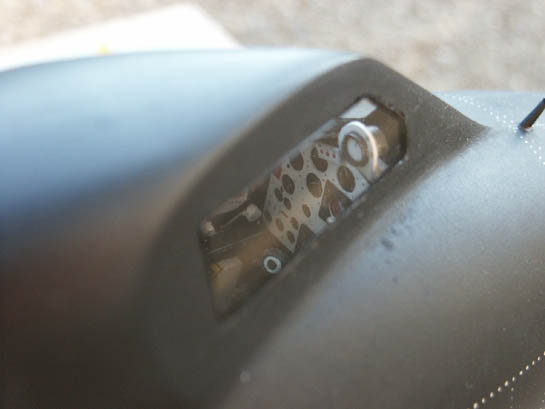
The Ejection Seat
Like the landing gear, it was not supposed to be done as I started the model. Since the Canopy was already done, I had to insert the seat (and the whole cockpit actually) in separated pieces through the windows. I know it's a crooked way to do...I won't do it again.

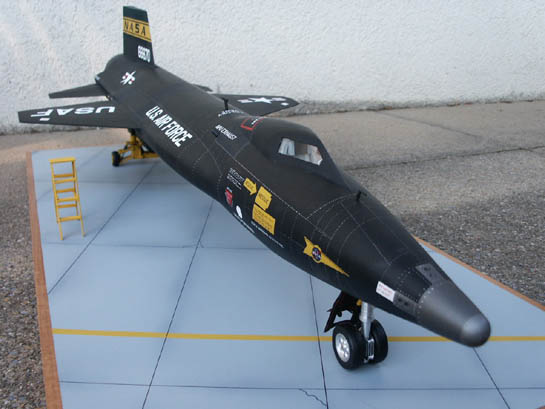
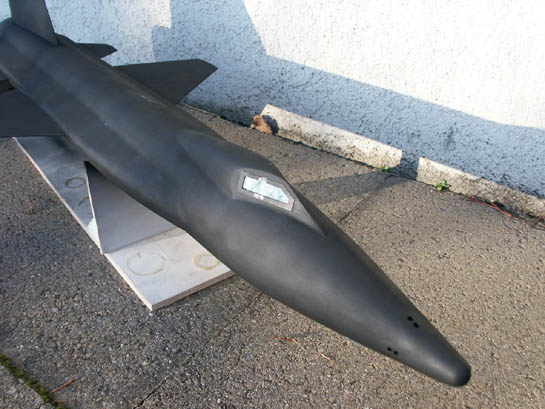
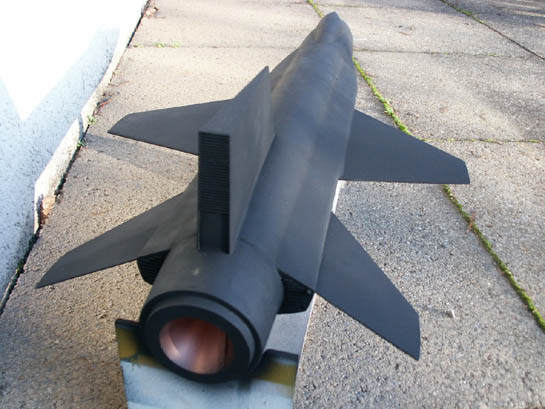
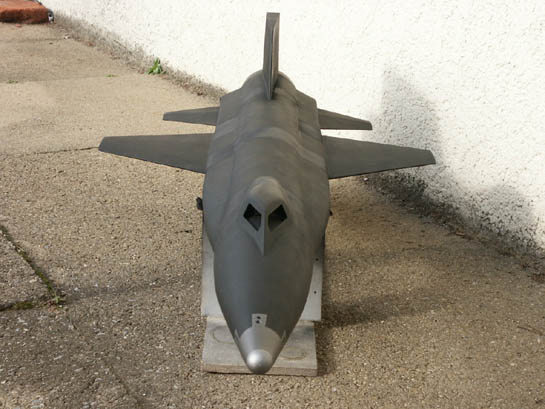
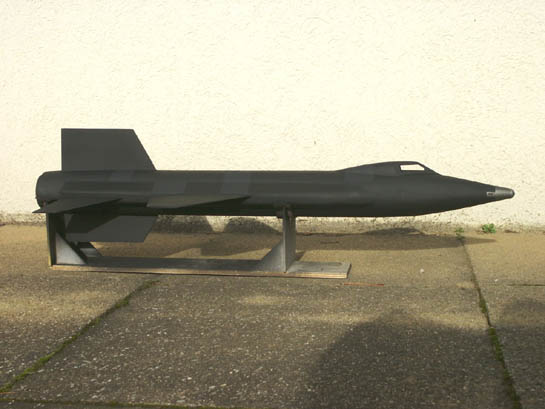
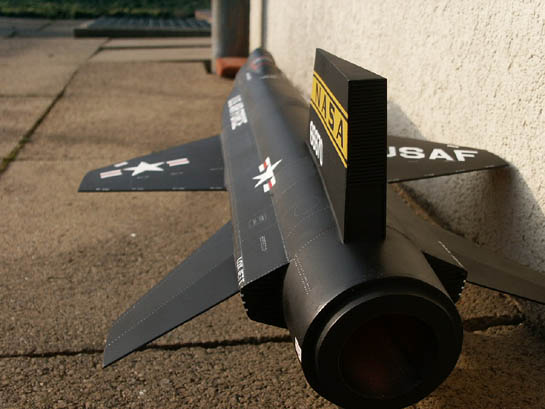
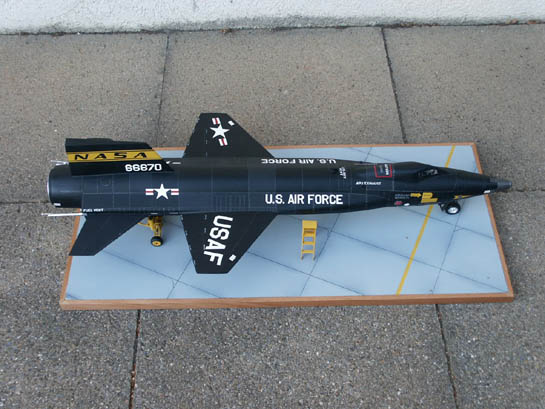
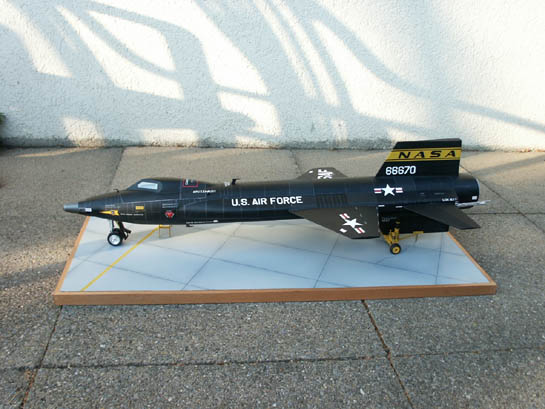
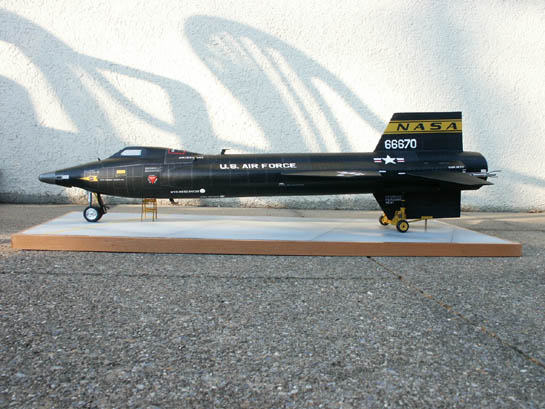
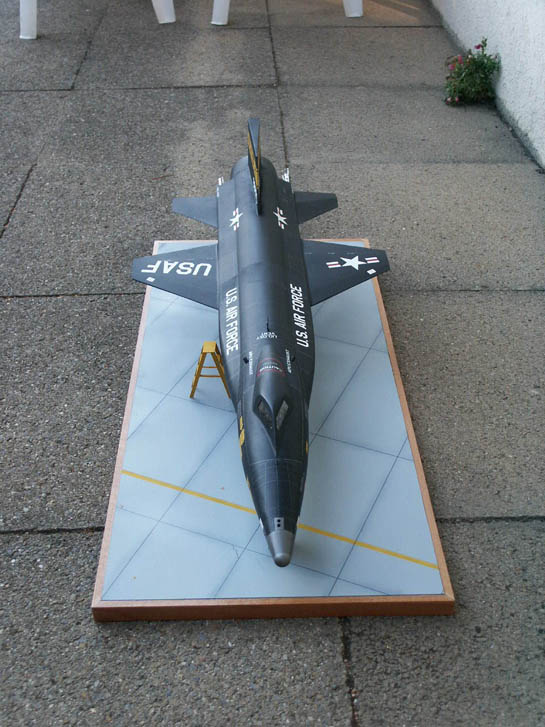
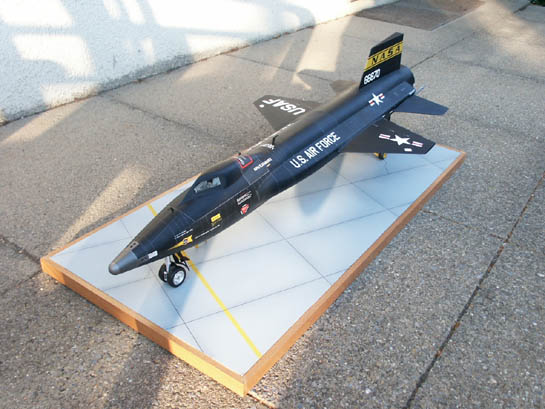
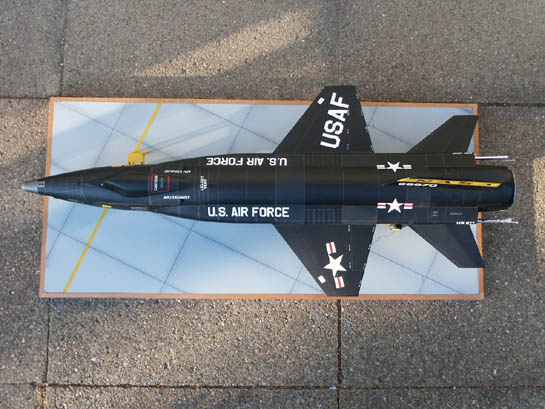
Finished Model
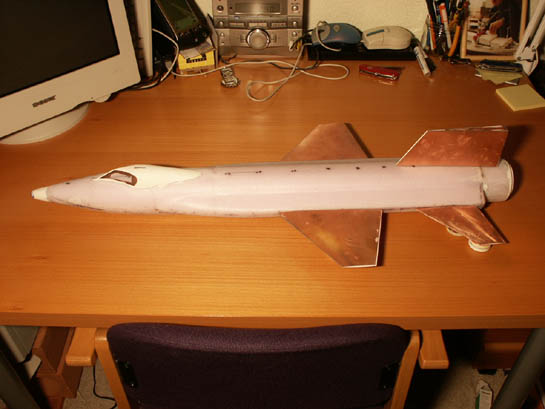
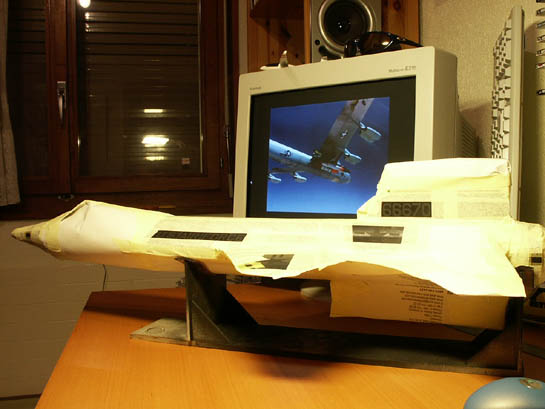
I started the model almost a year ago, but had to do some month-long breaks. The model is 80 cm - 31.5 in. long.
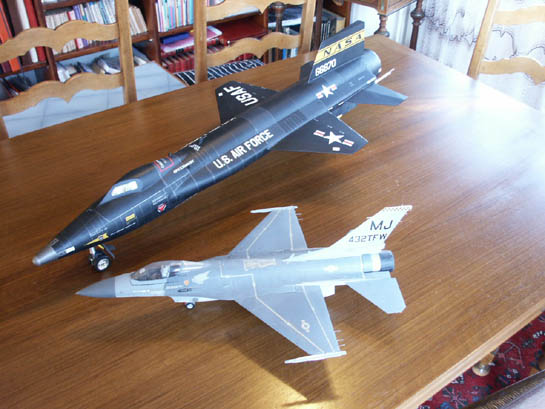
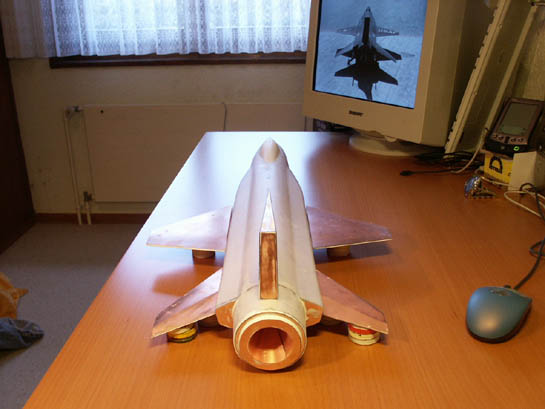
My old 1/32 F-16 looks quite small when placed next to the X-15
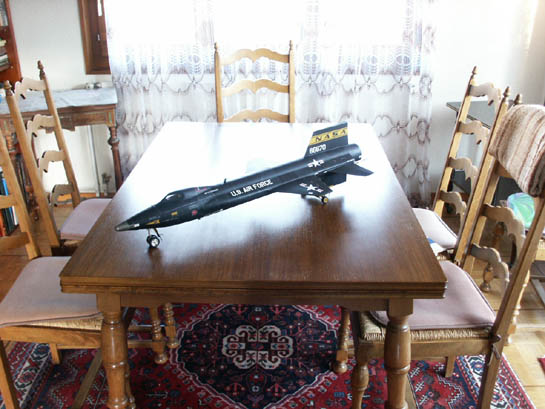
Pretty large bird, no?
References
- http://jpcolliat.free.fr/x15/index.php
- http://www.dfrc.nasa.gov/gallery/photo/X-15/Medium/index.php
- http://www.sierrafoot.org/x-15/x-15.php
- http://www.ninfinger.org/~sven/models/x_planes/x15.php
© Jerome Braure 2003
This article was published on Wednesday, July 20 2011; Last modified on Saturday, May 14 2016