
HpH 1/32 Macchi M.5
By Des Delatorre
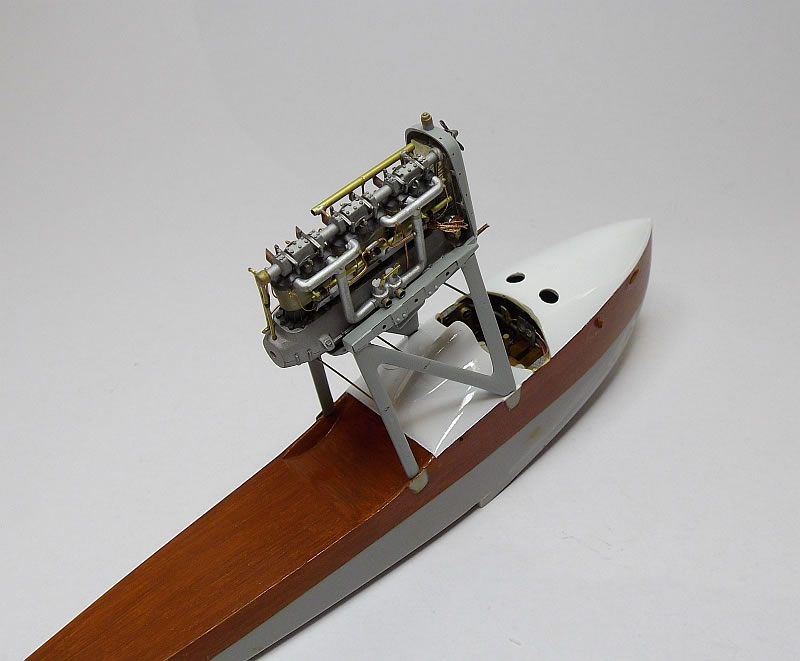
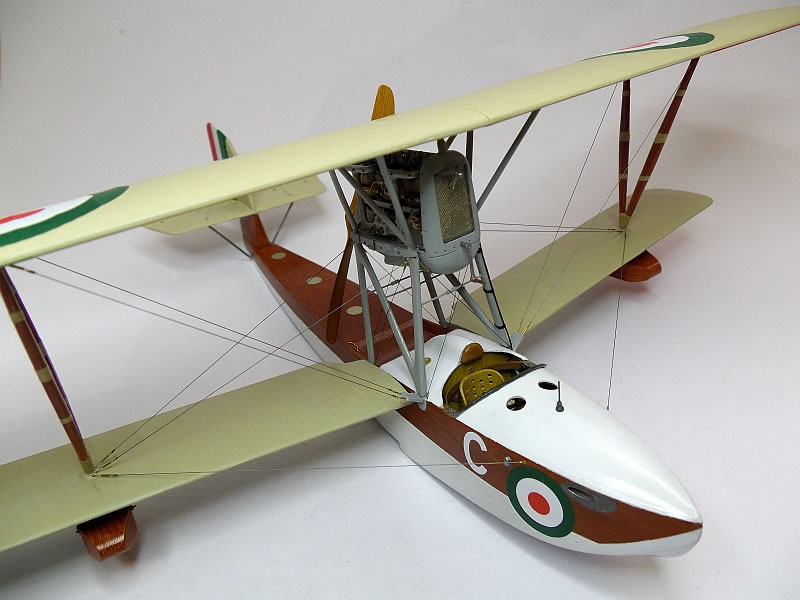
I purchased this kit because I have always believed this to be the most attractive aircraft to come out of WW1. I started work on this kit by building the engine first, and although not a bad engine it is missing quite a lot of important details, this engine is fully visible so details are important. I added the two magnetos, I needed to modify the rear of the engine so they would fit but they look okay. I also made and fitted the spark plugs, the ignition leads, water pipes, plumbing and I had to change the rocker assembly to make it look more realistic, plus more, here is the completed engine, all that I will to fit is the throttle cable.
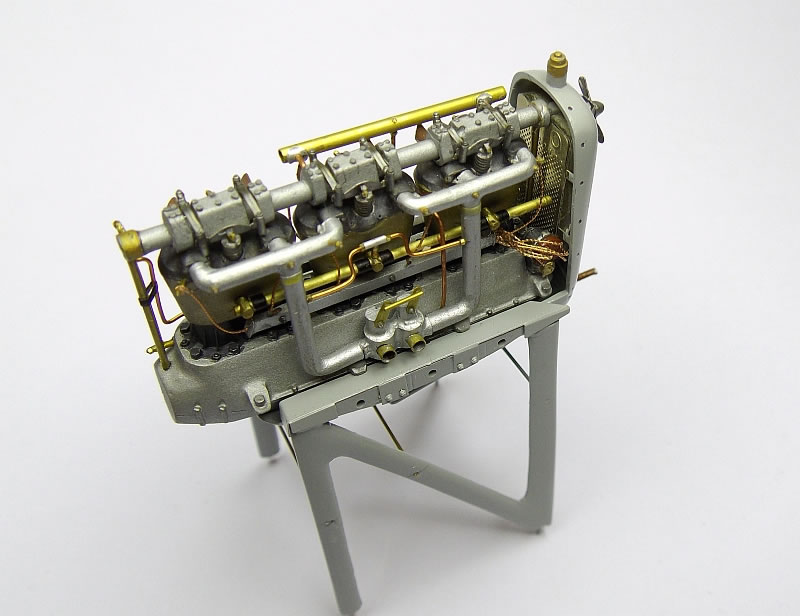
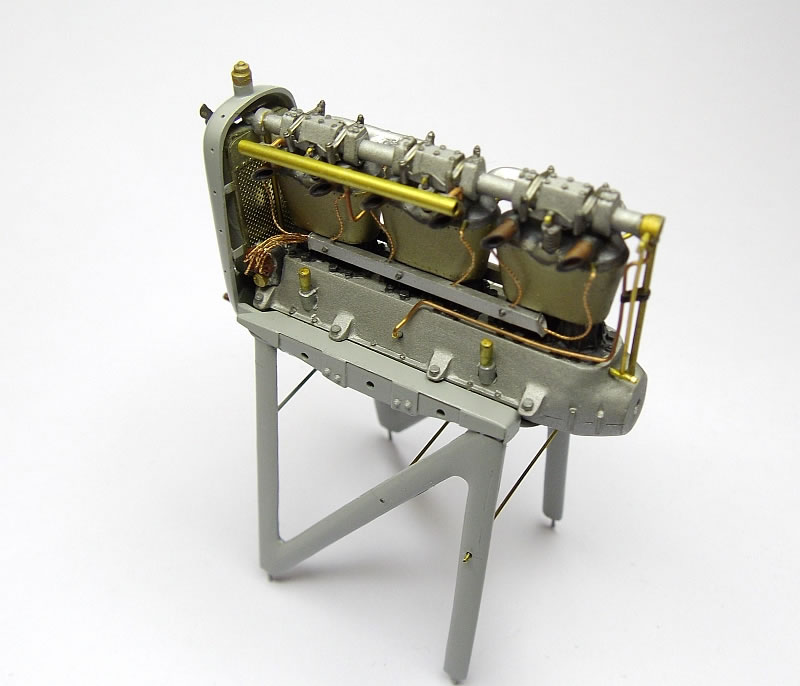
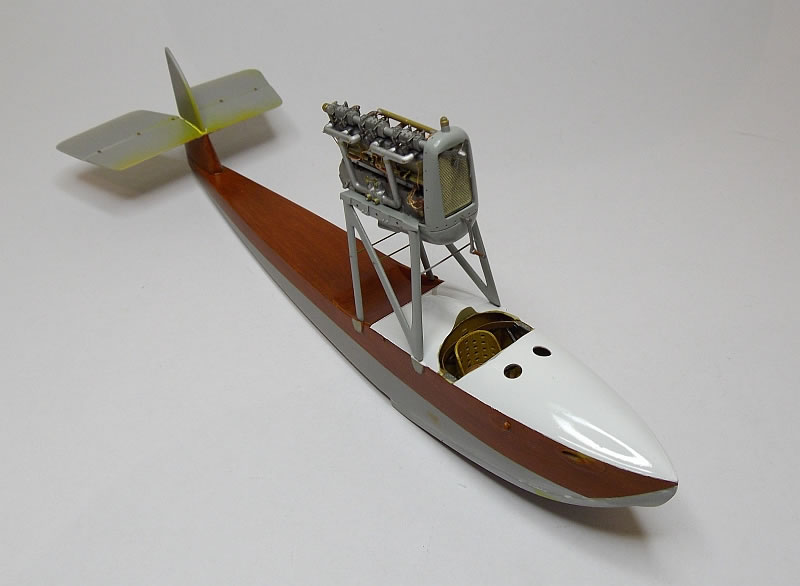
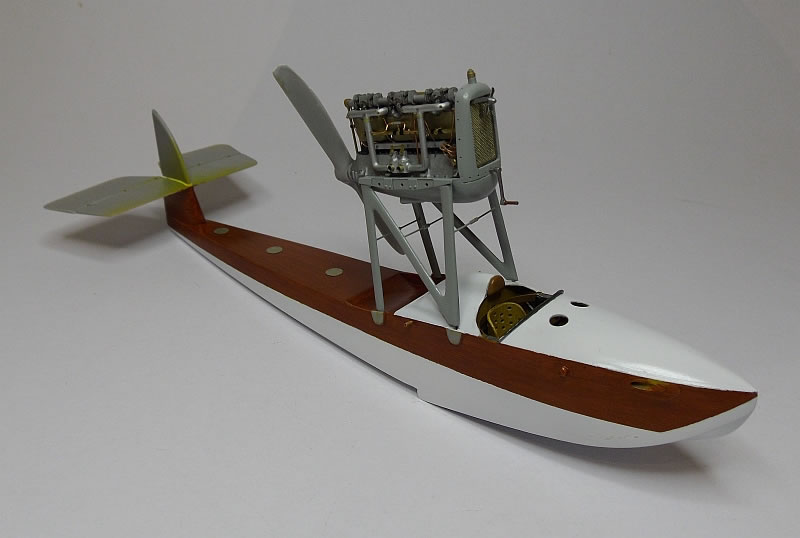
If you take notice of the engine support frame you will see that the crank case mounts do not align with the engine bearers, the first and last ones on both sides do not sit on the bearers. Once the engine assembly is sitting on the aircraft it looks pretty good but to my eyes it appears to be sitting low at the rear, once the wings are fitted it will give a true indication of how the engine should sit. These photos show the engine assembly just sitting in position for photo purposes.
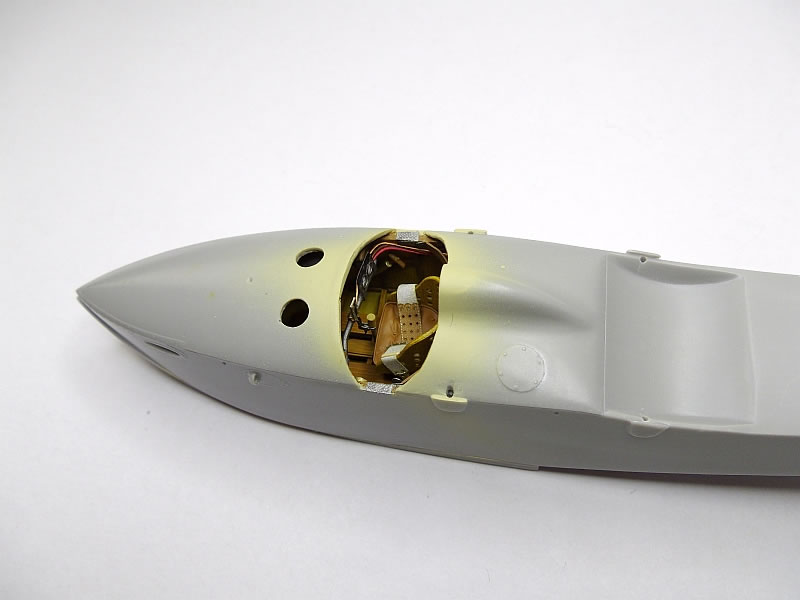
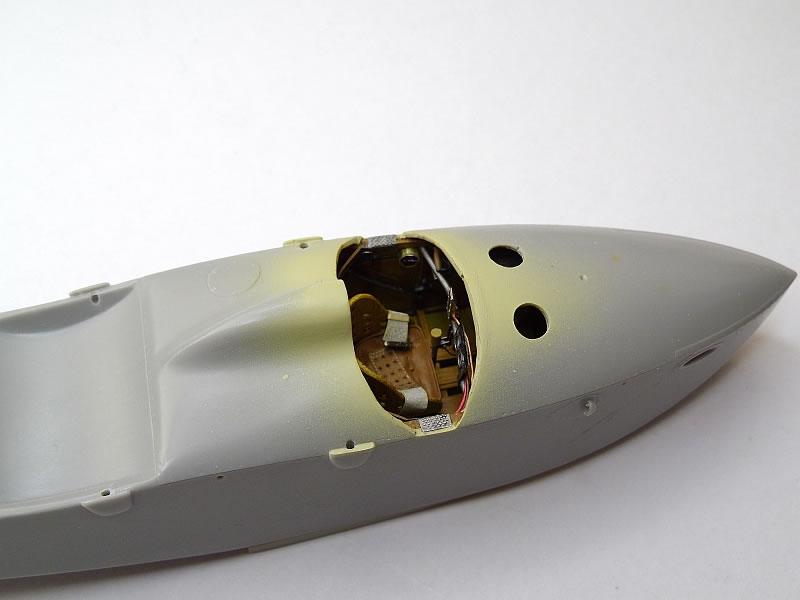
The cockpit, although quite well detailed, is very tight. The seat sits hard up against the control column, the control column sits hard up against the instrument panel. Another issue is the wall thickness at the cockpit, one side is thicker than the other side and the fuselage frames do not align on either side. I added the fuel pressure hand pump and some electrical wiring, the seat (mine was broken) and the seat belts are very good. Things like the rudder bar which I added cables to can not be seen. The machine guns are well hidden but in reality should have the butts and handles protruding inside the cockpit.
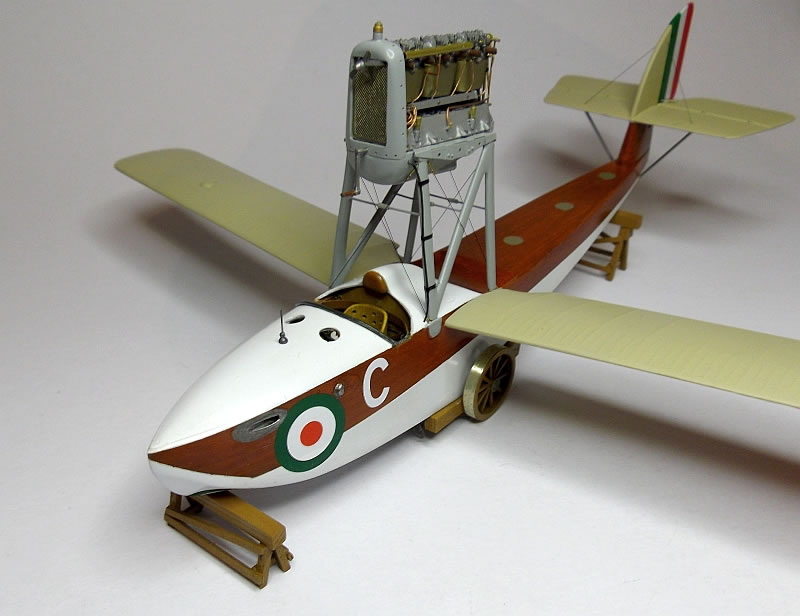
I painted the 'wood' on the fuselage using a base coat of Gunze Sail Color then Burnt Sienna oil paints. The with on the front of the fuselage is Gunze full gloss white. It is starting to look a little like the Macchi M.5, once the engine assembly is fitted I will apply the rigging.
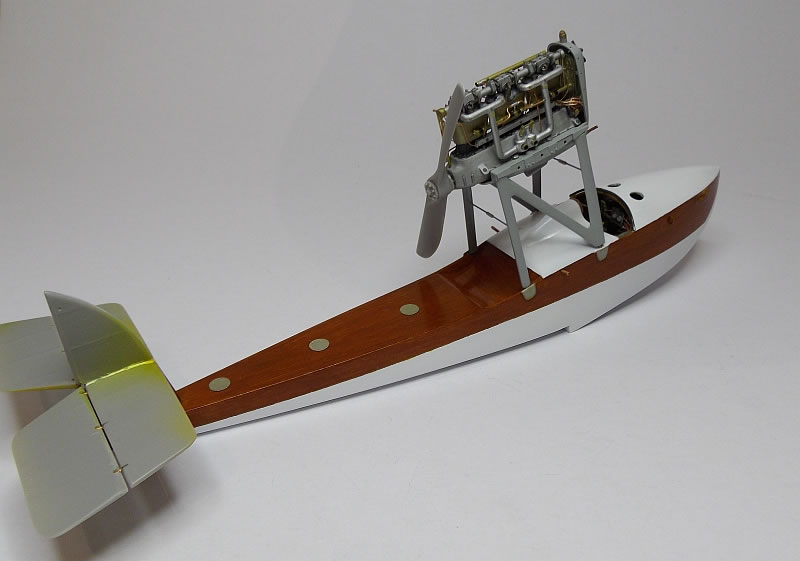
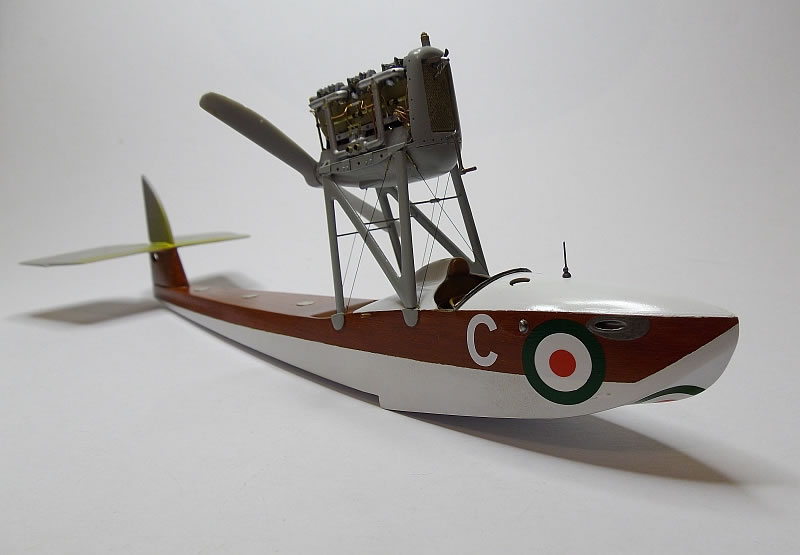
I painted the lower part of the hull with the same Gunze full gloss white as I used for the top. I also clear coated all the wood and painted surfaces with a full gloss clear in preparation for the decals. One very obvious error with this kit is that the engine sits too far aft, the propeller arc does not pass through the hollowed section on the fuselage, in real life this would cause huge issues with bits of wood flying everywhere; on the model I will be able to position the propeller so it is not so obvious.
I applied the decals to the fuselage, they went on very well but the roundel was quite translucent, I needed to print another white section and applied it over the decal, this seemed to rectify the problem.
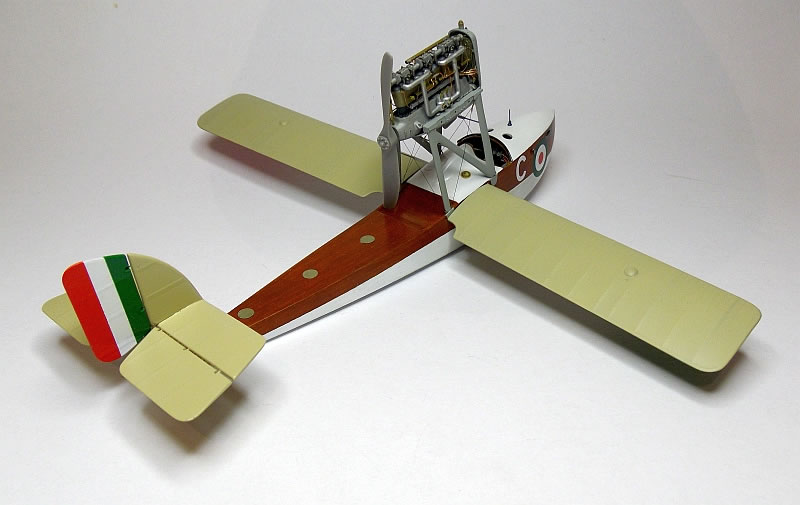
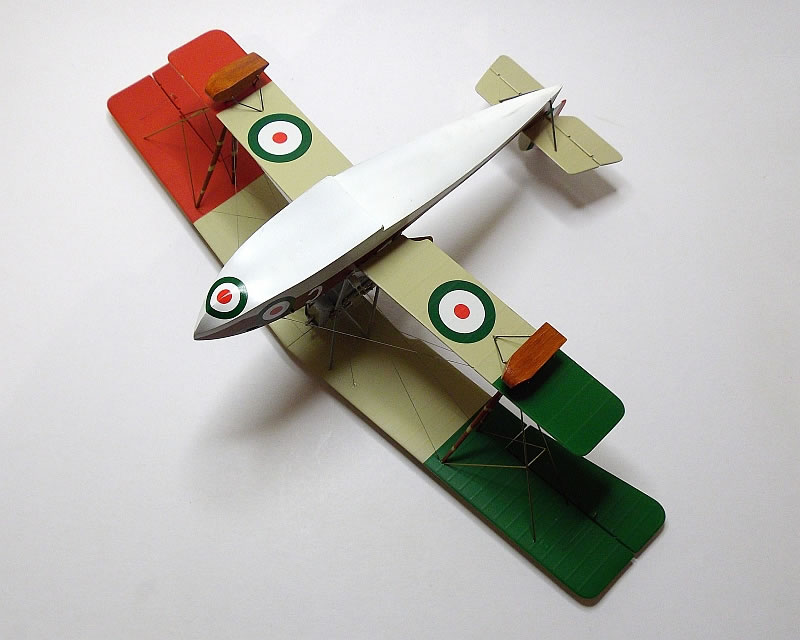
I fitted the tail plane and added the rudder colours by painting them, I'm not keen on using decals for the rudder. The bottom wings have also been painted and fitted to the fuselage.
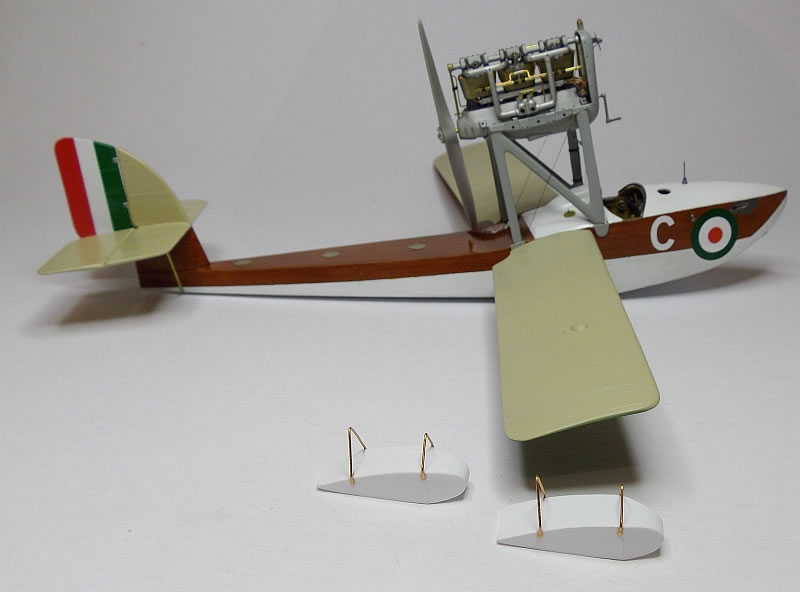
I decided to use the suspended wing floats and not the floats supplied with the kit. The floats were made from styrene sheet and the brackets from copper wire, I will paint the floats the same wood colour as the fuselage while the brackets will be black.
At this stage I assembled and painted the beaching trolley and the two support stands; these are laser cut ply wood and assembled very easily.
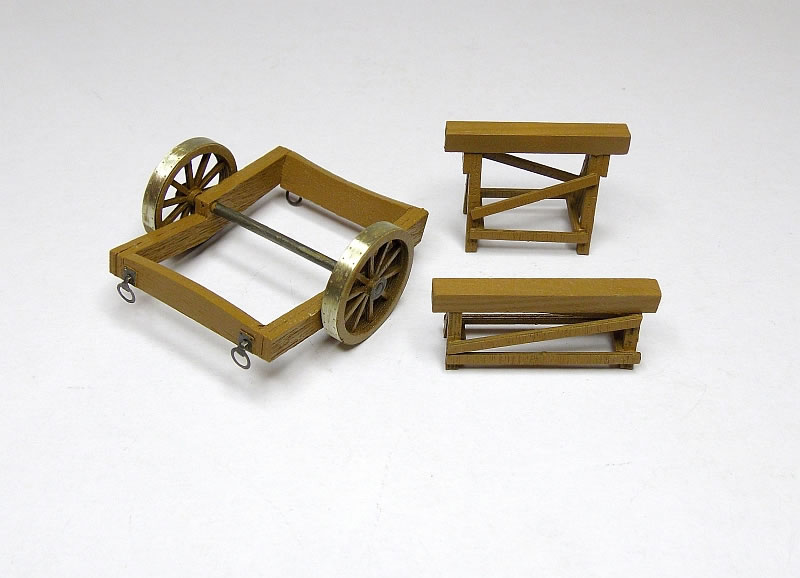
The beaching trolley fits the fuselage perfectly with no interference at all with the fuselage:
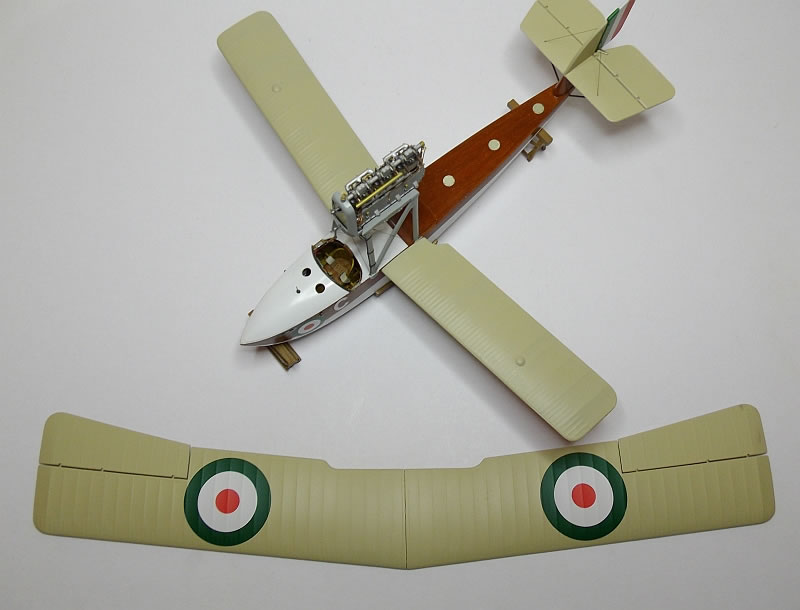
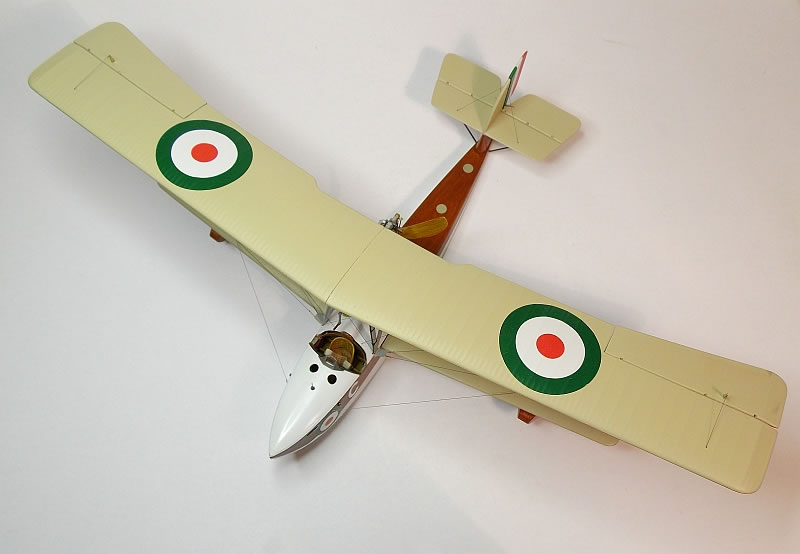
The top wing has now been painted and the decals applied, the underside has the red and green Italian markings:
I have painted and fitted the wing floats, in my opinion they look a lot better than the kit supplied floats. I am very surprised that HpH did not give the builder the option of either float.
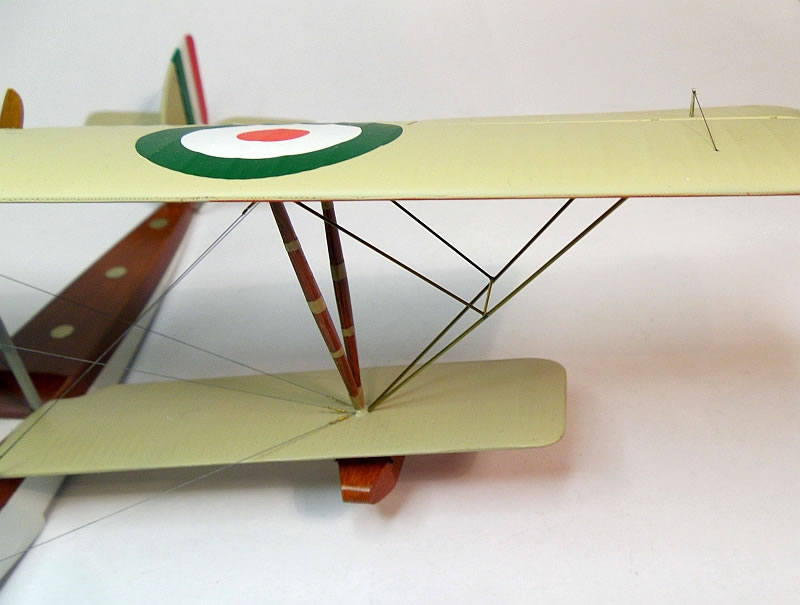
The top wing is now fitted, it was a very easy matter to fit the wing, simply lay the inverted wing on the bench and sit the inverted model onto the wing, a few drops of CA on each strut holds it very well.
The rigging has now been completed, it is quite an easy rigging arrangement on this aeroplane.
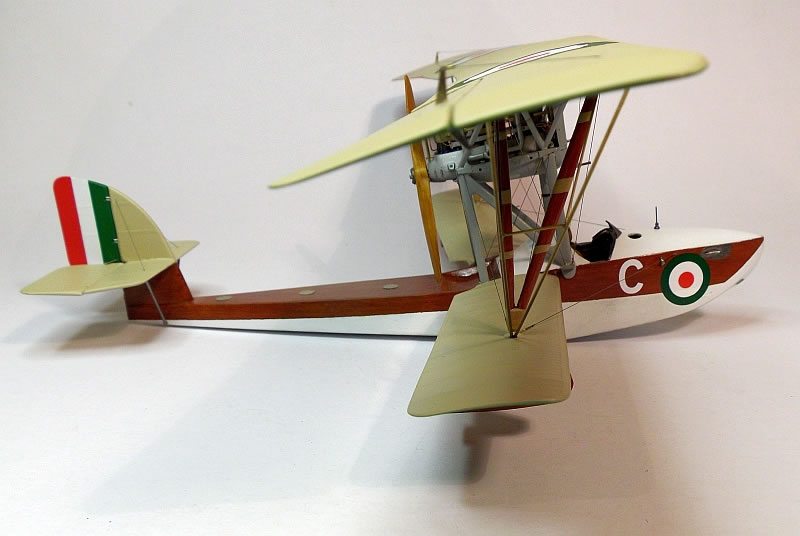
I have now fitted the out rigger wing struts, I made these from brass tube:
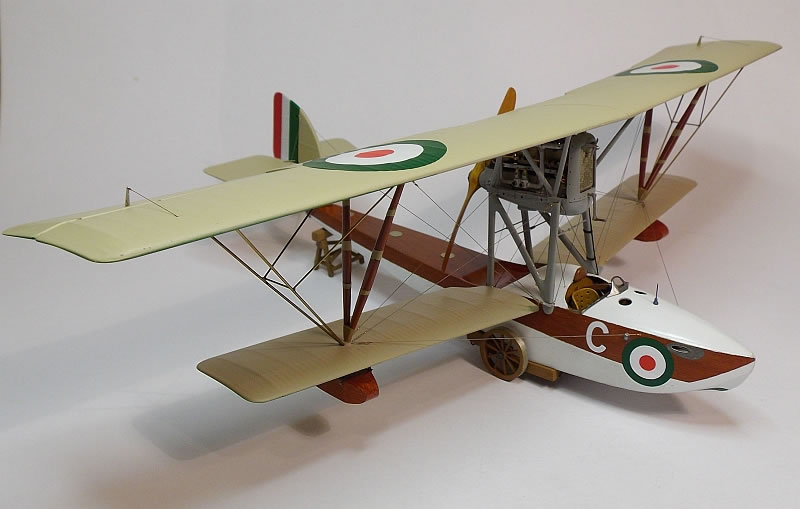
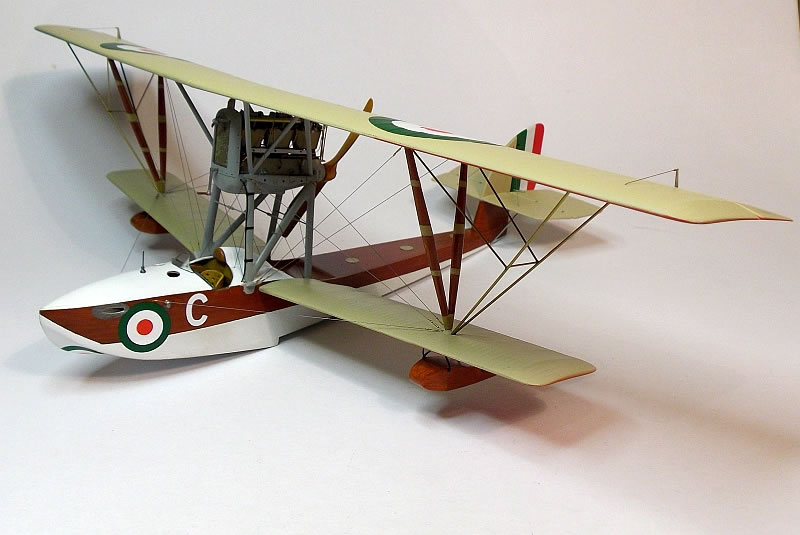
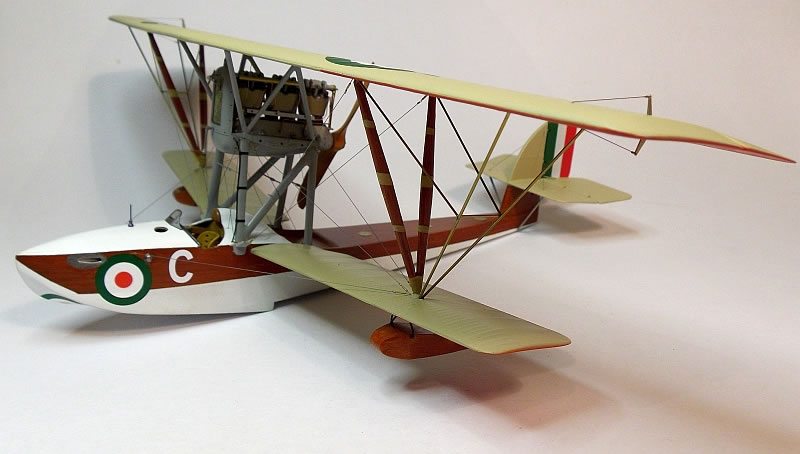
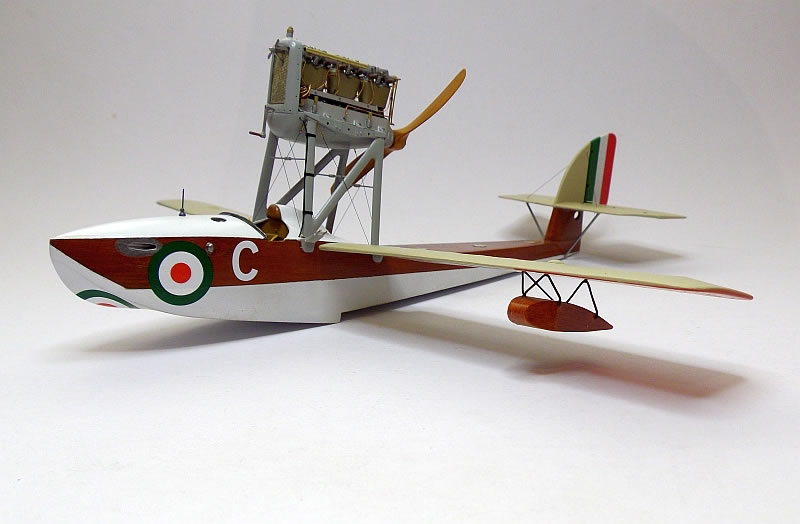
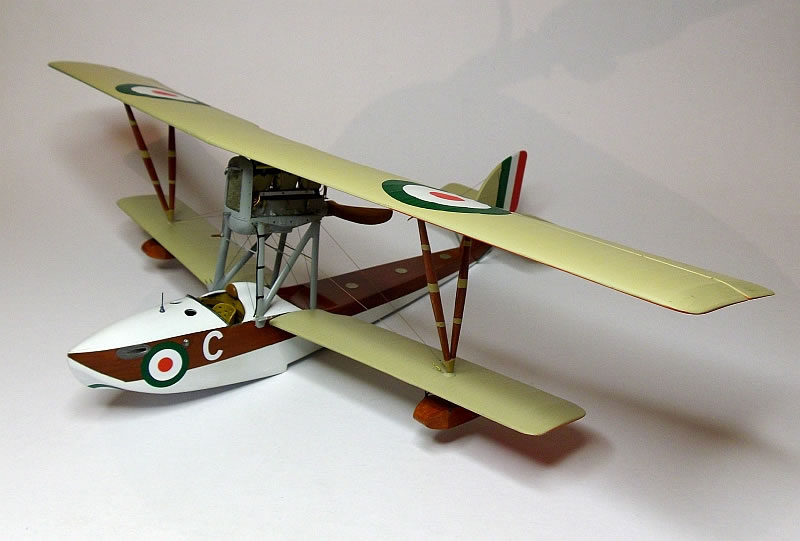
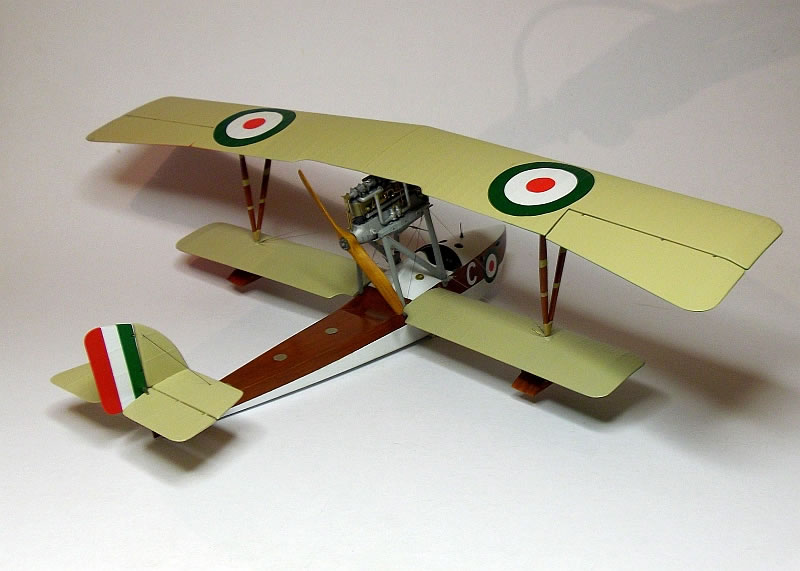
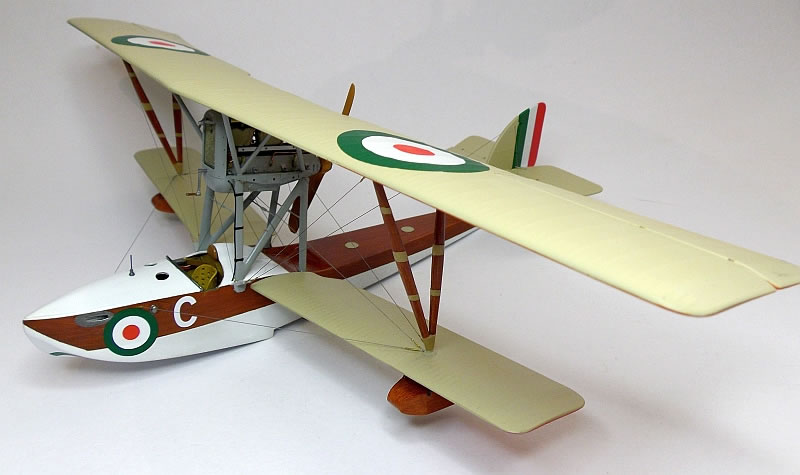
These last few photos show the completed model. There were a few issues during the build but nothing that could not be overcome quite easily, even so I would not recommend this kit to a beginner but more so to a modeler with some experience. It is a beautiful looking aeroplane and the model does it justice, I am very happy with the way the model turned out.
© Des Delatorre 2015
This article was published on Wednesday, October 28 2015; Last modified on Wednesday, October 28 2015