
Accurising Paragon Designs Two Stage RR Merlin 76 Nacelles for the DH98 Mosquito
By Tony Oliver
As a modeller you'd be mistaken for thinking that everything that is produced in the name of accuracy actually is.
Paragon's RR Merlin nacelles provide the Mosquito modeller with a whole array of options to produce later marquee mossies, from the MkIX to the NF30 nightfighters and the later PRXIX and PR34.
However they do come with their own set of problems and rather than providing a cure all for the inadequacies of the old Revell/Lodello kit, they actually add to it!

The main deficiency of these parts is the apparent lack of physical length needed to push the two stage Merlin 76/77 out in front of the fuselage. (it was the intercooler casting at the rear of the Merlin that added to the length). However we'll deal with this problem in the next instalment as part of accurising the kit nacelle and wheel well. This is an area that is full of surprises!
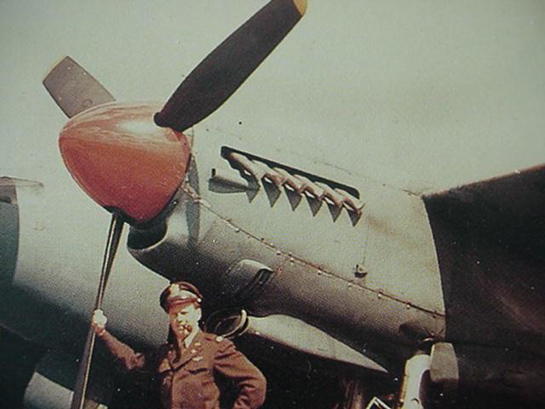
The two main features of the two stage nacelle are the chin intake and the twin side 'cheeks' which are the supercharger outlets. Paragon have chosen to simplify these two main features by casting the chin intake with the wrong profile and by ignoring the fact that the side louvers are essentially hollow with cooling gills attached. The third aspect although not as identifiable until you start to look closely at references is the shape and size of the carb intake duct feeding the twin updraught S.U. carburettors. This later item is too square in profile and is also too long at its open end.

So how do you get around these problems when you should be bolting the things onto the Revell plastic and building your favourite Mosquito variant?
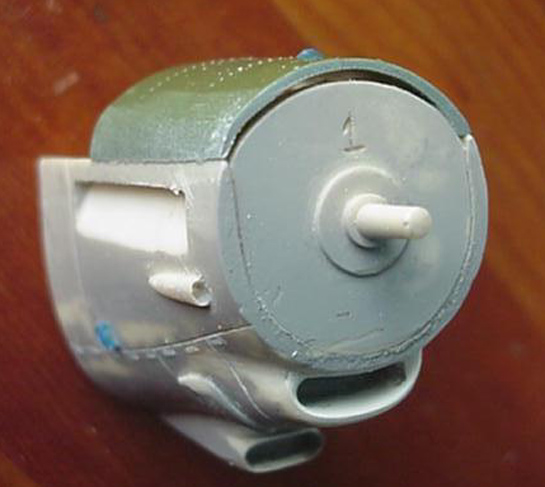
The chin intake is simple in that it requires the intake lip built up and a kidney shaped orifice formed (the real thing is a pressed alloy panel). Coupled with this there needs to be a pronounced undercut made to where the intake blends into the cowling.
I decided the easiest way was to fill the intake with fine Milliput and then rout a new opening using a parallel cutter in my Dremel. Drawing the new shape on the face of the filled intake gave an indication of where to grind away and then careful use of a circular bit and round files finished the profile to represent the rounded appearance of the original. I also took the opportunity to deepen the intake. I've yet to discover what is exactly down this intake as my references all seem to cast a dark shadow on the interior. I assume there must be a filter or grille at some point but where?
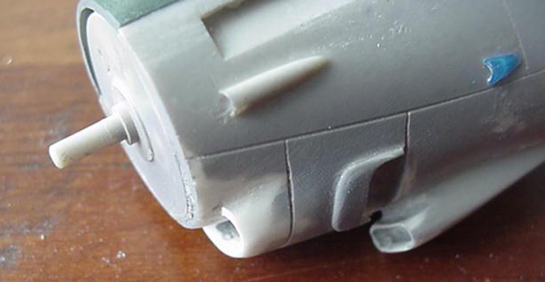
Anyway onwards and upwards. or should that be downwards to those chin mounted outlet louvers. These are well documented and Paragon had chosen to mould the shape as a raised squarish shape with a couple of engraved lines to represent the gills, I decided to break out the Dremel again and go at it like a modeller possessed….So now the nacelle has two big holes in its sides using a small burr to undercut the edge of the outlet and create a super thin resin edge. These are filled with thin gills made from plastic card scrap to better represent the outlets.
The next stage is working on Paragon's exhaust stubs which are really crude in shape. I live in hope of Moskit creating some of those exquisite metal items but as it is Paragons stubs have no real location on the nacelle except for the undercut which has space for six stubs.
Images of Mosquito nacelles show the exhaust stubs as protruding out of the cowling from the engine and not sitting on a 'ramp' as Paragon have moulded. To rectify this is major engineering and beyond my modelling 'skills' so it will have to remain with a slight undercut made to try and represent the thin skinning of the upper cowling panel. If the nacelle was hollow cast it would be easy to cut out and replicate the DH exhaust mounting flange, but these are almost solid resin items.
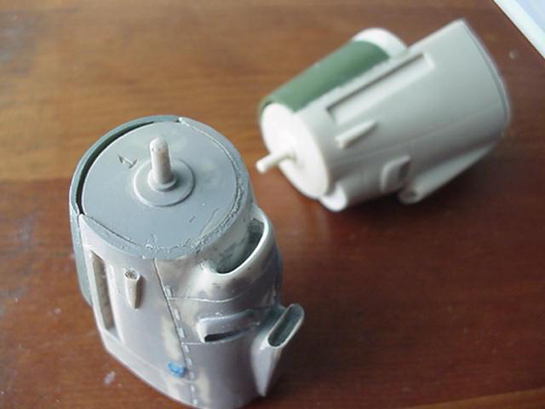
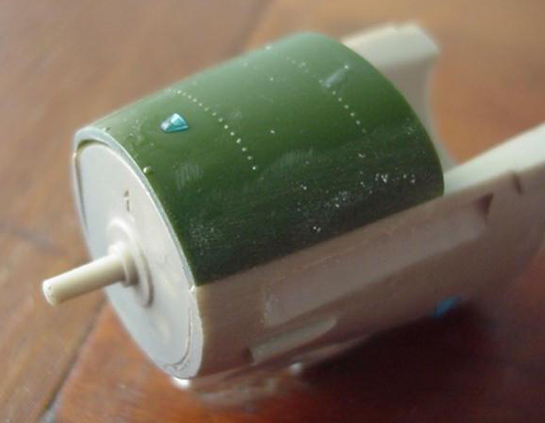
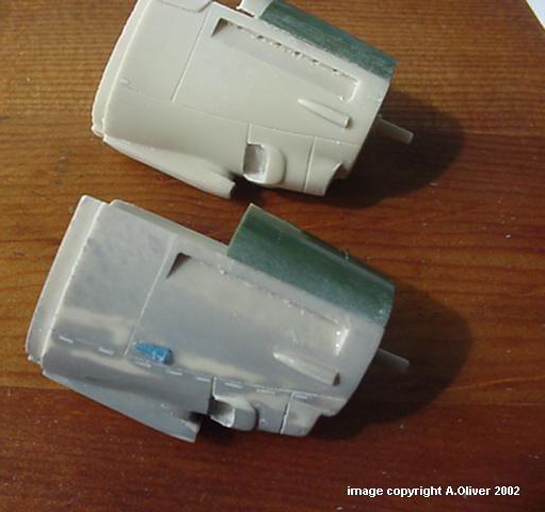
The Merlin nacelles were one of the few places on the Mosquito airframe that actually had any detail as the doped fabric covering of the laminated ply fuselage and wings are nearly devoid of detail. It's a re-scribers paradise! Again Paragon's nacelle fails to replicate the fastener details and also missing are the vents that appear on the side panels and the breather vent on the top cowling. I chose to represent these with sections of a cotton bud (Q-tip) cut at differing angles to produce conic sections. These show up on the images as blue plastic parts and were a devil to get to attach to the resin using my favourite cyano glue.The fasteners are replicated with short lengths of scrap plastic strip sanded down with 600grit wet and dry when they are all in place.
The next phase is to determine just how I'm going to make up nearly 3/8th of an inch that is the gap between where the resin ends and the kit wheel well starts. Then build up the interior rib structure of the well and rebuild the compound curve of the rear of the nacelle.
Oh and did I mention that the wheel well roof need relocated and the wing spars installed…
I feel a little diversion to Tamiya-land coming on…
© Tony Oliver 2002
This article was published on Saturday, October 24 2015; Last modified on Saturday, March 26 2016