
AIMS 1/32 Mistel 2 Conversion
By John McIllmurray
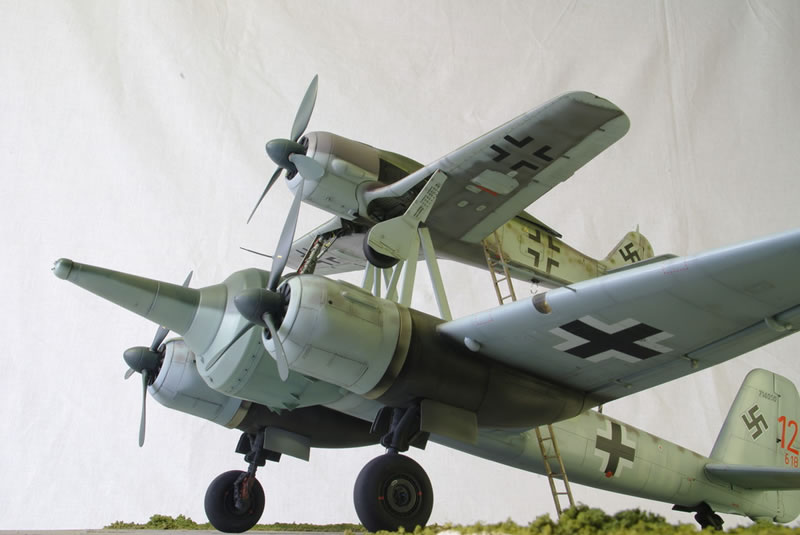
This is a Mistel 2 I started when I first launched the conversion. It features the Revell Ju 88, and the Hasegawa Fw 190.
The Ju 88 Component
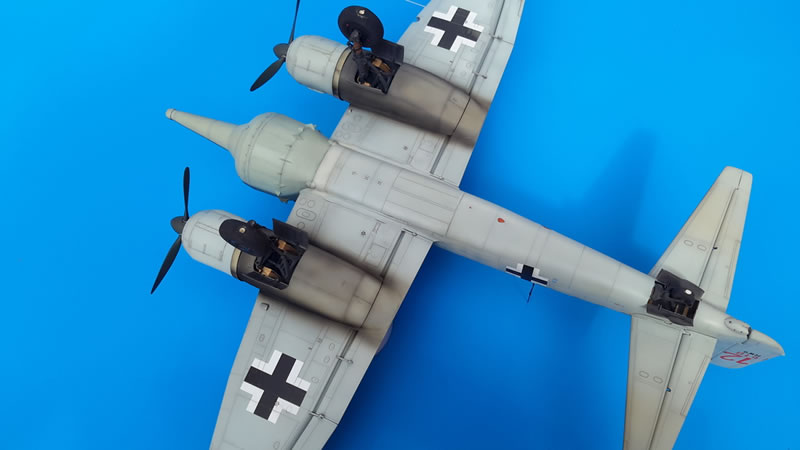
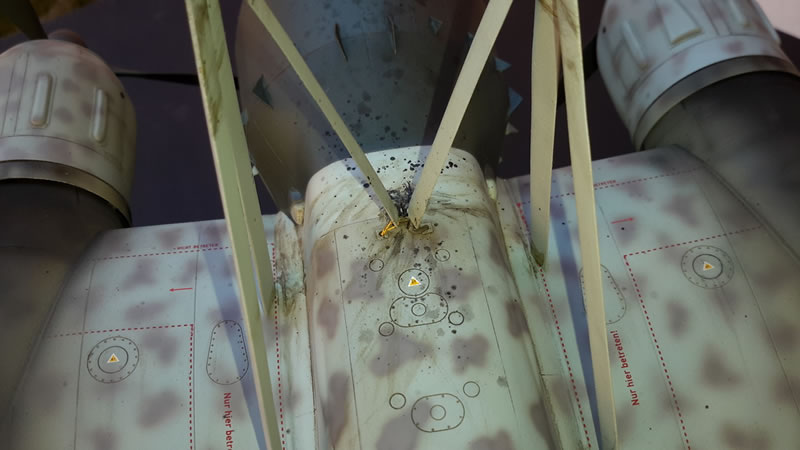
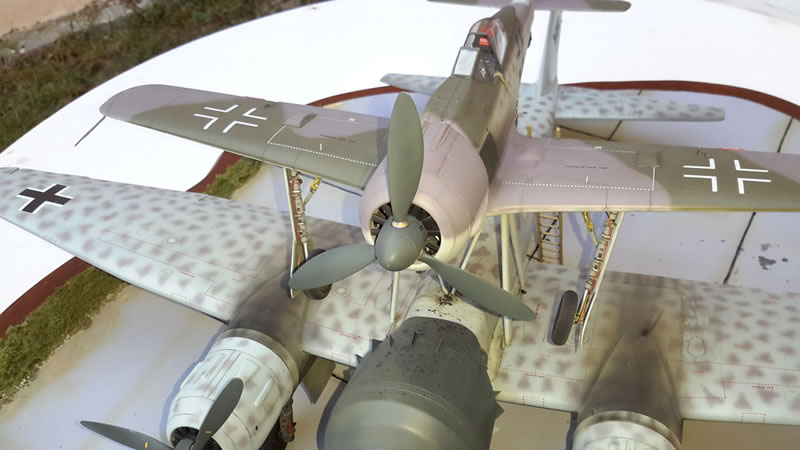
As you may know the main wing of Ju 88G-1s and G-6s are finished from factory in solid RLM 75 with just the leading edge in 76. Flaps and ailerons painted like fuselage with RLM 76 first then 75 mottle. You should therefore not really have mottle on wing root fairings or leading edge (I have both on mine as brain was not working). A result of the Luftwaffe system of sometimes going from dark to light is that you often can see that upper wing RLM 75 mottle looks much more 'feathery' than the denser - more direct application as seen on the fuselage. Put another way the RLM 75 on upper surfaces is what is left over rather than applied. Just thought I would share that. My RLM 75 is my own, I take Xtracolor RLM 75 and add 1 tiny drop of white and 1 tiny drop of red - works for me.
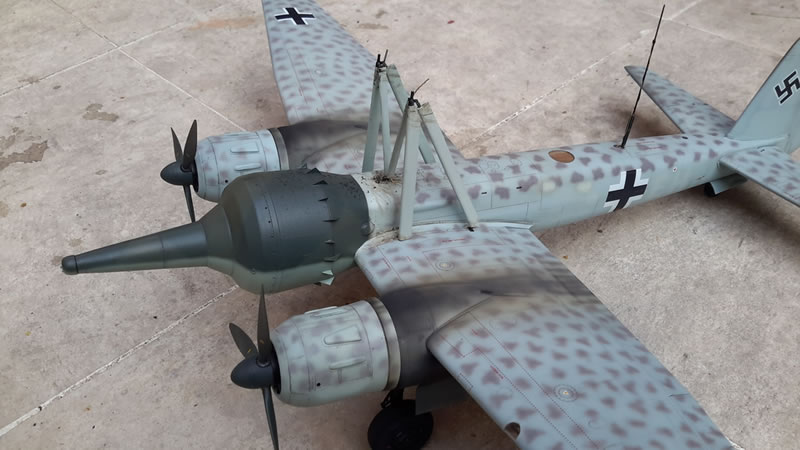
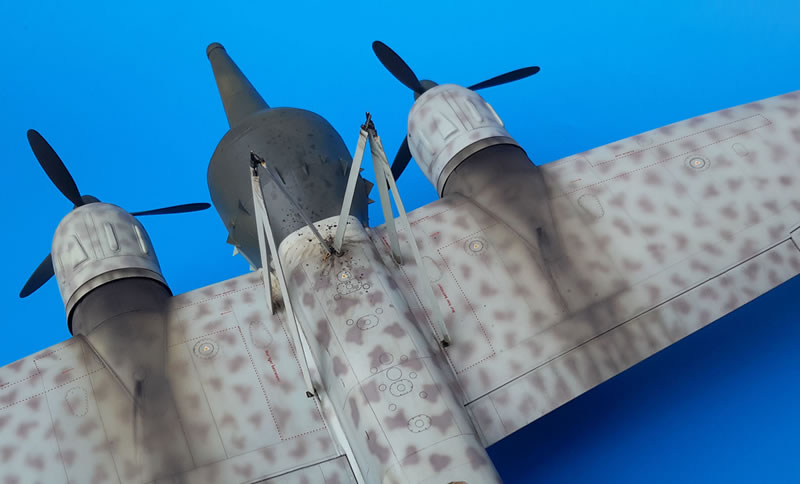
As for staining Ju 88s landing flaps have raised rivets which really catch the dirt behind an engine like the BMW 801 which on the 88 has an exhaust bank at the top and sides (reversed on Fw 190). Ju 88s also have notoriously bad oil seals for the hatch on the rear upper wing cowling - so BMW Ju 88s are a real mess! I always spray exhaust stained areas a tan colour first and then back-fill with dark grey and then black. Finally I apply artists oil paints of Raw Umber and black.
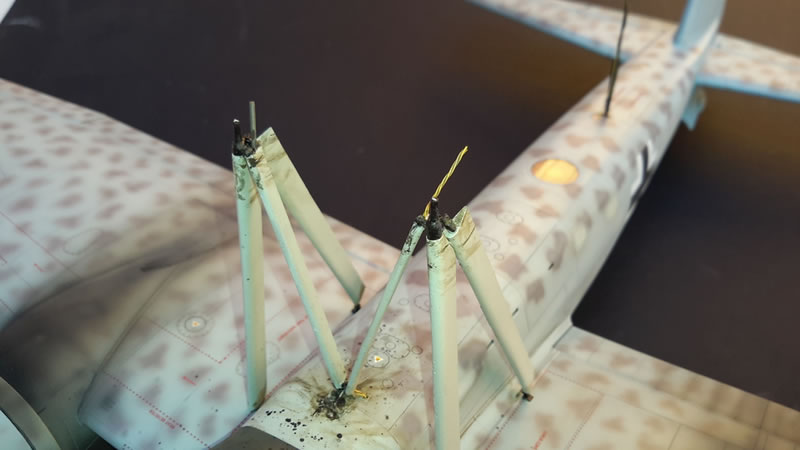
Finally note that on Mistels any redundant equipment is removed and plated over so no under wing FuG 101 or heating system in the front wing root or left side mid fuselage etc.
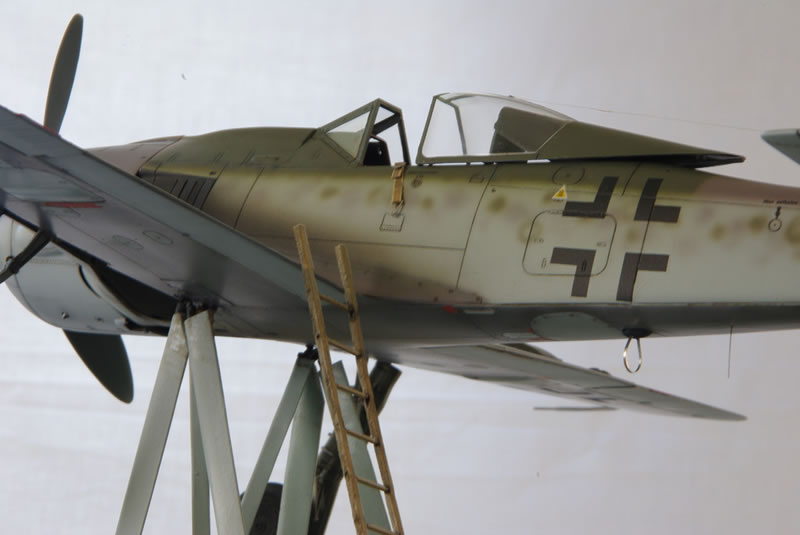
The Fw 190F-8 Component
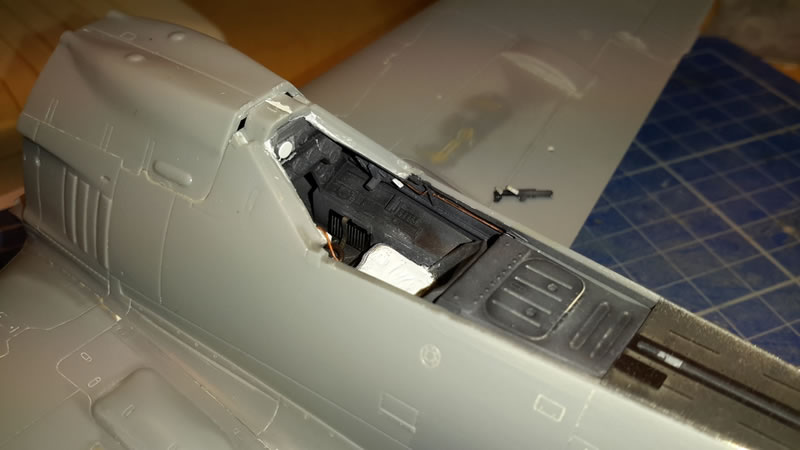
I bought the Eduard interior PE set for the Hasegawa kit - this is the first Eduard PE set I have bought since they started offering painted PE and I see that their RLM 66 has much more blue in it than the Extracolor paint I am used to which is almost black in comparison.
I have had many setbacks during spraying over the years but never had a compressor vibrate off the table onto the pull out desk below it crushing the model in my hand as I am spraying it!
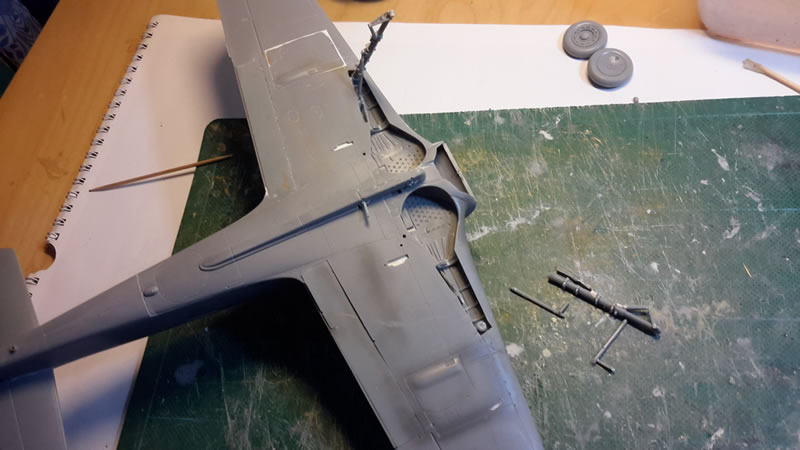
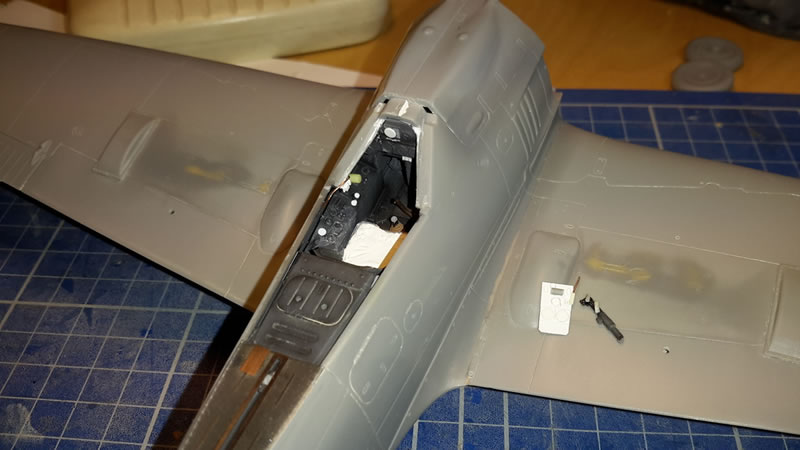
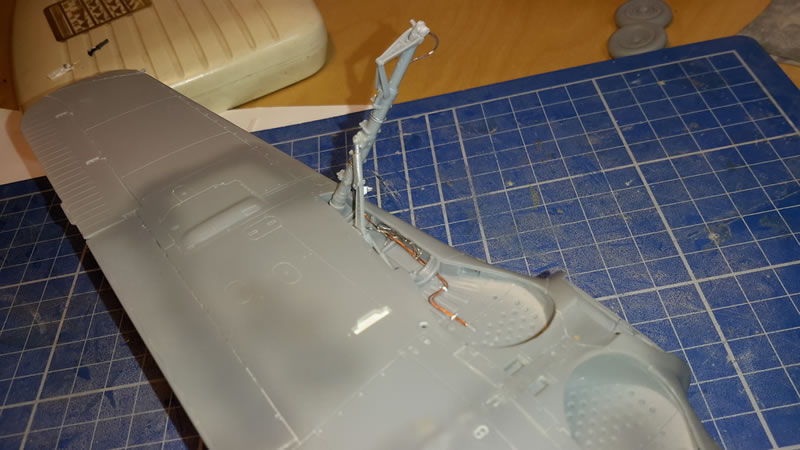
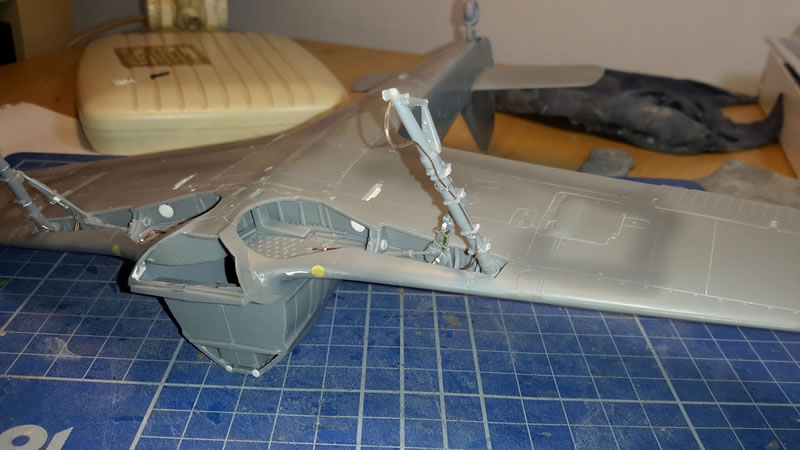
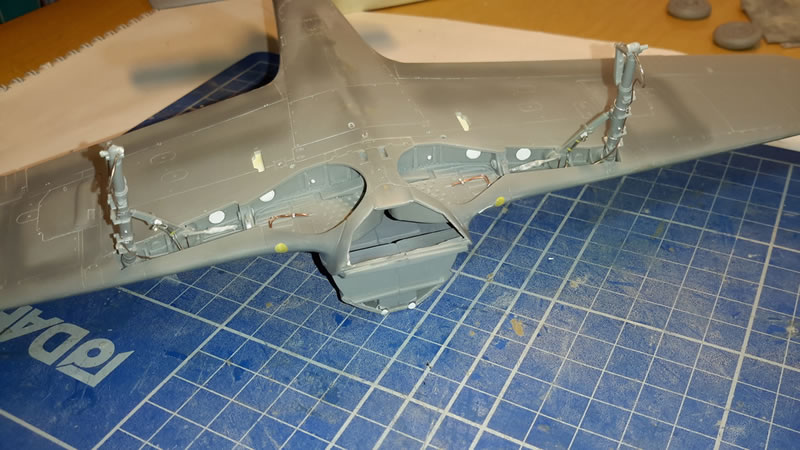
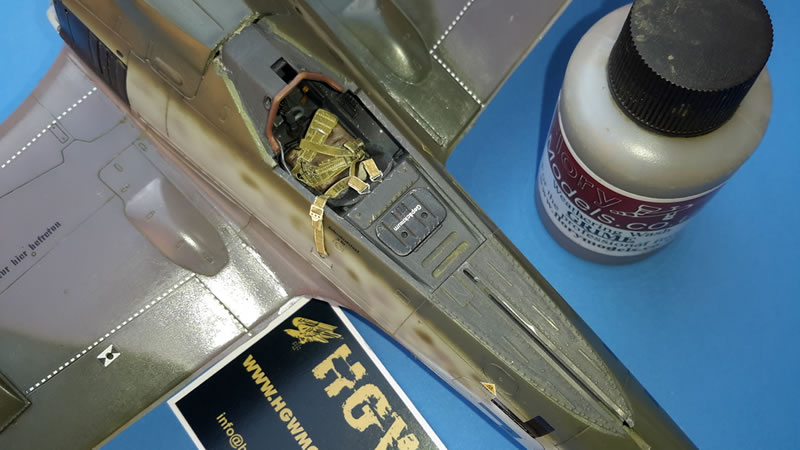
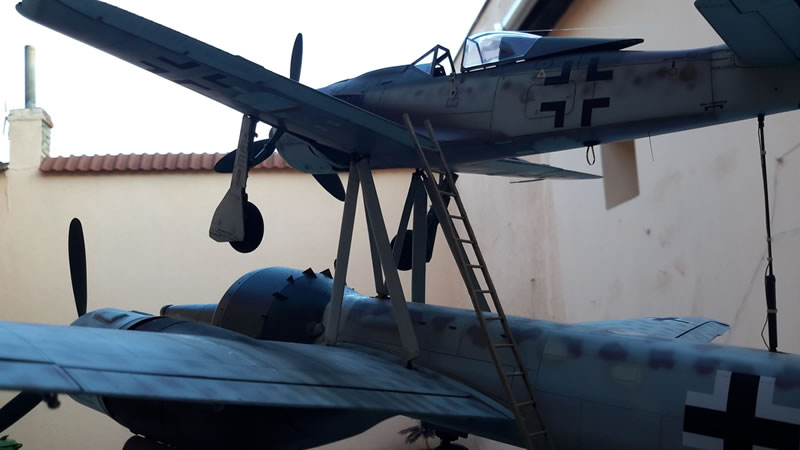
Damage fixed and a multitude of sink marks filled. The Fw 190 does not have the easiest cockpit to go back and retro-detail and / or convert to Mistel set up. This model was thrown together years ago just to sit on top of my Mistel conversions at model shows, now I want to make it nice for myself - arhhhhhh. Anyway done my best to add a compromise layout which will have throttles for left and right Ju 88 engines added latter but no chance of engraving some nice slots for them as cannot get in there! SB Mistel style central console and added a few bits from Eduard PE set. Again gear bay would have been a lot easier to detail before kit build but there you go.
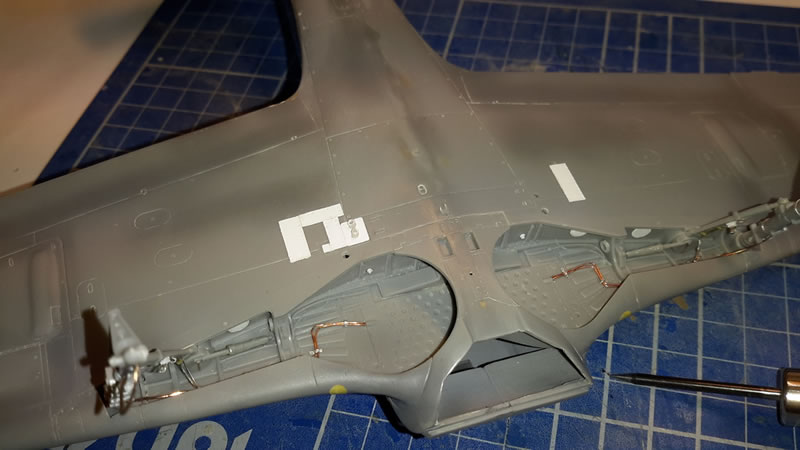
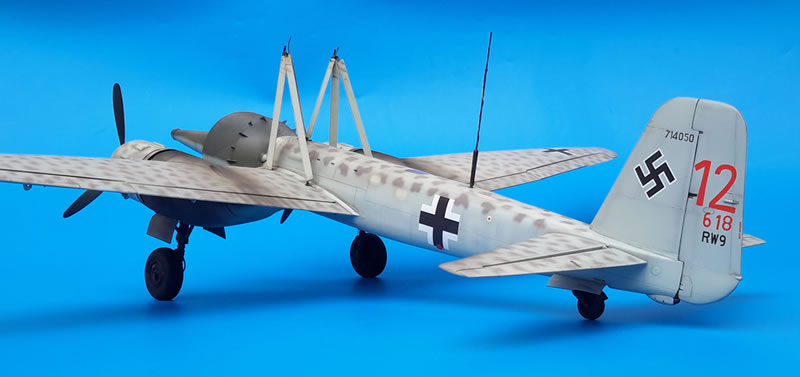
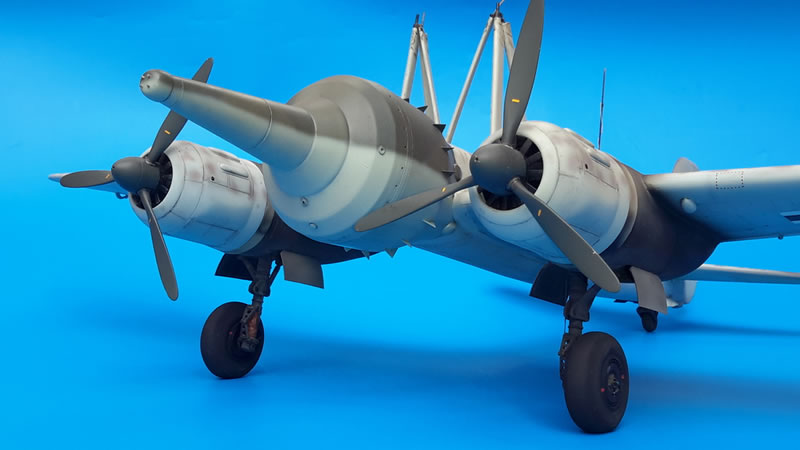
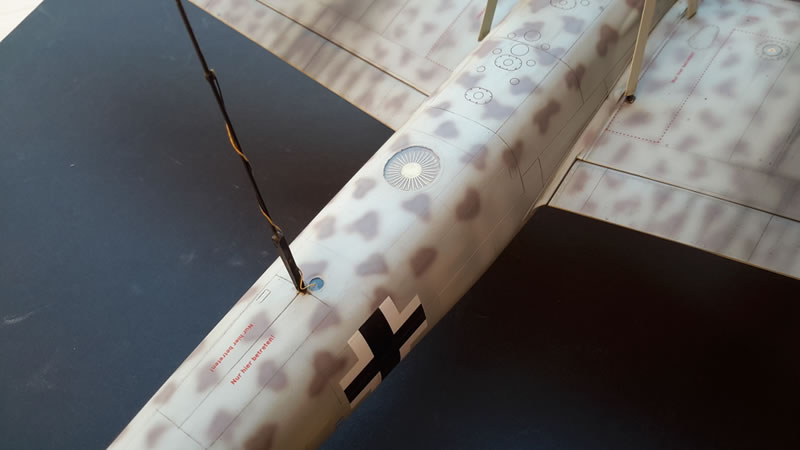
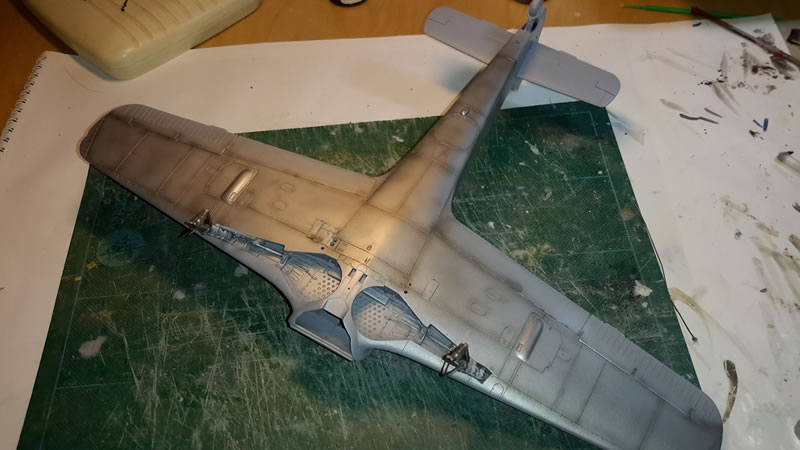
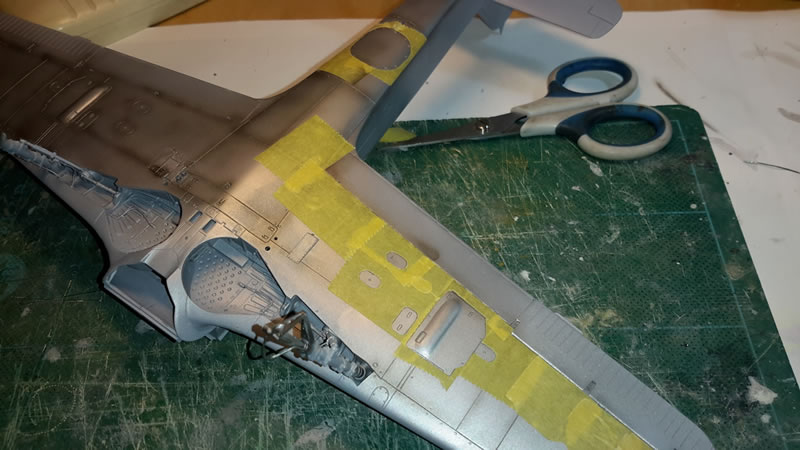
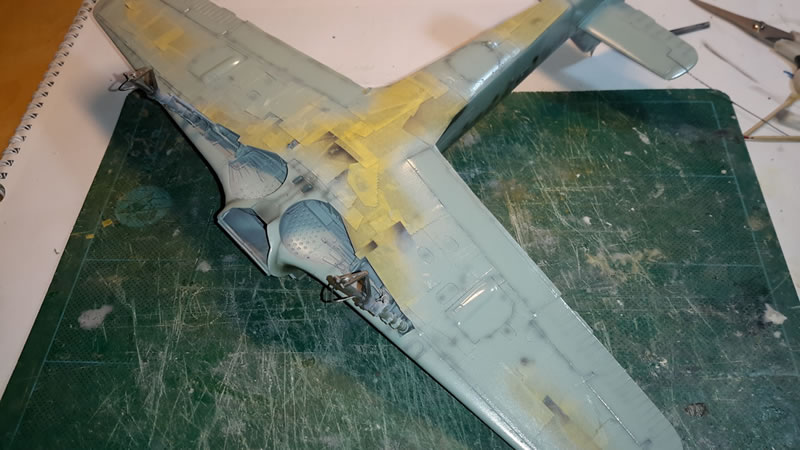
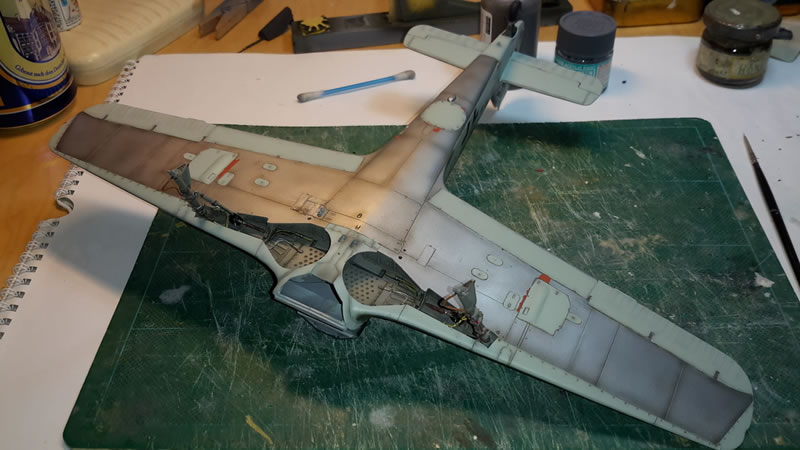
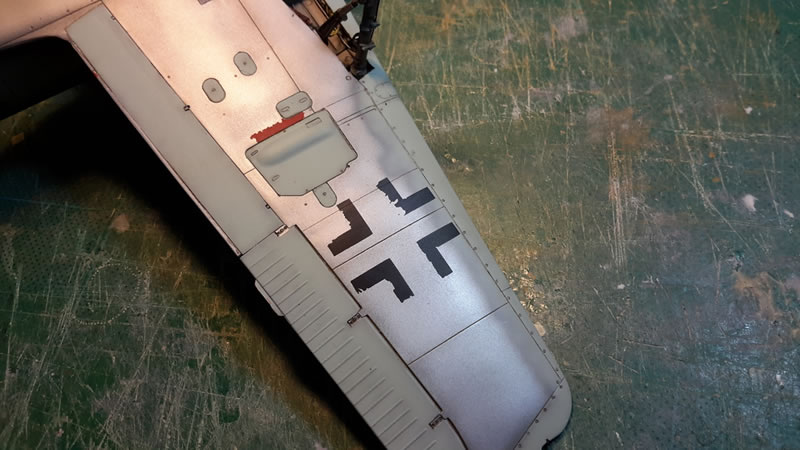
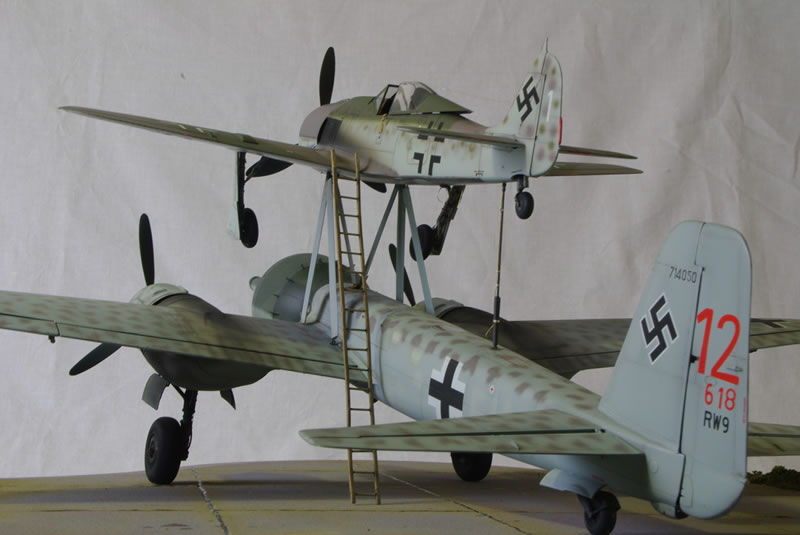
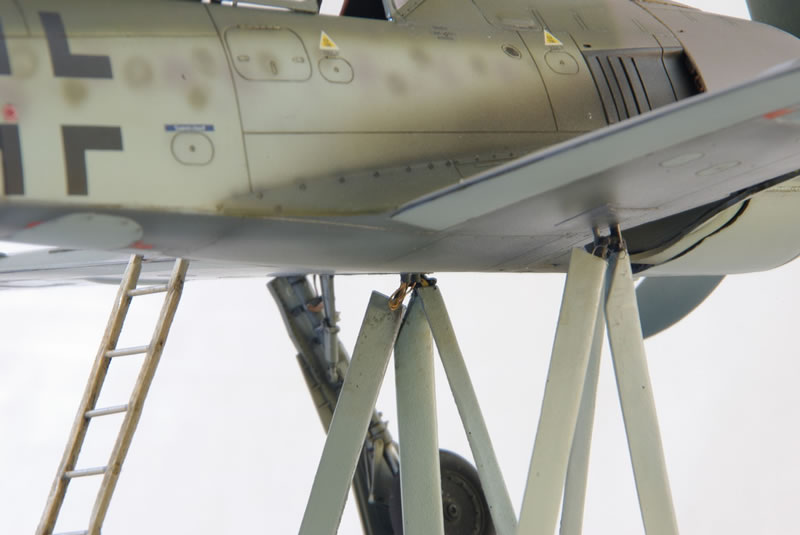
I sprayed the lower surfaces with Alclad Dark aluminium as I wanted to mimic what you can see on a number of Mistel Fw 190F-8s. I masked off the panels to be painted RLM 76 by taping over and cutting out - thought it would be easier but my heart was in my mouth the whole time! Once all covered the Xtracolor RLM 76 was applied and then my own mix of RLM 75 and RLM 83. I did not have any RLM 83 but looking at my paint chart by 'Classic Colours' I could see that it was a near perfect match for British Dark camo Green so on it went! When it is all dry I need to mask off a little bit more and spray the main gear and bay RLM 02

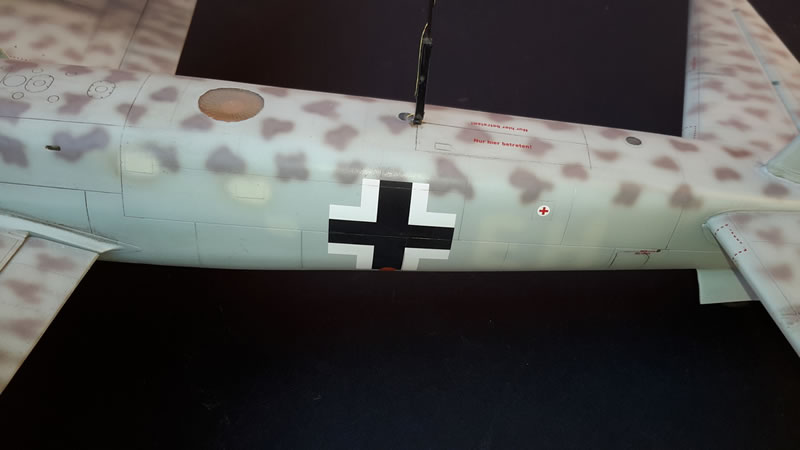
Disaster No. 2! I have got the kit decals on, plus some of my own for the Mistel conversion. In the absence of the kit's instructions, that I must have lost, all I had was the old Monograph title which has the painting and marking / stencils diagram on the back inside page. Funny enough when it came to the tail and fuselage insignia I double-checked using photos but the I failed to do this for the upper wing crosses, and just followed the drawings to my great regret. As a result I had crosses that start inboard of the aileron actuator fairing instead of outboard of it!
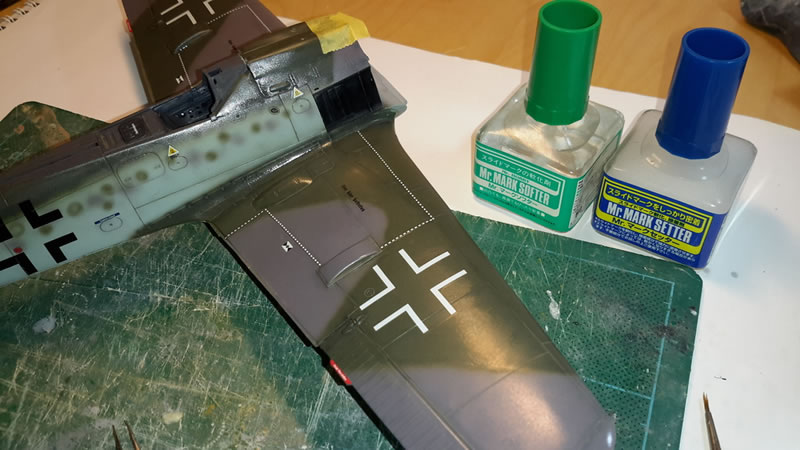
I managed to get them off with the Gunze Sangyo Softer just left on for a few minutes...phew. Anyway the Hasegawa upper wing crosses are 1mm too big, so placing them correctly would also have looked odd.
These HGW seat belts are amazing and worth every penny but how do you ever go back to normal PE belts after this? They are models in their own right! I did not follow the recommended painting route and just dipped them in Flory Models Grime, then dipped in water then dabbed them down with tissue paper and like magic all the stitching appears!
After applying the flat varnish I removed the tape from the Alclad Aluminium areas:
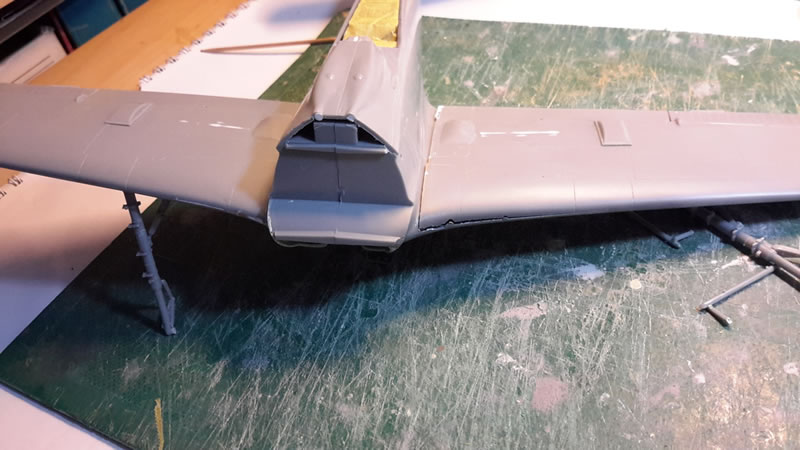
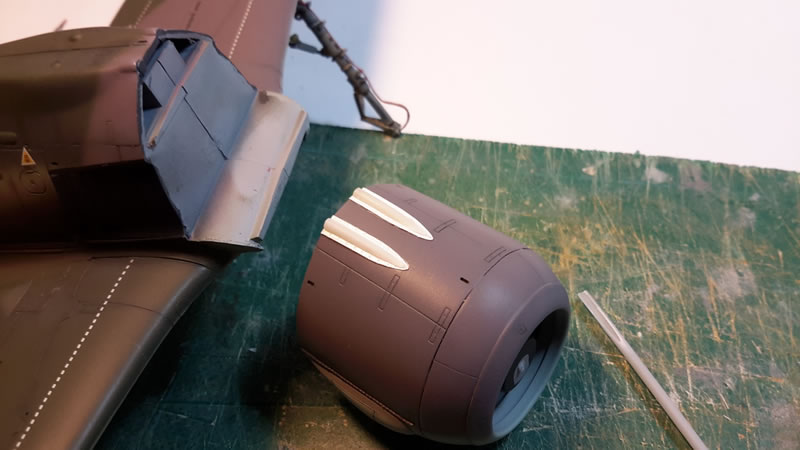
I forgot all about fairing in the upper gun troughs! I had thought that maybe they were only on the A-8 off of Red 11 that now hangs in the Imperial War Museum Lambeth but I can see them clearly in two photos of F-8 Mistel Combo's so I had better do them! I just sawed through some rod at an angle and placed on some card with rivet detail - job done! Will spray and leave in a grey primer colour. Do I also need to fill in the two upper latches? Yes I do!
Arhhhhhhhhhh! Montex masks - upper wing crosses no problem as paint on matt paint - lower wing crosses sprayed onto Alclad - disaster - no surface retention and I did not build up the paint too much either - other wing even worse.
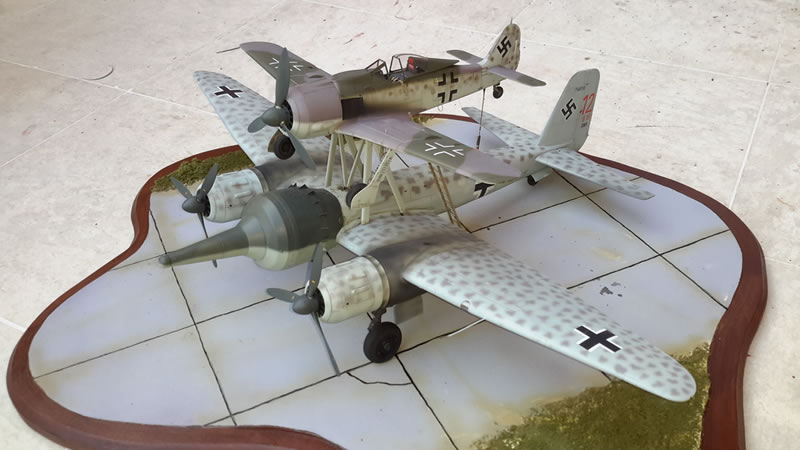
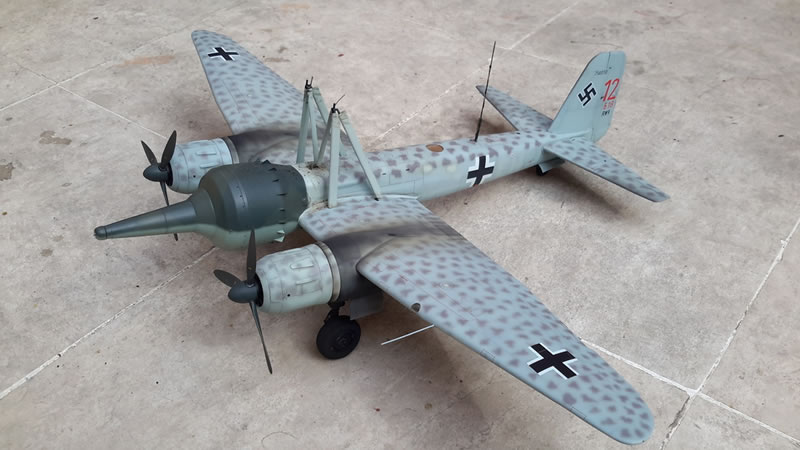
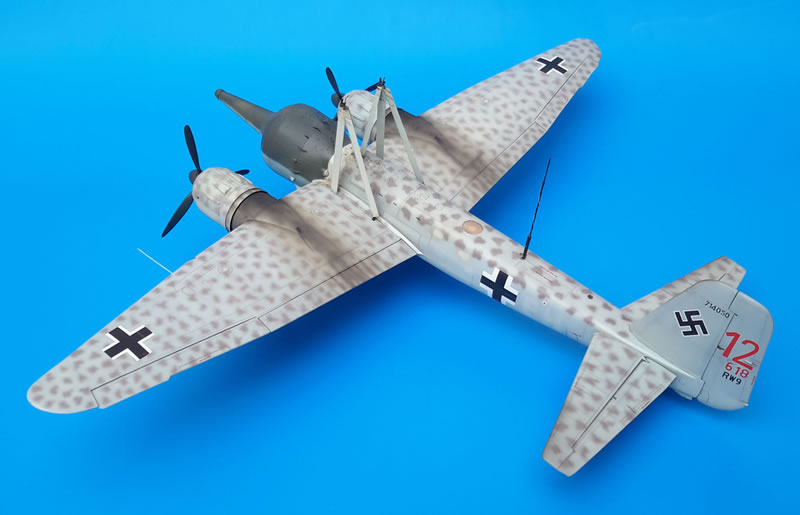
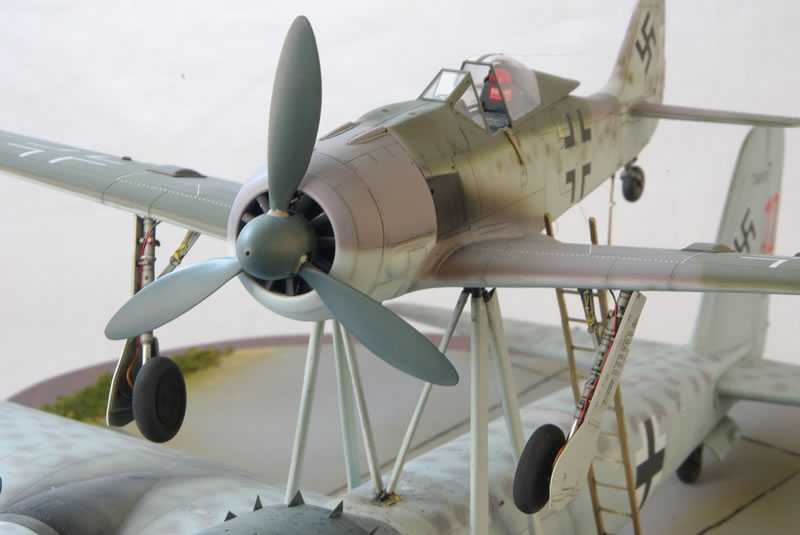
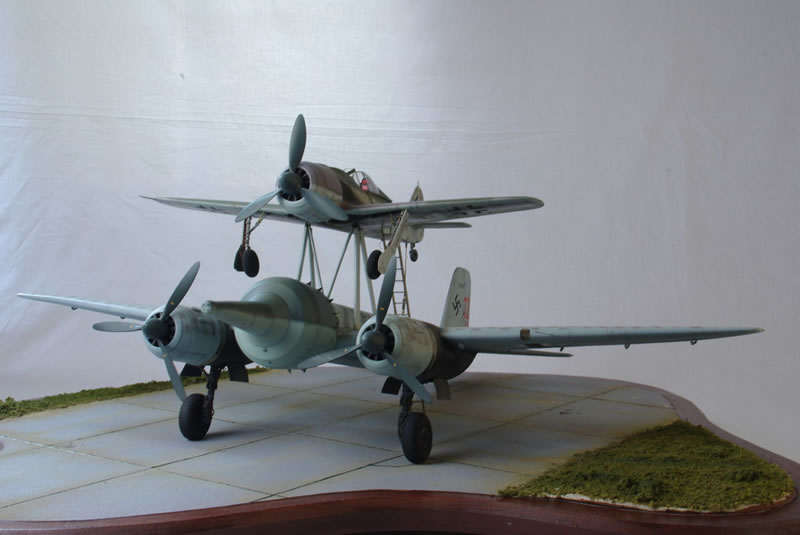
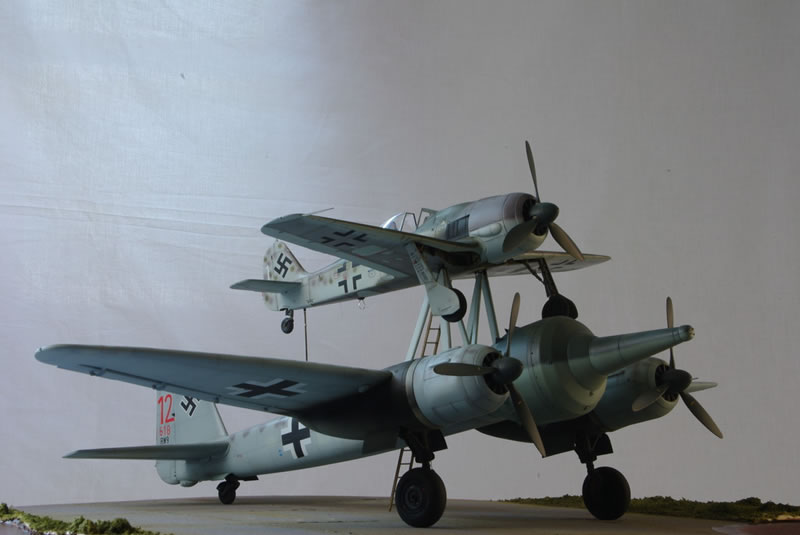
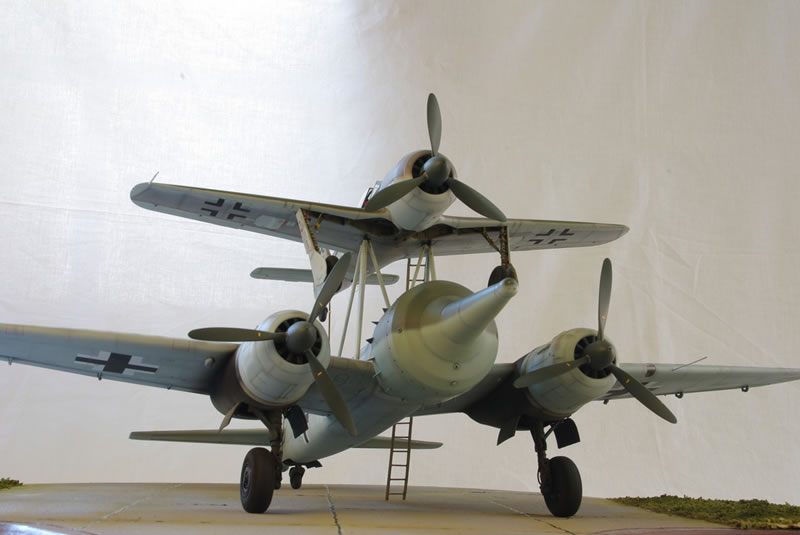
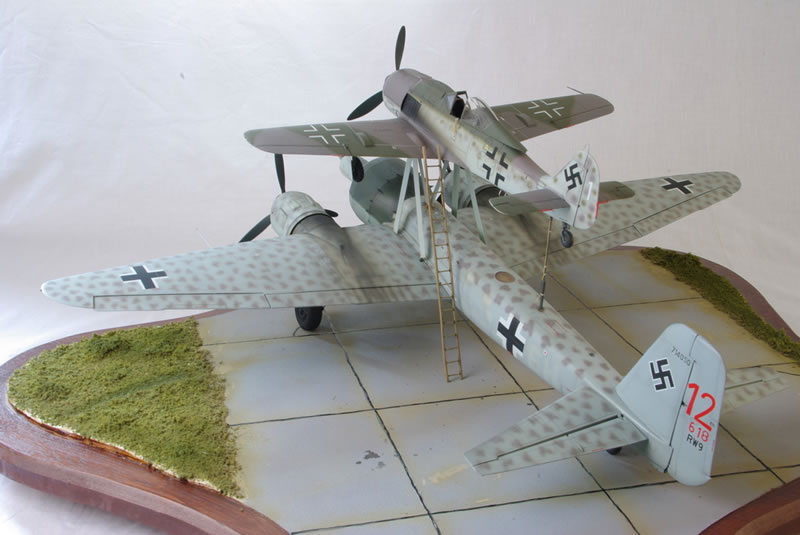
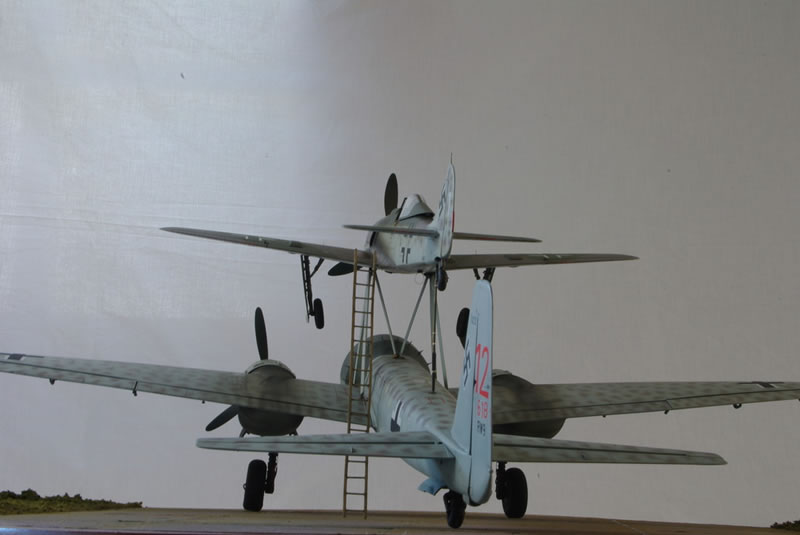
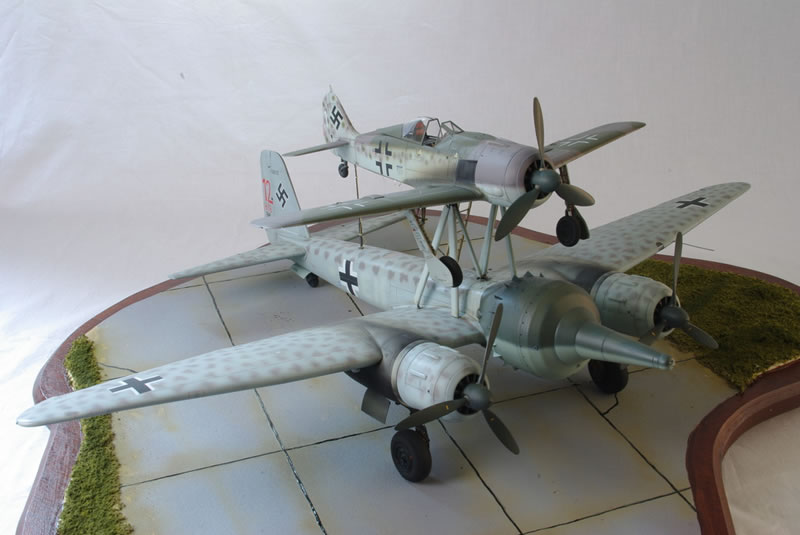
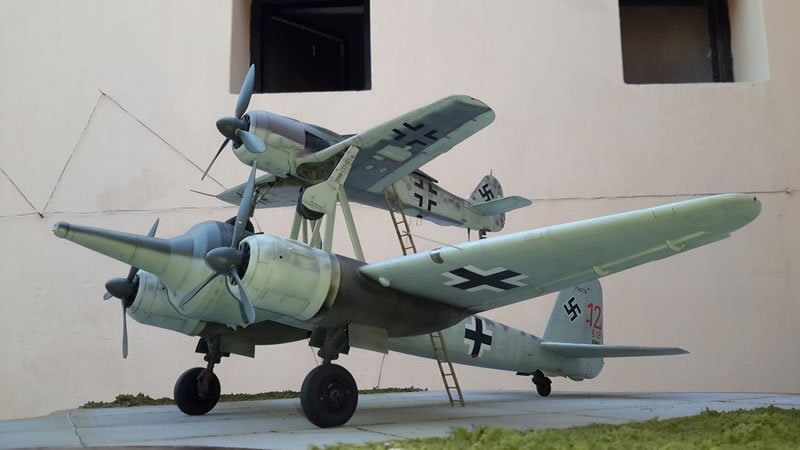
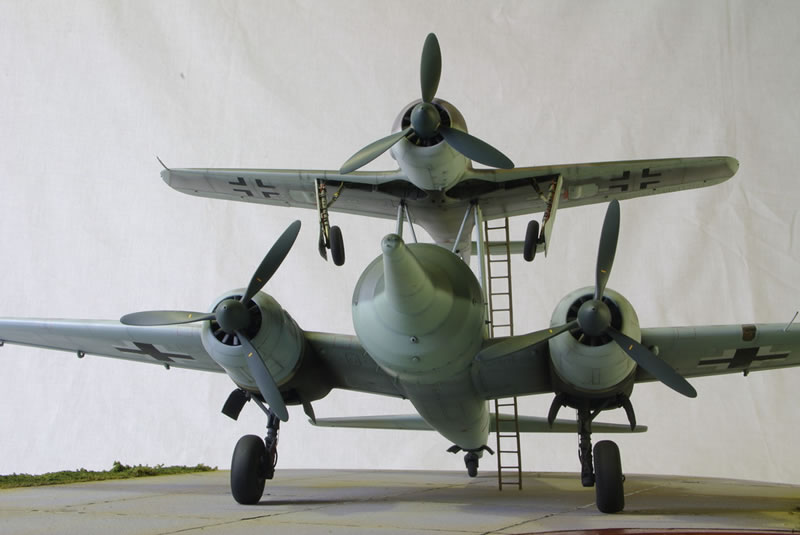
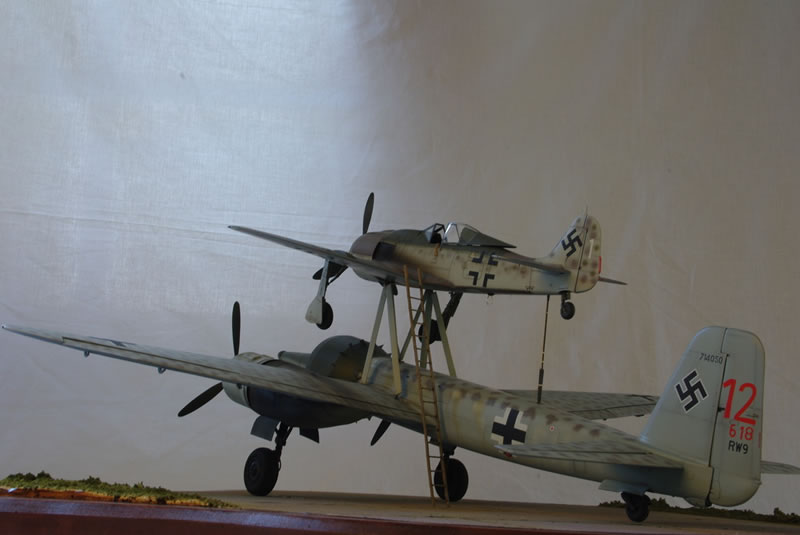
The Finished Mistel
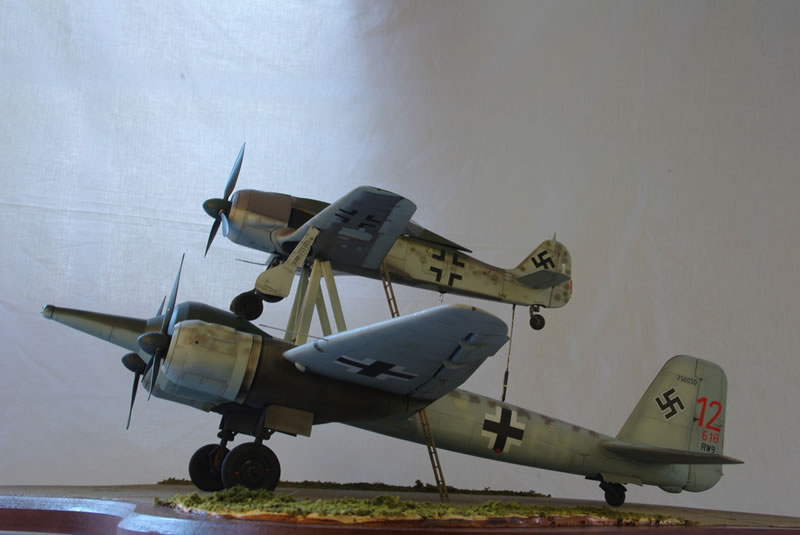
I would love to transport it to somewhere with a real backdrop but it will end in tears with these Hungarian roads - maybe some other time. Just imagine Tirstrop, Denmark before the snow comes and this thing sat on the runway with one mission abort after another waiting for a Mossy to come and blow it up - which is what happened.


© John McIllmurray 2015
This article was published on Saturday, September 26 2015; Last modified on Saturday, September 26 2015