
Kitty Hawk 1/32 OV-10D “Bronco” - Part 3: Paint and Finishing Details
By Brian Leitch
Kitty Hawk OV-10D “Bronco”
Scale: 1/32nd
Manufacturer: Kitty Hawk Models
Accessory/kit #: 32003
Kit type: IM Styrene + PE
Part 3: Paint and Finishing Details
This is third and final installment in my build review of Kitty Hawks new OV-10D. In Part 1: Cockpit and Fuselage Assembly, I covered the basic fuselage and cockpit assembly along with a few pitfalls if one wants to build their Bronco out-of-box.
In Part 2: Wings Wells & Booms I covered the further assembly of the cockpit including finishing the windscreen, as well as the wheel wells, their installation, and the outer wing and tail boom assembly and installation, to complete the basic airframe.
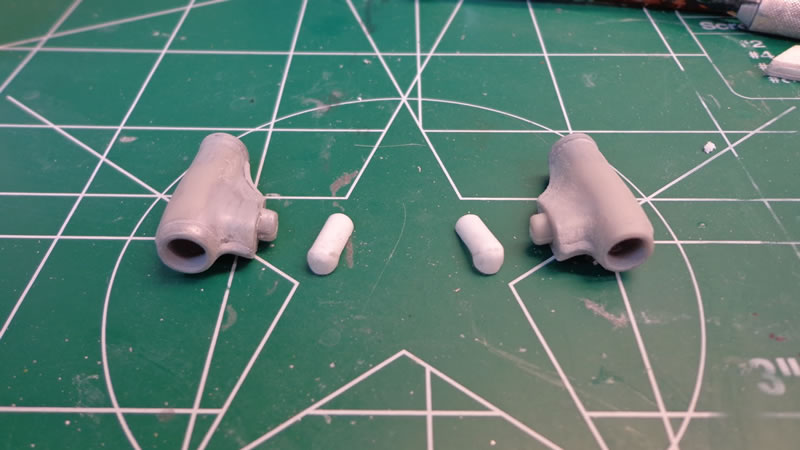
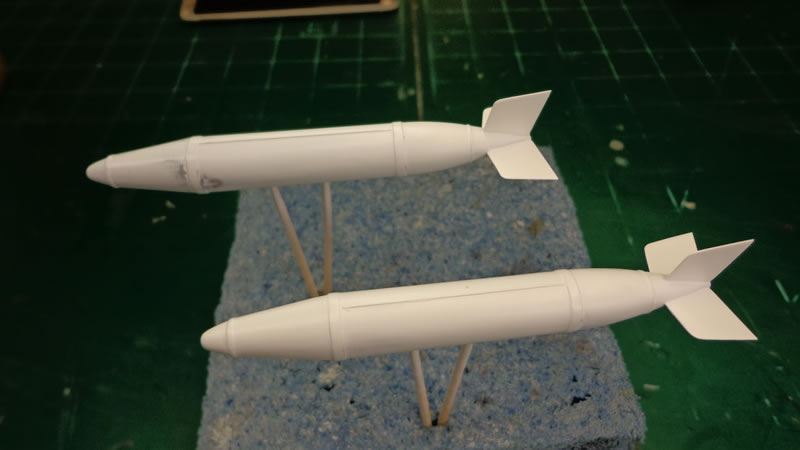
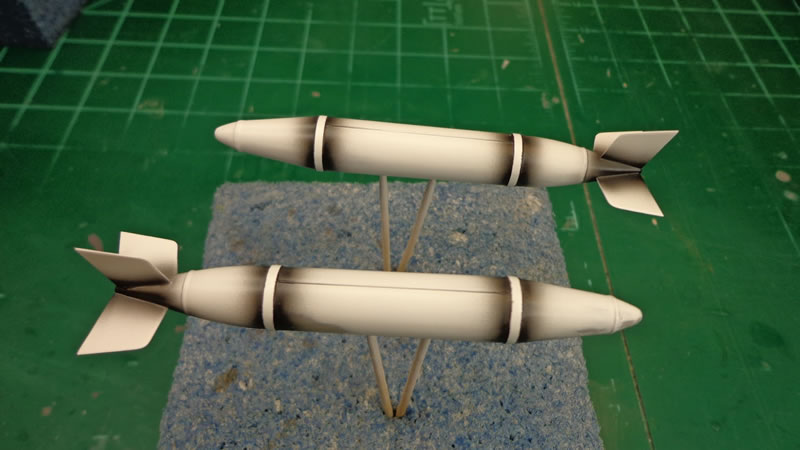
The next step after getting the cockpits and main airframe assembled was to start on getting all of the details to get ready for the tri-color wrap around camouflage. I started by assembling the turbine exhausts, IRCM ALQ-144 jammer AKA “disco ball” which usually appears as a metallic orange color, so I sprayed it, and the same gloss black I used for the props:
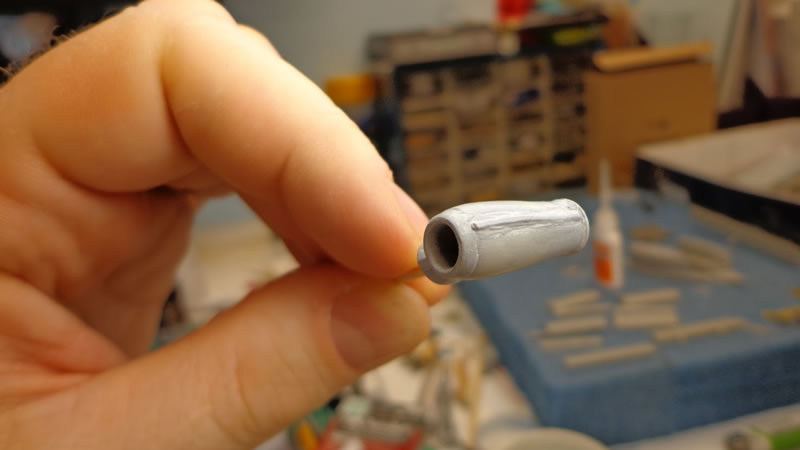
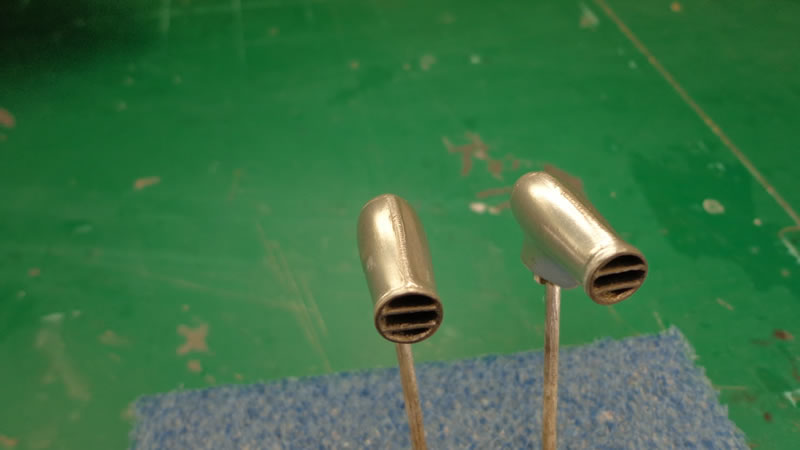
I also modified the exhausts by installing a scratch built internal exhaust inside the head shield, and put a weld bead on the outside, followed by a coat of silver:
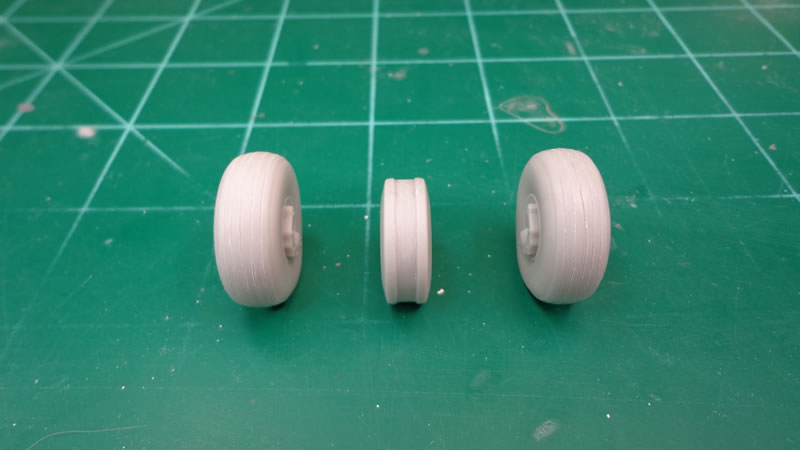
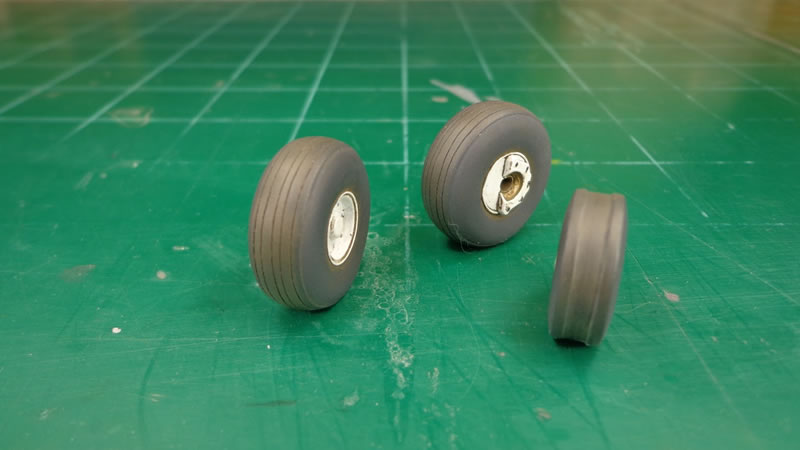
While the exhausts dried, I assembled the wheels and tires:
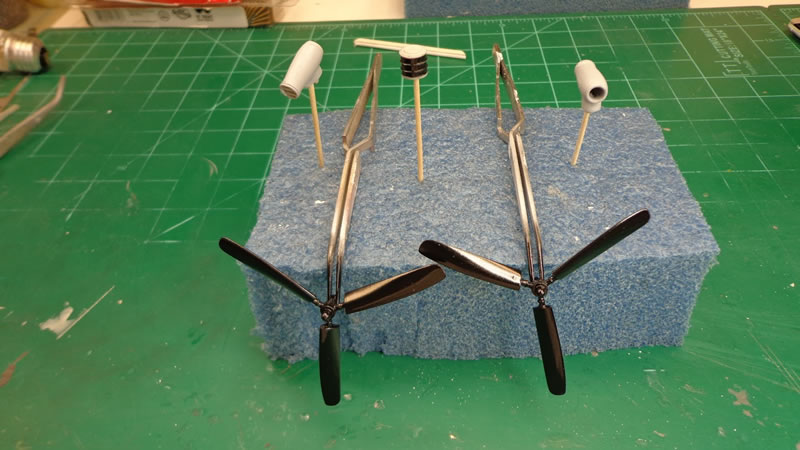
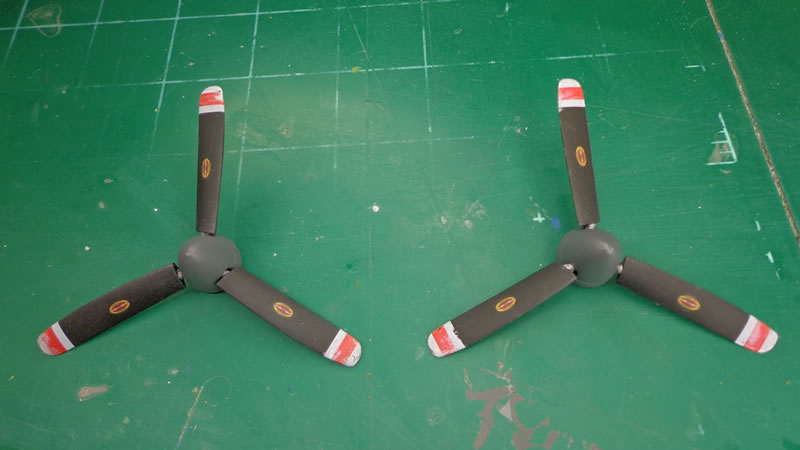
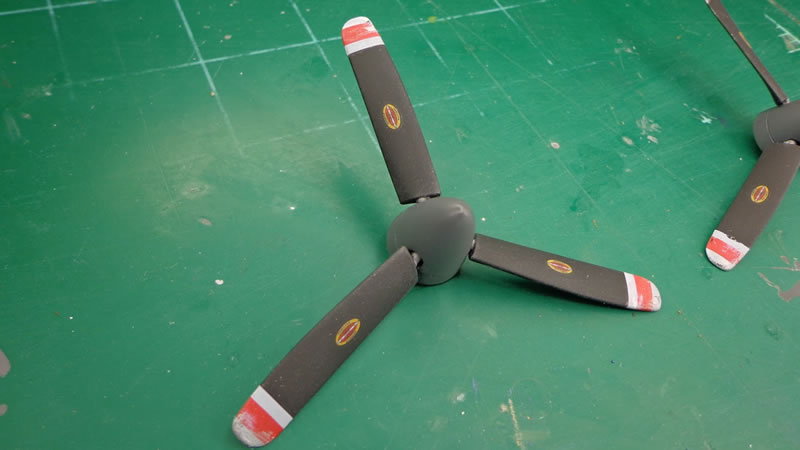
Next up I finished up the props with some flat black on the blades, and some Euro gray for the spinners, with Model Master Steel for the blade bases. This was followed up with a wash of Flory Dark Dirt, along with some wearing of the out-of-box tip blade decals with a cotton bud and some 90% alcohol, and some Tamiya flat silver:
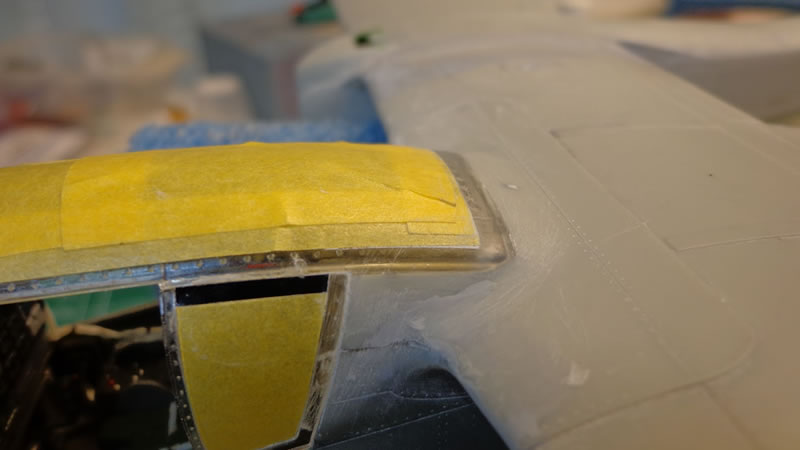
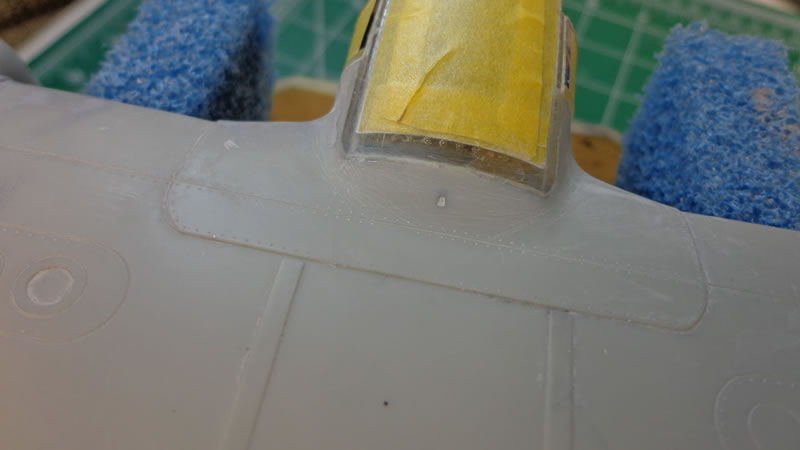
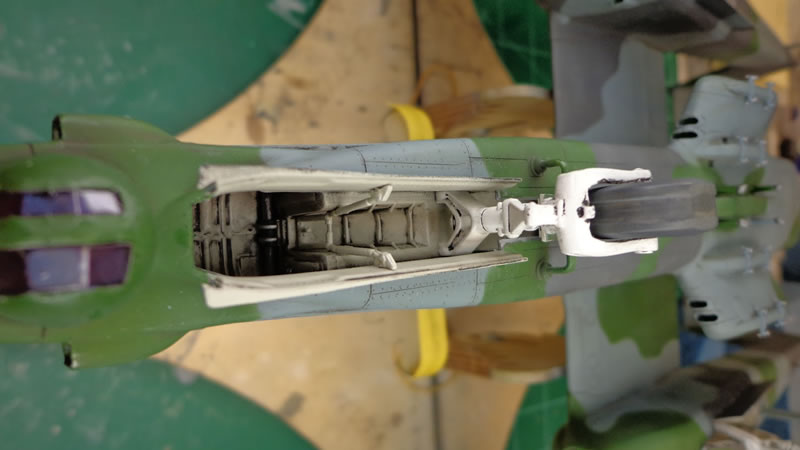
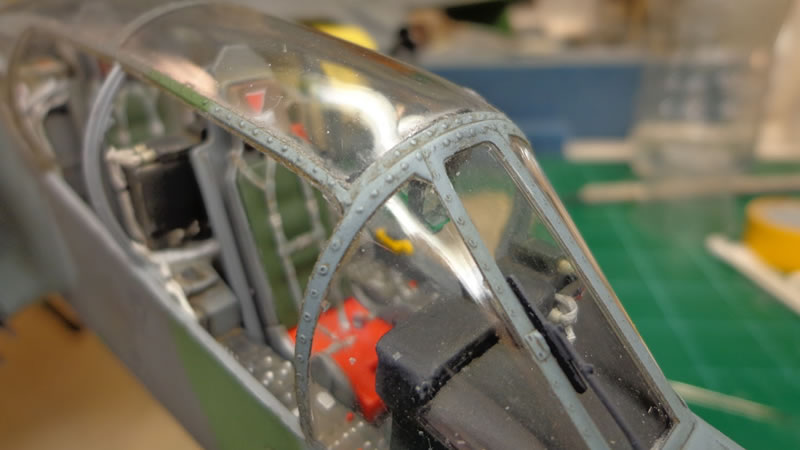
Next was the task of attaching the rest of the glazing. There is a LOT of it on the OV-10, so it had to look right. Although nothing is perfect, (I wouldn’t expect that out of any kit) the out-of-box kit glass is quite nice. The overall fit is very good, and this is a necessity, with as much of it as there is.
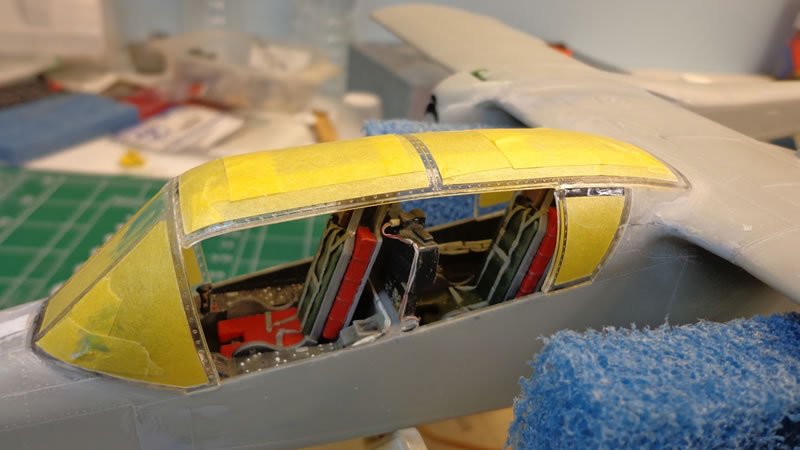
I fit the port rear quarter glass in, then fit the top center glass section in, and masked them off with Tamiya rice paper tape:
I then masked off the port crew hatch doors and attached the modified springs that open the doors. These are just the out-of-box parts cut down to fit in the closed position:
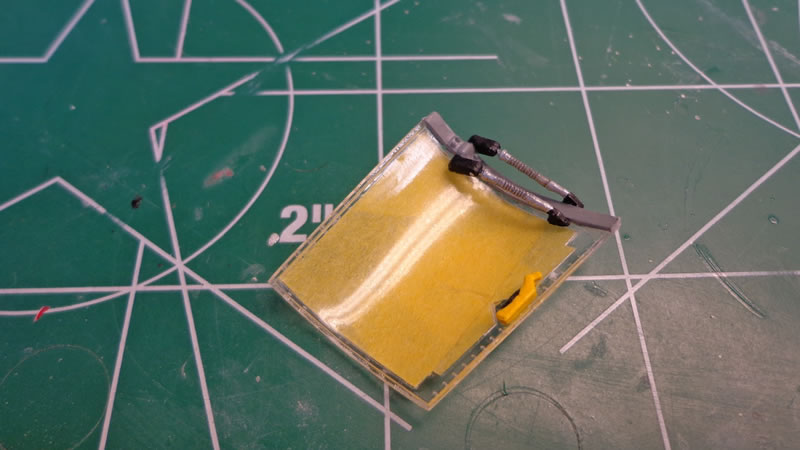
I then attached the two port crew hatch doors, as these will be permanently glued down in the closed position:
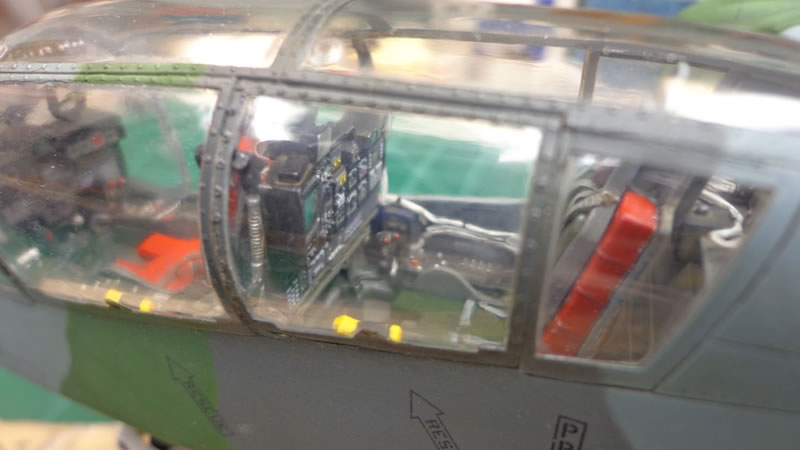
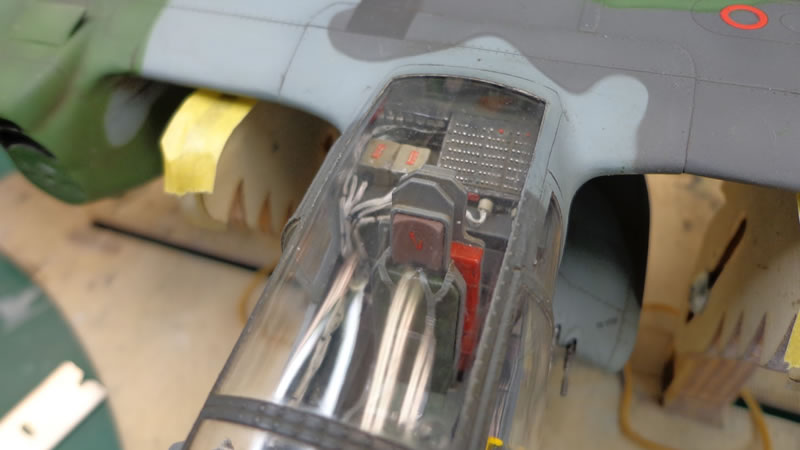
Finally, used some liquid mask to make up some holes in the masking on the windscreen, as well as attaching the two port side crew windows. These will need to be used as “masking” for the interior even though they will be posed open, the camouflage will wrap around them, so I used some Microscale foil glue to attach them so I could easily remove them later to be posed open:
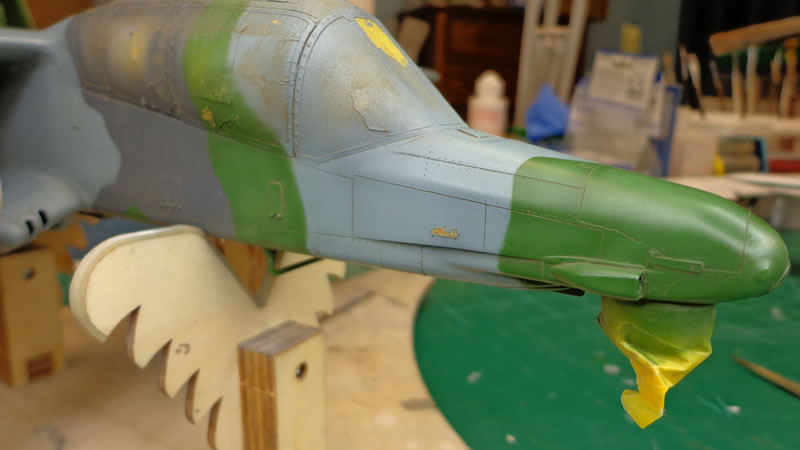
I shot some Alclad chrome over the gloss black on the ALQ-144, then shot some clear orange over that, and masked things off with some Pactra tape. Shes starting to look like a Bronco now:
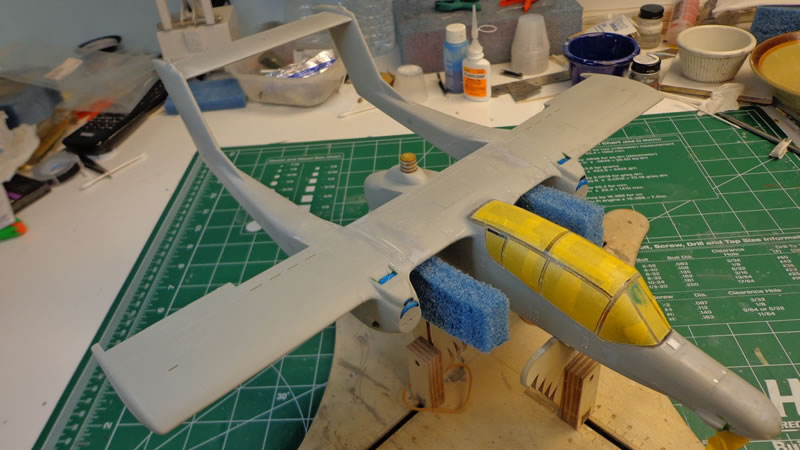
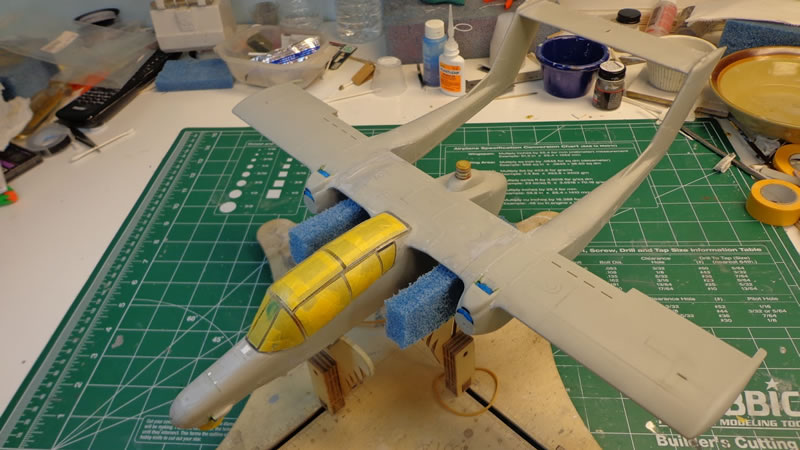
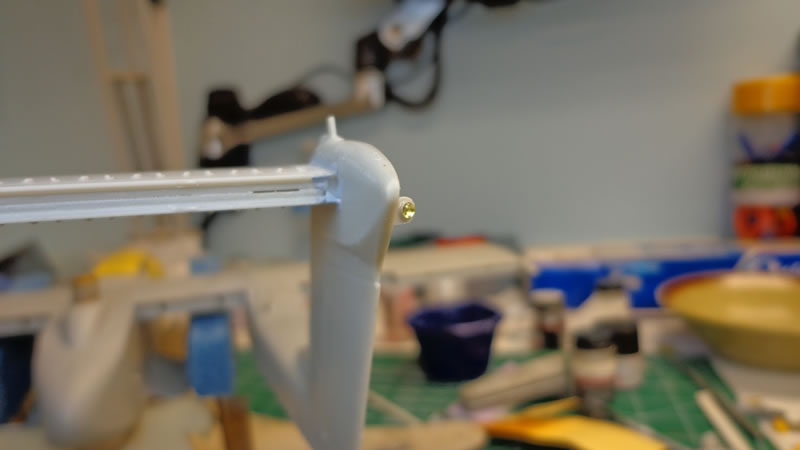
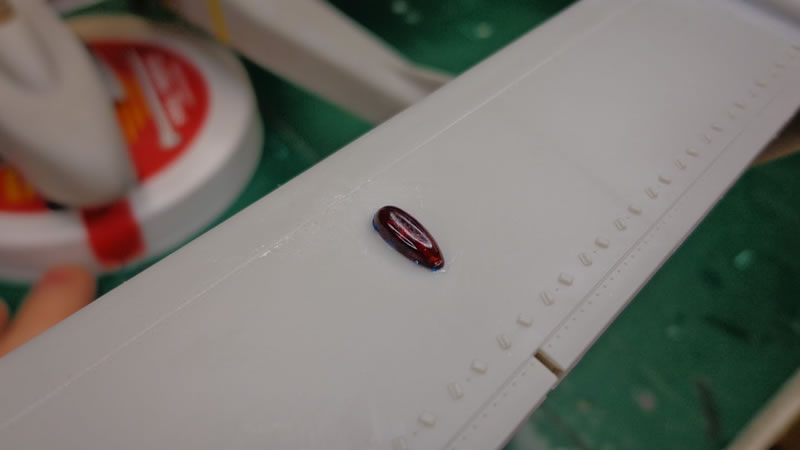
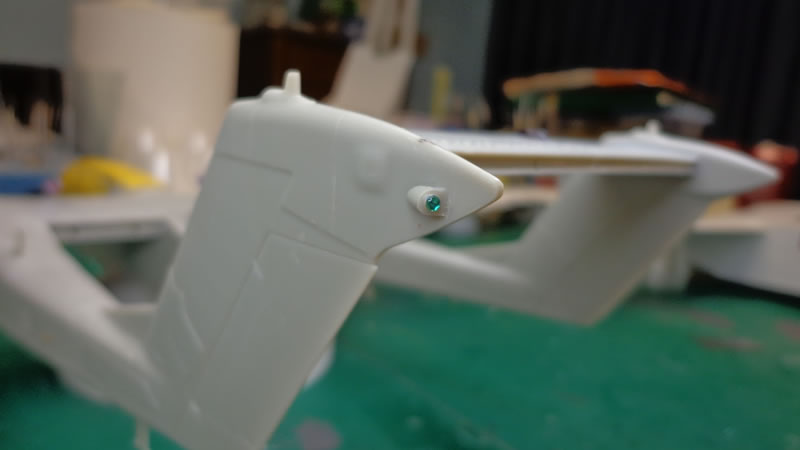
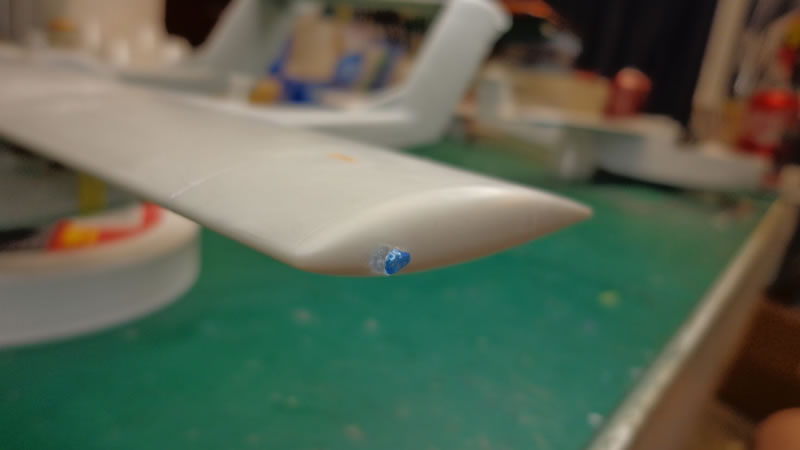
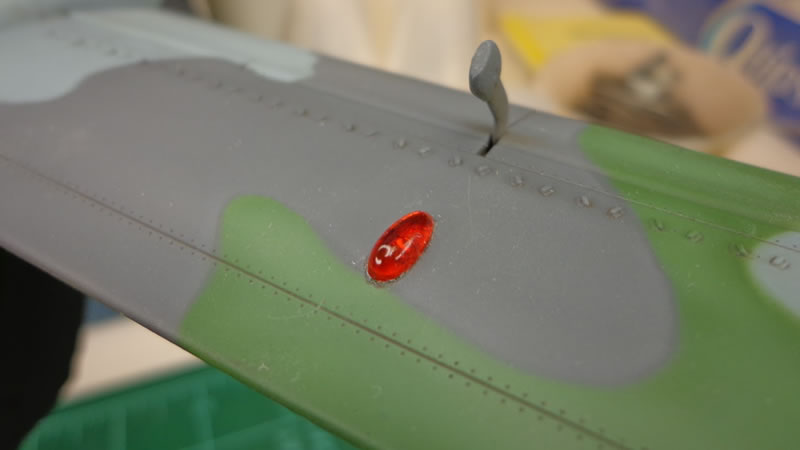
In final preparation for paint, I added the clear wing tip lights as well as the upper and lower landing lights. The landing lights have MV lenses in them, and are masked with liquid mask. I also added MV lenses to the rear vertical stabilizers, and masked off the indicator lights front, rear and on the wings, then shot some of the cockpit color on the clear parts:
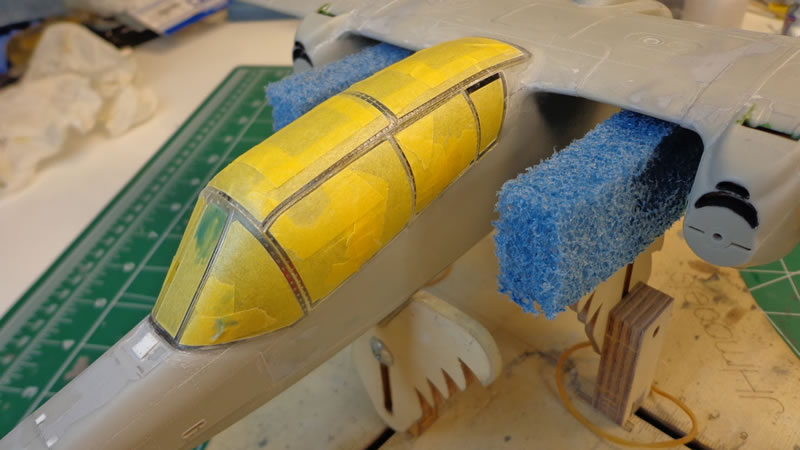
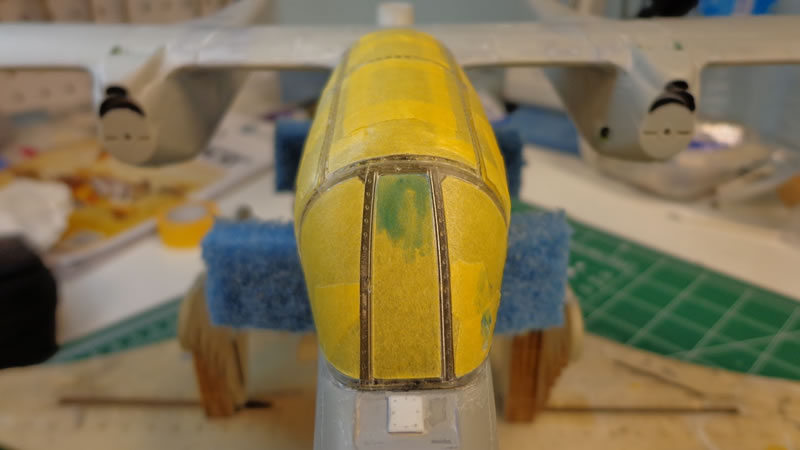
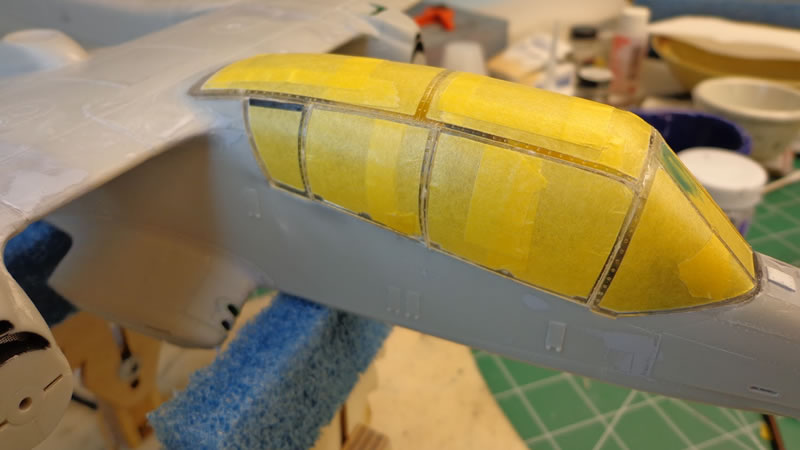
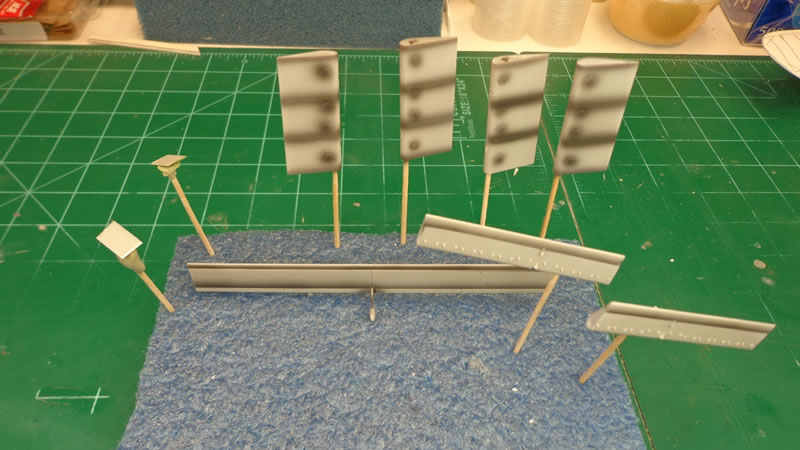
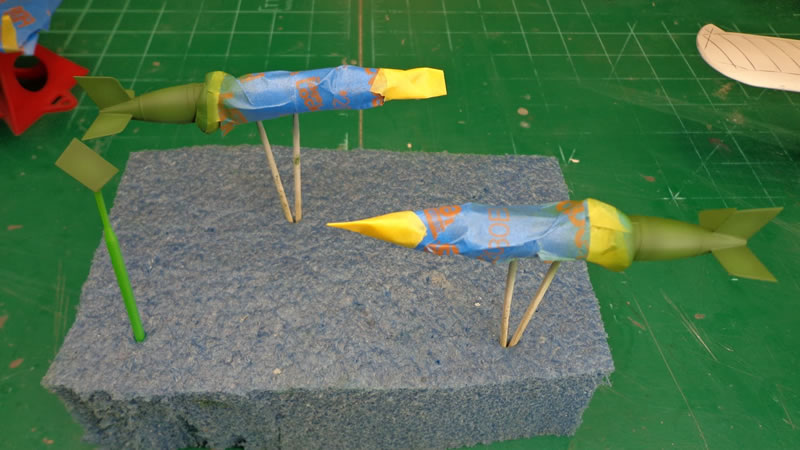
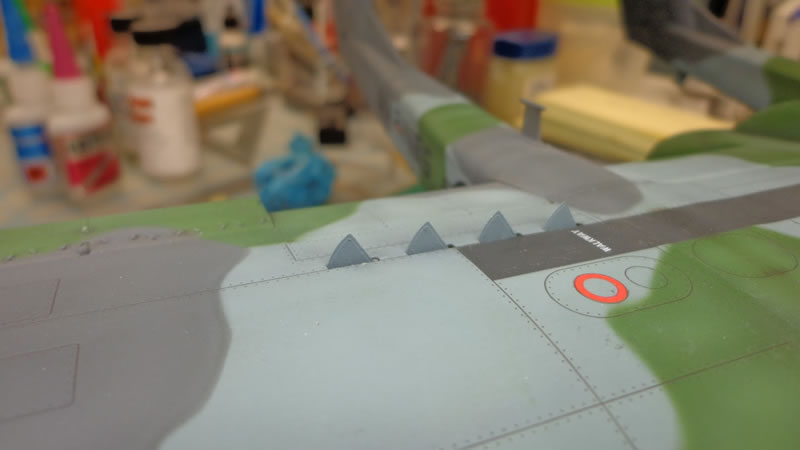
In final prep for pre-shade, I used some Tamiya tape in strategic spots. I then removed the out-of-box fins from the wing tip tanks (they are roughly 90 degrees when they should be slanted back) and made my own out of card stock. These are not perfect, but do look the part. After the new fins were dry, I completed the pre-shading:
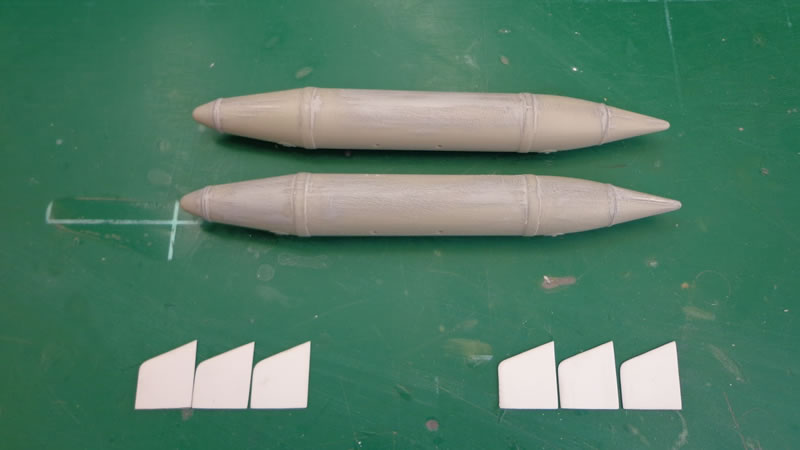
I shot the wing tanks with the new fins with some Tamiya fine white primer:
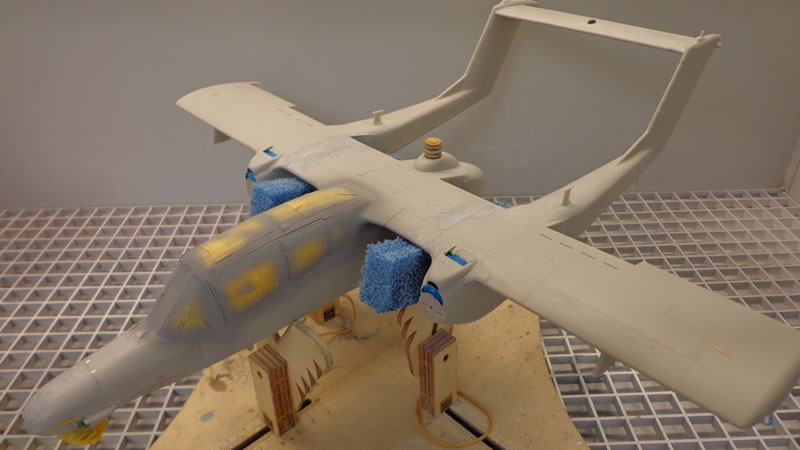
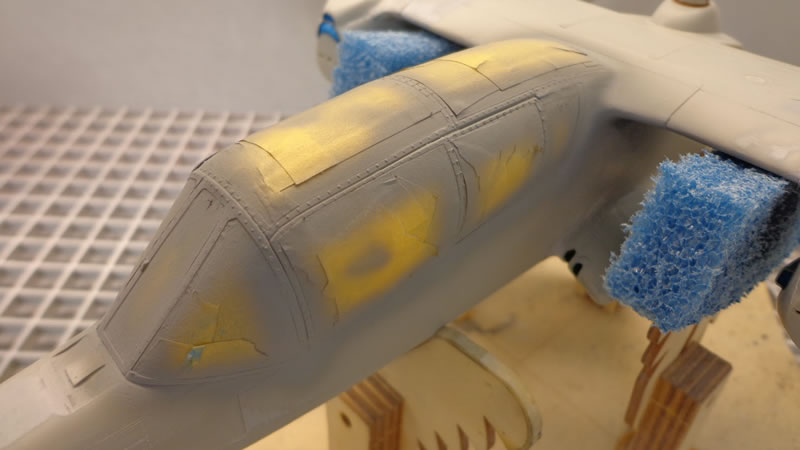
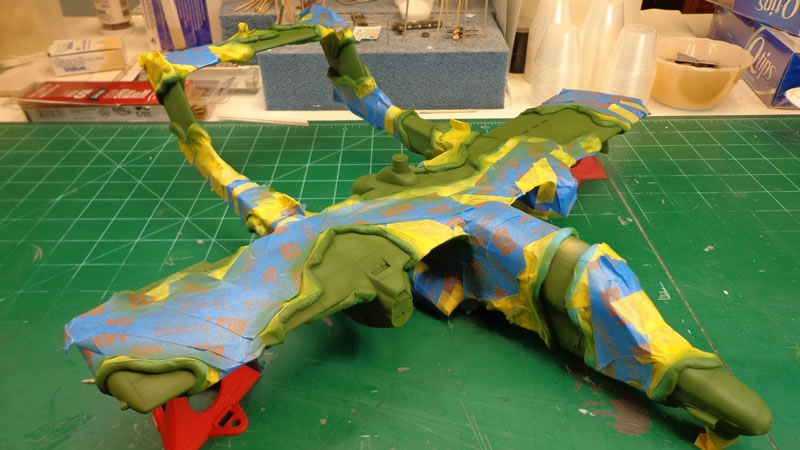
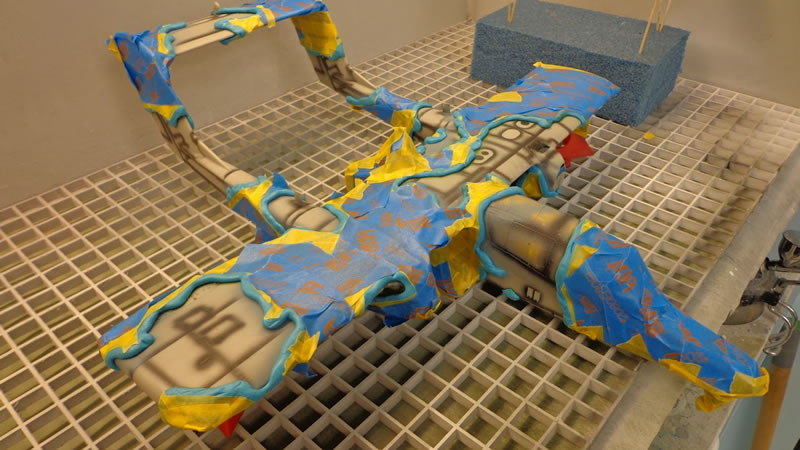
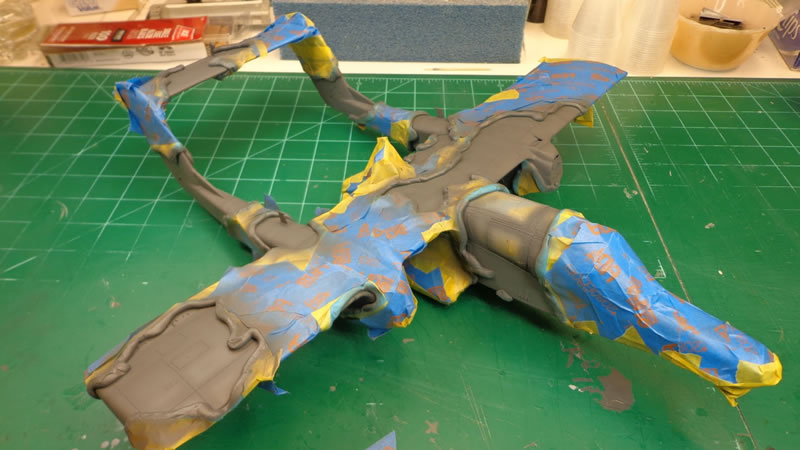
The pre-shading is all the same shade, Model Master Aircraft black thinned 50%, since the same colors/camouflage that is on the top, is identical to the bottom. I also employed some sticky notes, to keep the leading edge of all the forward facing panel lines straight, as to not look quite so messy. The blue in the intakes is moistened paper towels covered in liquid mask:
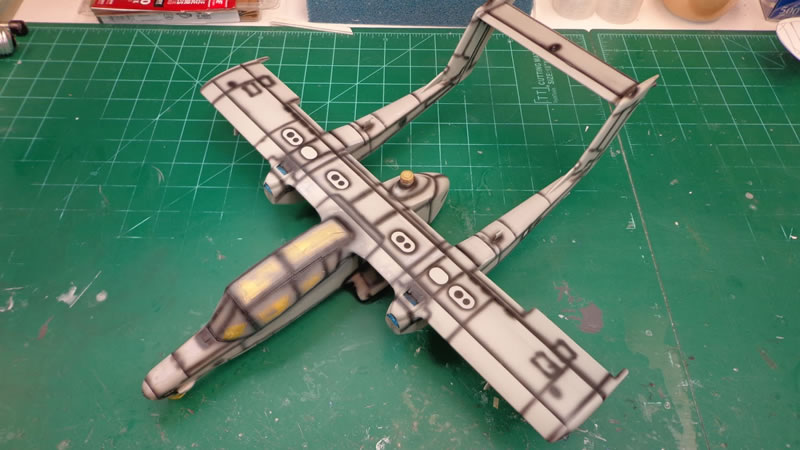
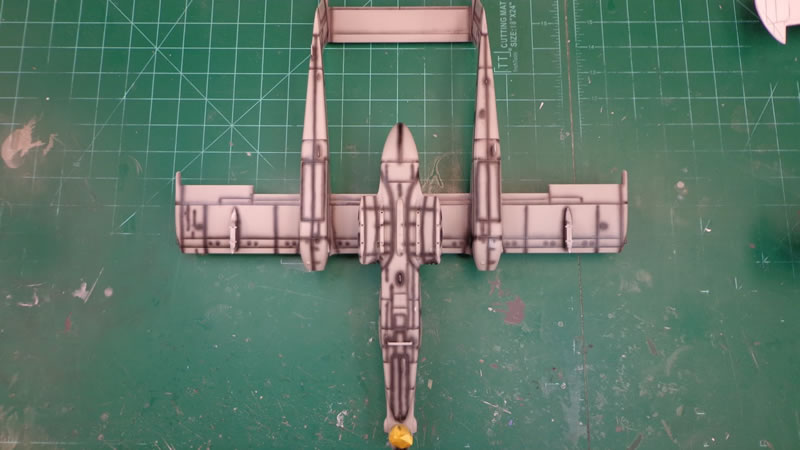
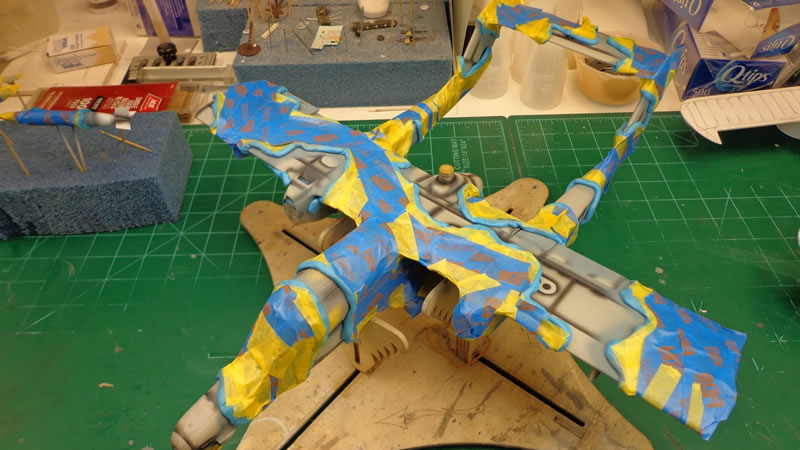
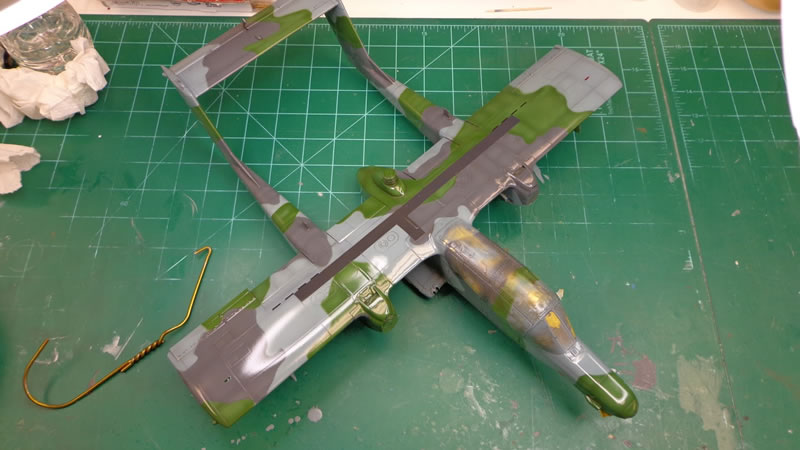
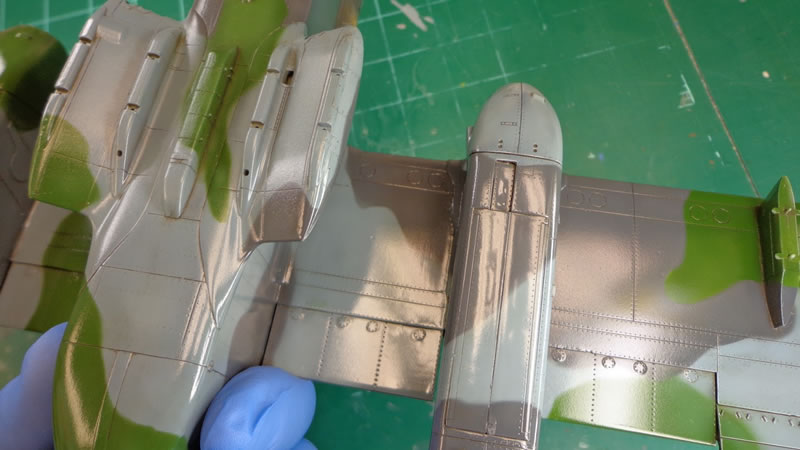
Once the pre-shading was completely dry, it was time to start the tri-colored wrap around camouflage. First up is the light gray. This is Model Masters Medium Gray, which has a very light blue tinge to it:
The medium gray was masked off using blue tack, painters tape and Tamiya tape:
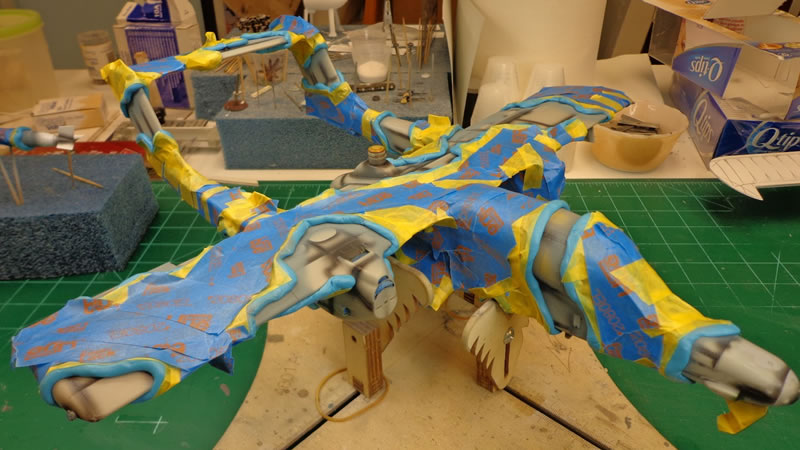
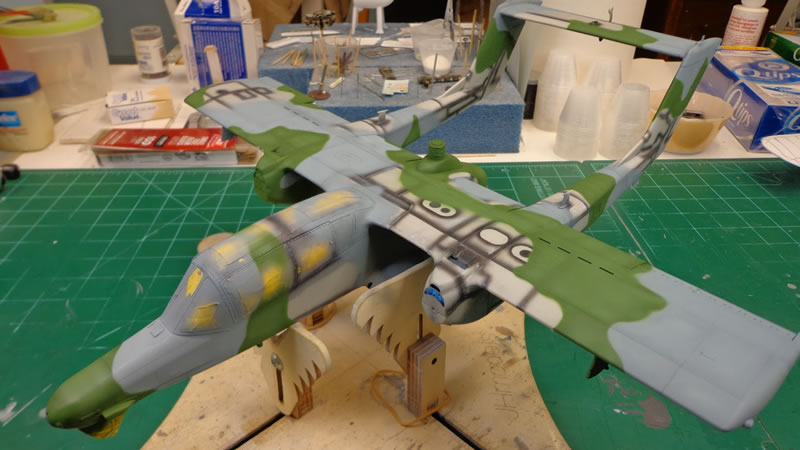
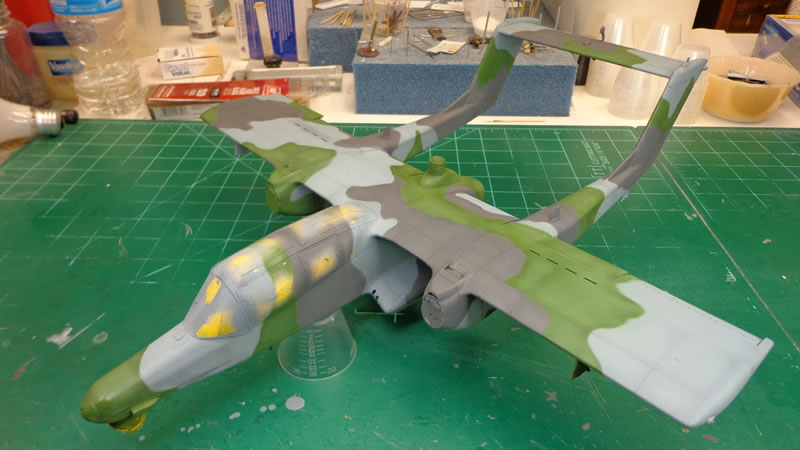
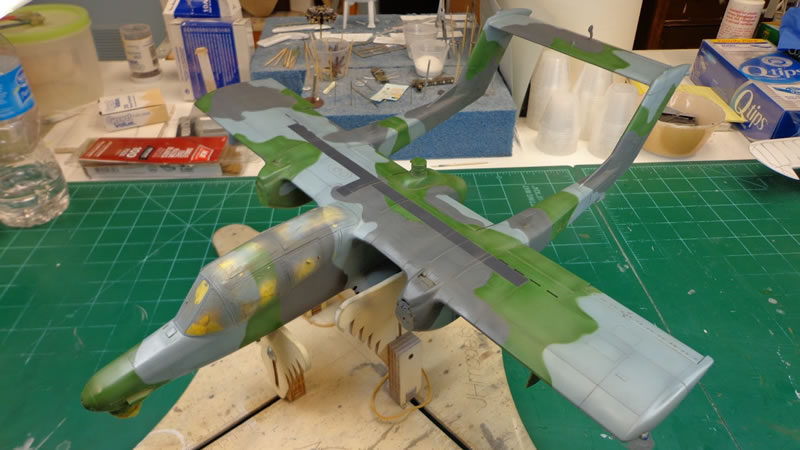
It was now time for the green. The green called for and used is Model Masters Medium Green FS34102:
The two colors make a good match for each other, and it is starting to get very colorful already:
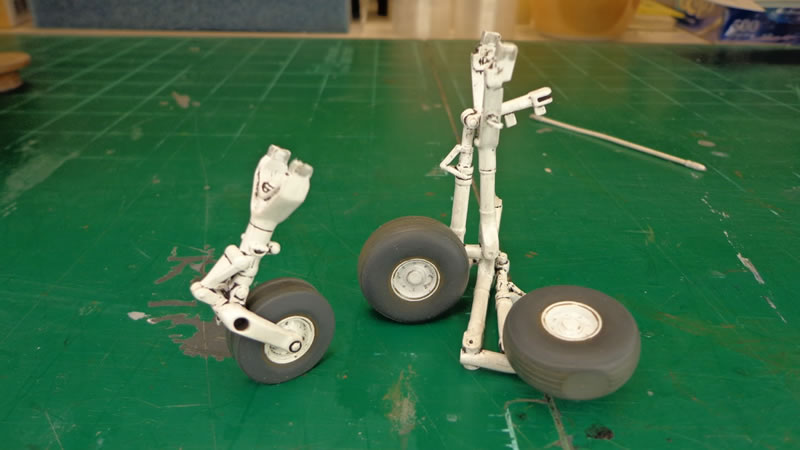
While the Medium gray and medium green was drying, I worked on the gear and wheels/tires. The Kitty Hawk out-of-box wheels and tires are really pretty decent. Other than having to assemble them, they are quite decent. Fortunately the OV-10 has a ribbed type tread and it was very easy to put the out-of-box wheels and tires together.
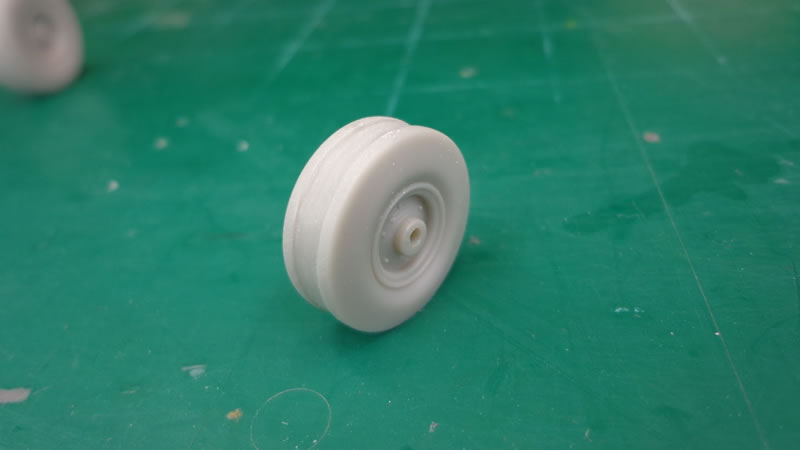
The nose wheel was also put together, then and a faint seem remained in the middle, but this is actually accurate, as the 1:1 has a seam there that is not usually worn off really as the shoulders of the tire prevent this.
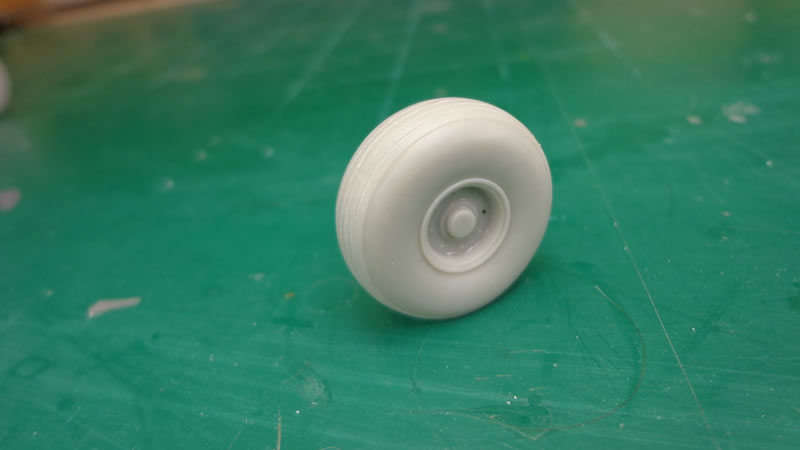
I sprayed the wheels with some semi-gloss white, and masked them off after they dried. I then shot the tires with flat black followed by some Floquil weathered black on the tire treads, then some Tamiya weathering pallets were used on the tread, followed up by a Flory's wash of Grime:

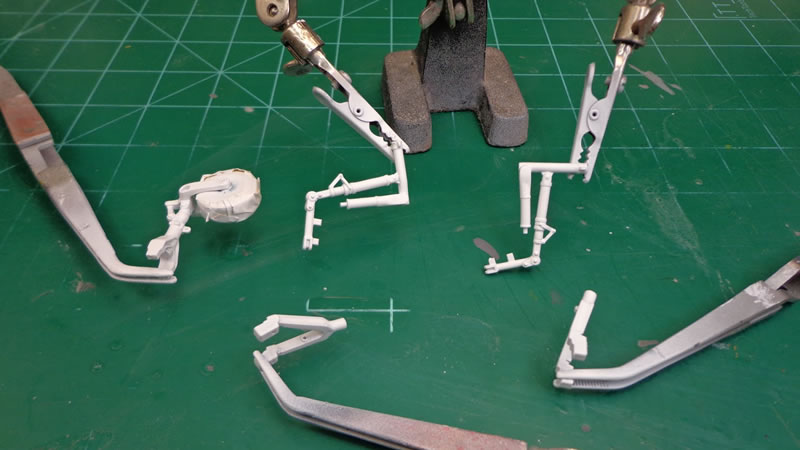
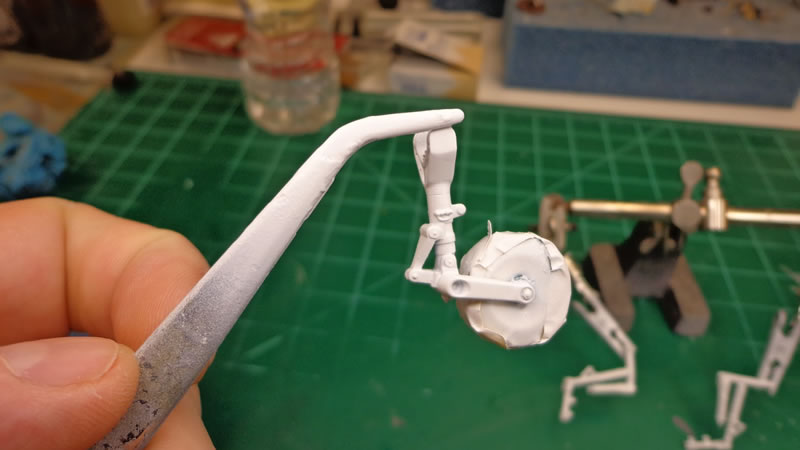
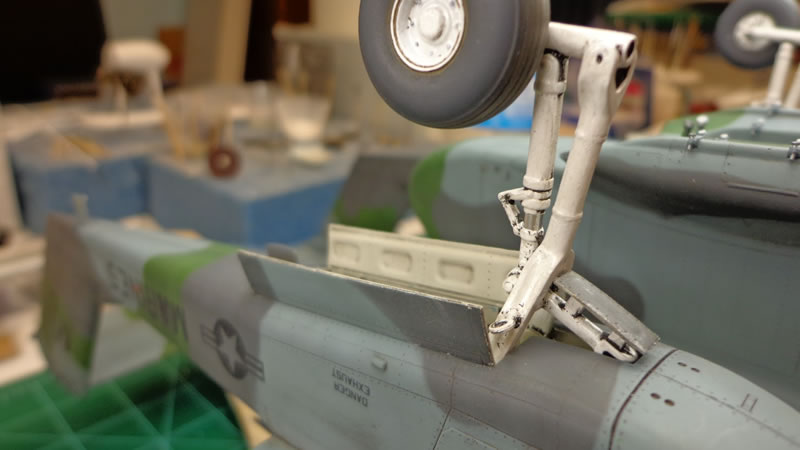
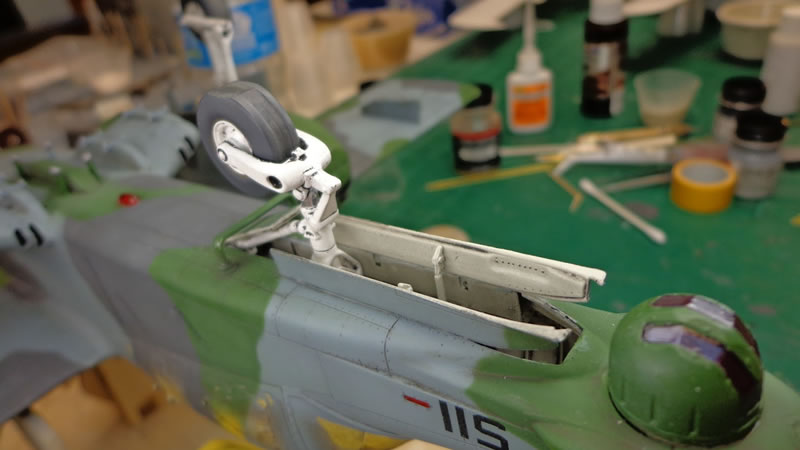
I also mounted the nose wheel to the nose gear, and masked it off in prep for paint on the gear. There are many ejector-pin marks on the gear, which is why I have been speaking to Ernie Gee of G-Factor to get a set of nice white brass gear for the Bronco. I think this will go a long way to get rid of the ejector-pin marks as well as any sponginess caused by the flex in the injection-moulded plastic gear.
I finished up filling the ejector-pin marks and shot the gear with a coat of Tamiya white primer after painting and masking off the oleo struts:
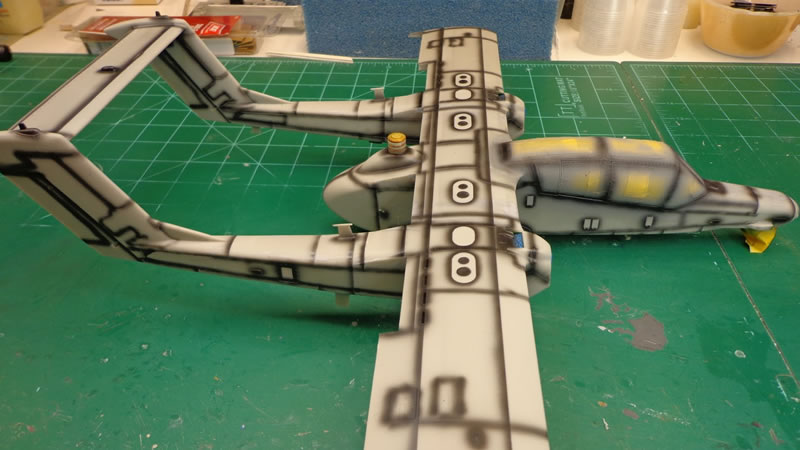
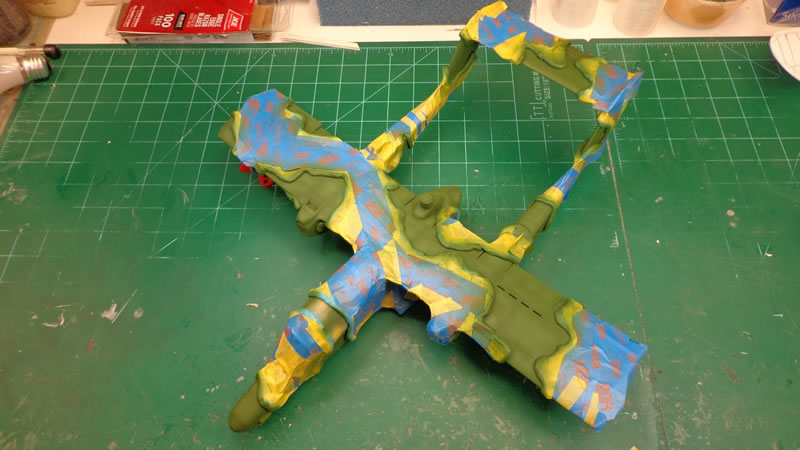
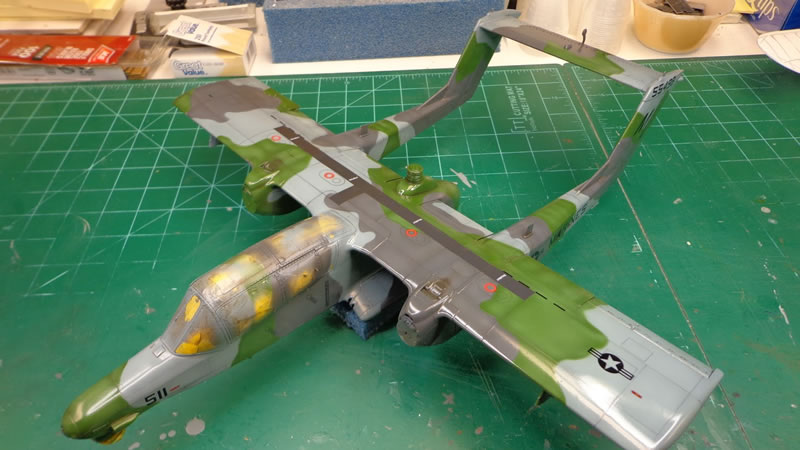
The final color, Model Masters Euro gray was then masked off. In this situation, the instructions call directly for Euro gray, and that is what I used. I would highly recommend NOT using this color based on the fact that it is actually too light for the VERY dark almost black gray on the 1:1.
The color did turn out to look quite good on the model; it is just too light for what the actual VMO-4 ship is painted like. I would recommend a MUCH darker color like Floquil’s “weathered black” or similar:
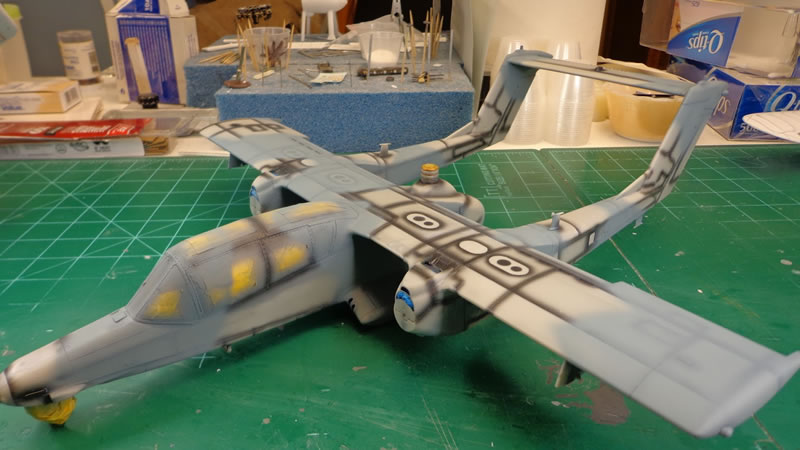
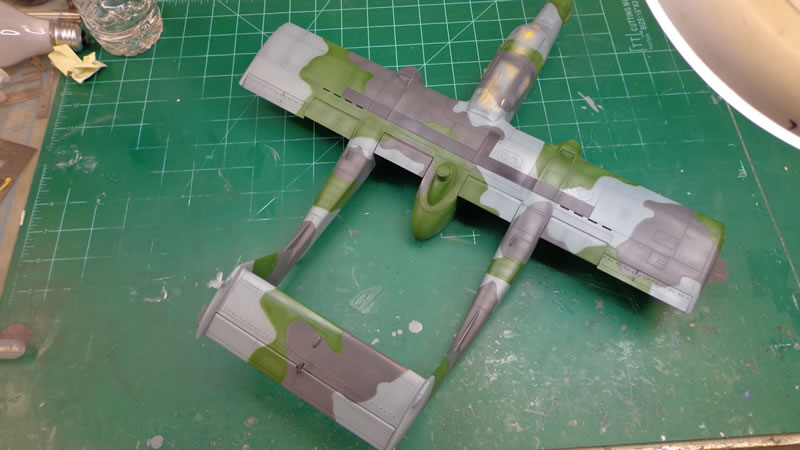
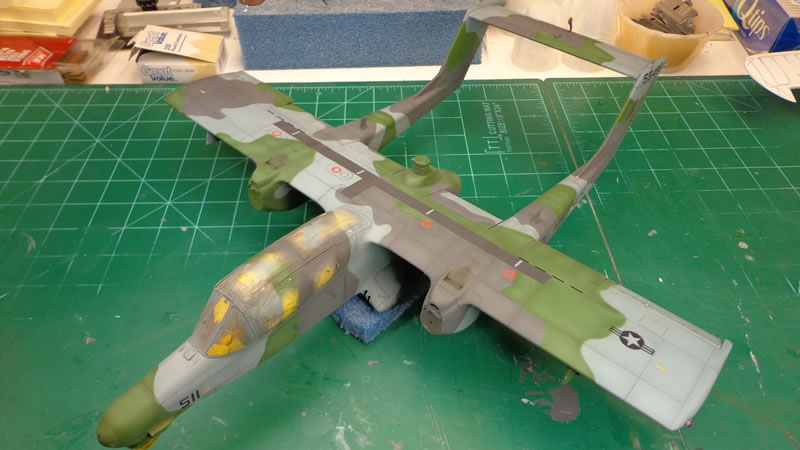
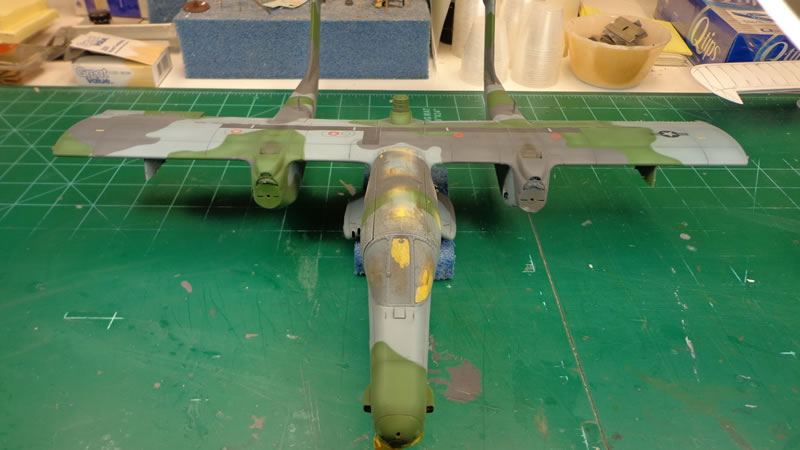
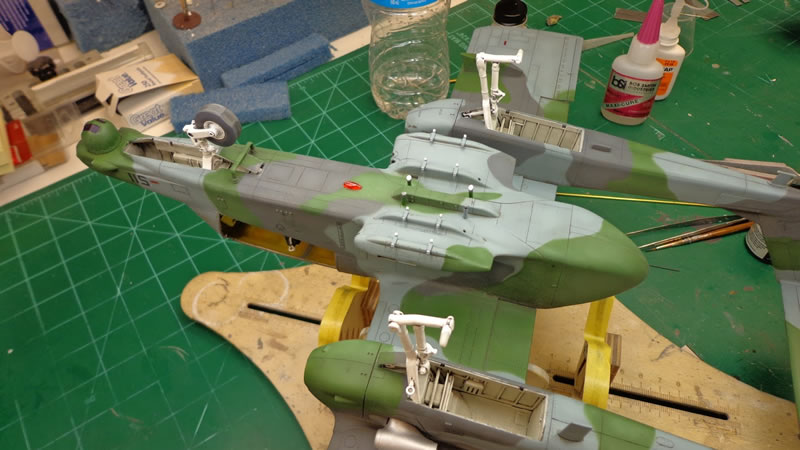
Although the dark gray is too light, the overall scheme turned out rather striking IMHO:
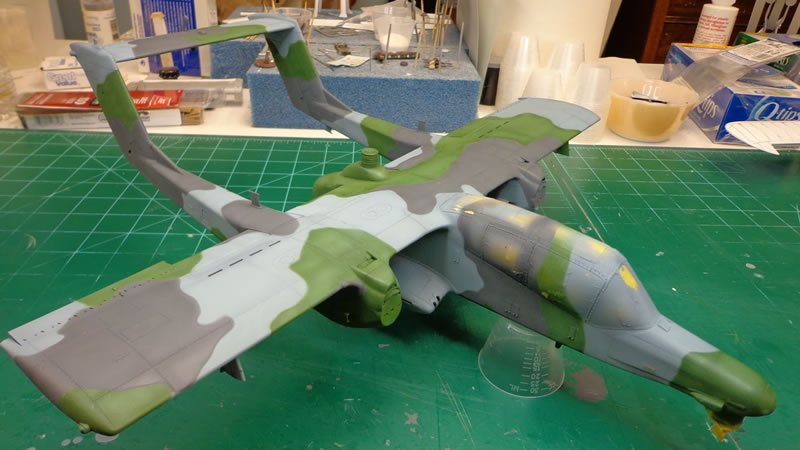
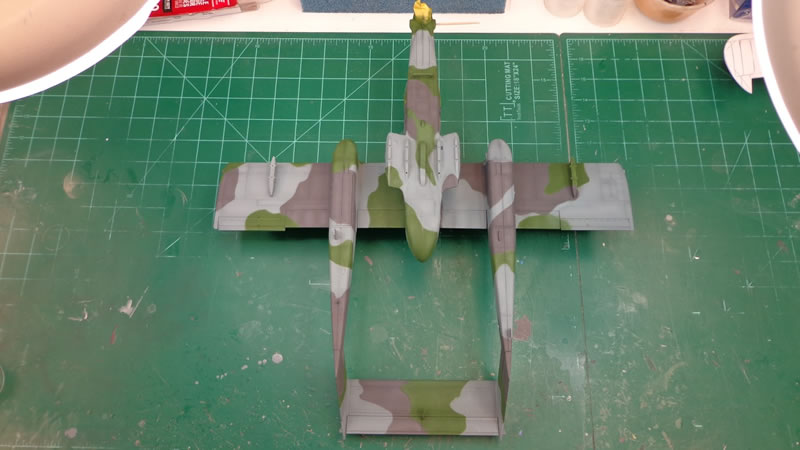
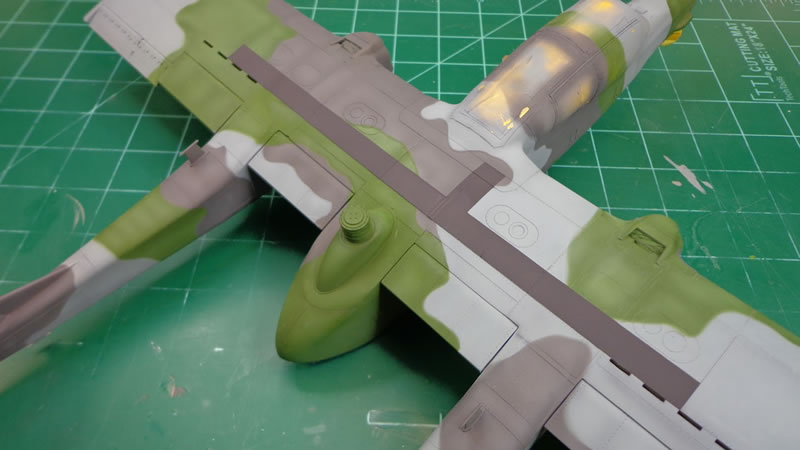
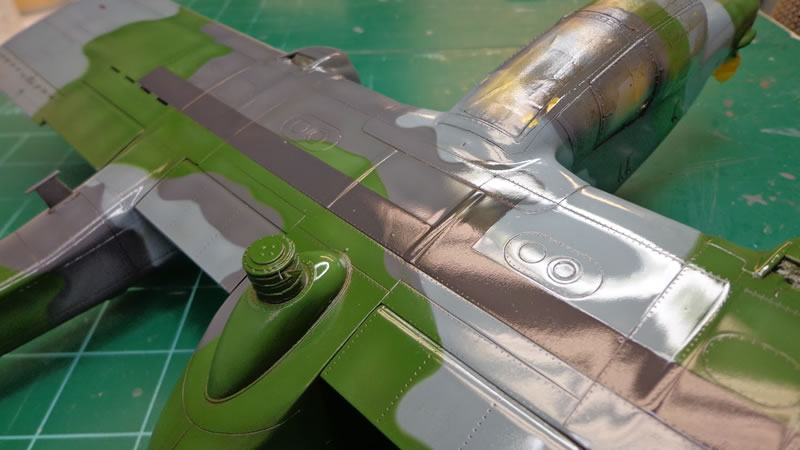
Some of the 3 colors were later modified and brought together better in some areas.
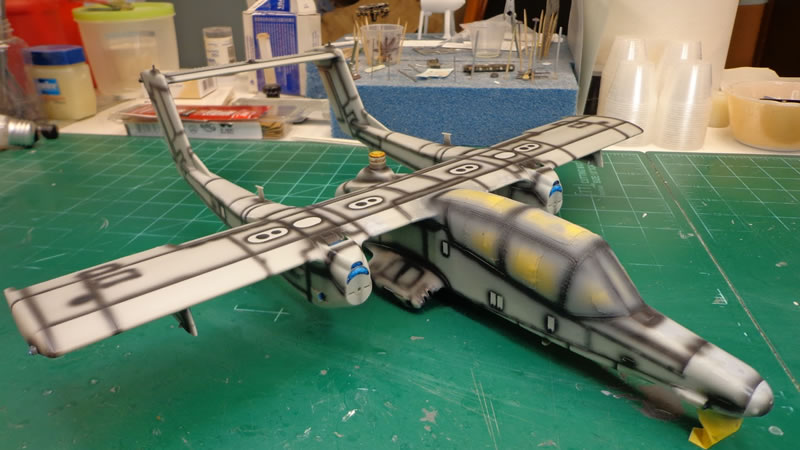
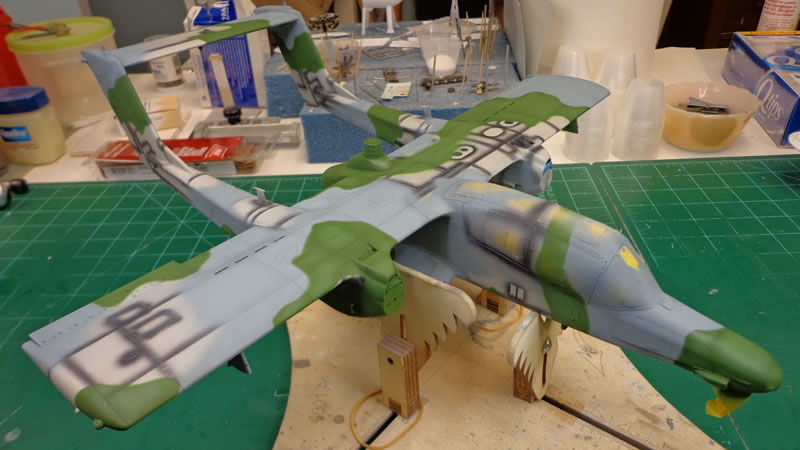
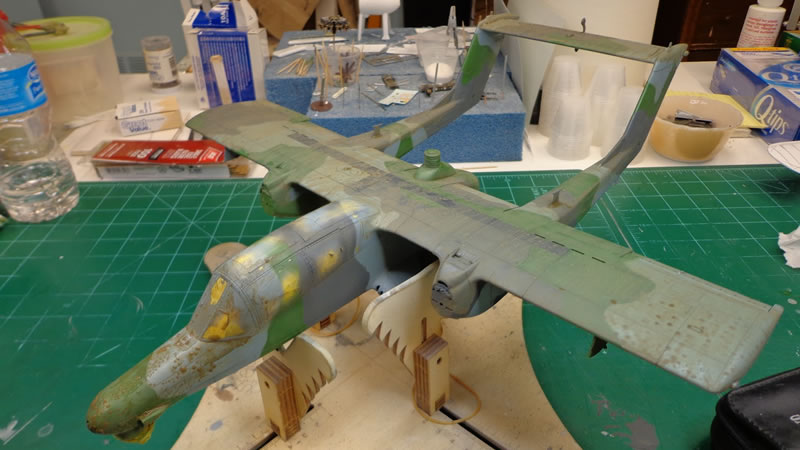
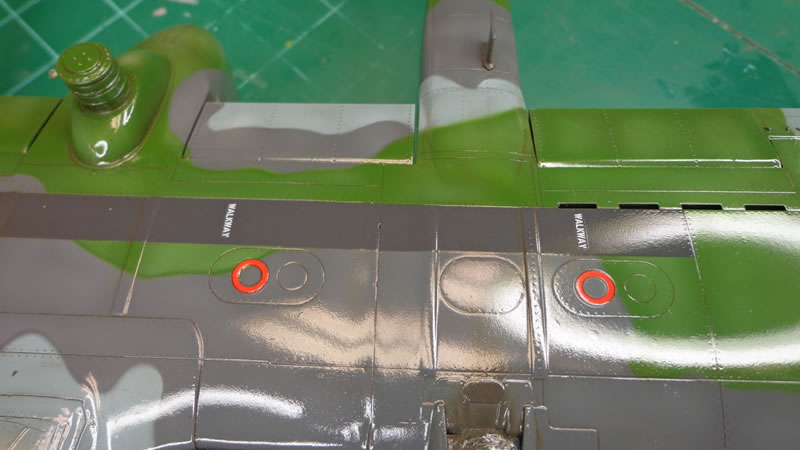
The next stage was to add a very thin gloss/semi-gloss layer to the model in prep for an overall wash of Flory's “Grime” wash. This is what I am moving forward with as my normal process since I found it works so well overall for me. This first layer of light gloss is glossy enough to let you get any wash you need out with the right tools like small cotton swabs, but is not SO glossy that all of your wash just wipes right off of the model, including where you wanted it to NOT wipe off from. Here you can see a night semi-gloss sheen to the model compared to the fairly dead flat appearance it had after the last color was put on:

The Grime wash was exactly what I had hoped for, and was not too harsh to make the panels stand out too much, but did highlight them enough that it was vary noticeable without being the first thing that hits you in the face.

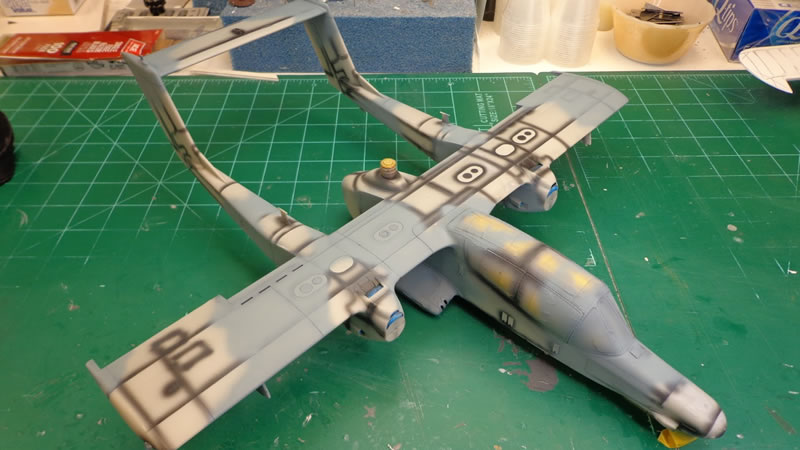
Now it was time for the full blow decal ready gloss. I do it this way simply because I have had issues with the end finish being inconsistent. This is also a Mode Master Product, their Ultra Gloss coat, right out of the rattle can, just like Tamiya’s Fine primer. It’s the best line of clears I have ever used, and if you are OK with shooting lacquers, I can HIGHLY recommend them.

While the gloss was drying, I assembled then painted the gear, using insignia white. Then a wash of Flory's dark dirt was applied:
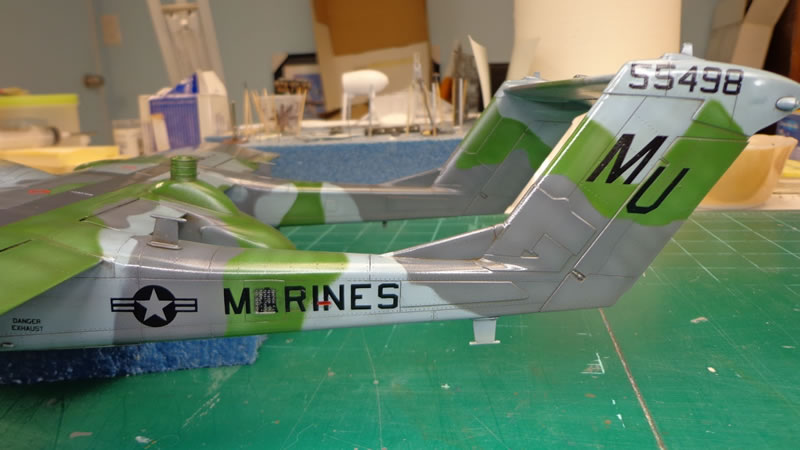
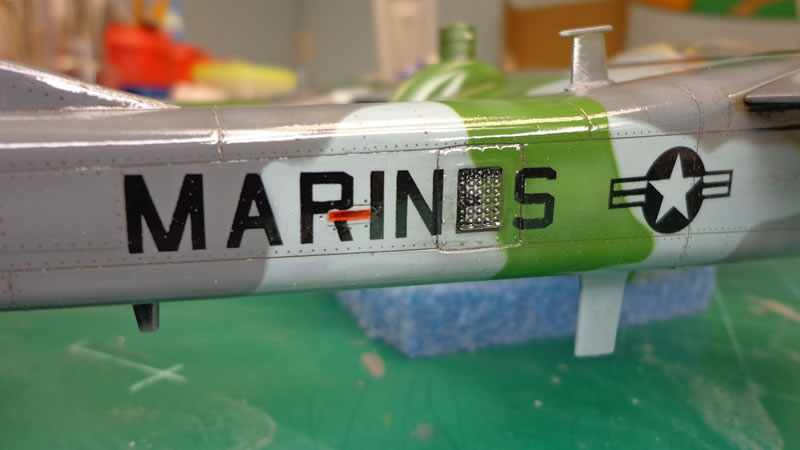
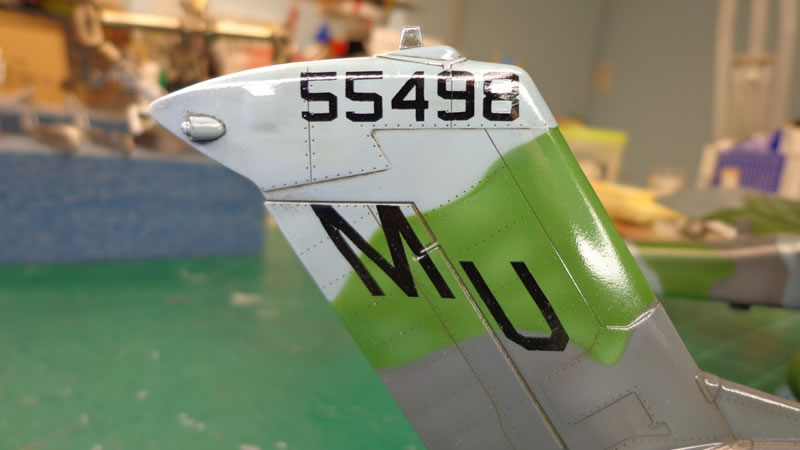
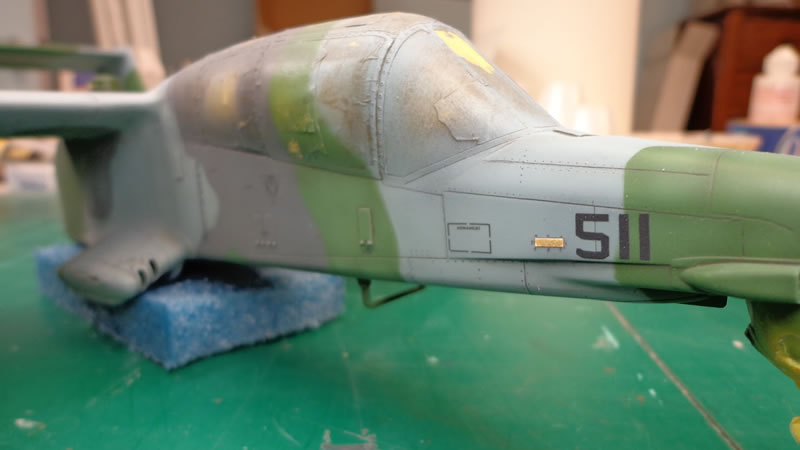
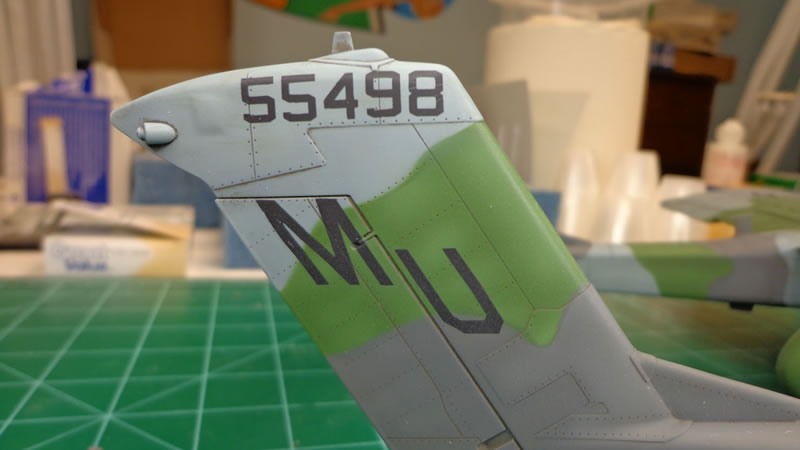
Now it was time for decals. Here is where I must diverge from my UTMOST praise for this kit, for just a minute. Don’t get me wrong, this is a GREAT kit. It's just that the decals are not user friendly. They can be applied, but they are VERY thin and do not always really want to lay down, but rather fold under themselves. I ruined several of the warning decals on the sides of the fuselage. BE CAREFUL!
All of the main larger important decals however did make it onto the model:
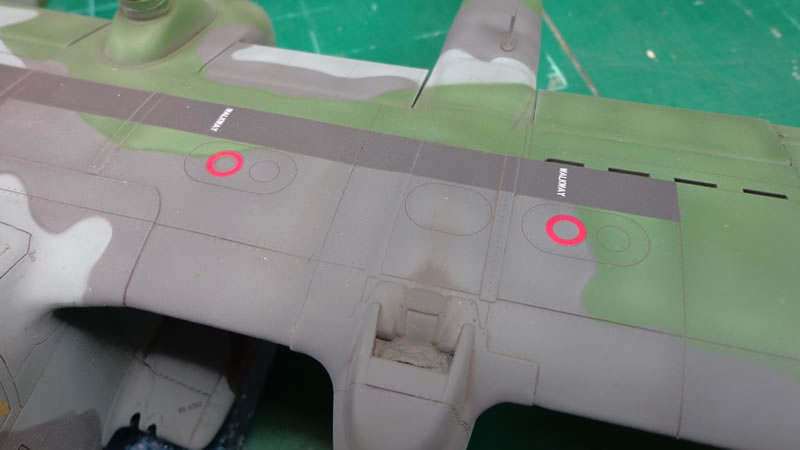
It was finally time for the flat coat, to make the overall appearance of the model MUCH more realistic. This stage IMHO, is where the model really starts to come alive. I used some Tamiya weathering pallets to add some minor exhaust streaking from the turbine vents, then applied several layers of the MM flat till I got to the sheen I was looking for:
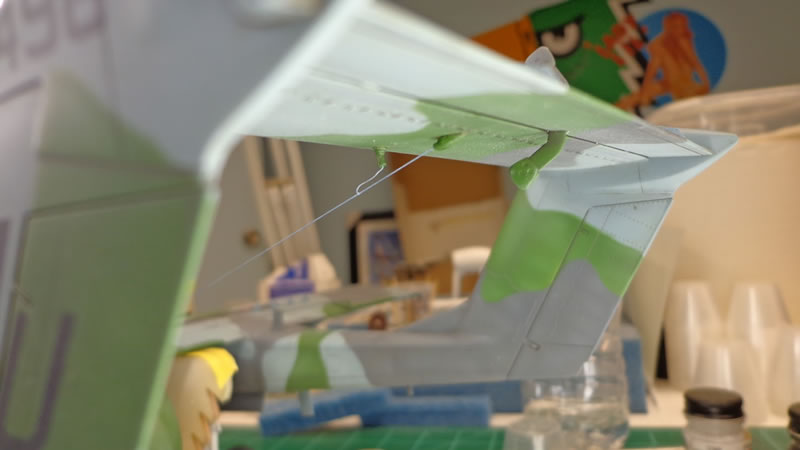
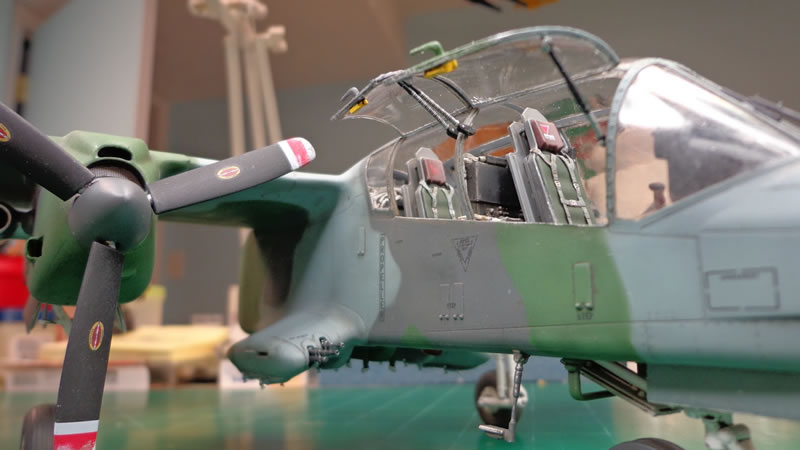
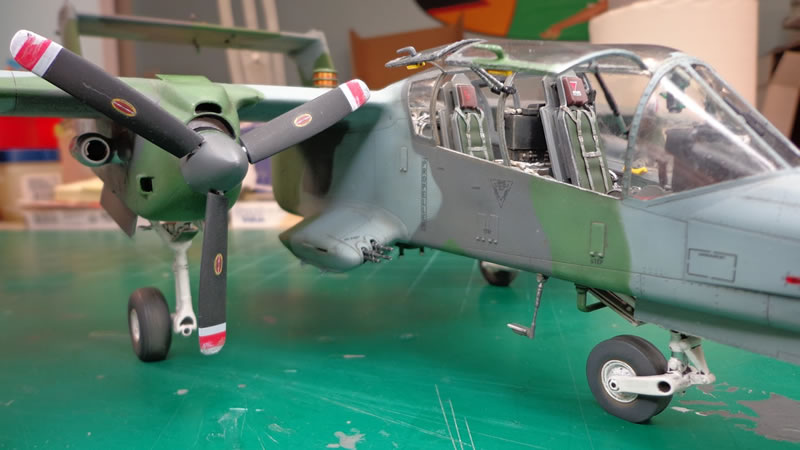
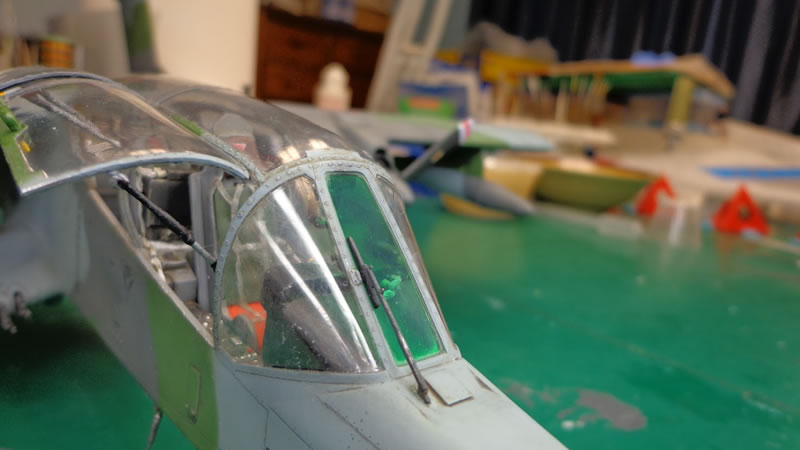
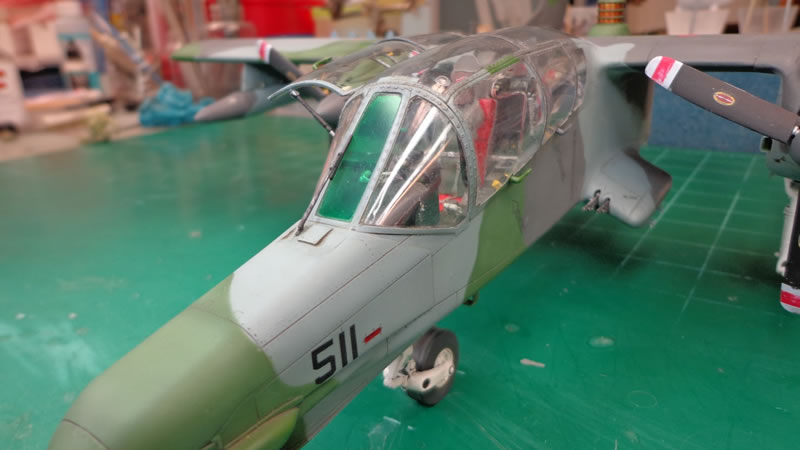
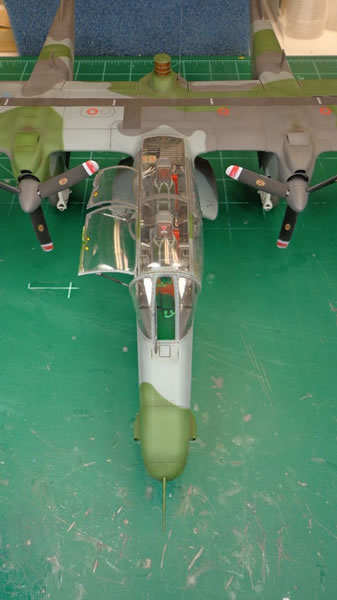
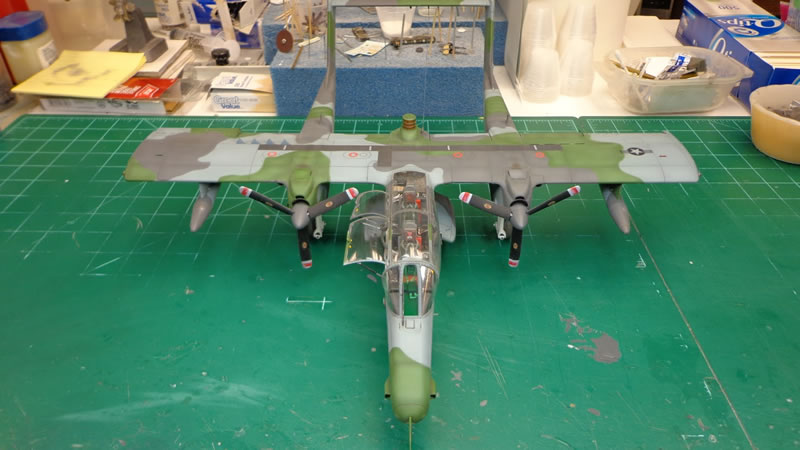
Now was the moment when the model really started to look like something. I added the gear, gear doors, ordinance stabilizers, spoilers, trim actuators and the windscreen wiper. Then I unmasked all that glazing. I also added the aerial antenna from spares bin parts and some dyed EZ Line.
I did have a bit of marring on some of the glass that appeared to be residue from the masking tape that got into the Future on the canopy somehow. A quick polish with Novus plastic polish took them right out however:
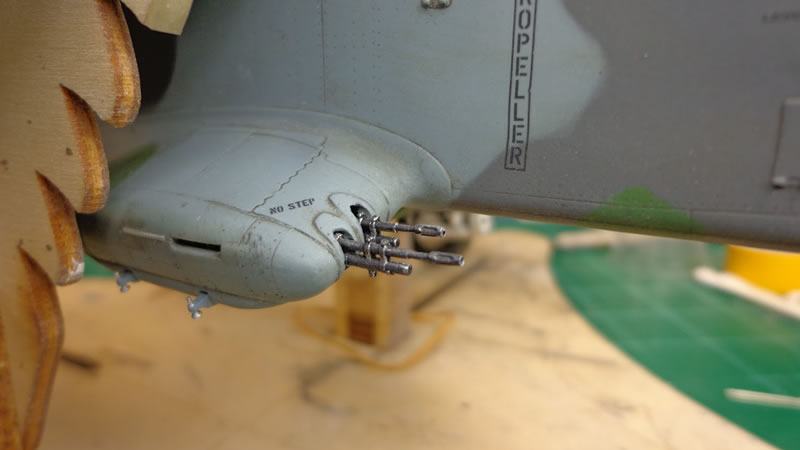
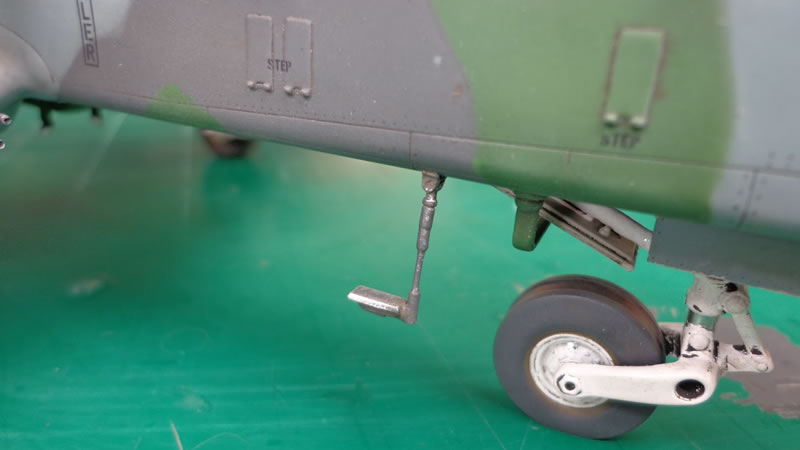
Now in the home stretch, I added the .60 cals in the sponsons, the port side crew hatches and lifting springs, trim actuators, pilots step and props:
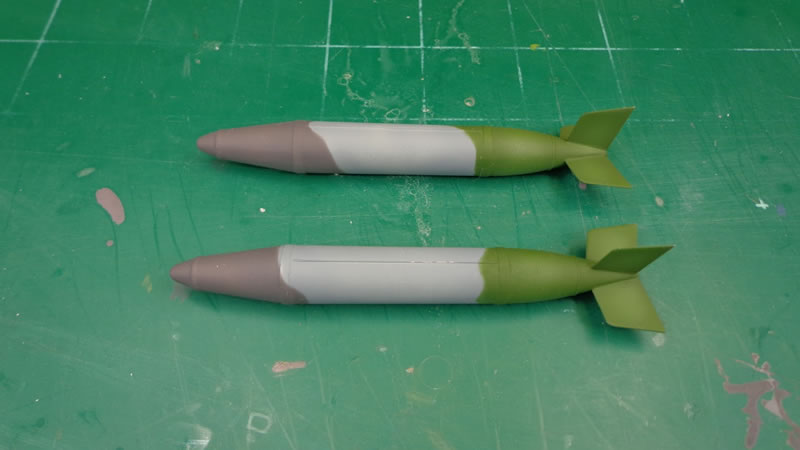
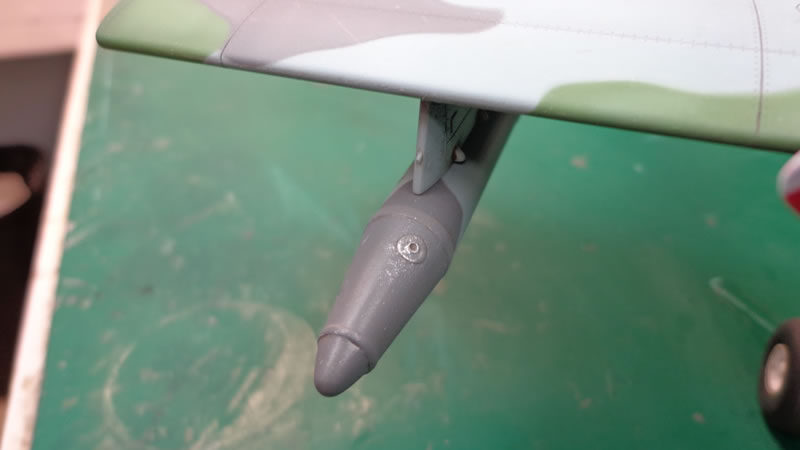
The next to last thing I had to do was to weather the fill/vent caps on the wing tanks and glue them on:
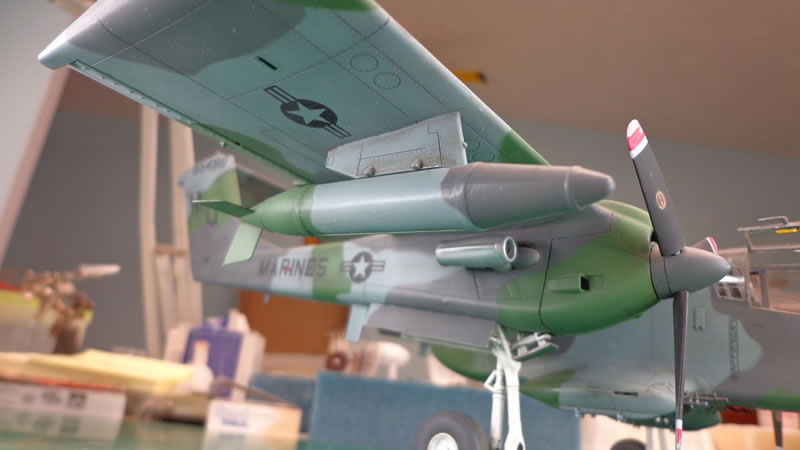
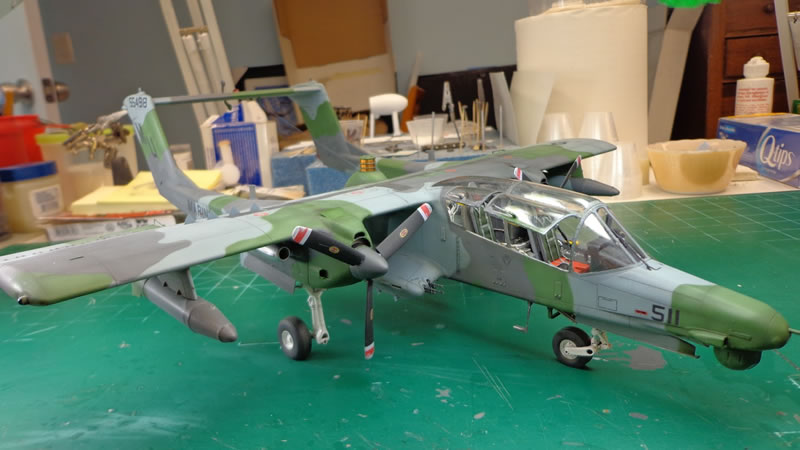
She's all but done now and looking pretty spiffy if I do say so myself. I also added the pilot tube at this point:
The last thing on the list that I had to do was to add the clear green anti-glare to the main windscreen panel. This is just Tamiya clear green thinned with Tamiya acrylic thinner:
All done and in the books!
This kit may not be all things to all people, but its got a great combination of good accuracy on the stuff that AM shouldn’t need to help you on, along with great buildability. Overall, this kit is probably one of the best bangs for your money you can get, and you will get a LOT of fun out of this one.
On a 1–10 scale with 10 being perfect and 1 being useless, I'd give the Kitty Hawk Model's OV-10D a solid 9.0 on build-ability, and an 8.0 for overall accuracy and detail, and a 10 for value for your money. It’s a really solid kit and undoubtedly will be a HUGE hit for Kitty Hawk.
If you love (or even just like) the Bronco you really CANNOT go wrong building this kit. HIGHLY recommended!
Thanks to Glen Coleman at Kitty Hawk Model for the build review sample.
© Brian Leitch 2015
This article was published on Saturday, February 07 2015; Last modified on Saturday, February 07 2015