
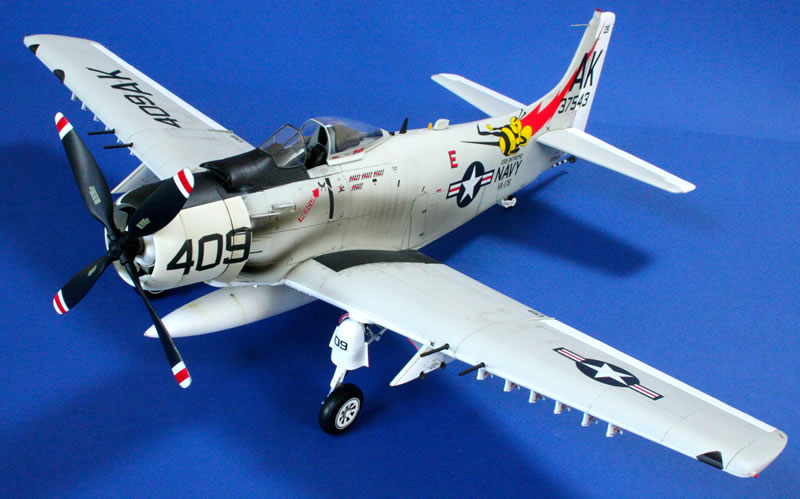
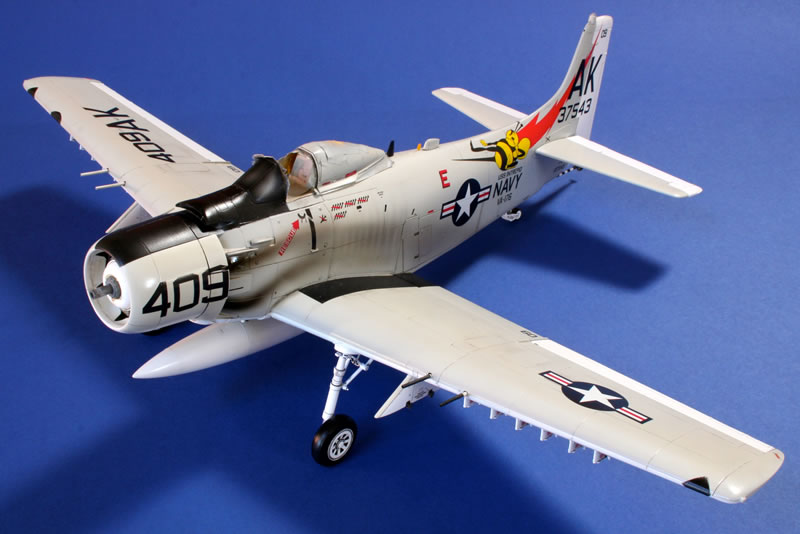
Zoukei-Mura 1/32 A-1H Skyraider
By Iain Ogilvie
Out of the box build of the 1:32 SPAD...
Intro
It probably sounds a little wonky, but this kit was bought initially so I could cast copies of the engine for my 1:32 Lockheed Constellation project, with the opportunity to build a full Skyraider thrown in. It was to be my first introduction to the passion for accuracy, detail and aircraft structures that have become a hallmark of the Zoukei-Mura brand. The man behind the company is a real enthusiast for modelling and aviation - as are the rest of the team - and it was a delight to meet them for the first time at Scale ModelWorld 2011.
Whilst this is the first injection-moulded kit of the Skyraider in 1/32 it’s not the first in other media. There was the very basic vac kit from I.D. Models, as well as the resin kits released by Panther Productions in the mid naughties - of which I build two of the prototypes. The Zoukei kit is, therefore, most welcome and has been joined in recent months by a USAF boxing with addition parts and decals. In addition, Trumpeter are also set to release a range of Skyraiders in the very near future and I’m really looking forward to being able to build a Royal Navy AD-4W/AEW1.
Getting back to this project: having copied the excellent Wright R-3350 Duplex-Cyclone (with the blessing of Zoukei-Mura) it was time to crack on with the SPAD. What you see here is a pretty well straight-from-the-box build, but I’ll include a few tips and techniques on the way that can be applied to any Skyraider model.
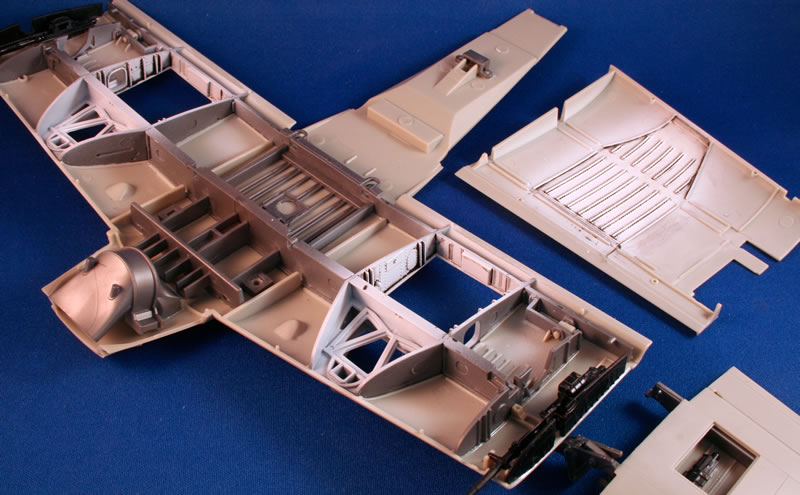
Interior Structure
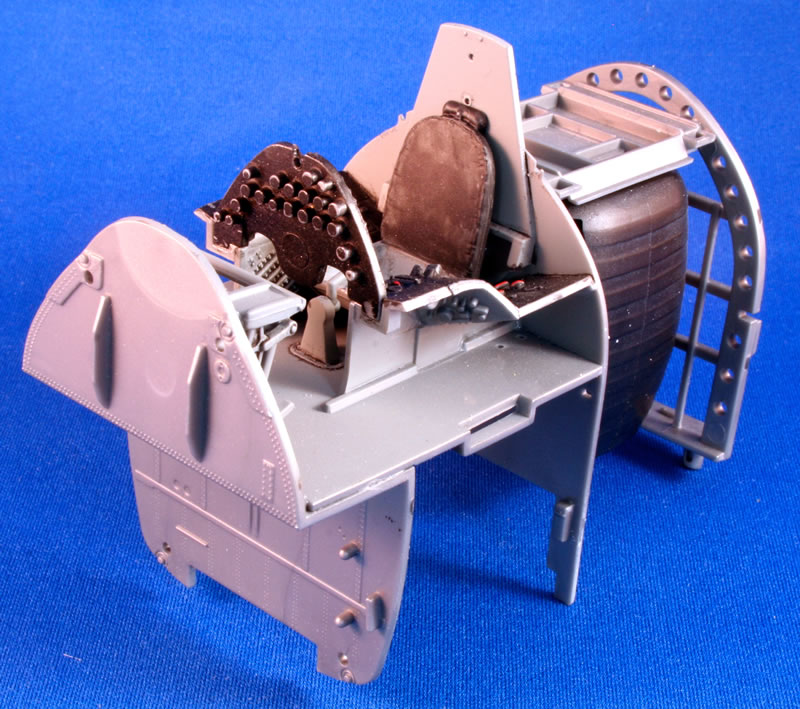
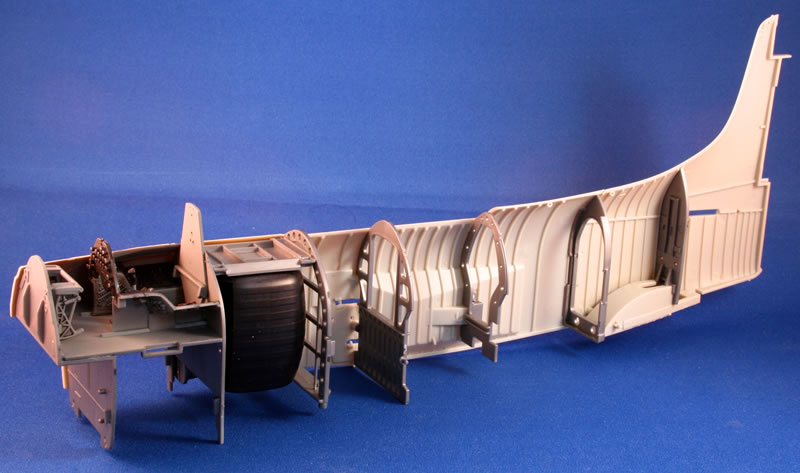
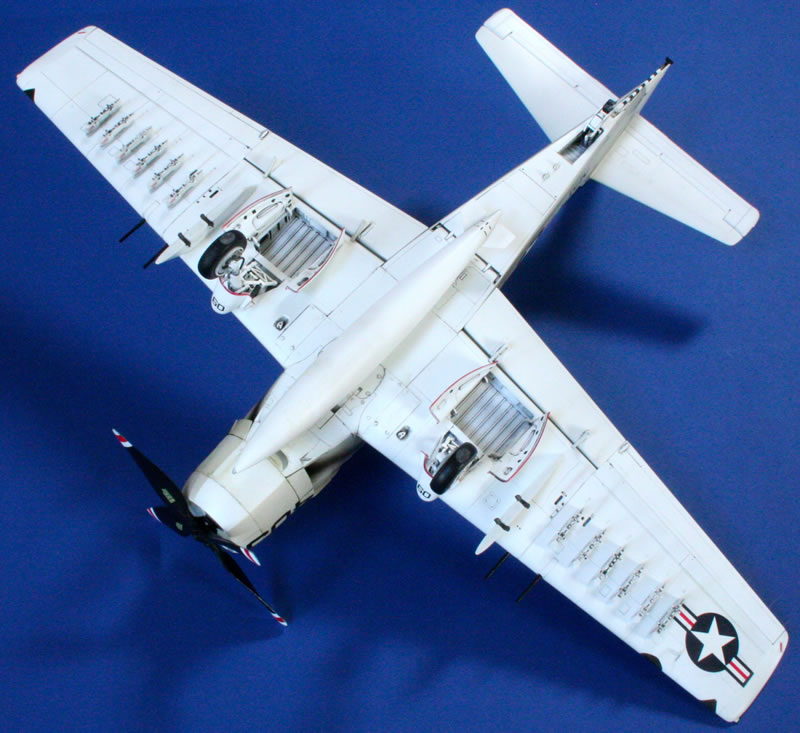
From the very start you’re exposed to the very different concept that is Zoukei-Mura - with all of that interior structure for the wings and fuselage - most of which will be hidden on the final model. I made the conscious decision to leave out anything that wouldn’t be seen - such as the fuselage fuel tank and radio kit. I have a lot of projects on the to do pile and life’s too short. I’m sure, however, that some modellers out there will turn these kits into amazingly detailed works of art having removed a multitude of panels - the potential is there.
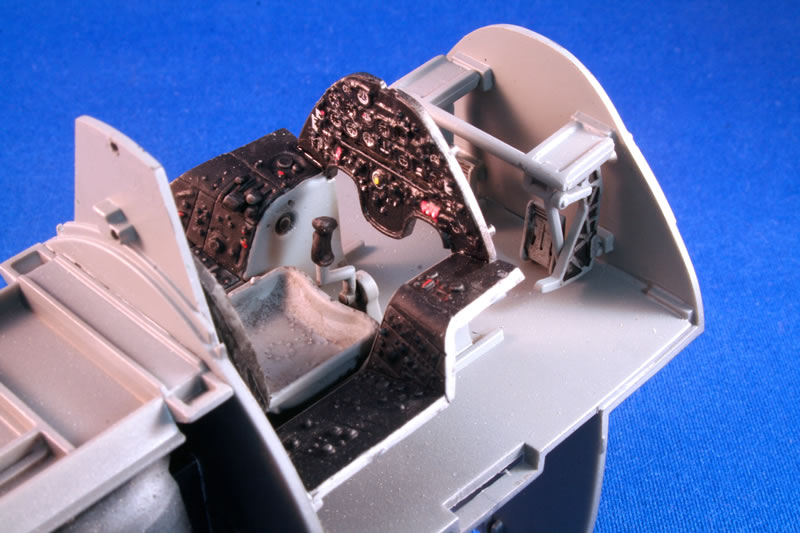
For speed and simplicity I like to build up sets of sub-assemblies before painting and on this build it amounted to assembling the fuselage bulkheads and cockpit first, along with a number of fuselage details - including the tail wheel/arrestor hook assembly. The cockpit is fairly simple and was assembled and painted following the comprehensive instructions. A photo etched detail set is available from ZM (produced by Eduard I believe) but agin, for sake of speed, I used the kit instrument panel along with the instrument decals provided with the kit. As a first exposure to the decals the experience wasn’t brilliant and the decal, after being applied over a painted and glossed panel, required multiple applications of decal softener over a period of days until I was reasonably happy. More on the kits decals later!
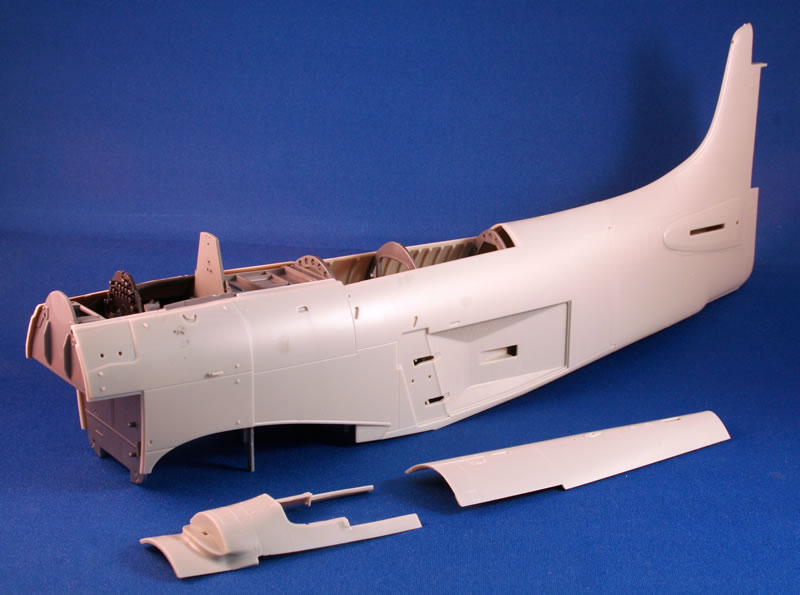
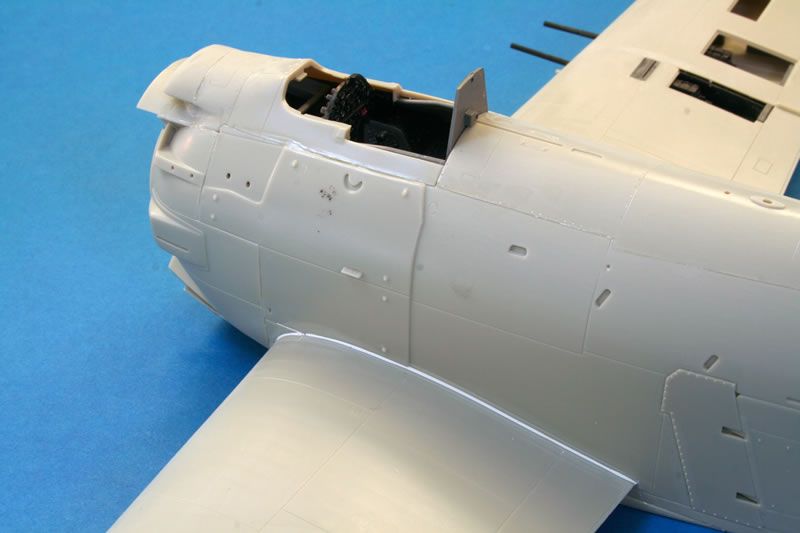
Fuselage
With the cockpit painted the main cockpit assembly and bulkheads where fitted to the starboard fuselage half and the fit was superb. Just bear in mind that tolerances are tight and any laters of paint may interfere with fit as the engineering is that good! I left the tail wheel leg assembly and arrestor hook off the model at this stage as I was concerned about subsequent damage during the build and dry fit testing established that these good be added after the airframe was complete.
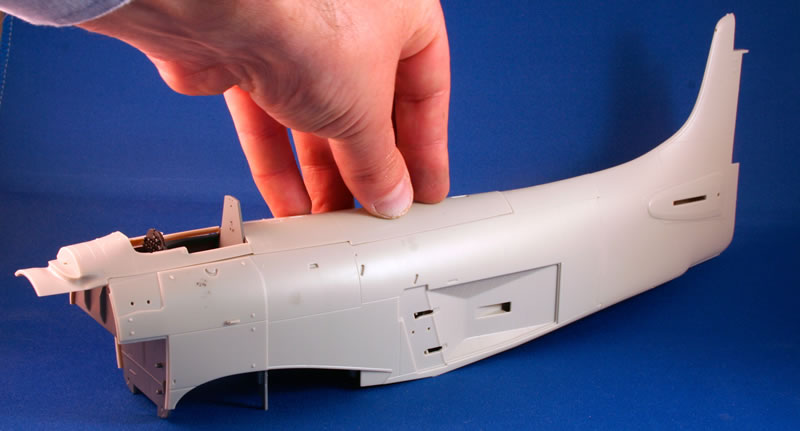
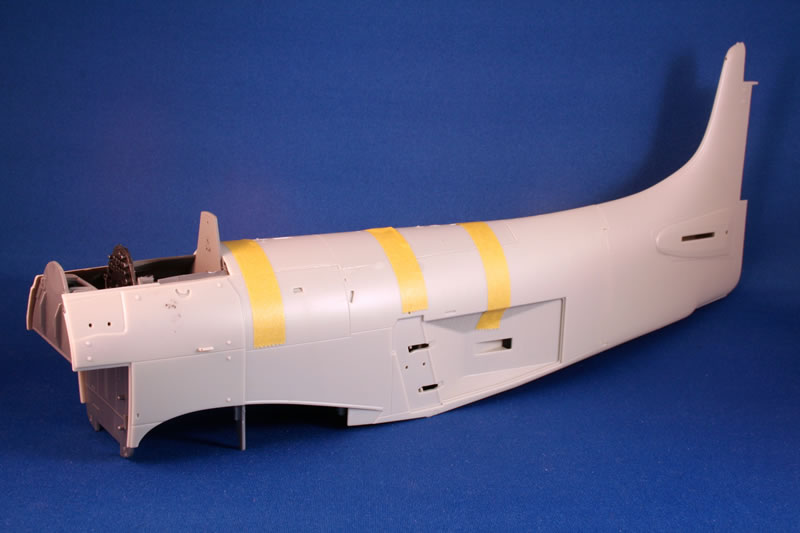
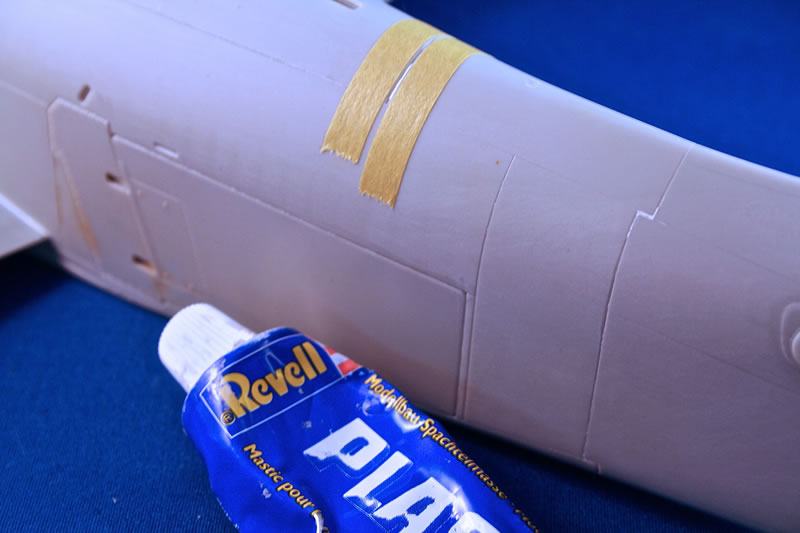
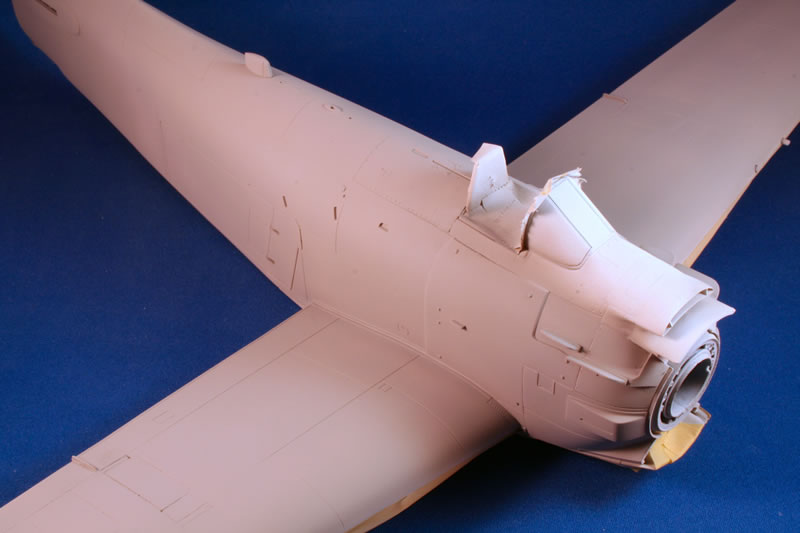
The only section that didn’t fit particularly well was the decking behind the cockpit opening. I had to do some nips and tucks with a scalpel, along with some brute force bending, to get this section to fit OK and even then a little Revell filler was applied afterwards to blend everything in.
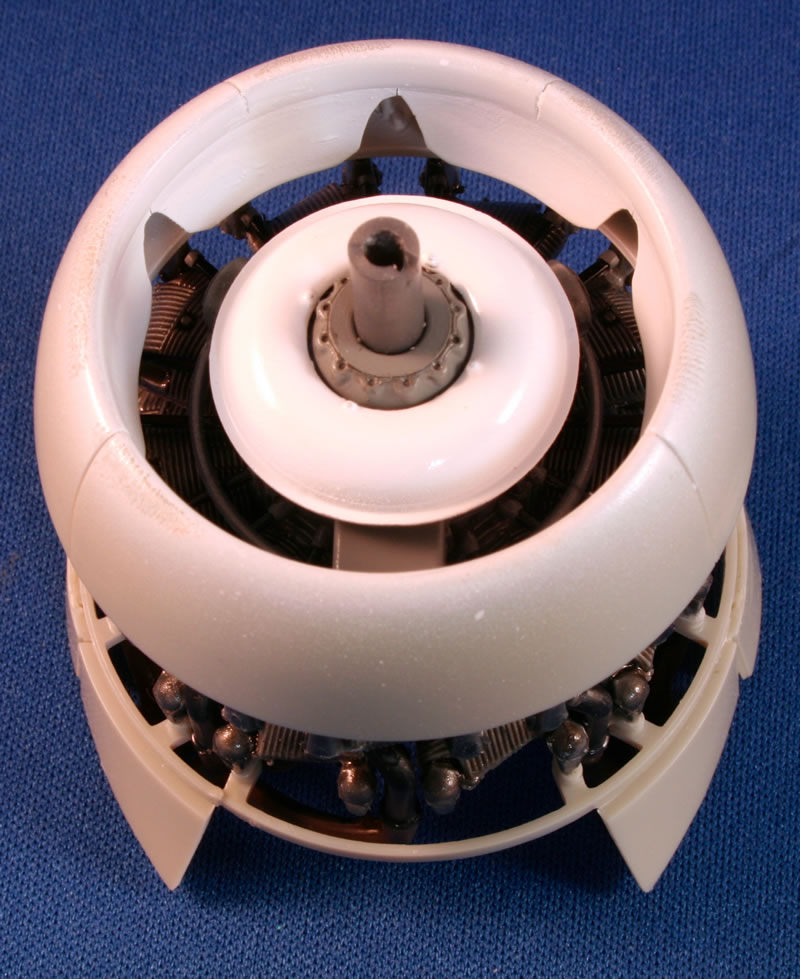
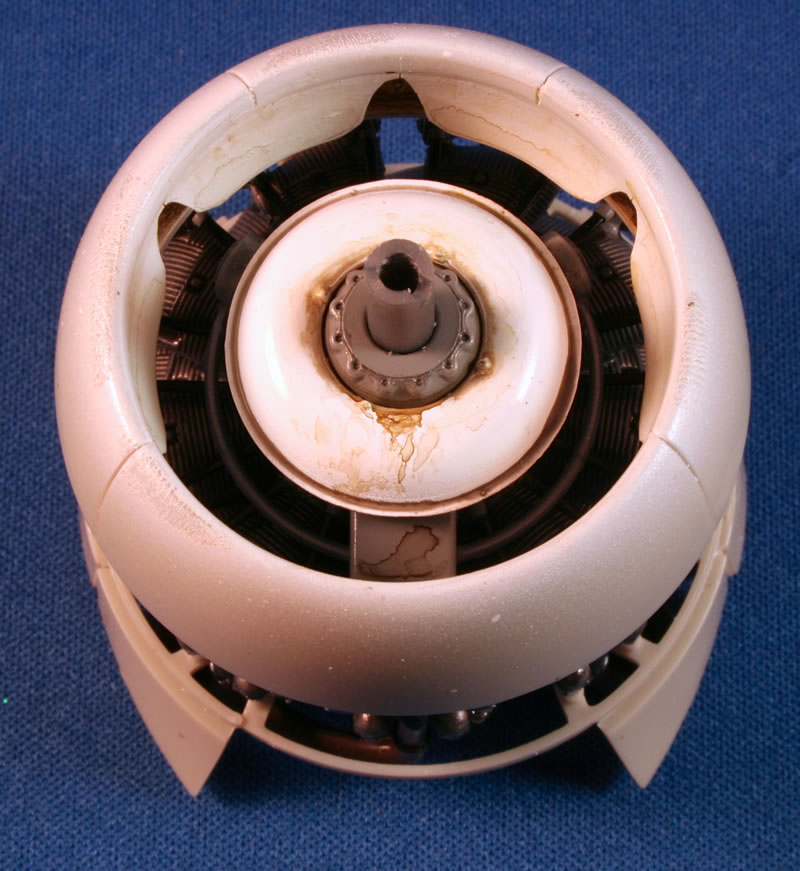
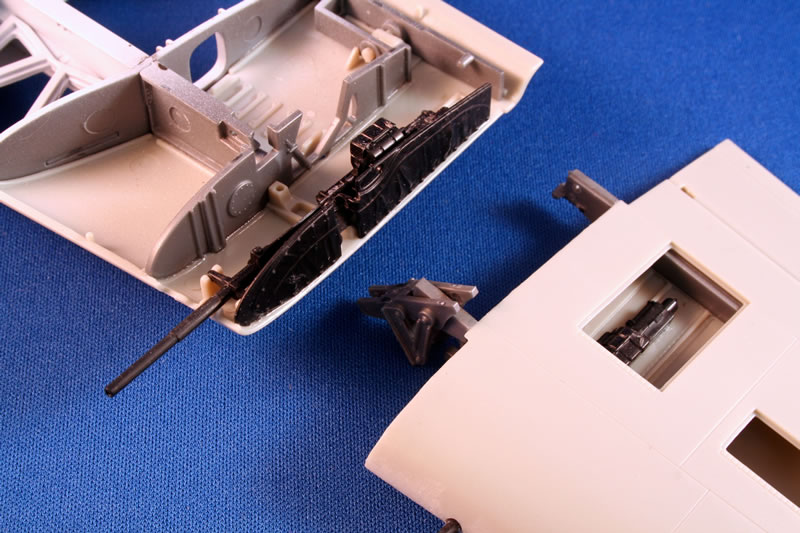
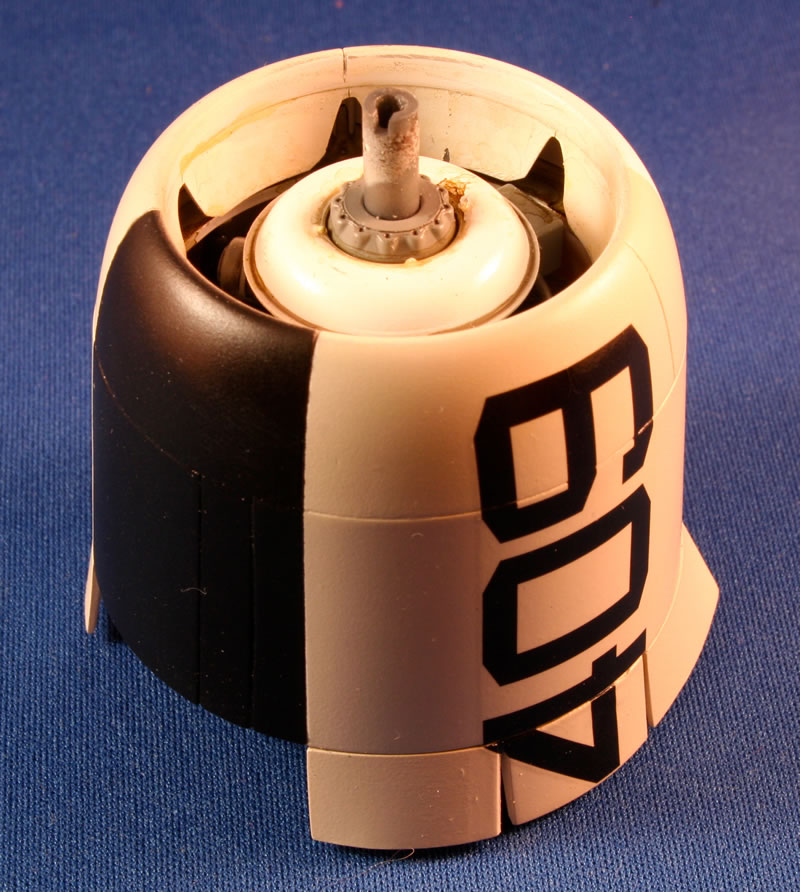
Engine
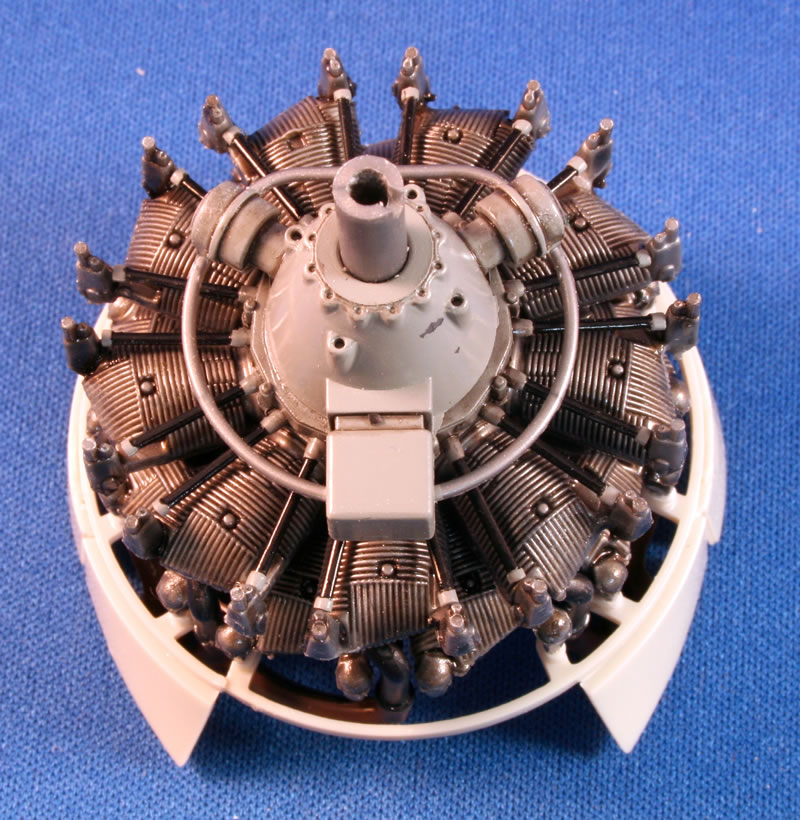
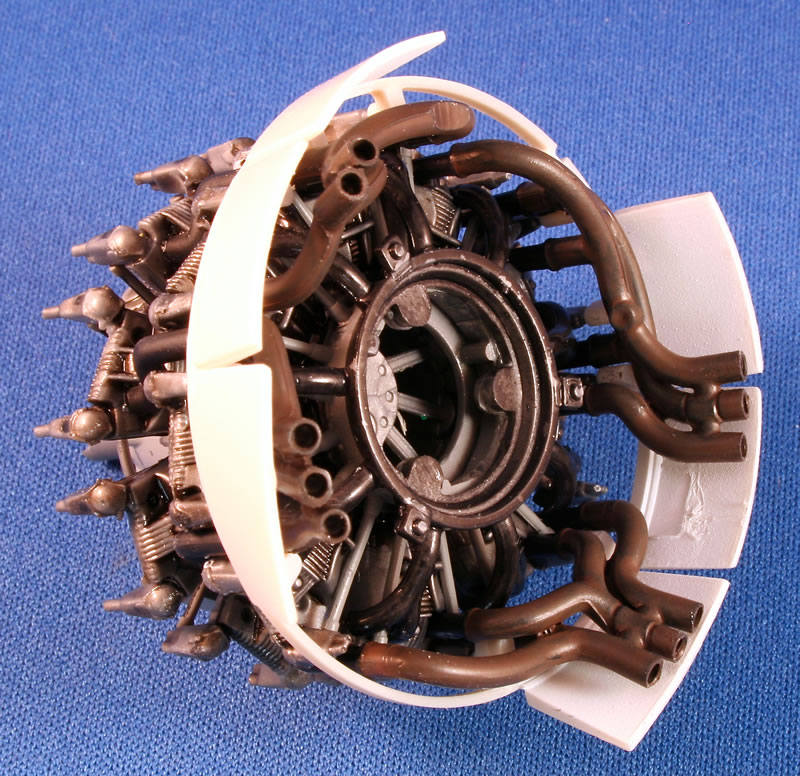
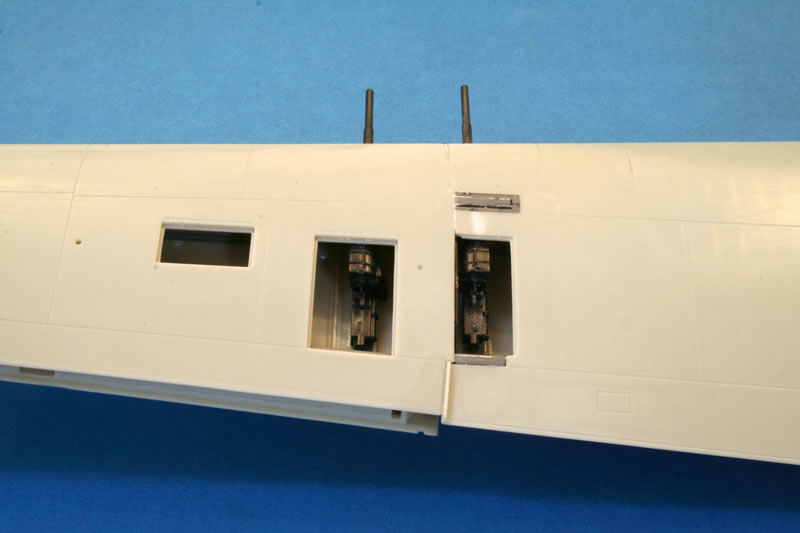
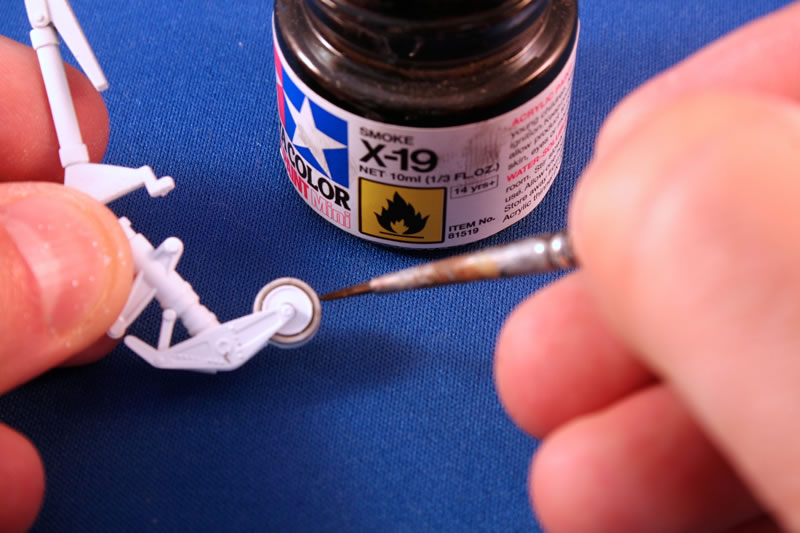
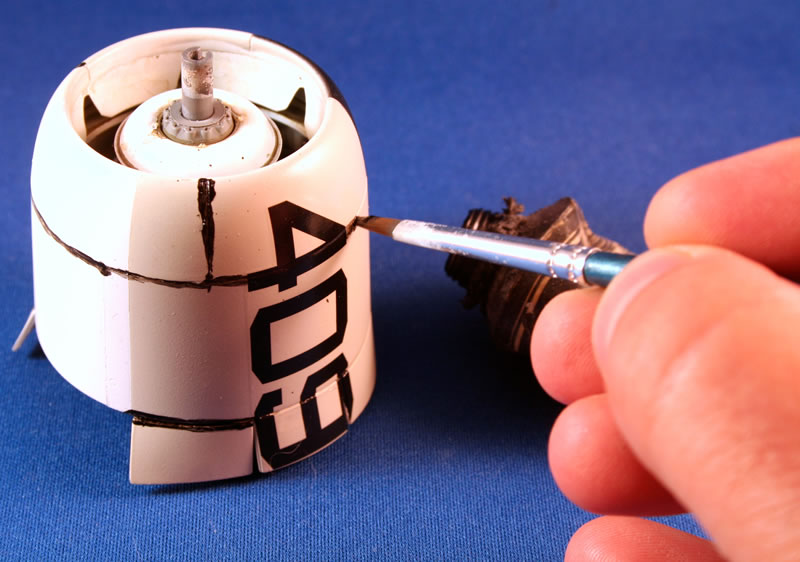
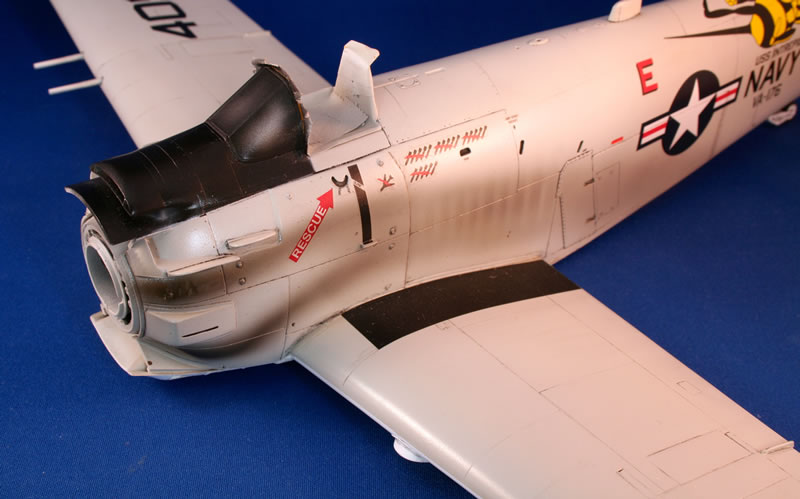
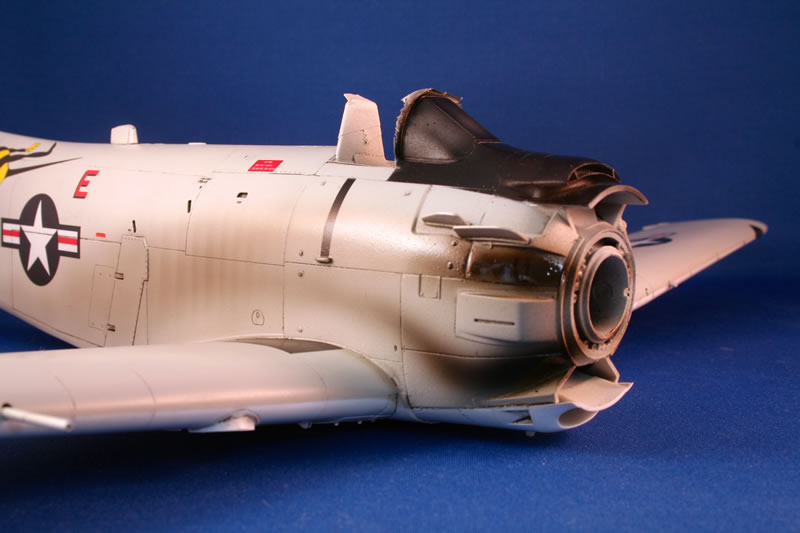
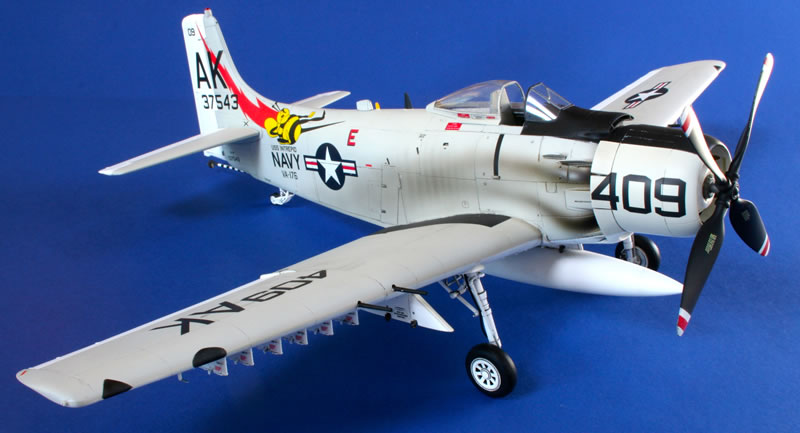
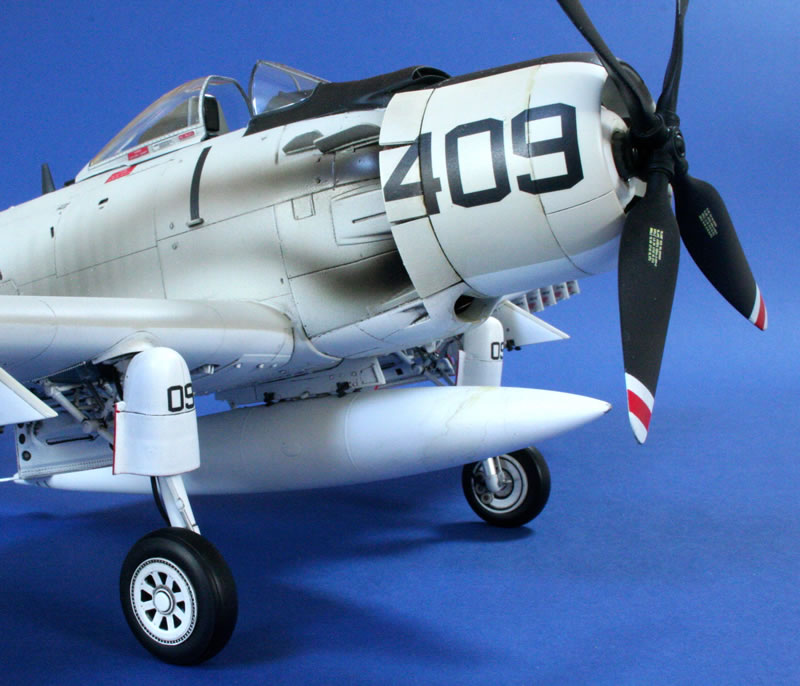
As mentioned earlier, this is and absolutely superb rendition of the Wright R-3350 Duplex-Cyclone, including the piston and con-rod assemblies! The latter is certainly a conversation piece for most modellers - but all completely hidden on the completed model; another piece of over engineering in my book. The unit was assembled as per the instructions with no problems and a wash of Tamiya Smoke was used to bring out the cylinder fins after spraying with Alclad. Gun bays and detail cannon are provided - but for the purposes of the build I decided I’d fit all covers in the closed position. All exhausts were opened up with a small drill bit and scalpel before painting. The cowling went together like a dream.
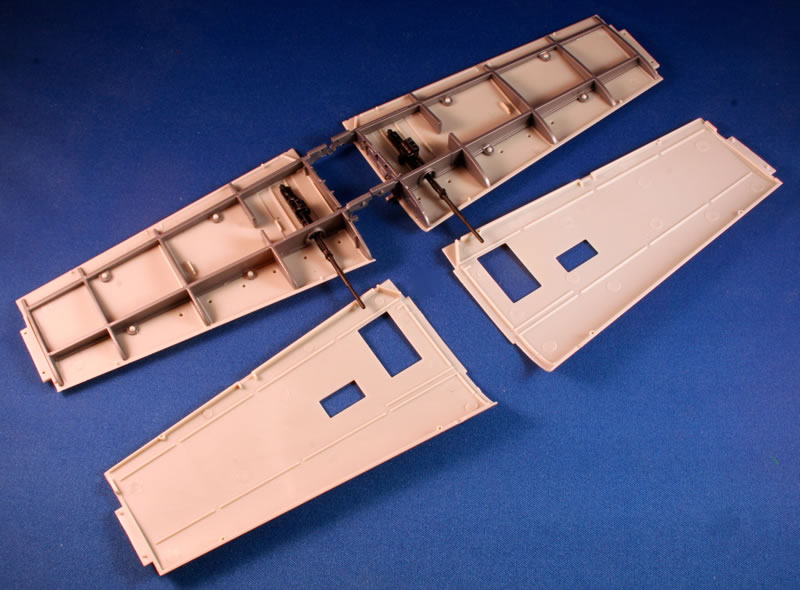
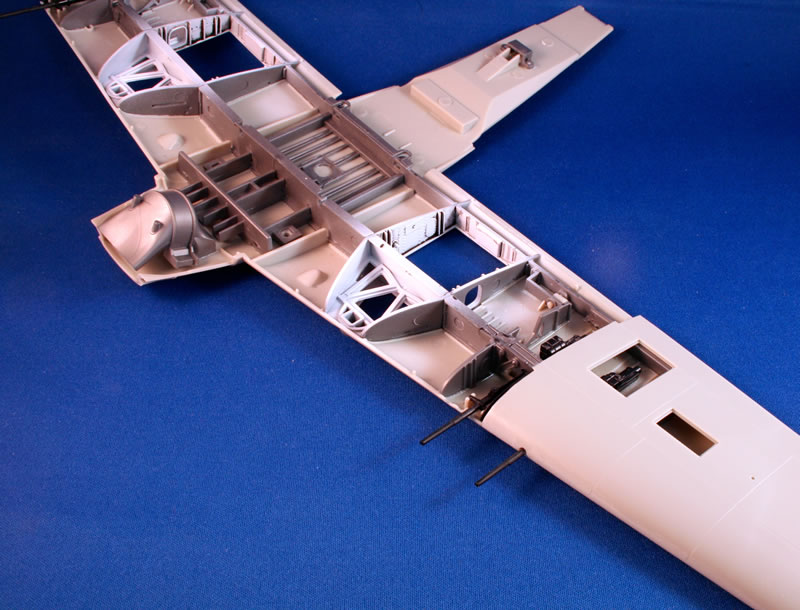
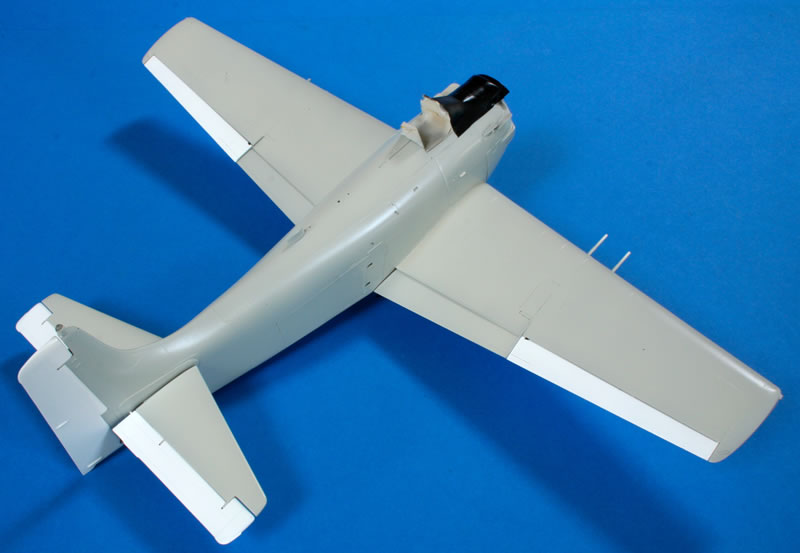
Wings
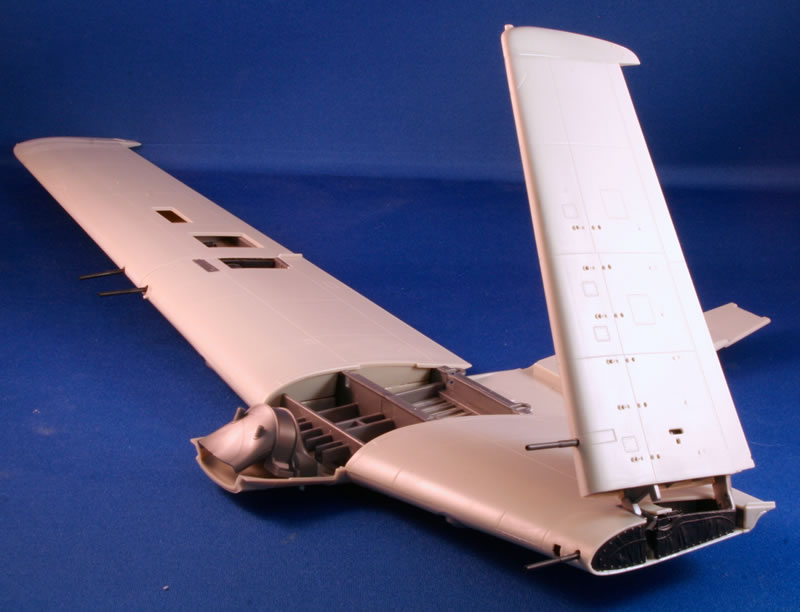
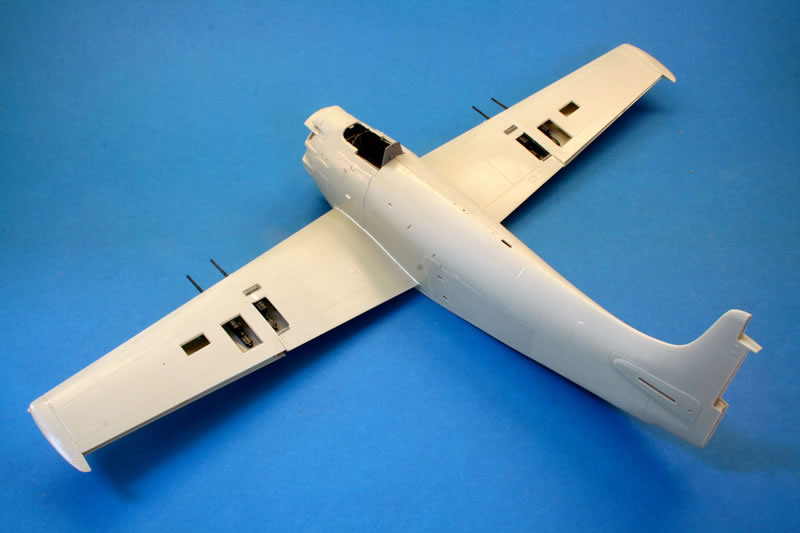
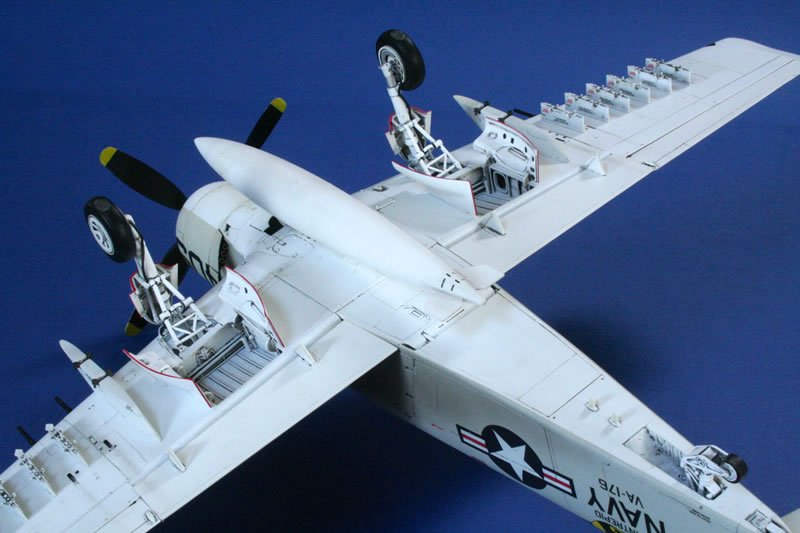
These were the bane of my build. The wings feature spars and ribs that, along with the superbly detailed gear bays, form a very strong central box. Assembly here is very straightforward with the gear bays being panted as I went along. The same comments regarding close tolerances apply here too - watch that paint build up!
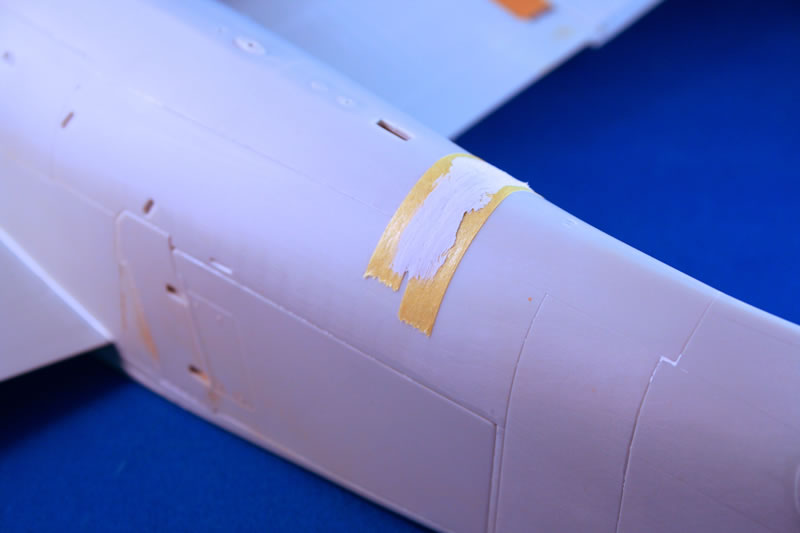
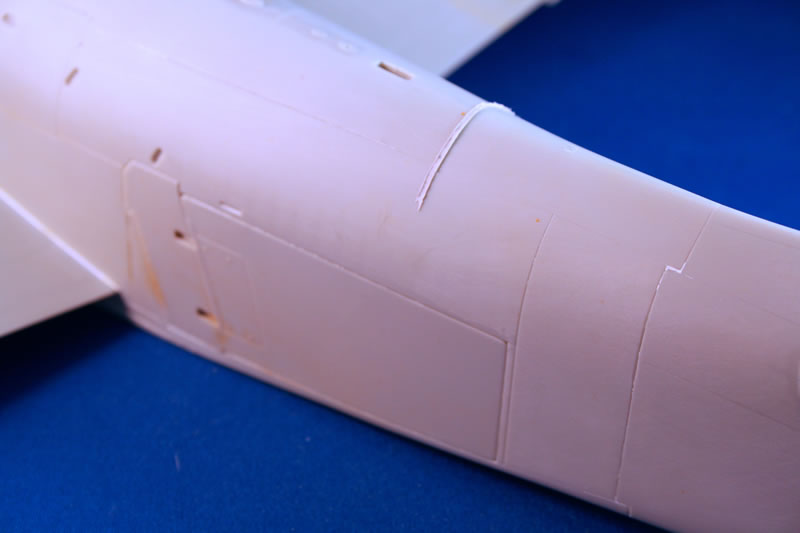
The joint to the fuselage was very good, but a tiny amount of Milliput was needed to get rid of a hairline gap between the fuselage and upper wing sections.
Separate internal structures are provided for the outer wing panels and the whole wing cleverly designed to facilitate wing-folding.
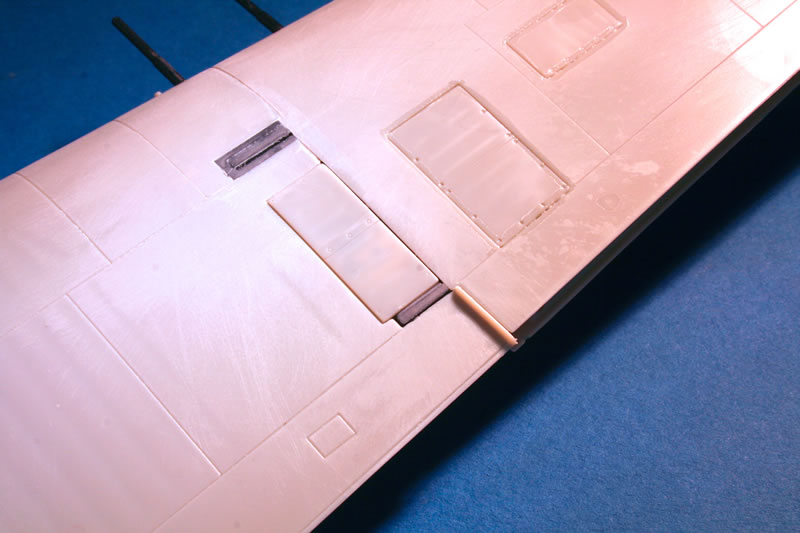
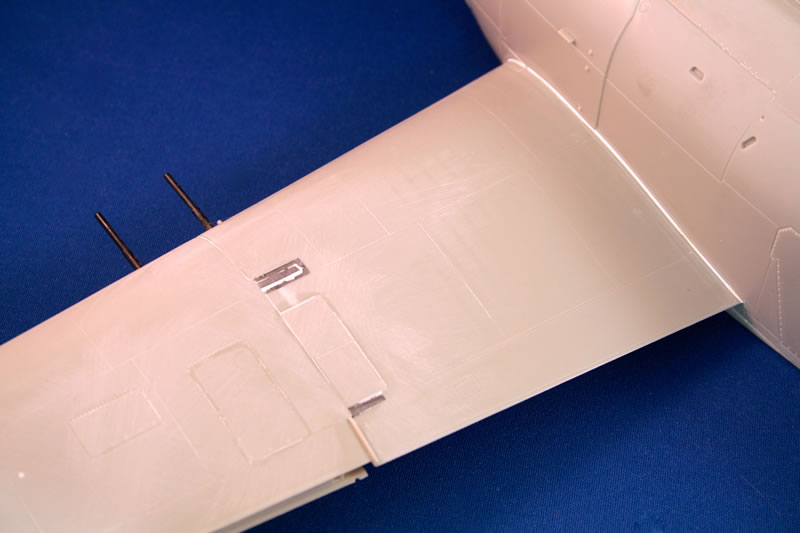
However - I found the gaps too large and decided to glue the wings in the down position. If you do this be careful. After bonding the seam on the underside, along the joint, kept ‘popping’ as the plastic to plastic joint area is relatively thin - so beware. As assembled I was also left with a small ‘step’ on the underside which needed dealing with.
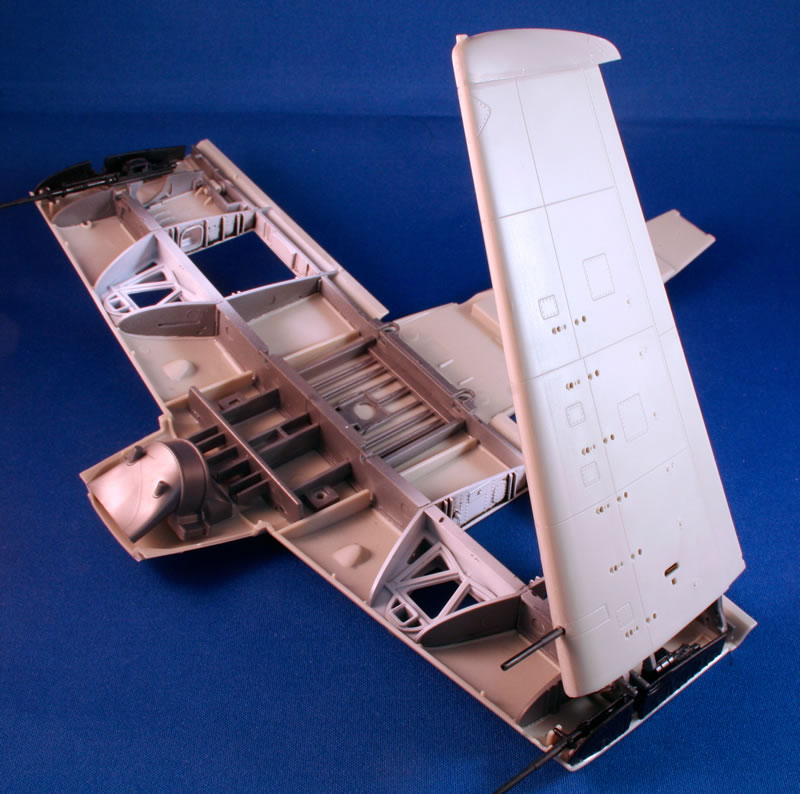
On the upper surface a test fit of the cannon bay covers showed they would sit too lower compared to the surface of the wing, so a small amount of Milliput was mixed up and small balls of this placed in each bay before sitting the covers down onto these and setting to the correct height to ensure flush with the wing. More Milliput was applied to the area around the upper wing fold and, after sanding, was re-scribed. This all took quite a bit of work and was the only real part of the build that I found to be a chore...
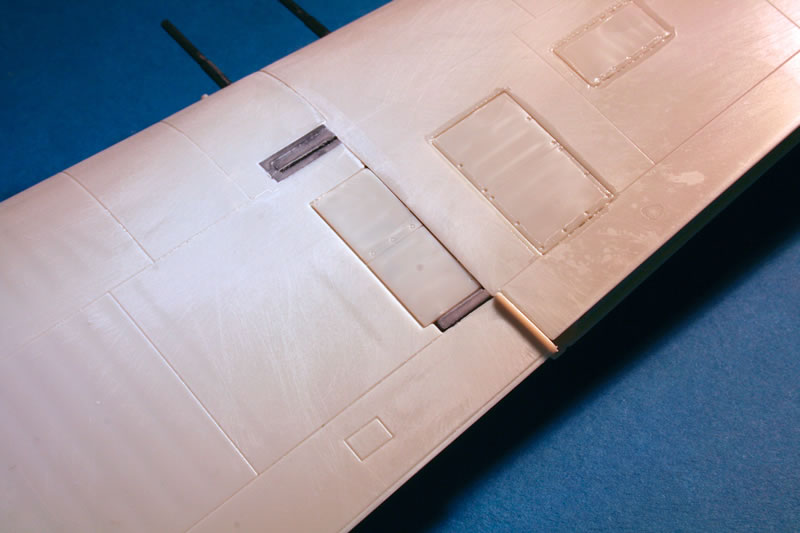
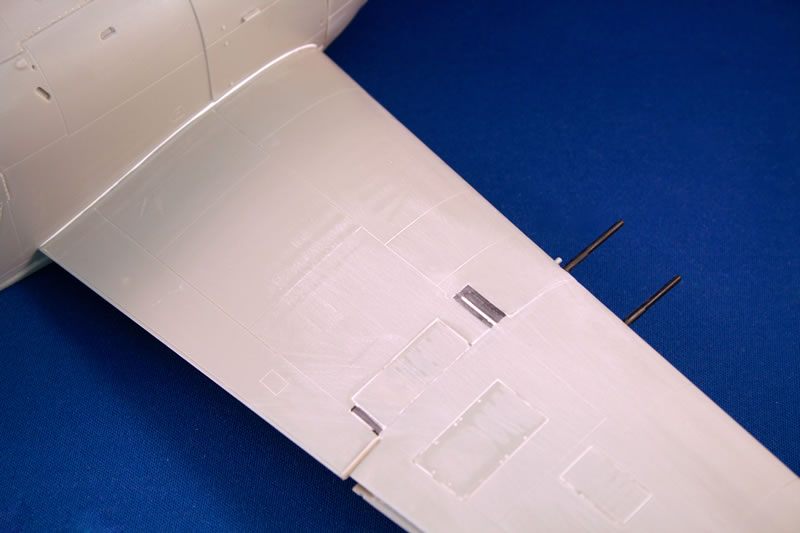
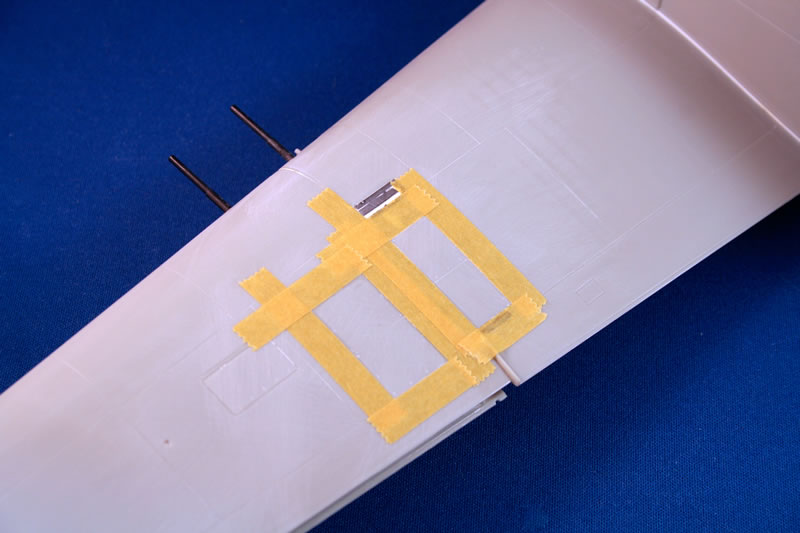
In order to get everything finally leveled off I had to resort to a coat of Halfords Filler Primer and some careful masking.
Final Assembly
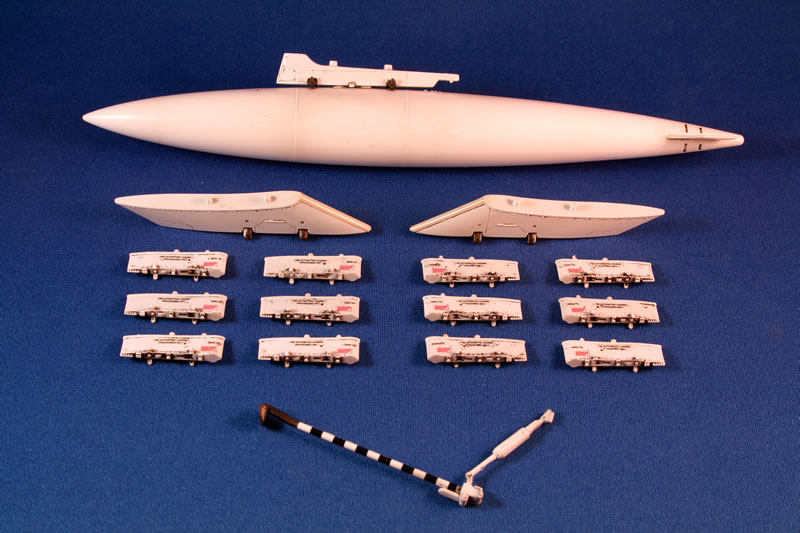
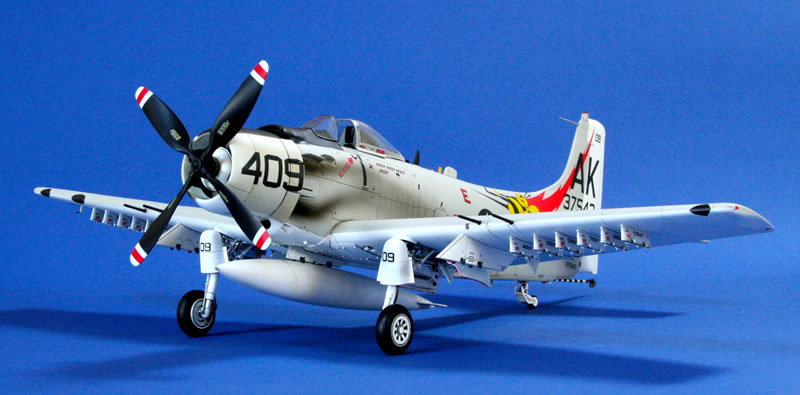
Stores pylons, lots of them!! These took some time to clean up, paint and decal - with each of the smaller underwing pylons having four decals each to apply and the need to ensure that they were all placed in exactly the same position.
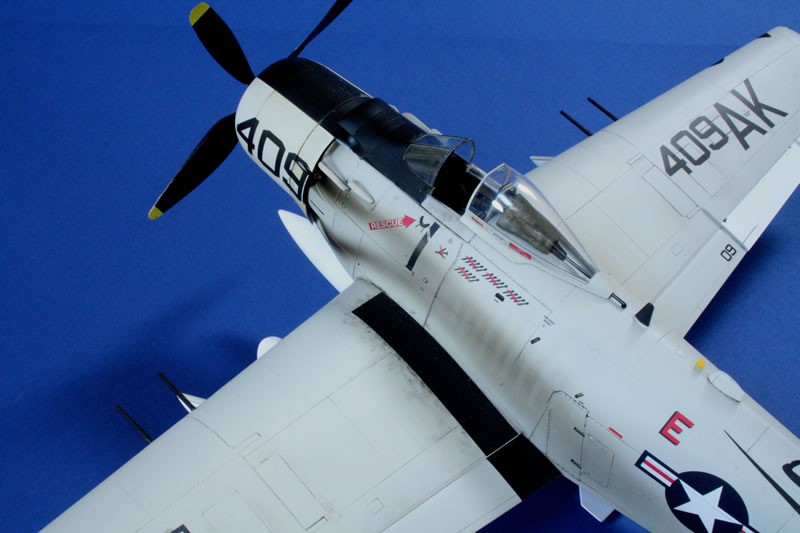
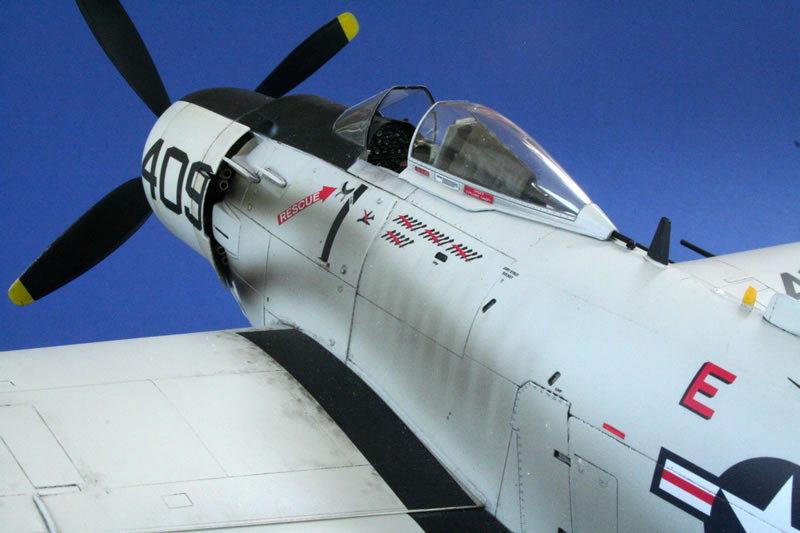
The main canopy has a mould seam down the middle and this was simply removed using sanding sticks, followed by micro-mesh and plastic polish. The kit supplies vinyl masks - I tried these on the windshield, but went back to masking by hand using Tamiya tape and a fresh scalpel blade for the main canopy.
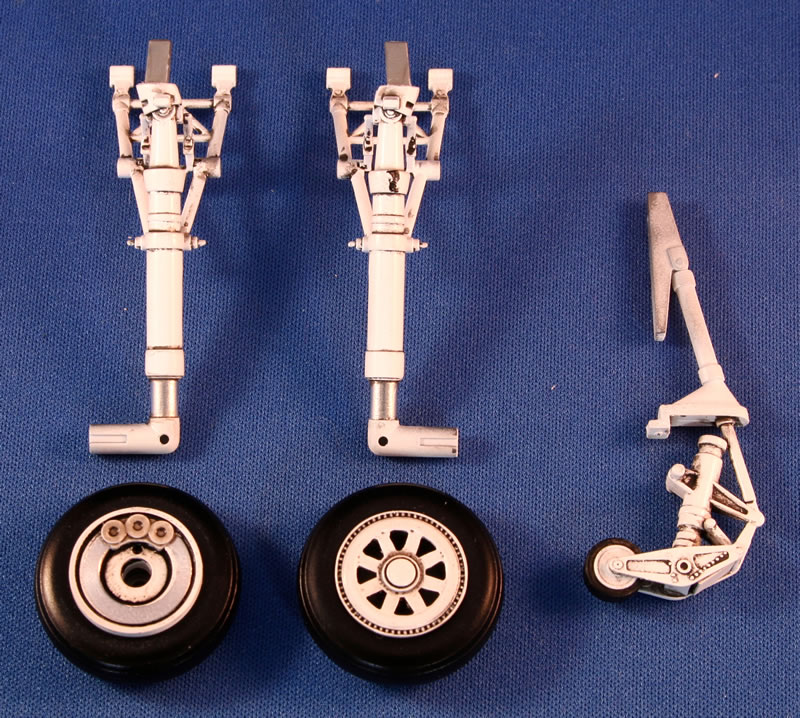
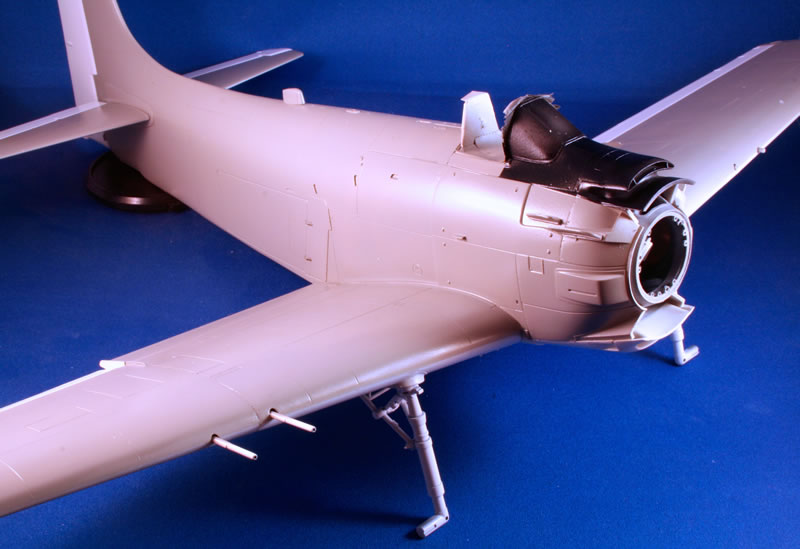
Undercarriage
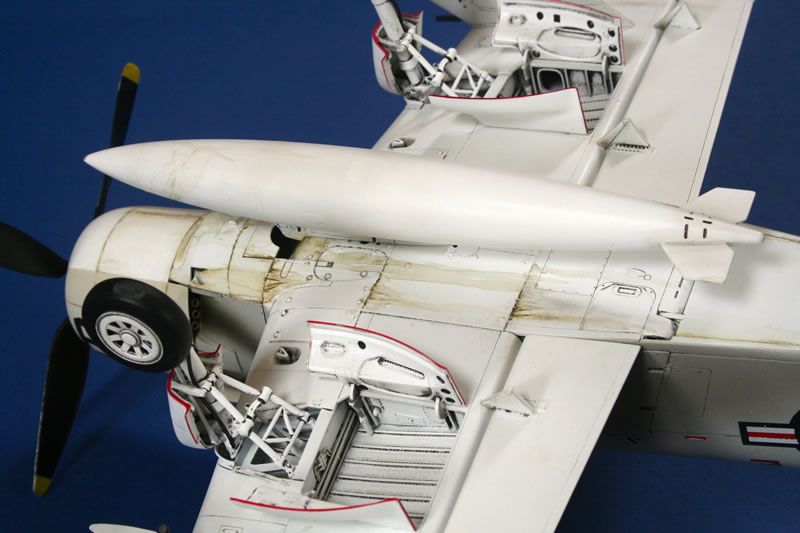
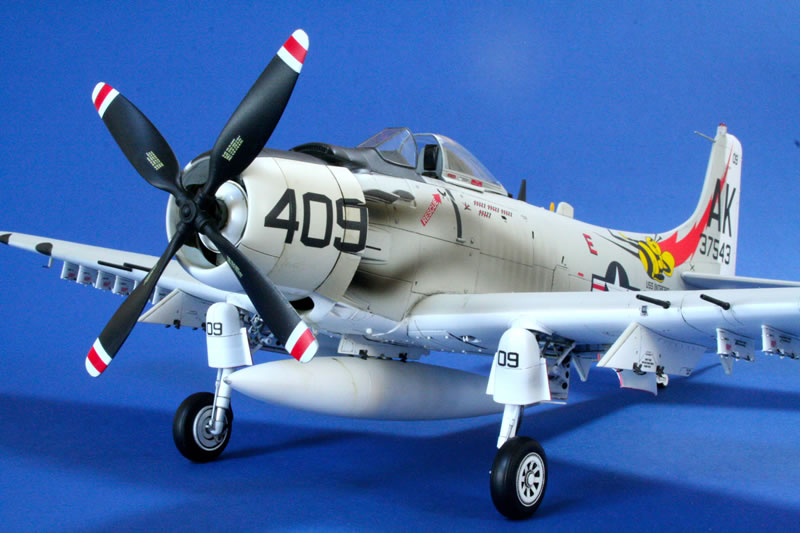
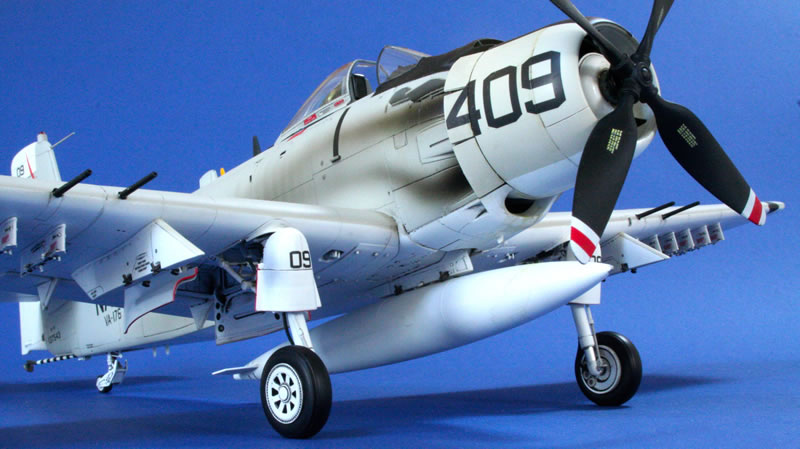
Quite simply - the parts provided in the base kit are superb and very much up to the job of supporting the finished Skyraider. Parts were simply assembled as per the instructions, sprayed gloss white and weathered with a black Flory wash. Slight flats were added to the main wheels - but bear in mind that carrier aircraft operate with pretty high tyre pressures - we don’’t want them to appear flat!
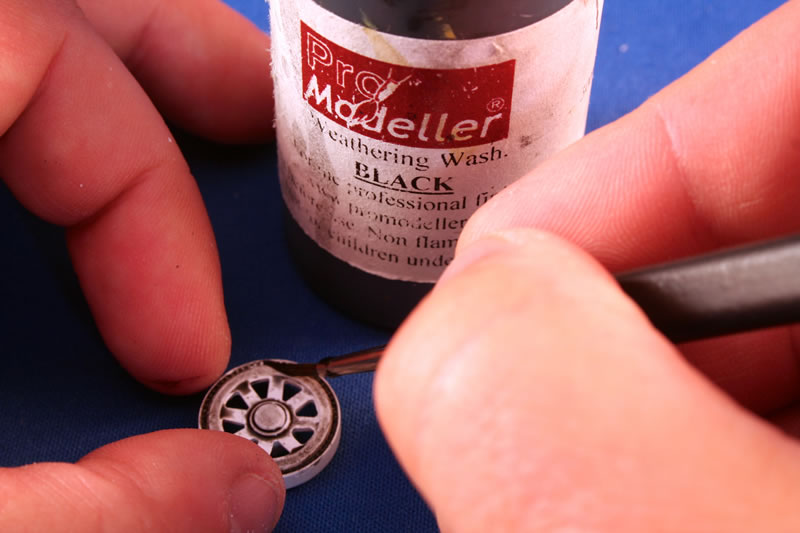
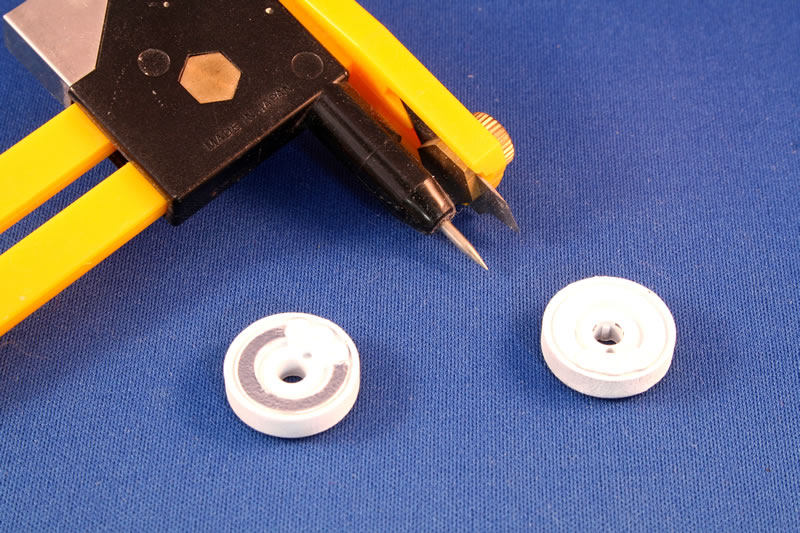
The brake discs are a prominent feature of the Skyraider gear and i was contemplating the tricky job of masking up the wheels and spraying the discs with Alclad. As I had the compass cutters out to make some circular masks I thought I’d try cutting out a disc out of Bare Metal foil using the compass cutters: problem solved and I’m very pleased with the result.

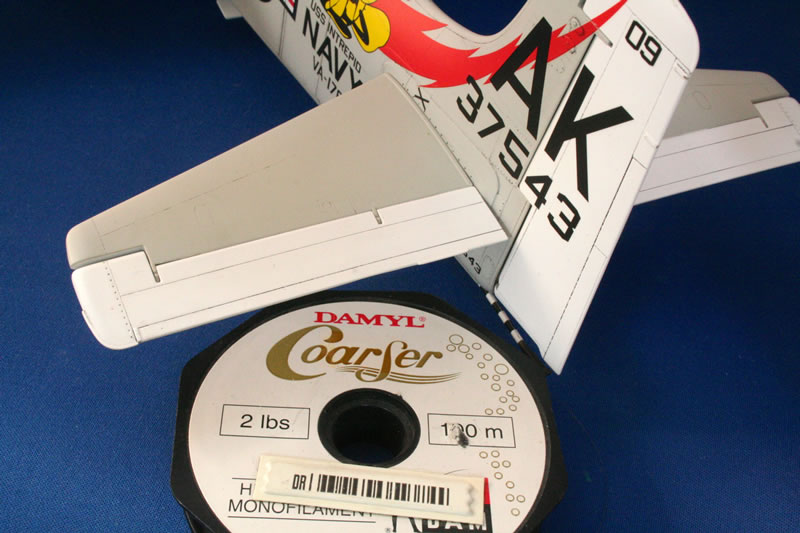
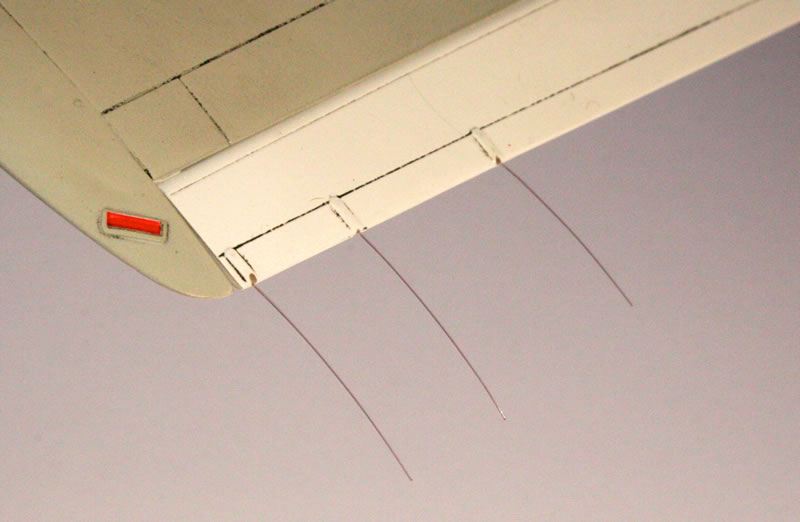
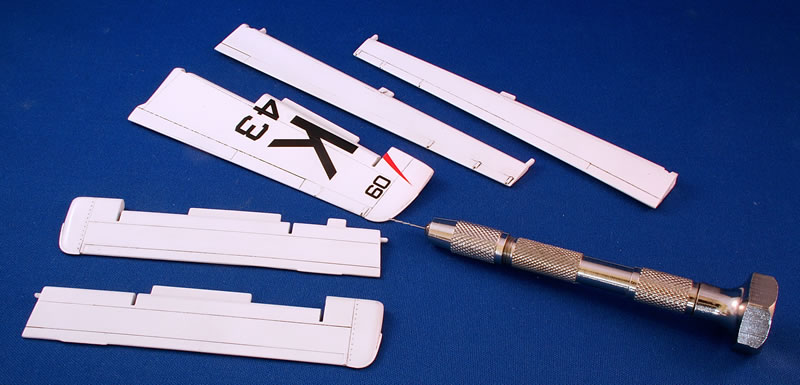
Getting on my Wick
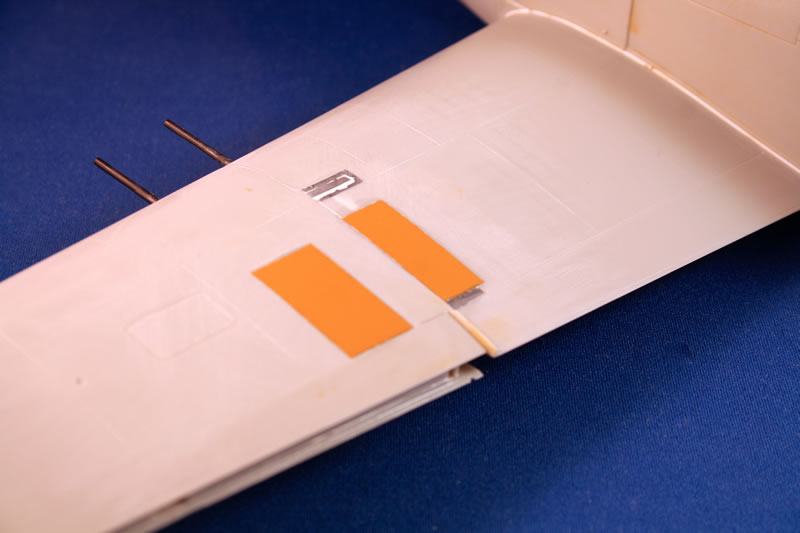
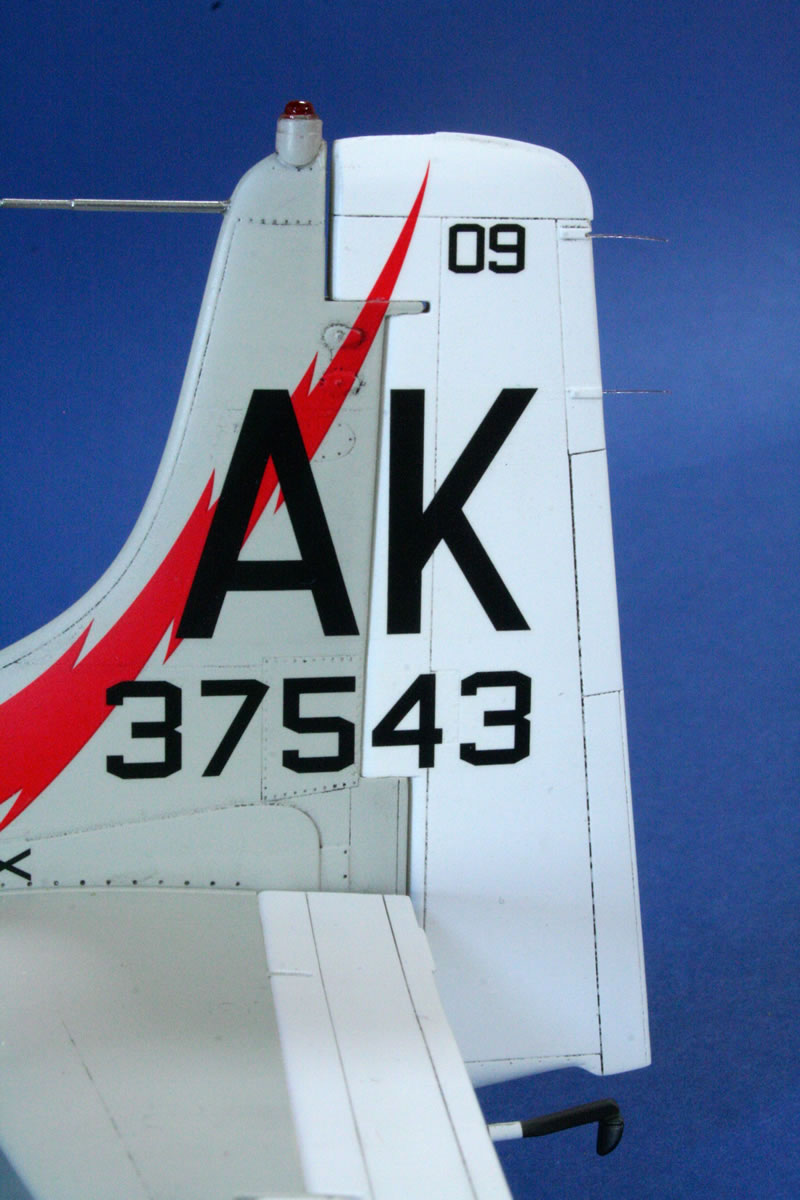
As I’d assembled the separate control surfaces it was clear that the moulded-in static wicks were not only oversized, but I doubted my ability to clean up any joints without losing the wicks - so these were removed on assembly. Once painted and decalled small holes were drilled at the relevant points and short lengths of fishing line superglued in place. Each of these were longer than required and were trimmed to the correct and uniform lengths once dry using a pair of scissors. Sounds like a faff - but actually very easy and quick to do and they certainly look the part on the model.
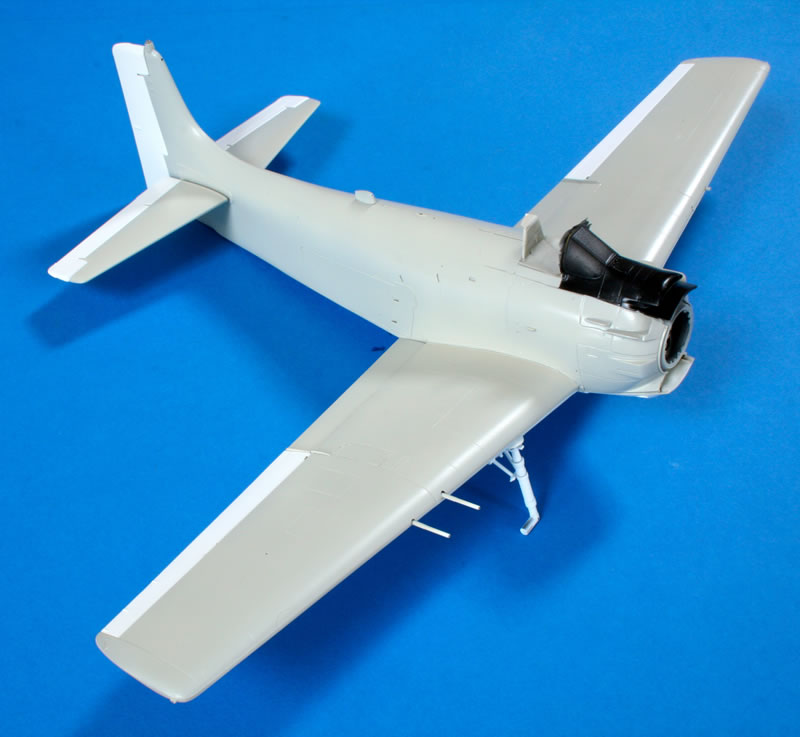
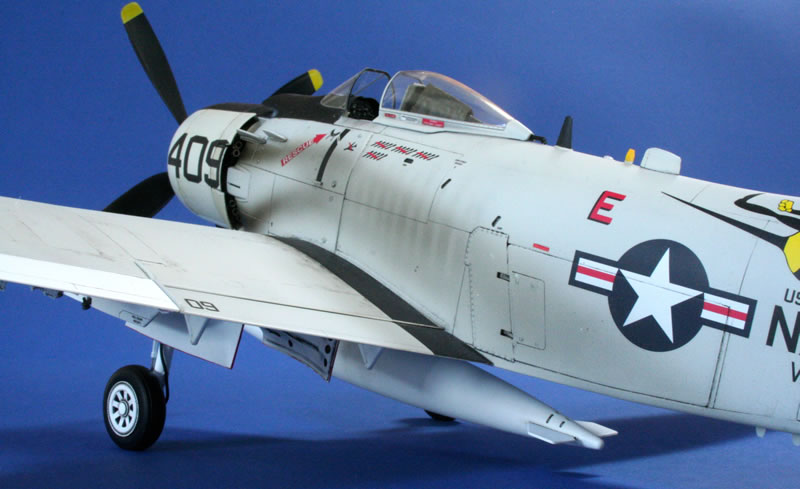
Paint
Any colour so long as it’s Gull Grey over White! White is always a challenge to the builder of scale models and these days I always use acrylics as they don’t tend to yellow over time which enamels have been known to do. The entire airframe was given a coat of Halfords white primer and any last tweaks made. The white is Xtracrylix, as is the Light Gull Grey although the latter was made by lightening the relevant shade with almost 50% white as it was too dark from the pot. To simplify painting all control surfaces were painted separately.
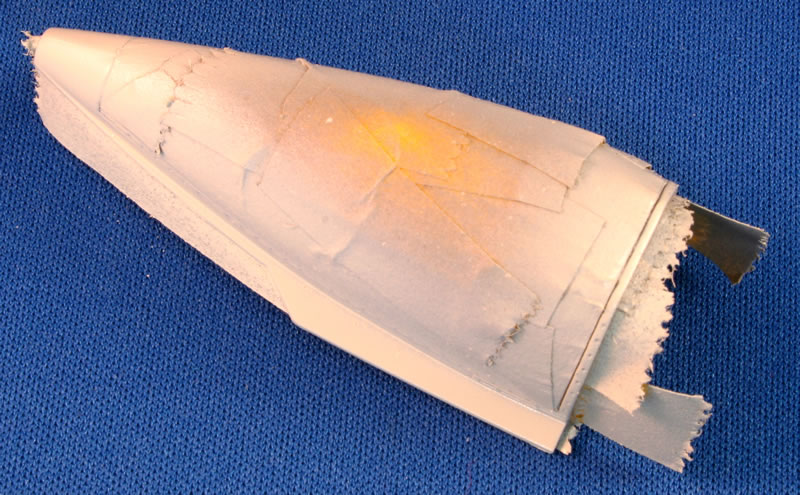
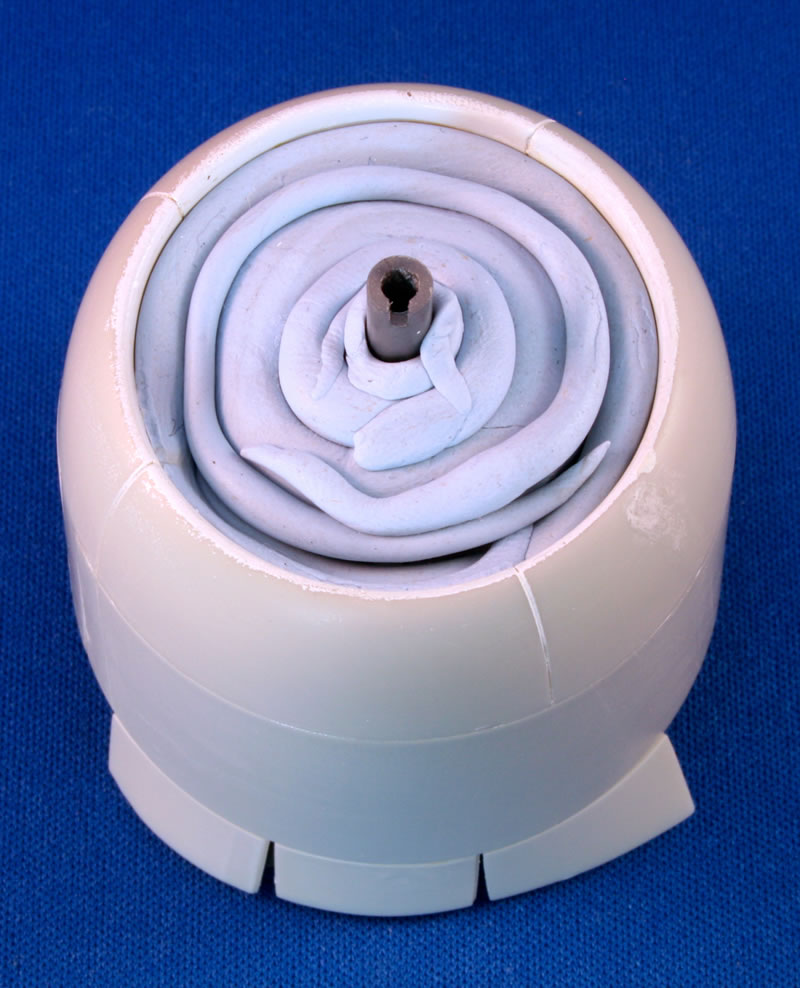
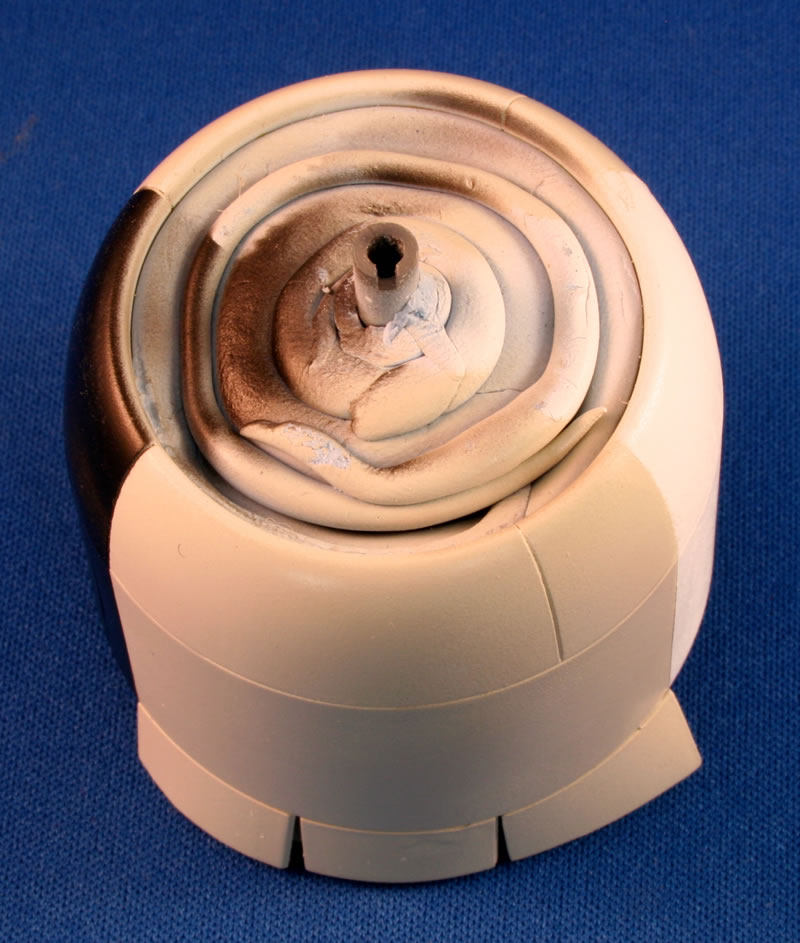
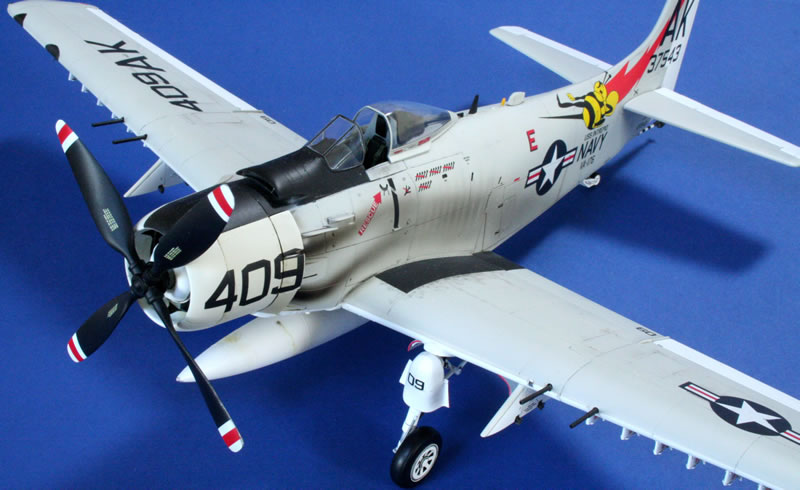
Painting the cowl, with engine in situ, was going to be a challenge - until I hit on the ideal of using a rolled up sausage of BluTak coiled up into the cowl opening. Worked a treat!
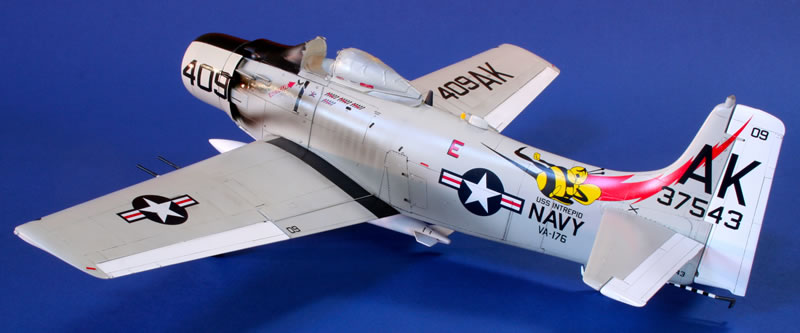
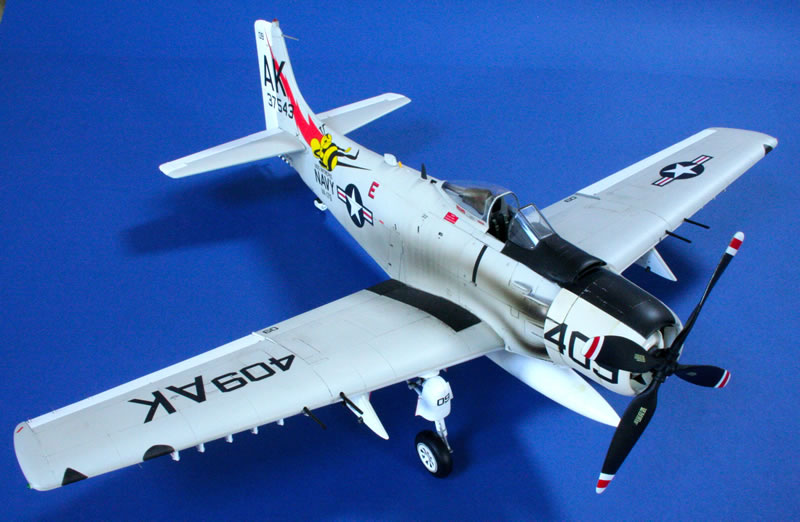
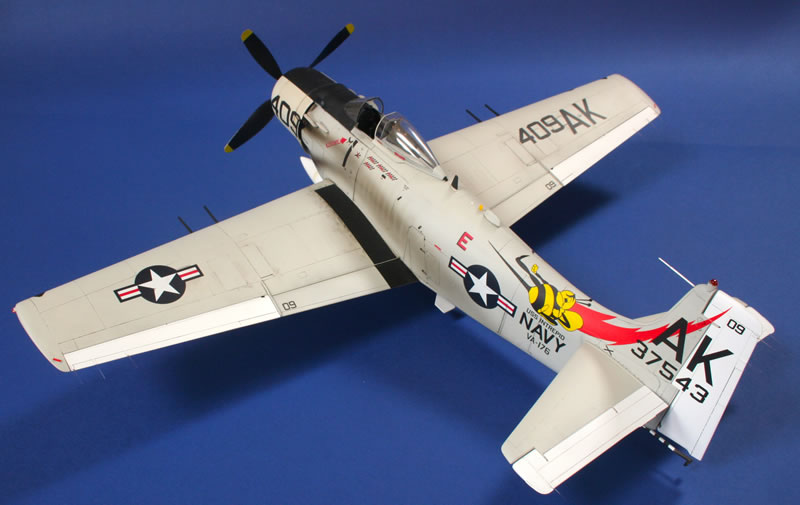
One shocking admission though: photos I’d found of ‘37543’ I’d found on the interweb appeared to show the aircraft without the silver protective paint around the front of the cowl - and along leading edges of wings. After completing the model I’ve subsequently found clearer and larger resolution images which sow this airframe with them. Something to fix later methinks.
Decals
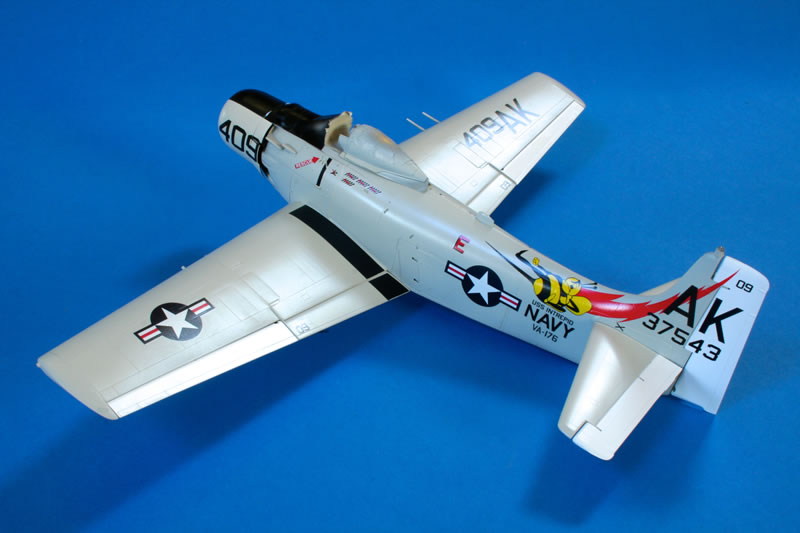
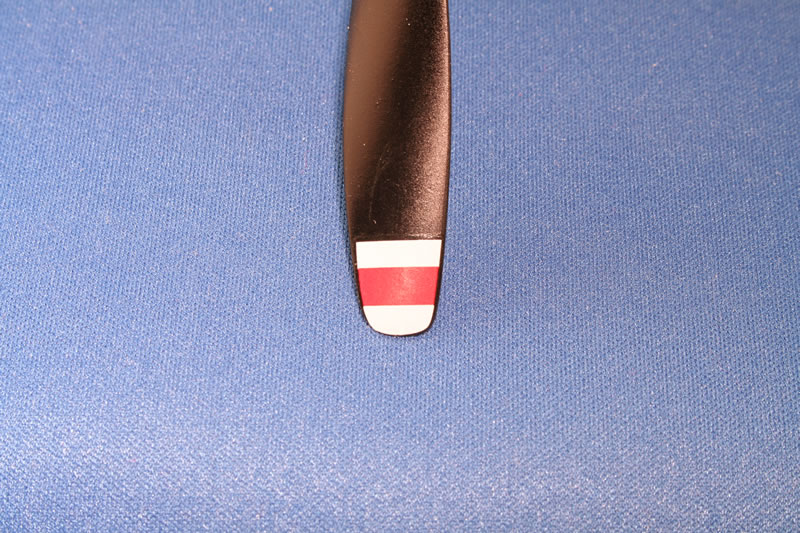
As alluded to earlier - the decals are not as good as they could be. Accuracy-wise they are pretty good - but the decals supplied for the prop tips are too narrow, the wing walks too wide and the modex numbers on the flaps too small. Quality wise the carrier film is thick and takes a lot of setting solution. In addition I had a ‘moment’ when part of the film on the wing walk decals got caught by an errant piece of masking tape and proceeded to lift from the surface, like a snake shedding it’s skin, leaving just the black ink. To get an even black again I had to pull off all of the clear film layer. Whilst this instantly cured any thickness problems I wasn’t confident I could get away with it on the other decals, so they were left as is - under numerous soakings of decal softener.
Oh - and please ZM - can we have drawings, or even better photos of the original, for decal placement rather than images of the completed model?
Weathering
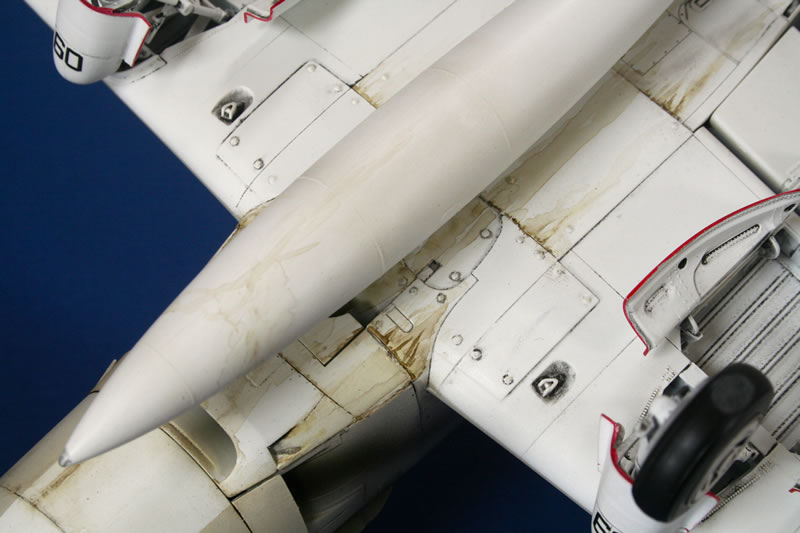
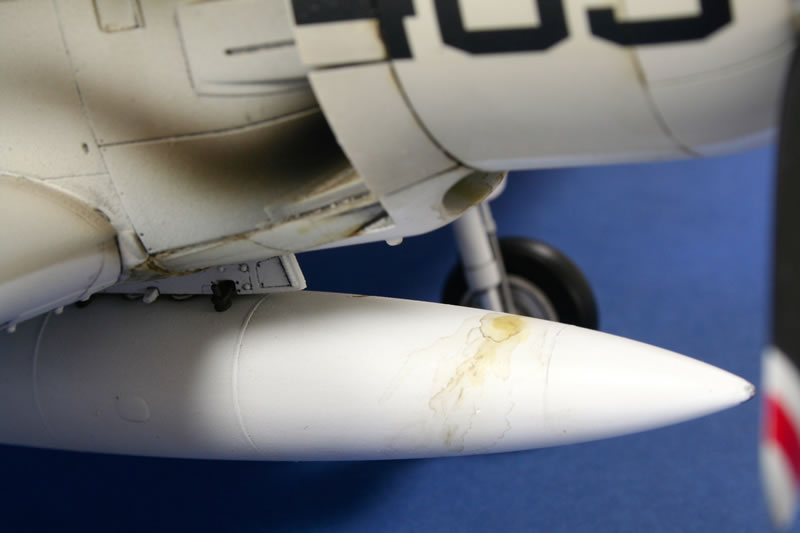
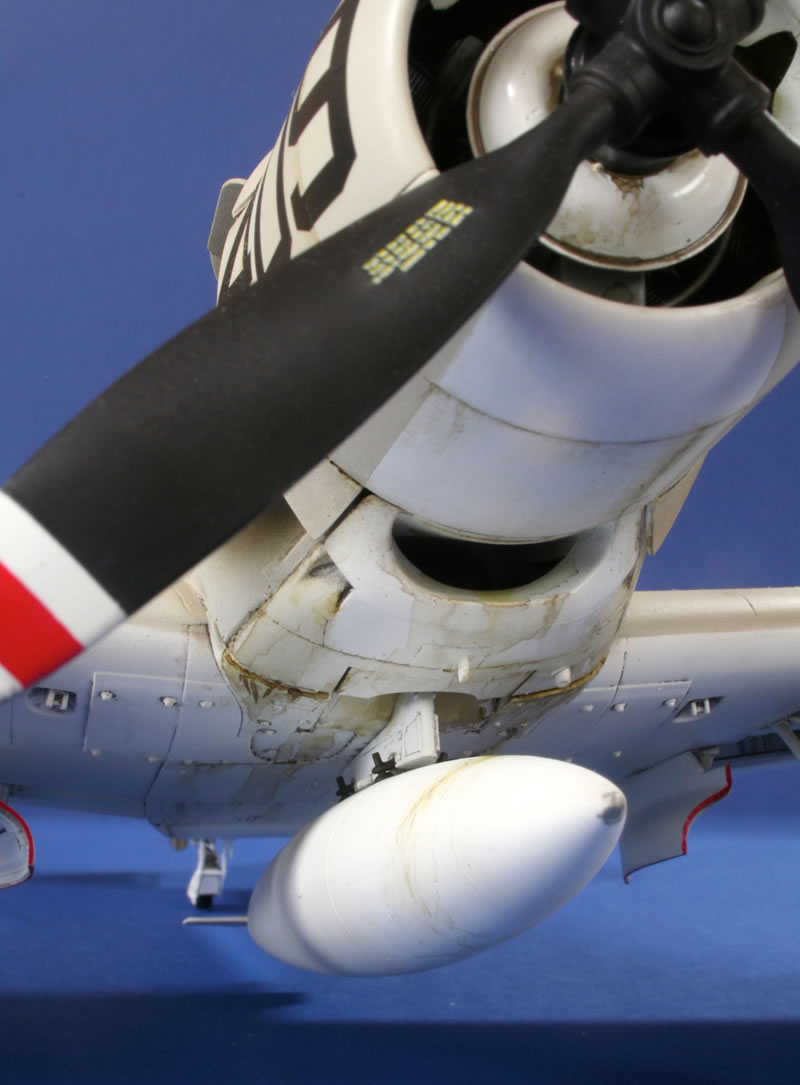
I wanted to do a fairly clean airframe and make a feature of two particular areas of grime - the distinctive exhaust staining and the grubby oil leaks on the underside. These old birds spewed oil everywhere!
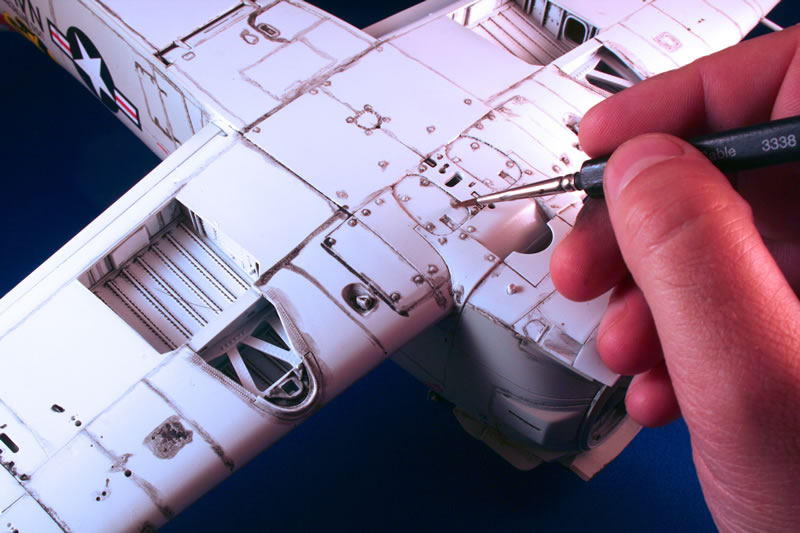
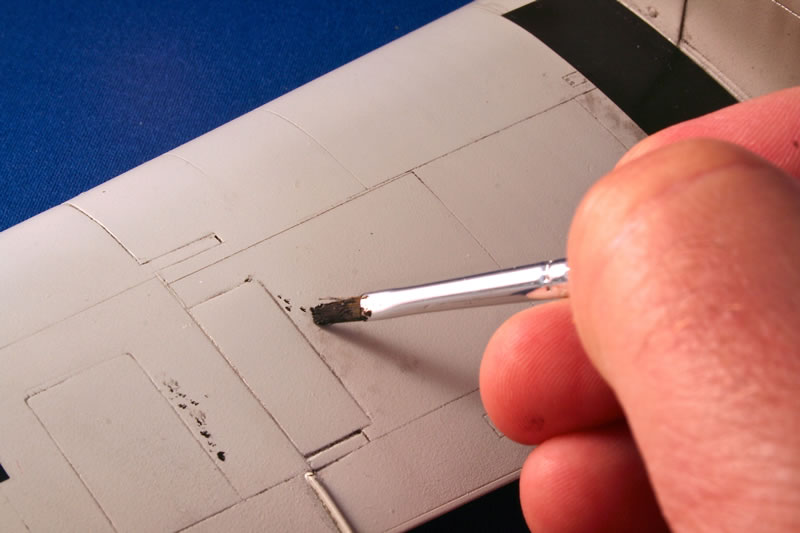
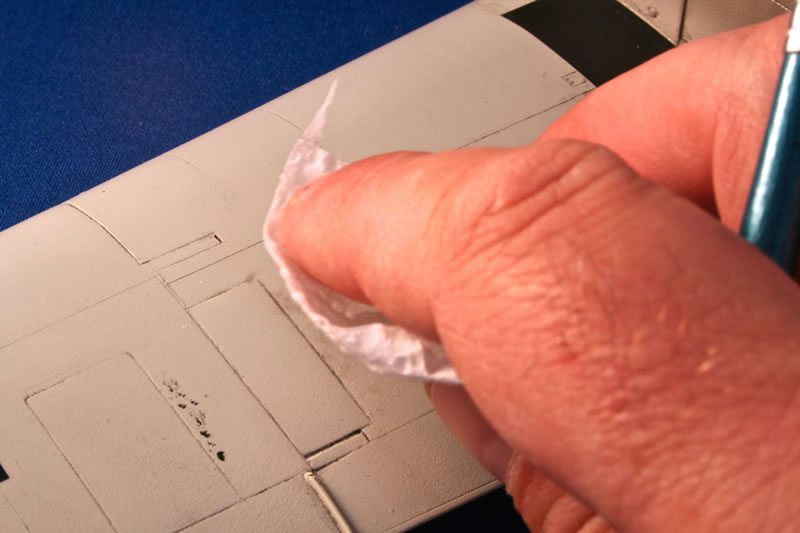
Having painted and decalled the airframe all panel lines were ‘painted’ with Flory Models black wash which was allowed to dry overnight. The following morning the excess was wiped away using damp kitchen paper, leaving the merest hint of shadow in the various panel lines. Around the nose, where that oily engine lives, I upped the anti and used Winsor and Newton black oil paint to highlight detail. This was also used around the air-brake areas.
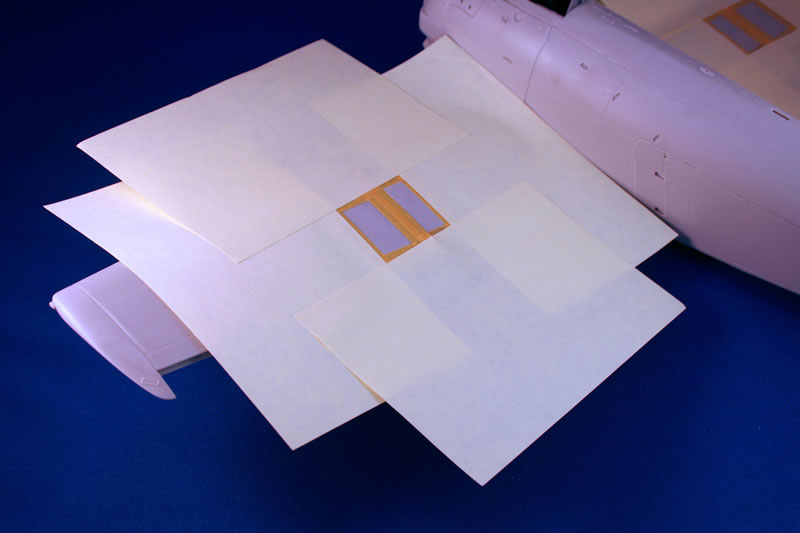
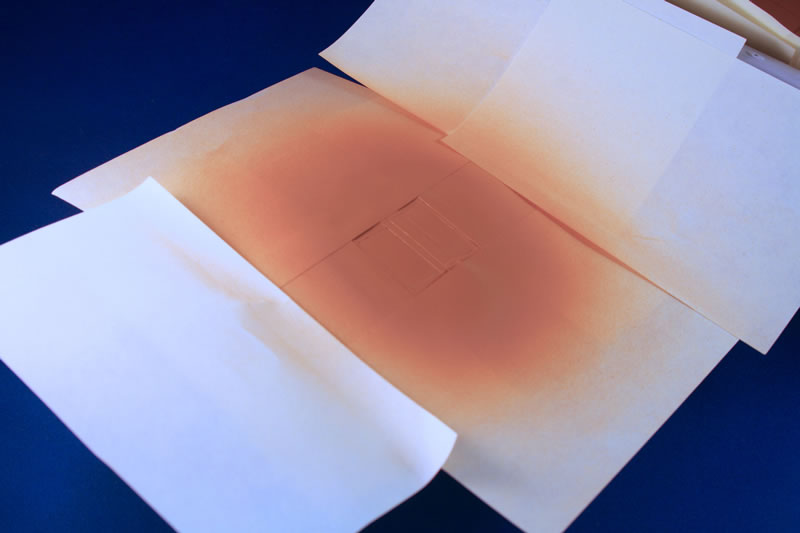
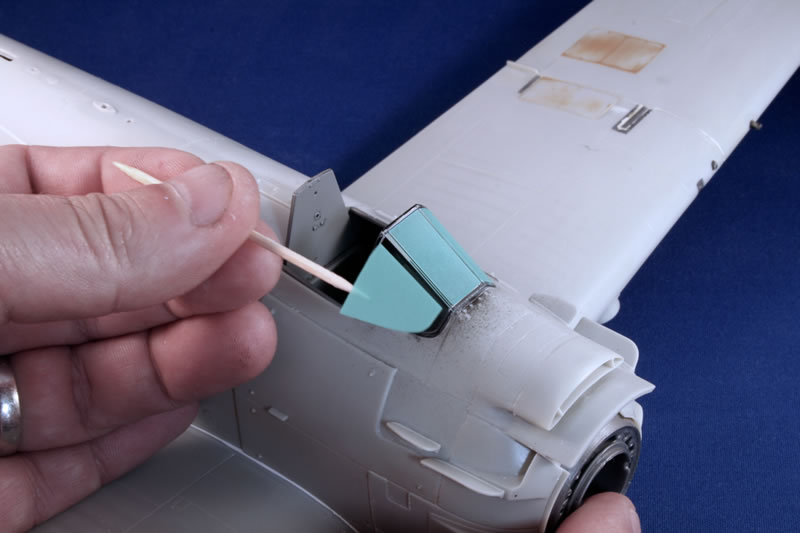
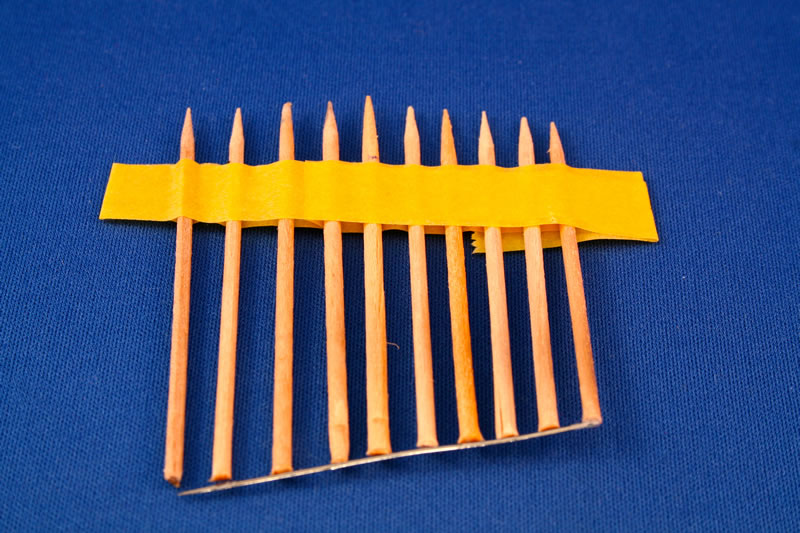
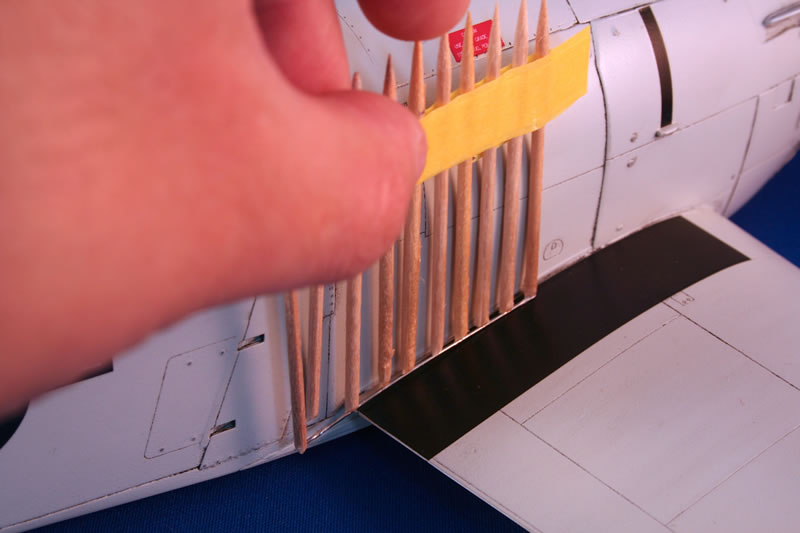
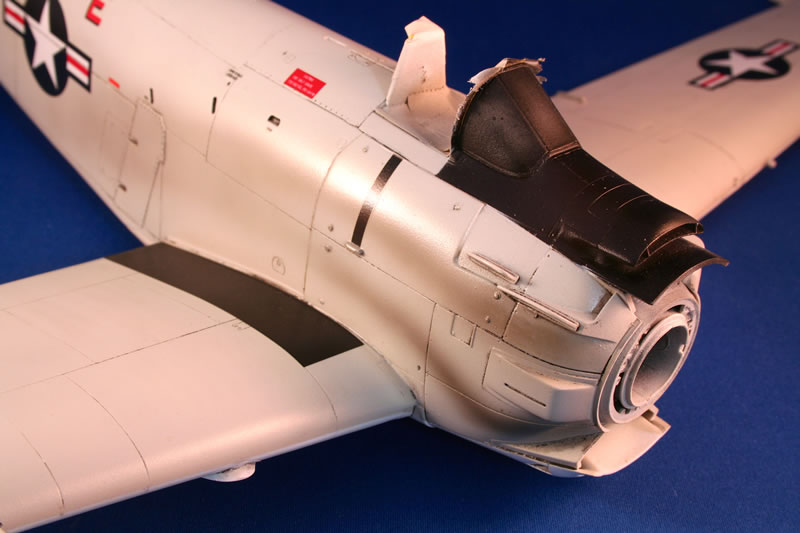
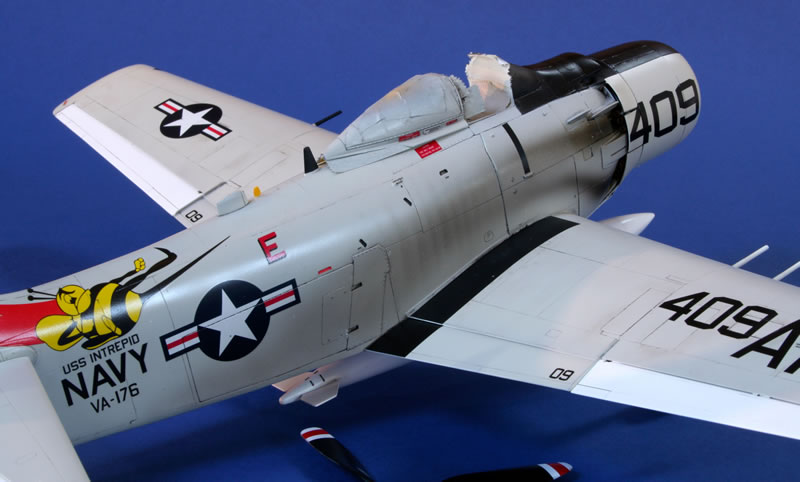
Exhaust staining was built up gradually using Tamiya ‘Smoke’ - starting at the front behind the exhausts and using the airbrush close to the surface - before working back along the fuselage whilst gradually moving the airbrush further away from the surface. The distinctive ‘stripes’ left as the exhaust gasses passed over the slightly rippled skin of the airframe were simulated by making up a mask using cocktail sticks held together at regular intervals with masking tape. I think the end result looks OK.
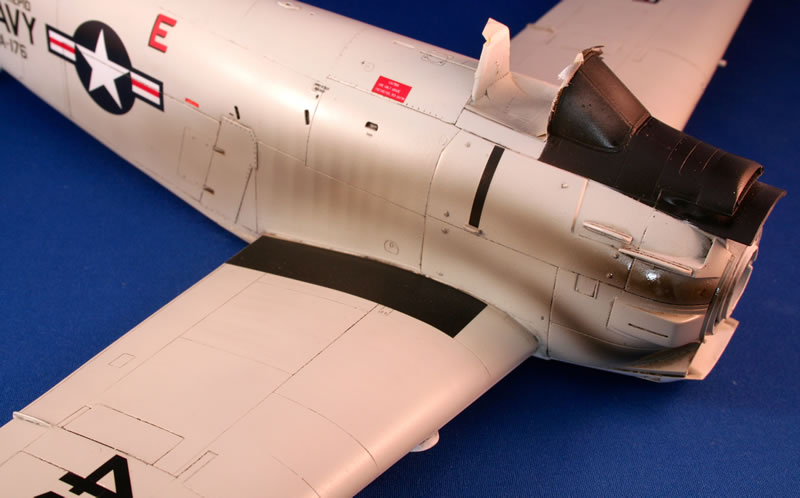
Oil staining underneath was simulated using a new product to this particular plastiholic and was discovered in my local model railway emporium. Modelmates Oil Brown weathering liquid is an acrylic ink that is applied by brush and can be thinned in situ with water. This was built up in layers to achieve the affect you see in the photos and I’m quite pleased with the result.

After coating the model with Xtracrylix matt varnish a small brush was used to apply small dabs of old paint to the airframe around the walkways, canopy sill and cannon bay doors to simulate boot marks/wear and dirt. These dabs were quickly ‘smudged’ away with dry kitchen paper leaving almost no oil paint left on the surface and creating the affects you see in the photos.
Verdict
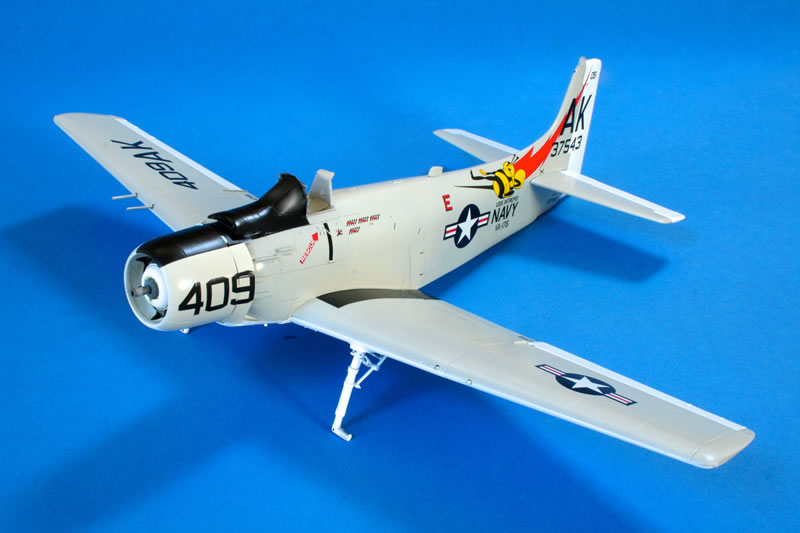
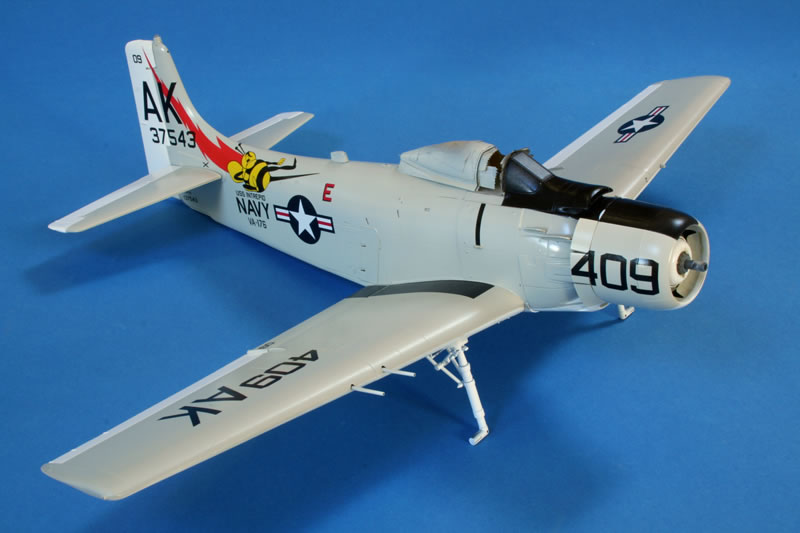
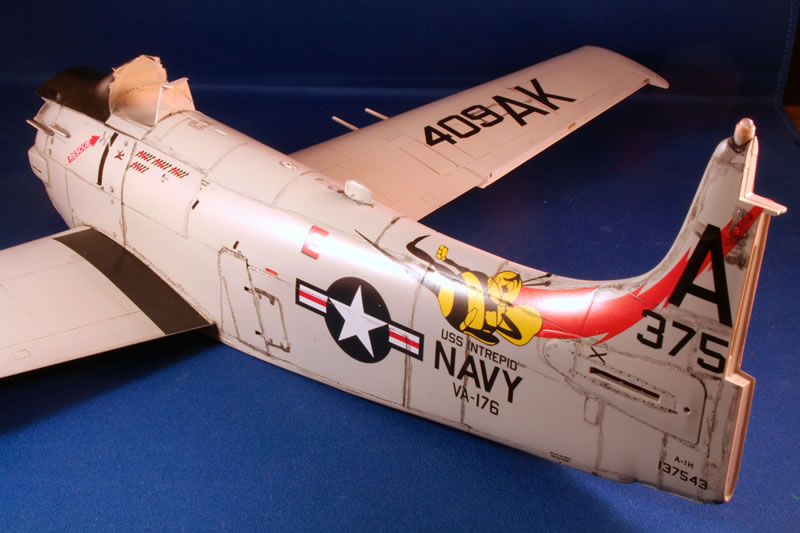
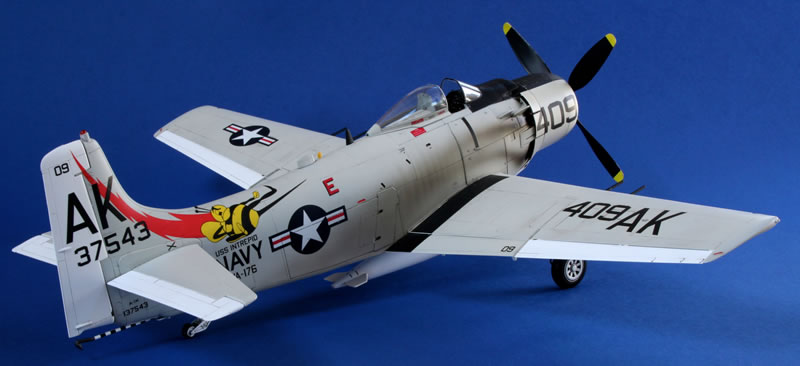
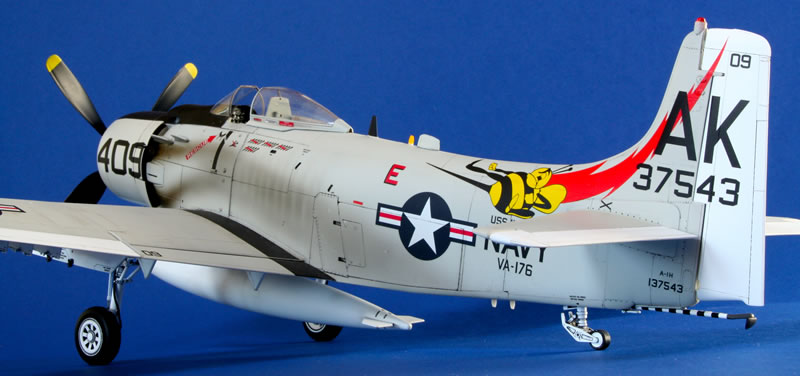
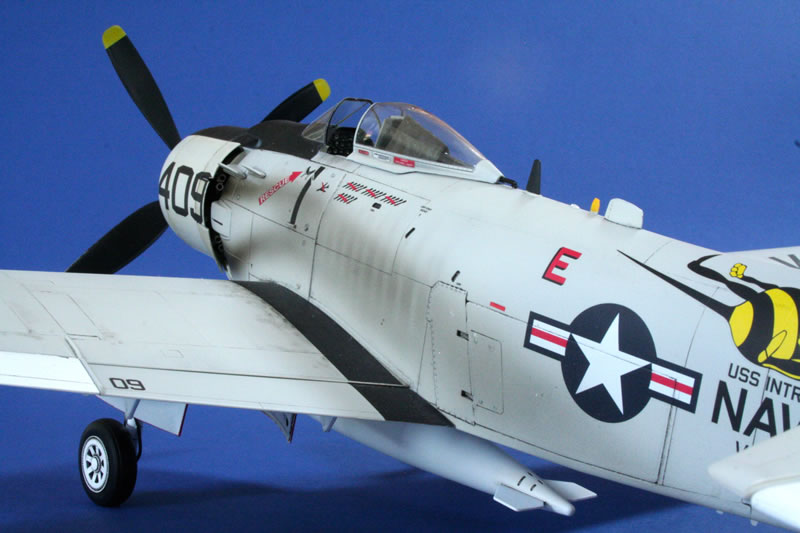
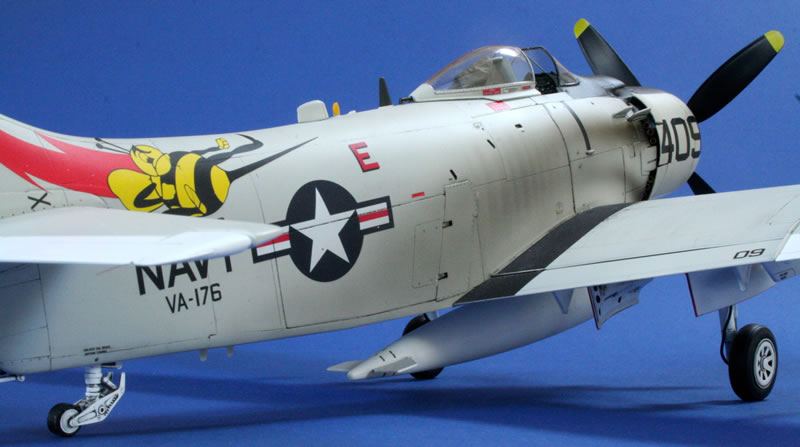
I had some frustrations with this kit - in some ways over engineered for my taste - but overall it was a very enjoyable build. Looks-wise it’s every inch a Skyraider and, whilst a fair chunk of plastic in this scale, it’s certainly not and un-reasonable size - in fact I think it suits the subject beautifully. I’m aware that many on the internet forums yawn when it comes to the markings provided in the box, but I rather like the VA-176 ‘angry bee’ and it’s one of those schemes that’s so synonymous with the Skyraider. Having seen test shots of the next releases from this manufacturer they’ve upped their game yet another notch in terms of detail and finesse.
I’m indebted to Mr Hideyuki Shigeta and his team for releasing such a superb kit and can’t wait to see what they come up with in the future! Now - where did I put that Constellation?
Materials Used
- Primer - Halfords grey, white and primer filler spray cans.
- Paints - mainly Xtracrylix and some Tamiya - especially Tamiya ‘Smoke’ plus a range of Alclad shades
- Adhesive - Revell Contacta and Plastic Weld
- Fillers - Milliput and Revell
- Weathering agents - Winsor and Newton oils, Flory washes and Modelmates Oil Brown weathering liquid

© Iain Ogilvie 2013
This article was published on Saturday, December 14 2013; Last modified on Friday, September 02 2016