
Revell 1/32 Dornier Do 27 "Grzimek" – Serengeti Version
By Rodney Williams
A BRIEF HISTORY
This “top-wing” aircraft was designed by Dornier a German aircraft company and was built in Spain during the 1950s. It became a very popular aircraft for its short takeoff and landing capabilities. Several countries in Europe and Africa purchase many copies of said machine. A total of 627 different versions were built.
Michael Grzimek and his father Dr. Bernard Grzimek, the legendary director of Frankfurt’s Zoo wanted to use this aircraft to film wild animals in Africa. It was also use as an observation aircraft over the Serengeti in Tanzania for research and control of “endangered” animal species.
Sad to say but on 10 January 1959 the aircraft collided with a “Bearded Vulture” and crashed which resulted in the death of Michael. The aircraft was left on the ground in the Serengeti National Park until 2009 when it was transported back to Berlin and placed in the German Technical museum for future generations to see.
Revell’s Do-27 "Grzimek" in 1/32 Scale
In early 2012 I accessed “SCALEHOBBYIST” model web site that I buy some of my model supplies. Lo and behold they had a 1:32 scale “Do-27” single engine “private-type” propeller aircraft model for sale. There was an “art” drawing on the box top showing the model with black “ZEBRA” stripes. I just had to have this in my collection.
In the month of June, 2012 the model was finished and placed in my display case along side of my 32nd scale P-51D “HI TIME-II” racing Mustang which had “Zebra” stripes on it. My “tang” is posted on this web site.
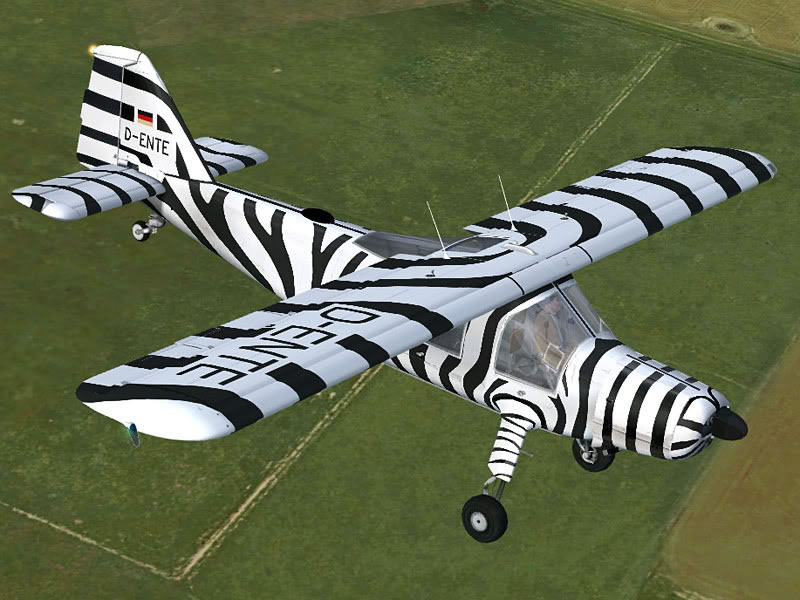
Prior to starting the building process I once again surfed the web site and found some images of the real airplane and saved them in my newly created “Do-27” folder on my pc’s desktop. I’m enclosing some of these photos.
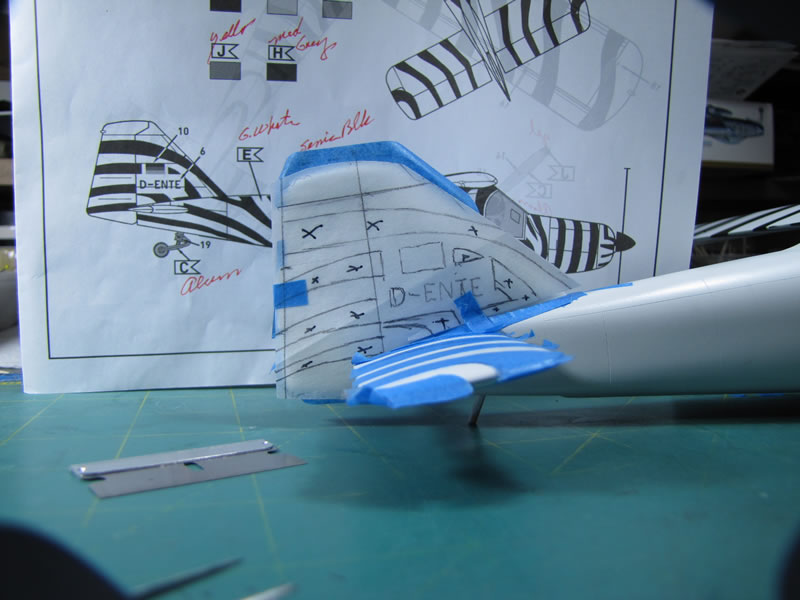
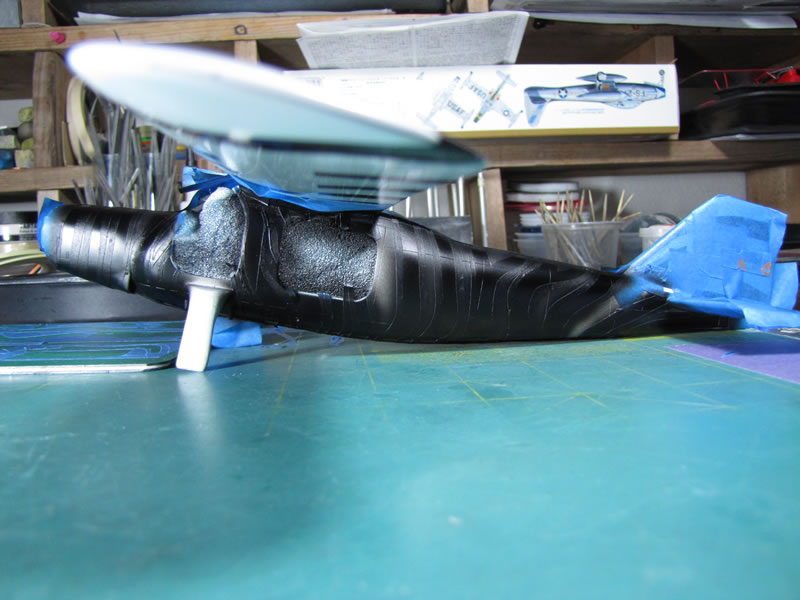
You have seen my “in-progress” building photos on many of my models so this time around I’m just going to show you how I painted the black Zebra stripes on the model.
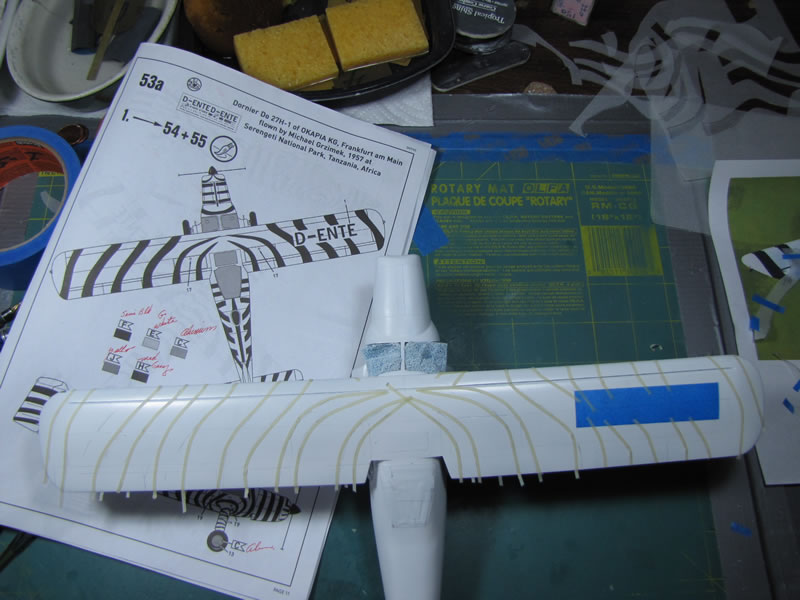
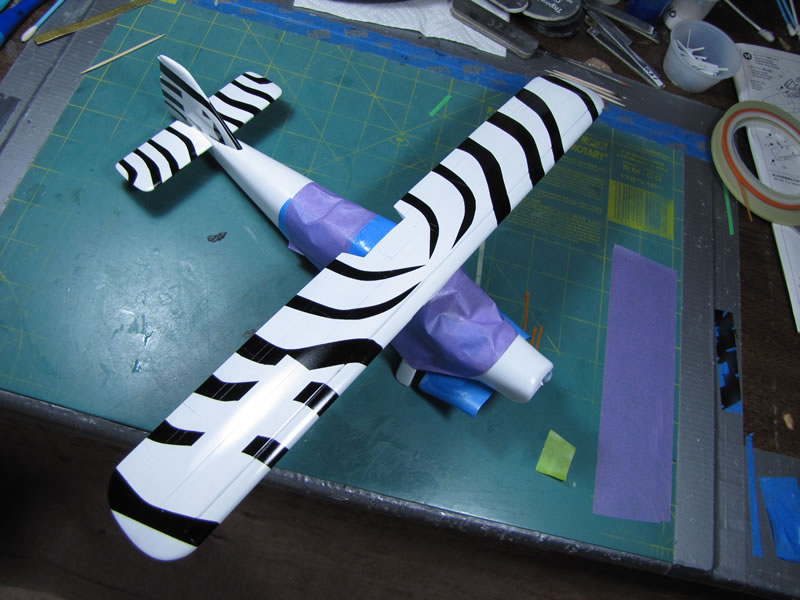
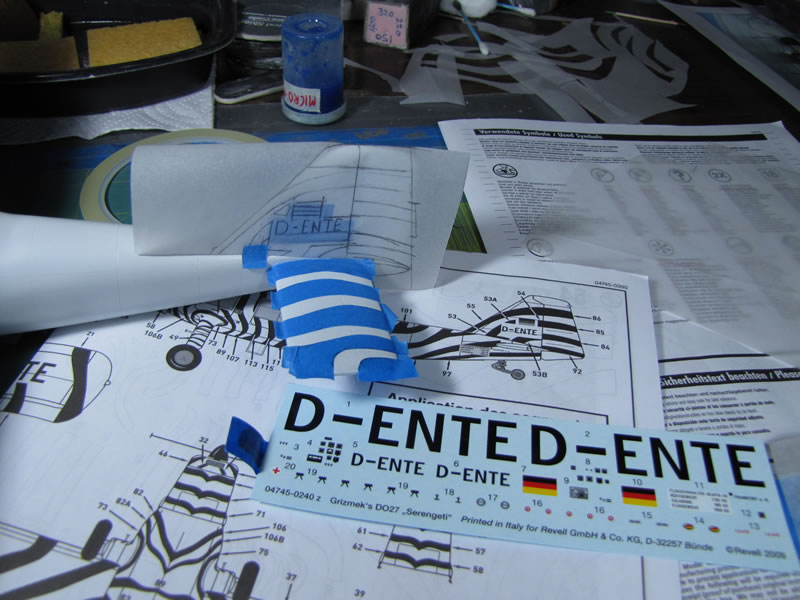
Revell supplied a very nice set of drawings showing both sides including top and bottom views of the model. I decided to paint the model in sections rather than try to mask the entire model and paint it all at once. This worked out rather well for me.
The entire model was mask off and I applied my Tamiya X-2 Gloss White Acrylic paint on the exterior and let it dry for several days.
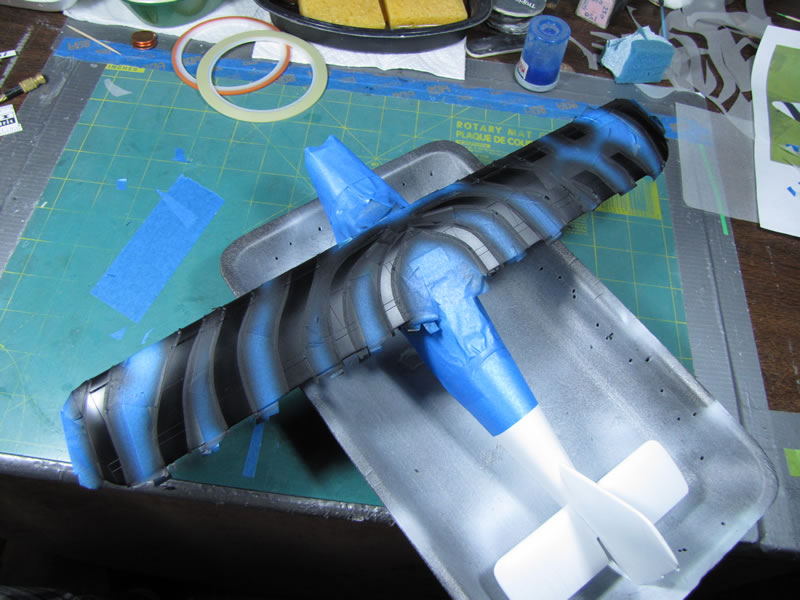
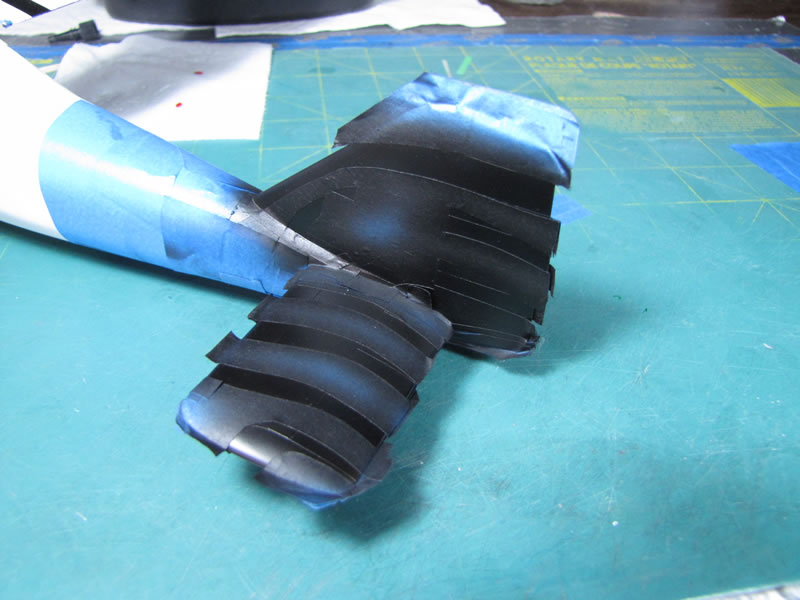
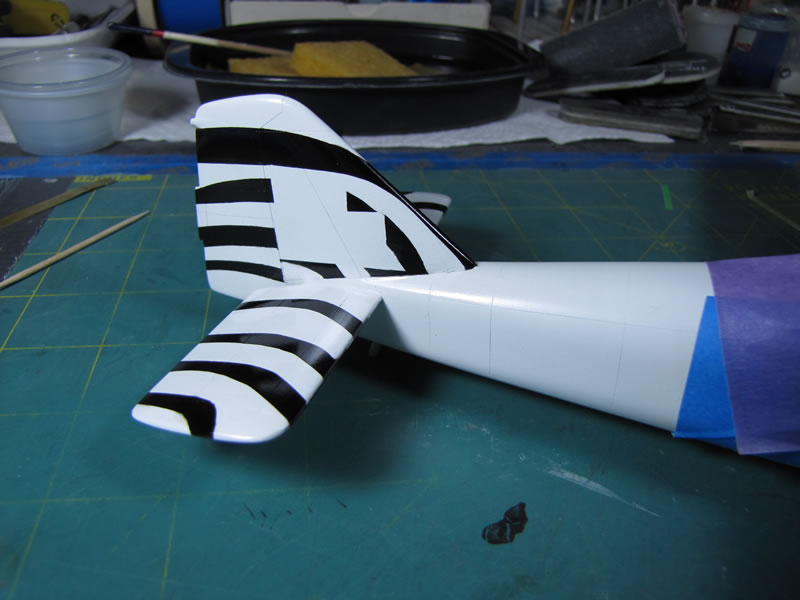
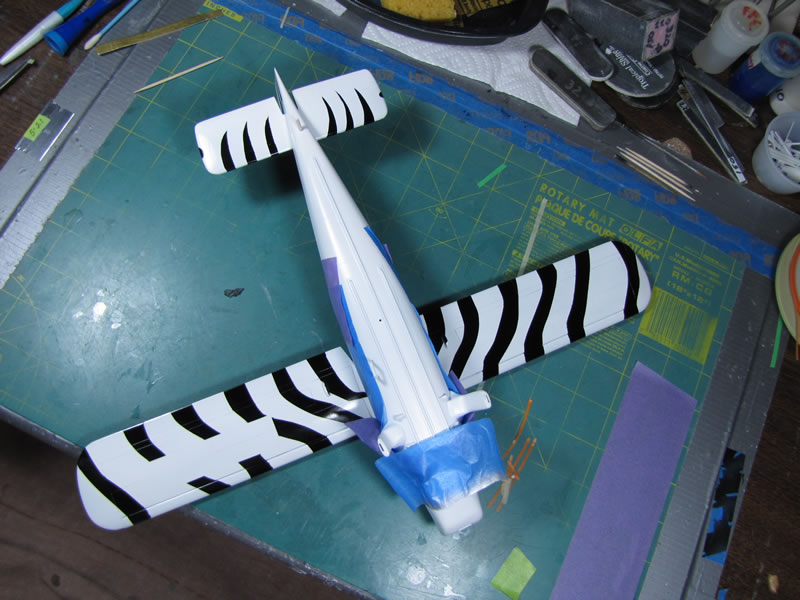
I decided to try painting the stripes on both sides of the wings for my first operation. I place some pre-cut tape to the area on the wings where the decals were to be placed then mask off the stripe areas and just sprayed on my Tamiya X-1 Gloss Black Acrylic paint. After I removed the tape and cleaned up the wing I was satisfied with how it turned out so I proceeded to work on the tail plane section of the model, which turned out A-OK too.
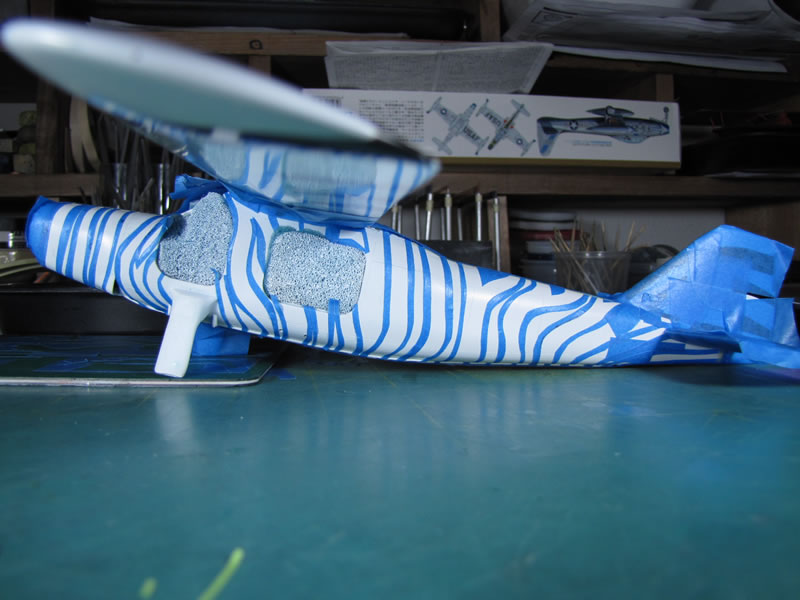
The fuselage gave me a bit of a problem so I saved the landing gear struts for a separate painting application and again everything went along just fine. I mask off the two doors and two windows and painted them.
The model was gloss coated with Future and when it had dried for a few days I added the kit decals. Later I added more “Future” on the model. In a few days I added a semi-dull coat. This semi dull coat is made by mixing Tamiya X-21 Flat Base with Future (25% X-21 and 75% Future). This mixture is then mixed with at least two full measures of “Denatured Alcohol” that I have used since 1984 to thin down my Tamiya paints.
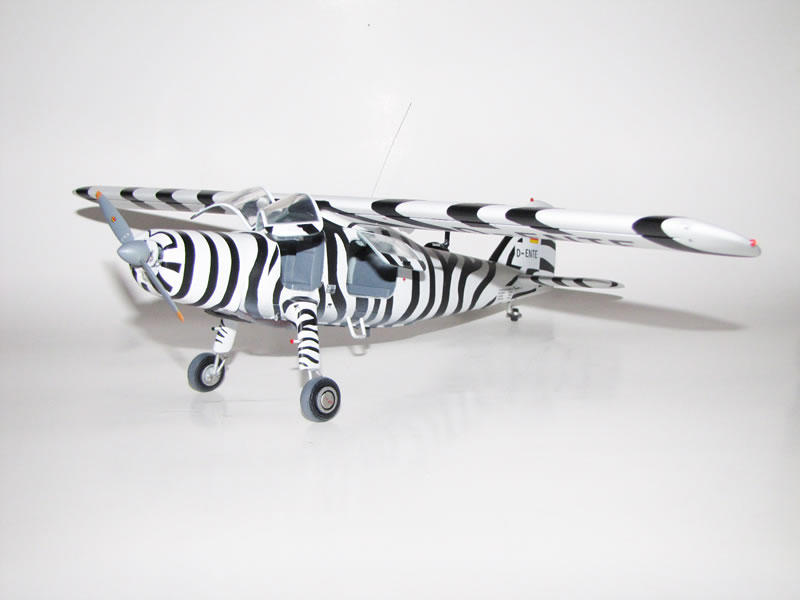
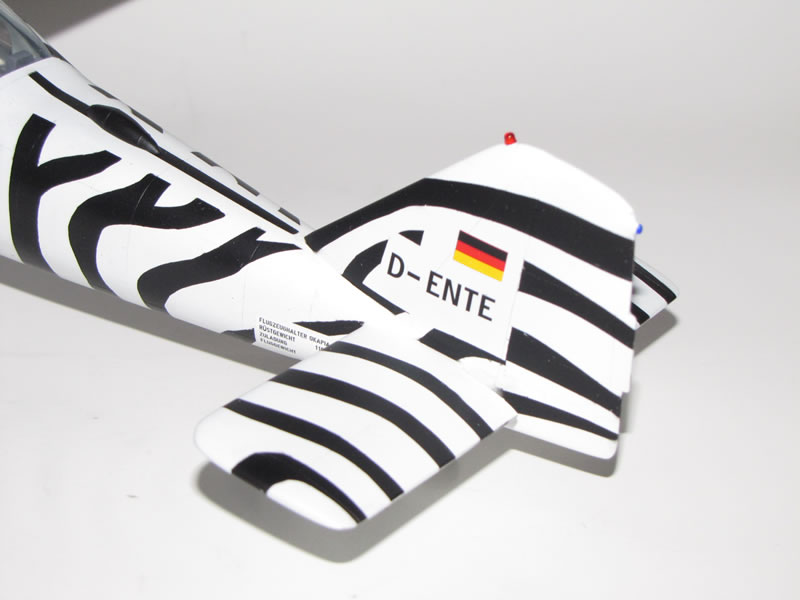
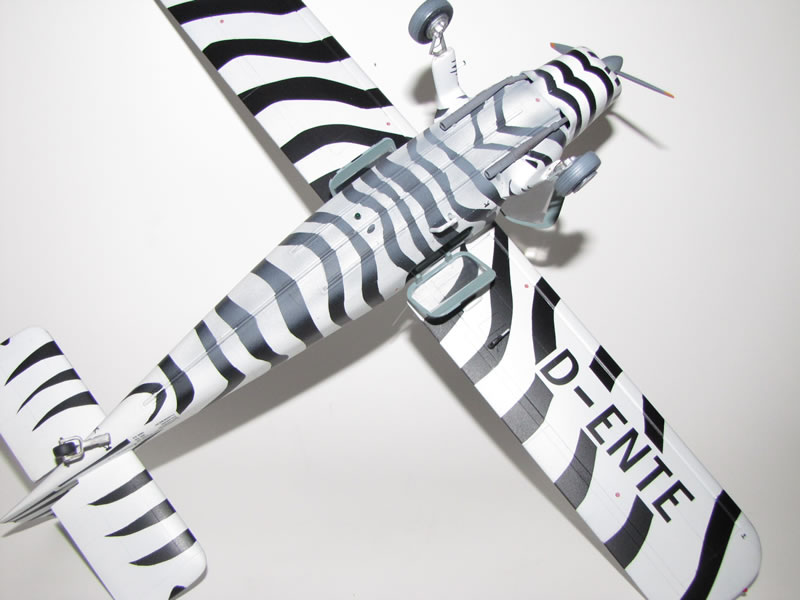
I would recommend this model to anyone however the painting process is a bit time consuming.
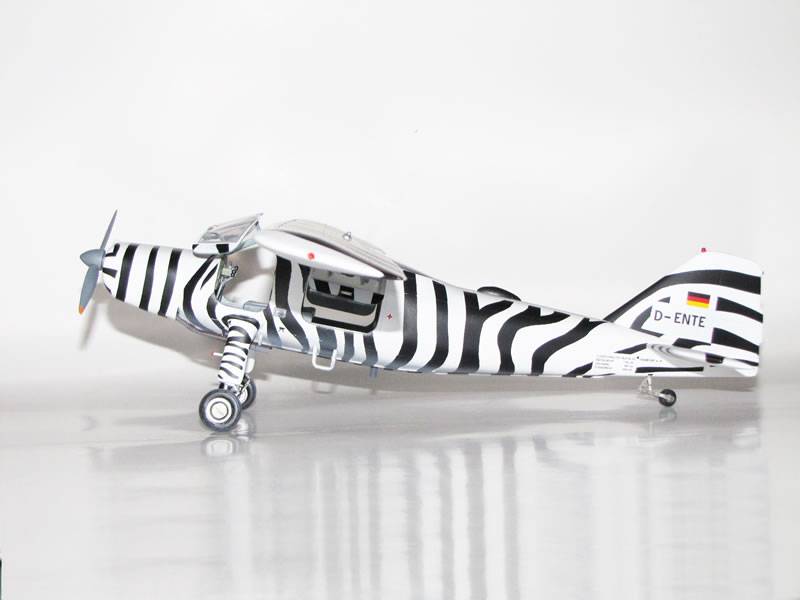
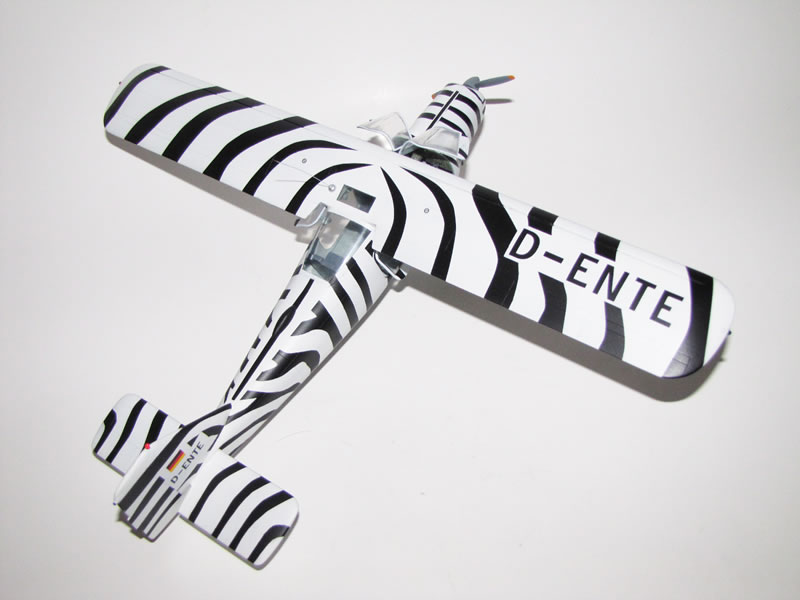
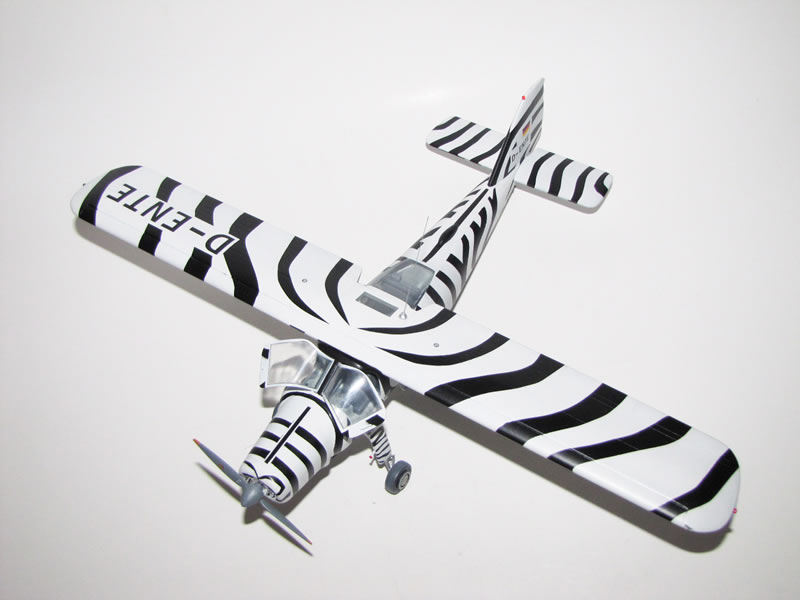
Here is the model.
TEXT & PHOTOS BY: RODNEY J. WILLIAMS
© OCTOBER 17, 2013
This article was published on Tuesday, October 22 2013; Last modified on Tuesday, October 22 2013