
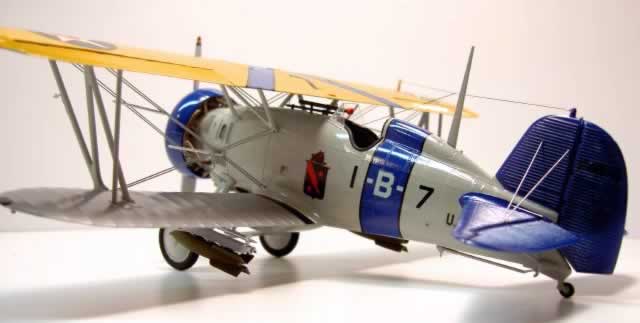
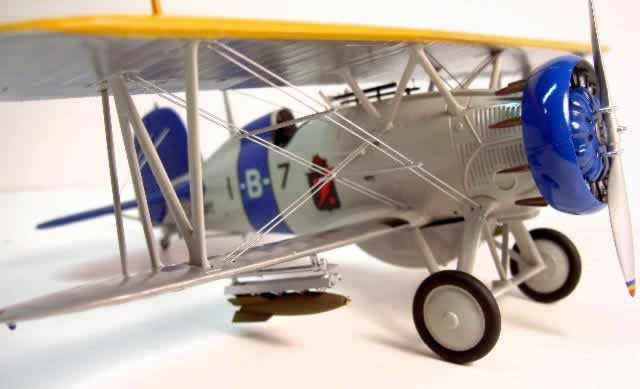
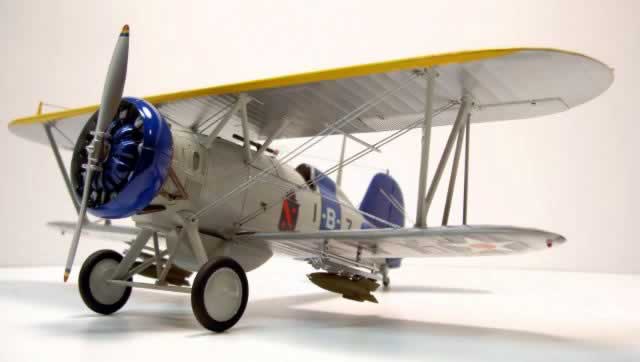
1/32 Hasegawa F4B-4
By Ed Fuquay
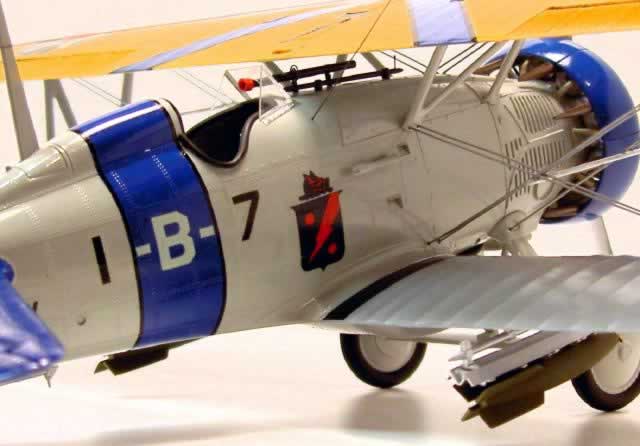
This is one of the nicest looking bi-planes built for the U.S. Navy. I started to build it in 1992, but the kit really sucked! I was very disappointed at the lack of detail and the way the wings were molded. The matting line of the wing parts created a fissure, which proved impossible to get rid off without wiping out the rib detail. I tossed the model back into the box and put it back in the pile of un-built kits unlikely to be ever built!
Two years ago the kit resurfaced and I have always liked the colorful U.S. Navy markings of this time period. So I decided to give it another chance. I thought I could finish it without worrying so much about the lack of detail in the cockpit and not caring for the "fissure" in the wing parts. I could have not ever been so wrong! As I cleaned up the seat part the urge to scratch build a new seat overcame my determination that this "bipe" was going to be a straightforward build. The carburetor air intake screen followed, as the cockpit floor, pedals, sidewall details, seat belts and another myriad of details.
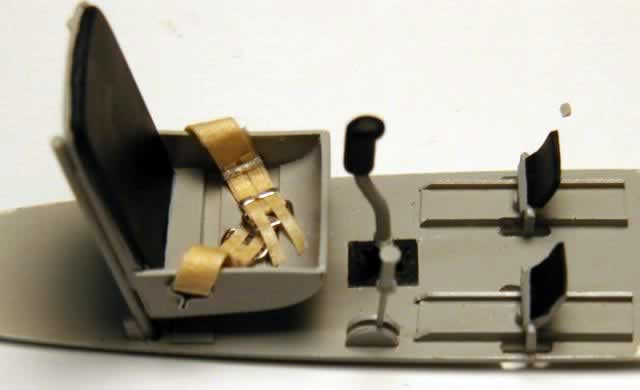
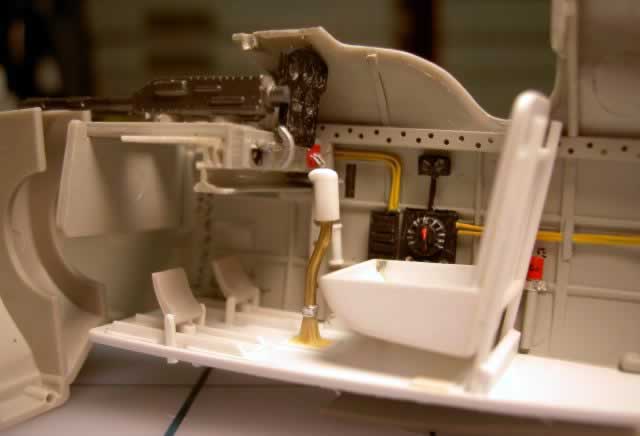
The seat was made of styrene sheet. I formed the curvature of the seat back by wrapping the plastic panel to an empty 1 oz. Modelmaster paint bottle. I held the plastic sheet in place with a rubber band and submerged it in boiling water for 20 seconds. Once the assembly cooled I removed the formed seat back and attached it to the other parts. I formed the padding the same way.
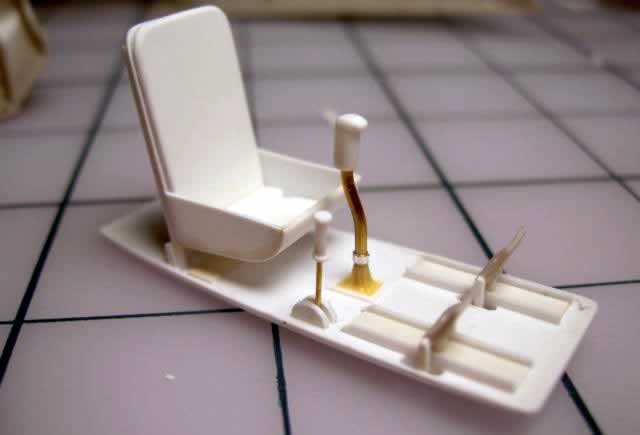
I made the floorboard out of Evergreen styrene (.040 thickness). I used the kit pedals, but I modified them by adding side supports and foot troughs. The control stick was made of a piece brass rod (.040). I made the canvas boot with a drop of wood glue. The handgrip was carved out of a piece of styrene sheet. The cockpit was then painted in a light gray and the seat cushion was painted in semi-gloss black.
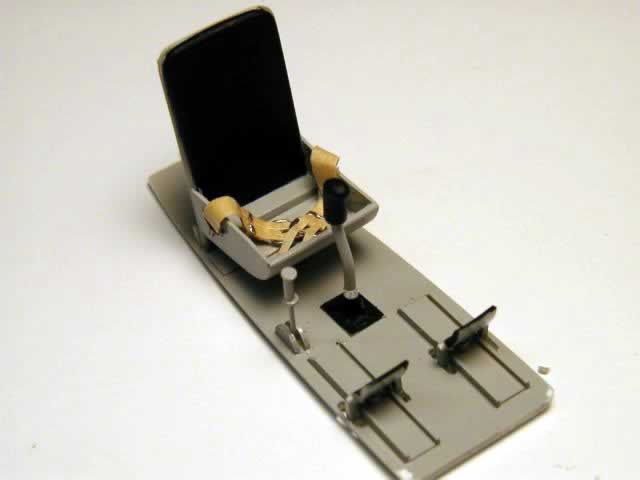
I made the seat belt out of a piece of masking tape (3m) with bits of aluminum tape. The retainer ring of the canvas boot is also a piece of the duct tape. As a note to the curious modeler, I built the seat based on the one provided by Classic Airframes for their 1/48th scale kit. The seat belt buckles were formed with silver wire that I found in the crafts store.
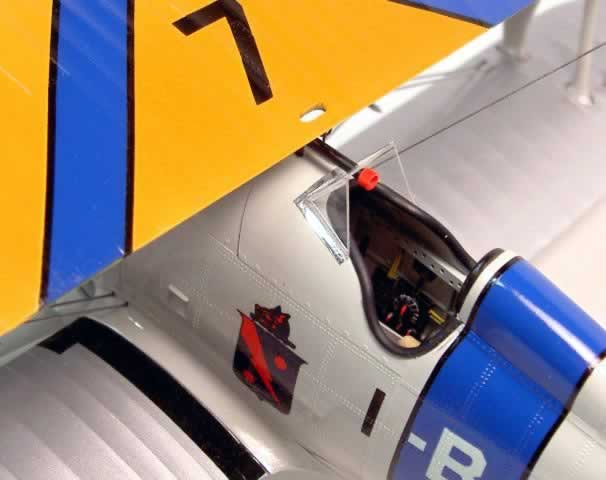
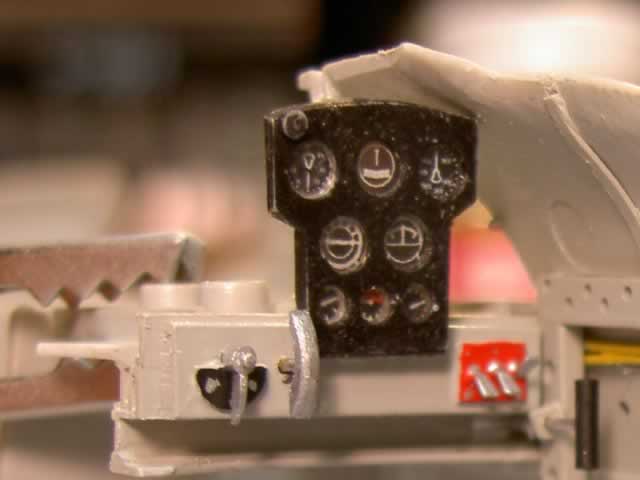
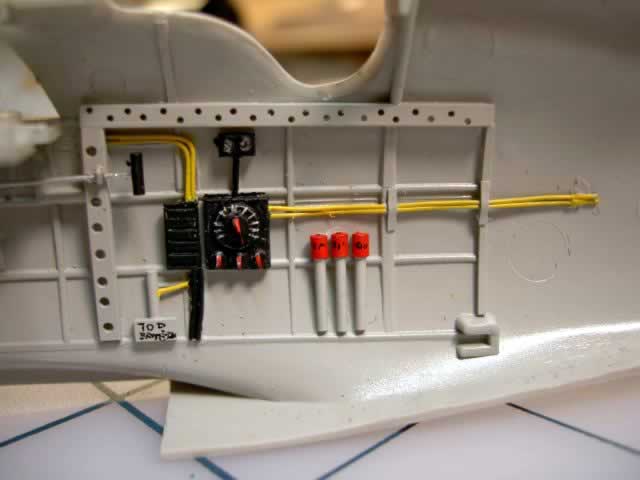
The instrument panel consists of decals of dial faces sandwiched in between clear acetate, a solid backing and the perforated instrument face. To line up the latter with the backing panel, I tacked both parts together and painted the instrument panel in gloss black. When I separated both parts, the backing piece had on it the marked location on where to apply my instrument face decals. It was perfect!
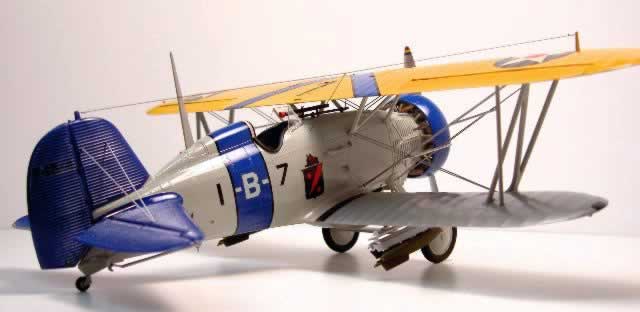
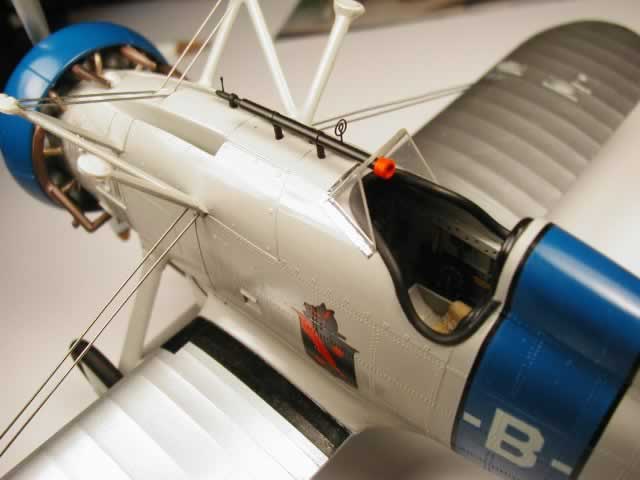
The rigging is what makes or breaks a bi-plane model. I thought about using a monofilament material like nylon string, but I opted for using very thin music wire (ø.015). I drilled holes where the wires are attached. I cut the wire using a rotary tool and an abrasive disc. Wire cutters do not cut this material. This is hardened steel and it is tough. It looks really good too!

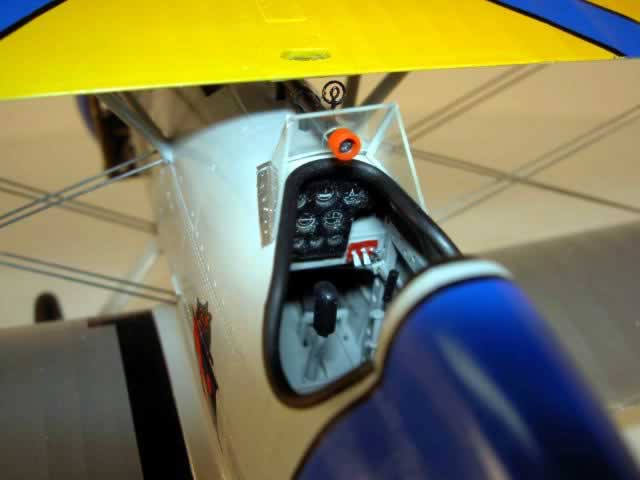
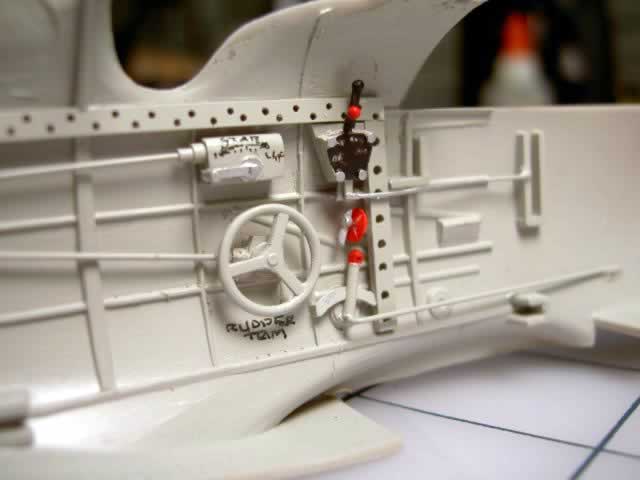
I made the sidewall details with bits of plastic sheet, plastic rod and use some of the kit parts. As reference I used images that are posted in the "walk-around" galleries.
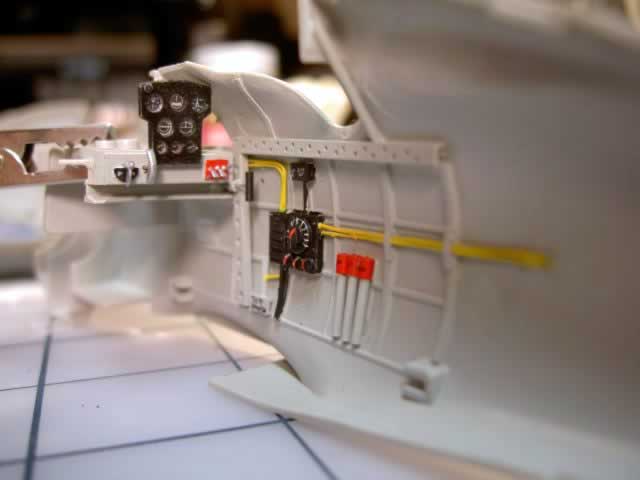
The telescopic sight is a piece of brass tube (ø 1/16"). The bead and ring sight were made of thin brass wire (ø.010) and painted semi-gloss black. The rubber eyepiece is a piece of styrene tube painted red. The windshield was made of thin acetate held together with thin strips of aluminum tape.
I hope you enjoyed this model, I did! I also hope you get a chance to stop by my web page and see other of my projects http://www.jaeamf.webs.com/. Happy modeling.
© Edward Fuquay
This article was published on Wednesday, July 20 2011; Last modified on Saturday, May 14 2016